Choosing your first viola can feel overwhelming. With sizes ranging from 12 inches to 16.5 inches and dramatically different sounds, it's easy to get lost. But selecting the right viola is crucial: the wrong size can cause discomfort and hinder progress, while a poor-quality sound can be discouraging. In this guide, you'll learn exactly how to measure for the correct viola size, what to listen for in tone, and how to test instruments before buying. By the end, you'll have a clear process to find a viola that fits you comfortably and sounds beautiful.
▸What You'll Need
- •A music store or online source offering multiple violas in different sizes
- •A measuring tape (or a ruler and string)
- •A friend or teacher to help evaluate sound (optional but helpful)
- •Your own shoulder rest and bow (if available, for consistent testing)
- •Patience and an open ear
Estimated Time: 1–2 hours (trying out 3–5 violas)
Difficulty: beginner
▸Step-by-Step Instructions
Step 1: Measure Your Arm Length
The most reliable way to determine viola size is by your arm length. Stand with your left arm extended straight out to the side, palm up. Have a friend measure from the base of your neck (where the collarbone meets the shoulder) to the center of your palm. Record this length in inches. This measurement directly corresponds to viola body length (note: viola sizes are measured by body length, not including the neck).
Typically:
- •12-inch viola: arm length 20–22 inches (recommended for children ages 6–8)
- •13-inch viola: arm length 22–24 inches (ages 8–10)
- •14-inch viola: arm length 24–26 inches (ages 10–12, or small adults)
- •15-inch viola: arm length 26–28 inches (average adult)
- •15.5- to 16.5-inch viola: arm length 28+ inches (tall adults)
Keep in mind that personal comfort and hand size also matter—a smaller player can sometimes handle a slightly larger viola if they have long fingers.
💡 Tips:
- •If you're between sizes, start with the smaller size—it's easier to play comfortably.
- •Bring your own shoulder rest if you have one, as it affects how the viola feels.
⚠️ Warnings:
- •Don't rely solely on age charts; arm length is far more accurate.
- •Never force yourself to play a viola that feels too large—it can cause muscle strain and bad posture.
Step 2: Test the Viola's Physical Fit
Once you have a viola in hand, place it in playing position. Your left elbow should be slightly bent, and your fingers should be able to comfortably reach all four strings, especially the C string. The chinrest should sit comfortably under your jaw without you having to tilt your head excessively. Play a few scales—if you have to stretch too far or feel cramped, the size is off.
Check the bow hold: your right arm should naturally reach the strings without lifting or dropping your shoulder. Play a few long bows on all strings; the viola should feel balanced, not heavy on your left shoulder.
💡 Tips:
- •Try a viola on for at least 5–10 minutes—initial comfort can change with extended playing.
- •If possible, test different viola sizes back-to-back to compare feel.
⚠️ Warnings:
- •Beware of violas that are too small: they may cause you to hunch over, leading to back pain.
- •A viola that is slightly too large can cause tension in your left hand and wrist.
Step 3: Listen for Tone Quality
Sound is subjective, but certain qualities are universally desirable. Play open strings (G, D, A, C) one at a time, listening for evenness across all strings. A good viola should have a rich, resonant tone on the C string (the deepest string) without being muddy, and clear, singing notes on the A string without being harsh.
Play a simple piece or scale you know well. Listen for:
- •Warmth: a full, rounded sound (not nasal or thin)
- •Projection: how well the sound carries across the room (ask a friend to listen from a distance)
- •Sustain: notes should ring out, not die quickly
- •Response: the viola should speak easily when you start a note, with no delay or scratchiness
💡 Tips:
- •Have a friend or teacher play the viola while you listen from across the room—this reveals projection.
- •Trust your ears: if a viola doesn't excite you tonally, move on.
⚠️ Warnings:
- •Don't be fooled by a single strong string; check all four.
- •New violas often need a break-in period—but a good core tone should still be apparent.
Step 4: Check Playability: Action, Strings, and Fingerboard
Playability refers to how easily the viola responds to your fingers and bow. Press down on the strings at the first position—the distance between strings and fingerboard (action) should be low enough that you don't need excessive pressure, but not so low that strings buzz against the fingerboard. Run your finger along the edge of the fingerboard; it should be smooth, with no sharp edges or grooves.
Pluck each string—it should feel firm, not floppy. Bow across all strings at the frog and tip; there should be no difficulty producing sound at the tip (a common problem with poorly adjusted violas).
💡 Tips:
- •Ask the shop to adjust the bridge or soundpost if playability is poor—many issues can be fixed.
- •Try strings of different tensions; some violas respond better to lower tension strings.
⚠️ Warnings:
- •A high action can cause finger pain and slow progress.
- •Buzzing can often be fixed with a simple adjustment, but don't ignore it.
Step 5: Evaluate the Sound Post and Bridge Setup
The sound post (a small wooden dowel inside the viola, visible through the F-holes) and bridge are critical to sound quality. With a bright light, look through the right F-hole (from the player's perspective) to check the sound post's position. It should be standing straight, not leaning, and positioned just behind the bridge's right foot. The bridge should be centered between the F-holes with even string spacing and a gentle curve.
Run a credit card under the strings at the bridge; they should just touch or have a tiny gap. If the bridge is warped or the sound post is tilted, the viola will sound weak or unbalanced.
💡 Tips:
- •If you're unsure about the setup, ask a luthier (violin maker) to inspect it.
- •Some stores offer free setup adjustments when you buy—take advantage.
⚠️ Warnings:
- •Never try to move the sound post yourself—it can cause expensive damage.
- •A warped bridge can snap under string tension; replace it immediately.
Step 6: Try Different Strings
Strings dramatically affect tone and playability. Most student violas come with cheap steel strings that can sound harsh. If possible, ask to try a viola with two different sets: one with synthetic core strings (like Dominant or Helicore) for a warmer, more nuanced tone, and one with steel strings for brighter, more focused sound.
Play the same piece on each—notice differences in response, sustain, and complexity. Many beginners find synthetic strings easier to control and more pleasant to listen to.
💡 Tips:
- •If you find a viola you love but hate its sound, new strings might fix it—factor in the cost ($30–$80).
- •Ask the store if they can restring a viola you're considering with a set you prefer.
⚠️ Warnings:
- •Don't judge a viola solely by its stock strings; they are often the cheapest option.
- •Changing strings requires some care—learn proper installation to avoid damage.
Step 7: Compare Multiple Violas Side by Side
Don't settle on the first viola you try. At a music store, compare at least three violas in the same size range but from different makers or price points. Play the same short piece on each (e.g., a G major scale and a simple folk tune). Keep notes on what you like and dislike about each instrument's feel and sound.
If possible, have a friend or teacher play them while you listen from different positions in the room. This helps you hear subtle differences in projection and tone color.
💡 Tips:
- •Record yourself playing each viola on your phone—listening back can reveal details you missed.
- •Take breaks between playing to avoid ear fatigue—your perception can skew after 20 minutes.
⚠️ Warnings:
- •Avoid comparing violas at different stores on different days—acoustics and conditions vary.
- •Don't rush; a viola is a long-term investment in your practice.
Step 8: Decide Based on Your Priorities
After testing, you'll likely have a favorite. Now weigh the factors: size comfort, tone quality, playability, and budget. For a beginner, comfort should be the top priority—you won't practice if it hurts to play. Next is a sound that inspires you (warmth and evenness over brightness). Playability can be improved with setup adjustments; tone is harder to change.
If two violas are close, choose the one that feels more like an extension of your body. Also consider the return policy: many stores allow you to take a viola home for a trial week—use it!
💡 Tips:
- •If possible, take your top choice home and play it in your practice space for a few days.
- •Don't forget to budget for a good bow, case, and rosin—they affect sound and protection.
⚠️ Warnings:
- •Avoid buying a viola solely because it looks beautiful—sound and feel matter more.
- •Be wary of very cheap violas (<$200); they often have poor construction and require costly repairs.
▸Pro Tips
- •Bring a piece of music you know well to test each viola consistently.
- •Ask the store to let you try the viola in a quiet room—background noise masks subtle tonal differences.
- •If you have a teacher, invite them to help you evaluate; they know your playing level.
- •Don't ignore the bow: a good bow can improve a mediocre viola's sound significantly.
- •Write down the serial numbers of violas you like—helps you remember later.
- •If you're ordering online, check the return policy and read reviews from verified buyers.
- •Consider renting first to see if you like the viola before committing to purchase.
▸Common Mistakes to Avoid
- •Choosing a viola that is too large because it sounds 'fuller'—it can cause tension and injury.
- •Ignoring tonal qualities and focusing only on price or appearance.
- •Judging a viola by its stock strings—they are often cheap and don't reflect the instrument's potential.
- •Not testing the C string thoroughly—a weak C string will limit your repertoire.
- •Buying without a trial period—you might discover issues only after a few days of practice.
▸Troubleshooting
Problem: The viola feels heavy and causes shoulder pain
Solution: Try a different shoulder rest or a lighter viola. Consider a smaller size if the pain persists.
Problem: The C string sounds weak or muffled
Solution: Check the sound post position; a luthier can adjust it. Also try a heavier gauge C string (e.g., Larsen or Spirocore).
Problem: Strings buzz when played loudly
Solution: Check if strings are properly seated in the bridge grooves. If not, have a luthier file them. Also check for loose seam on the viola body.
Problem: High action makes it hard to press strings
Solution: Take the viola to a luthier to lower the bridge or adjust the nut—this is a common, quick fix.
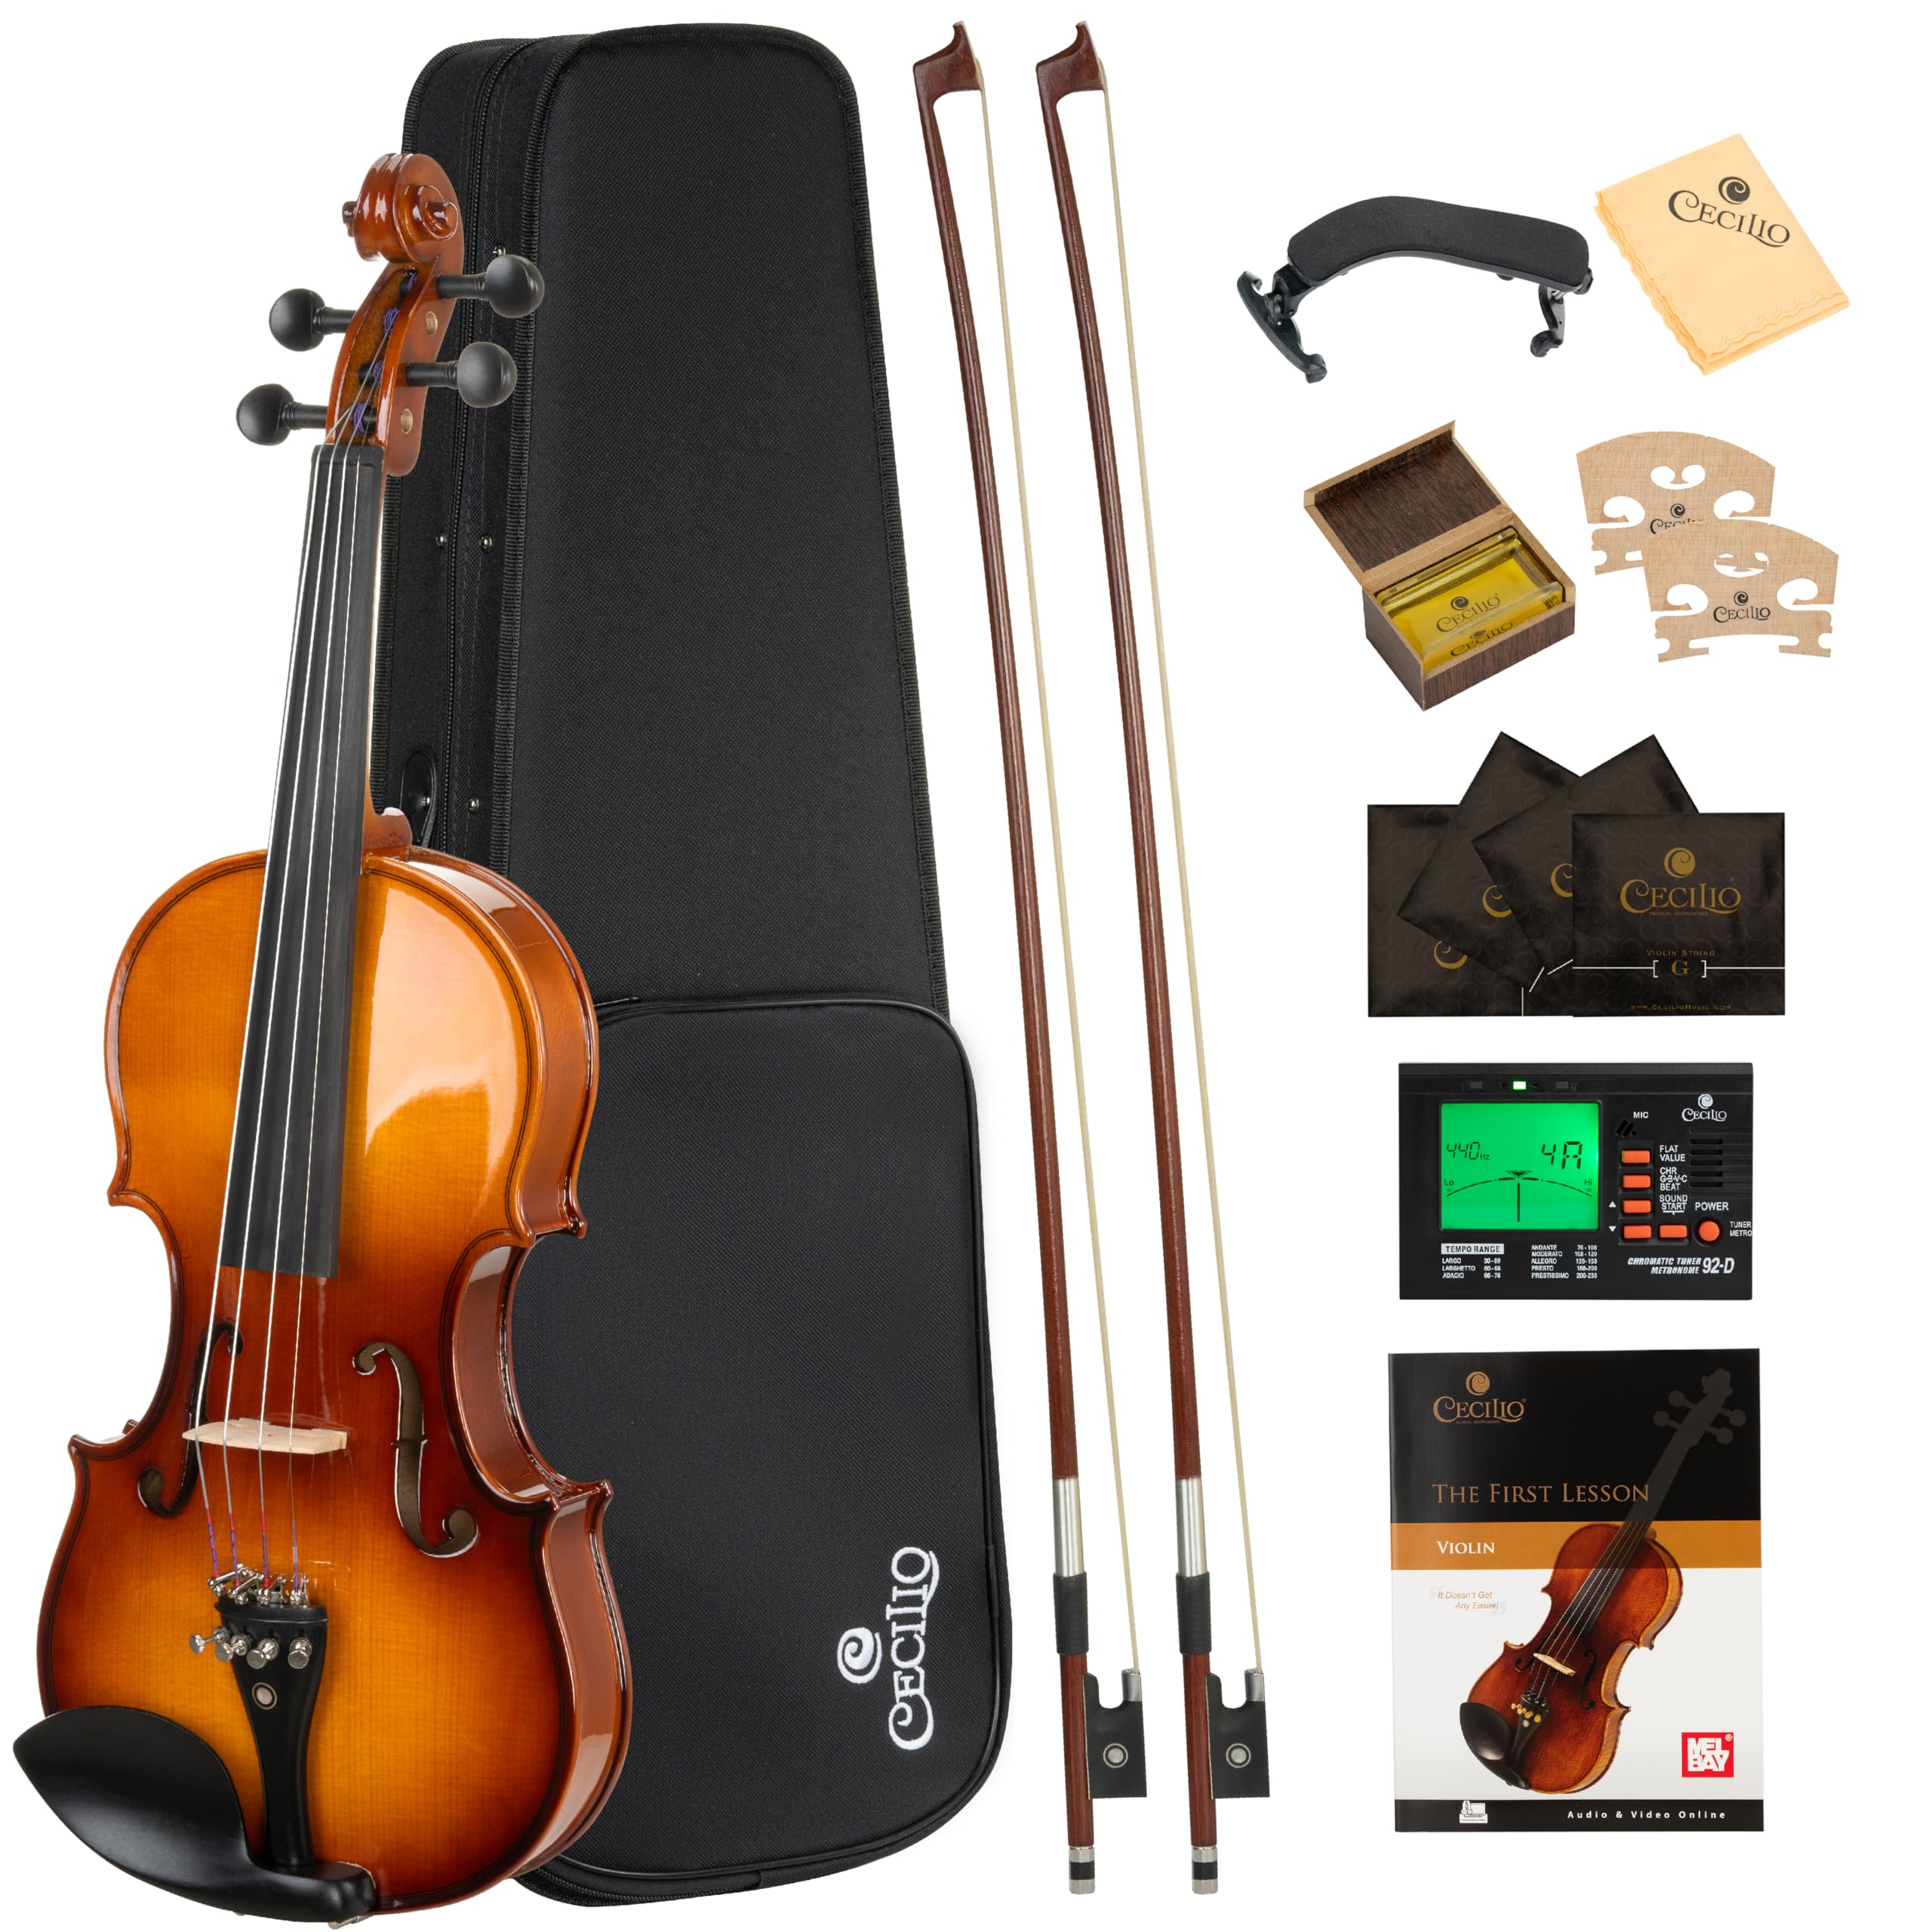
Cecilio CVN-300 Solid Wood Viola with Case and Bow (15-inch)
Excellent full-size starter viola with decent tonal quality, often praised by beginners for its playability and value. Solid wood construction provides good resonance.
Best for: Best for budget-conscious beginners wanting a reliable 15-inch viola with accessories included.
Price Range: $150–$250
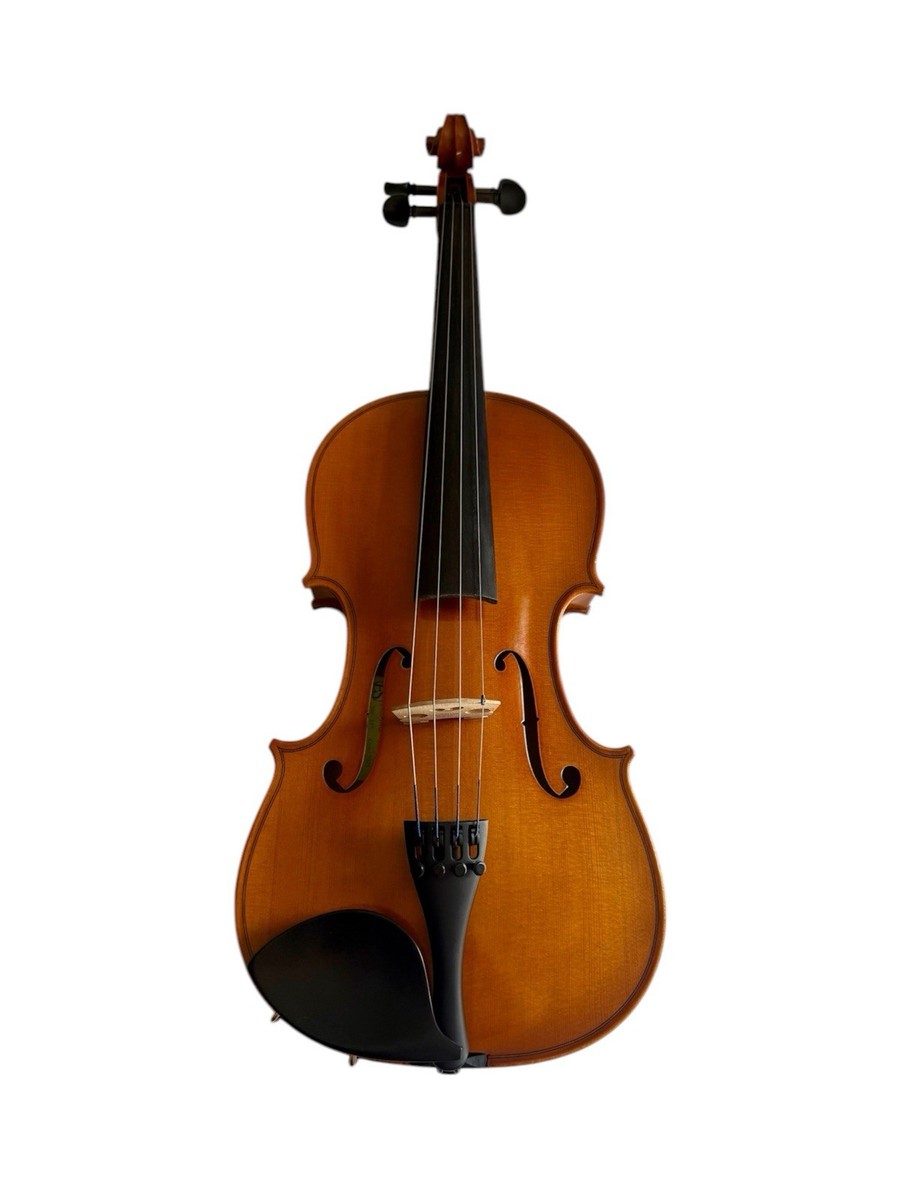
Eastman VA80 Viola (15-inch)
A step up in sound quality with a rich, warm tone. Hand-carved solid wood and quality setup make it a favorite among advancing students.
Best for: For beginners who want a viola they won't outgrow quickly—good tone and project well.
Price Range: $400–$600
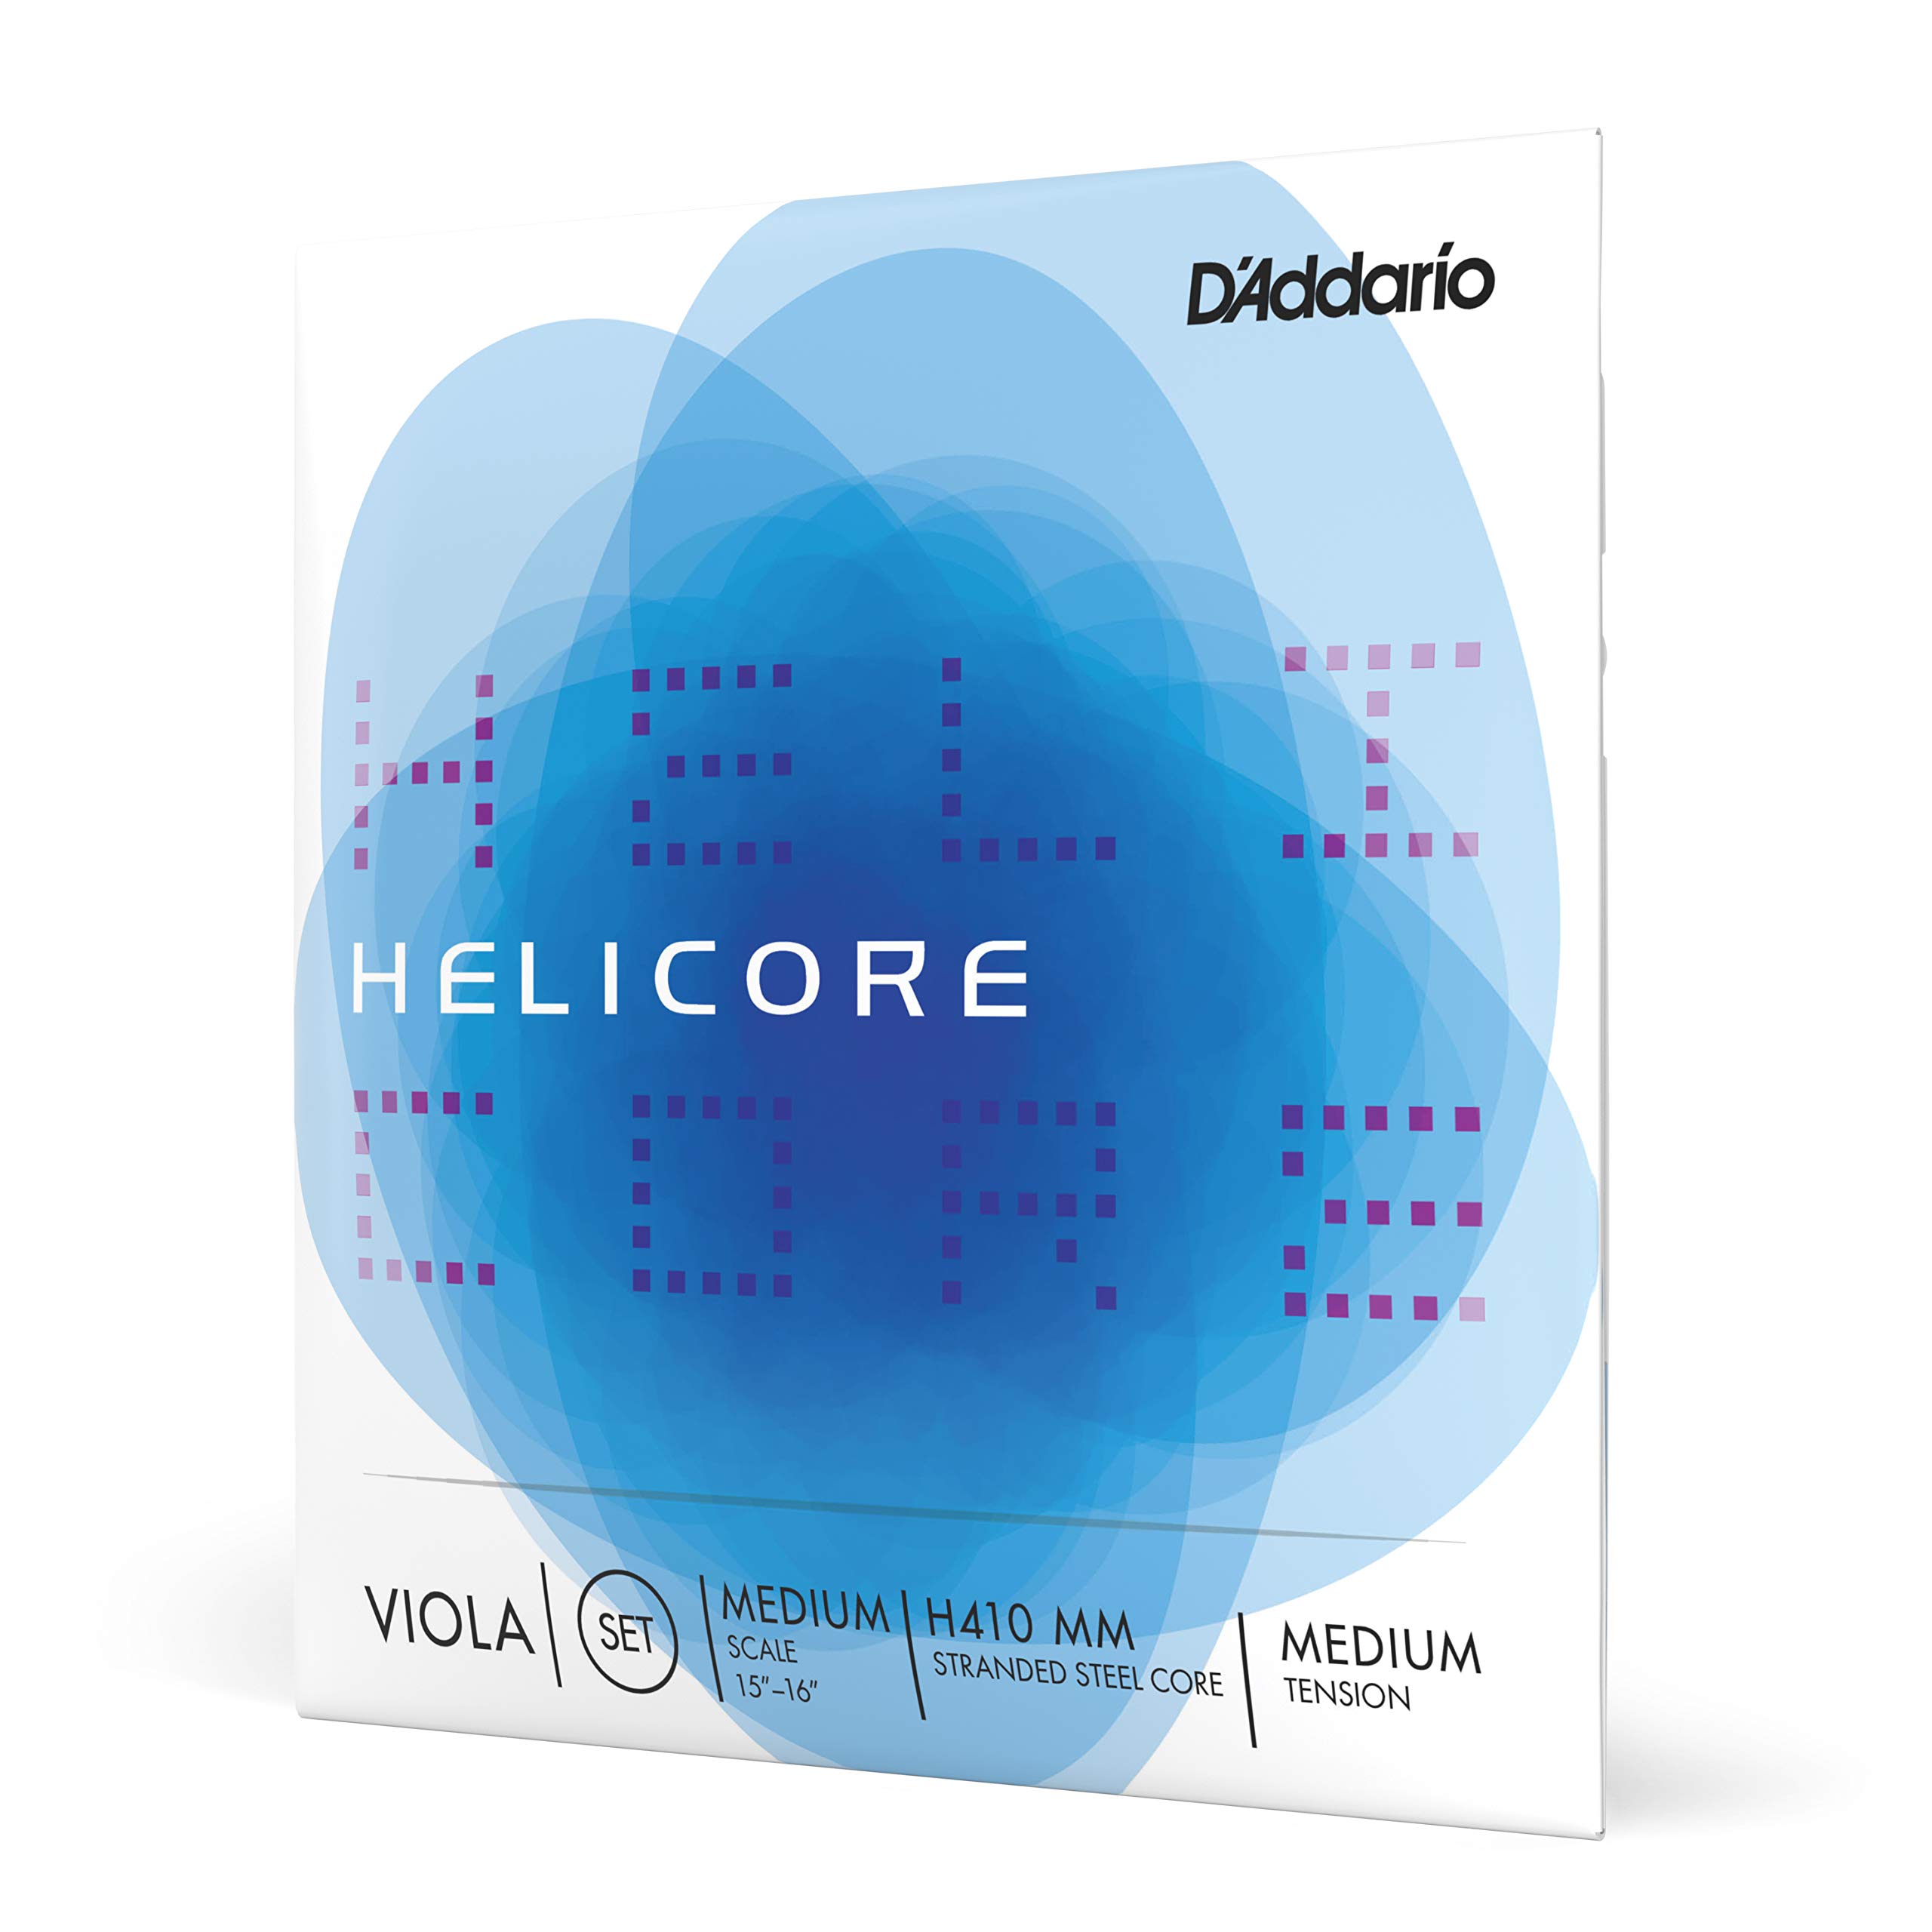
D'Addario Helicore Viola Strings (Set)
Synthetic core strings that offer warmth, clarity, and easier playability than steel. They can transform a mediocre viola's sound.
Best for: Upgrade stock strings on any viola—recommended for achieving a richer, more nuanced tone.
Price Range: $45–$70
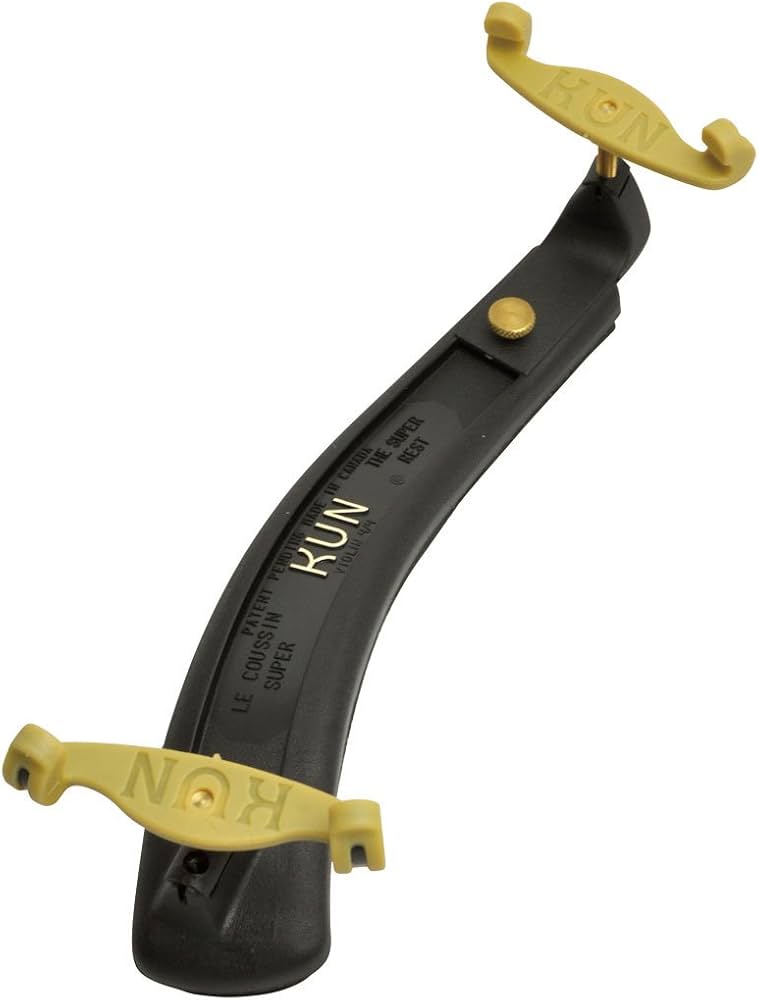
Kun Original Shoulder Rest for Viola
Adjustable, comfortable shoulder rest that fits most viola sizes. It helps maintain proper posture and reduces strain.
Best for: Essential for comfortable playing—try different heights to find your perfect fit.
Price Range: $30–$50
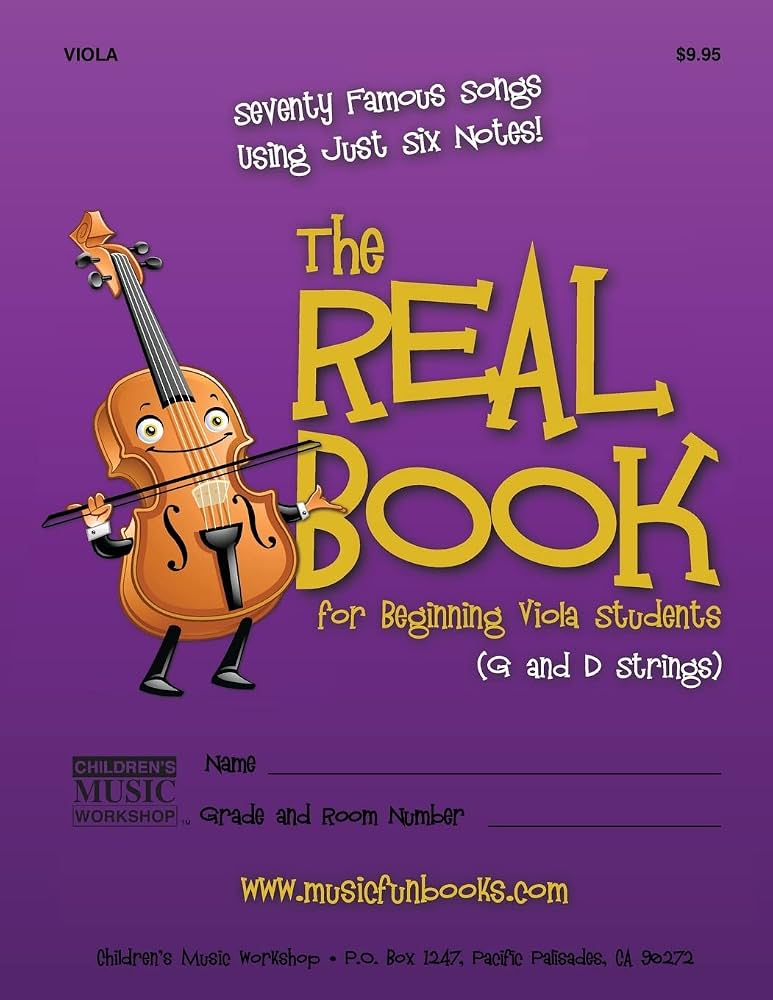
The Real Book for Beginning Viola (Hal Leonard)
A songbook with familiar tunes that helps beginners practice ear training and technique—makes testing violas more fun.
Best for: Bring a simple piece you know to test violas consistently; this book provides easy melodies.
Price Range: $10–$15