Choosing the right mounted abrasive point can make or break your die grinder work. Use the wrong point and you'll waste time, damage your workpiece, or even ruin the tool. With hundreds of shapes, grits, and materials available, it's easy to feel overwhelmed. This guide breaks down everything you need to know—from shank size to abrasive type—so you can confidently pick the perfect point for any job. Whether you're deburring metal, shaping wood, or grinding stone, you'll learn the criteria that matter most.
▸What You'll Need
- •Die grinder (pneumatic or electric with a collet that matches shank size)
- •Mounted abrasive points (assortment for comparison)
- •Workpiece material sample (e.g., steel, aluminum, wood, stone)
- •Safety glasses and dust mask
- •Vise or clamp to hold the workpiece
- •Calipers (optional, to measure shank diameter)
Estimated Time: 10-15 minutes to read and apply the selection criteria
Difficulty: intermediate
▸Step-by-Step Instructions
Step 1: Identify Your Die Grinder's Collet Size
Before buying any mounted point, check the collet (chuck) size of your die grinder. Most pneumatic die grinders accept 1/4-inch (6.35 mm) shanks, while many electric rotary tools use 1/8-inch (3.2 mm) shanks. Some heavy-duty grinders accept 6 mm or 8 mm metric shanks. If you use a shank that's too small, the point will wobble; too large and it won't fit. Measure the collet opening with calipers or consult your tool's manual. If you're unsure, buy an adapter or a set with multiple shank sizes.
💡 Tips:
- •Keep a digital caliper handy to measure shank diameters precisely.
- •Many mounted point sets include both 1/8 and 1/4 inch shanks—ideal for versatility.
⚠️ Warnings:
- •Never force a shank into a collet that's too small. This can damage the collet and cause the point to fly off at high speed.
Step 2: Match the Abrasive Material to Your Workpiece
Mounted points come in several abrasive materials, each suited to different materials. Aluminum oxide is the general-purpose choice for metals like steel and iron. Silicon carbide is sharper and works well on non‑ferrous metals (aluminum, brass) and stone. Ceramic alumina is tough and long‑lasting for hard steels. Diamond points are for ultra‑hard materials like carbide or glass, while cubic boron nitride (CBN) excels on hardened tool steels. For wood or plastic, use aluminum oxide or even zirconia. Selecting the wrong abrasive will result in slow cutting, excessive heat, or glazing.
💡 Tips:
- •If you work with multiple materials, buy an assortment with aluminum oxide and silicon carbide points.
- •For heavy stock removal on steel, choose ceramic or zirconia points for longer life.
⚠️ Warnings:
- •Silicon carbide can break down quickly on steel, so it's best reserved for non‑ferrous work.
Step 3: Select the Right Grit for Your Task
Grit numbers indicate coarseness: lower numbers (36–60) are coarse for fast material removal; medium (80–150) for general shaping and deburring; fine (180–320) for finishing; very fine (400+) for polishing. Use coarse grits to remove weld beads or heavy burrs, then step to medium or fine for a smooth surface. On a mounted point, the bond (resin, vitrified, or metal) also affects cutting action. For die grinders, resin bonds are common because they balance cutting speed and durability.
💡 Tips:
- •Start with a coarse grit to save time, but don't skip the medium grit to avoid deep scratches.
- •Switch to a fresh point if you notice the cut slowing—glazed points can burn the workpiece.
⚠️ Warnings:
- •Using too fine a grit on hard metal can generate excessive heat and dull the point quickly.
Step 4: Choose the Appropriate Shape for the Application
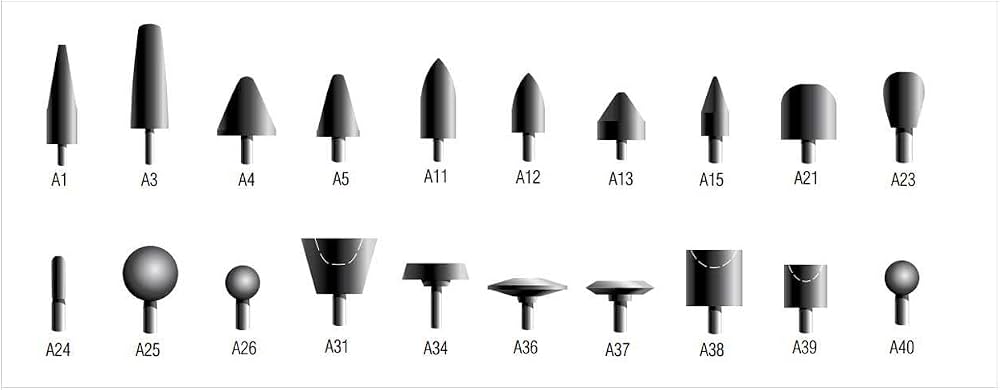
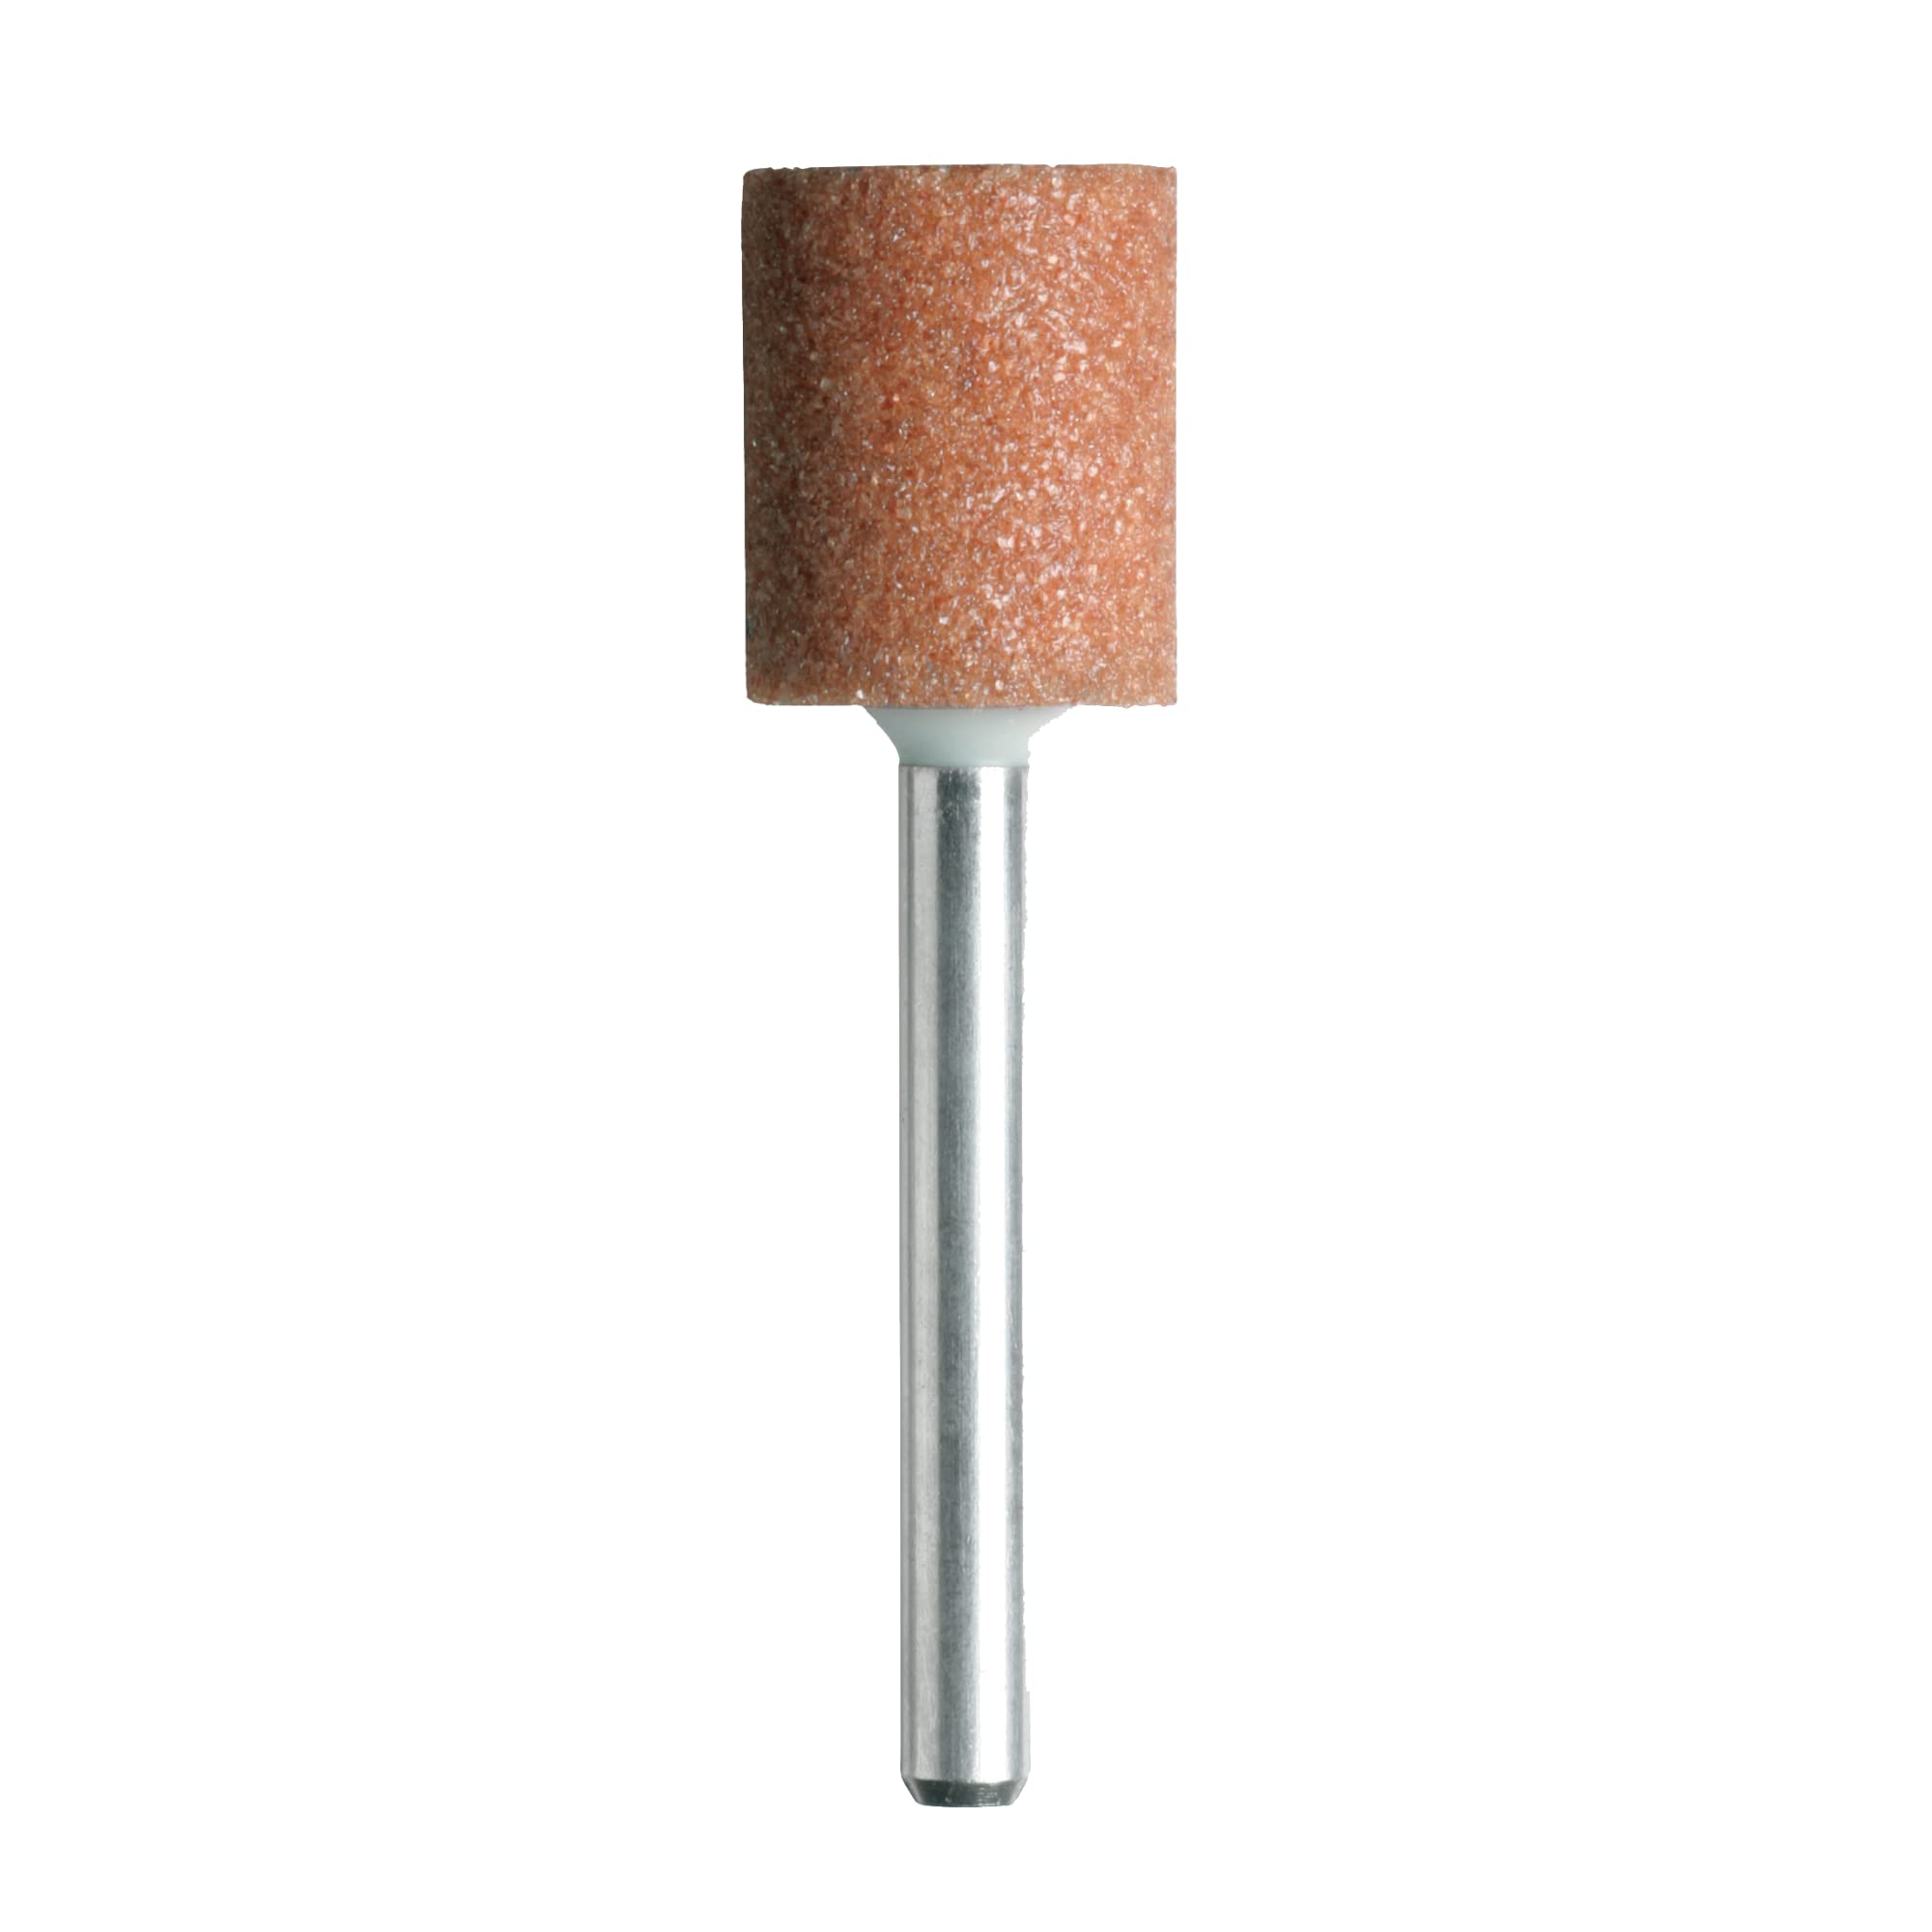
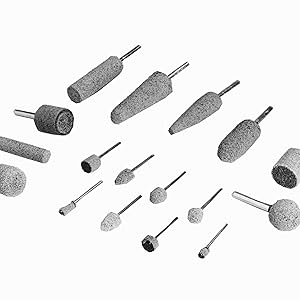
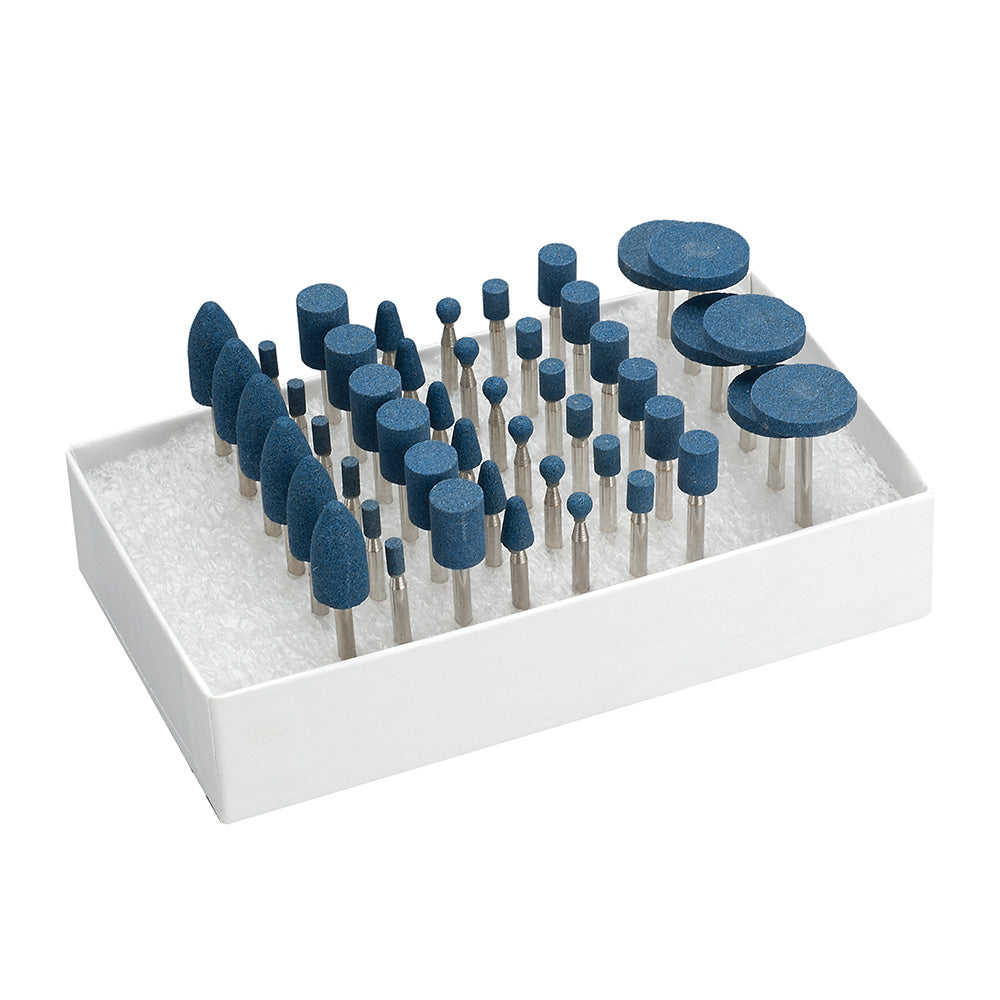
Mounted points come in dozens of shapes: cylindrical, conical, bullet, ball, wheel, and tapered. Cylindrical points are best for flat surfaces and inside diameters. Conical points (tapered) are ideal for deburring holes and reaching angled spots. Bullet points (round nose) work well on concave areas and contours. Ball (round) points are for carving and radius work. Wheel points excel at cutting slots and keyways. For most general work, a set with cylindrical, conical, and ball shapes covers 90% of tasks. If you need to access tight spots, look for miniature or elongated shapes.
💡 Tips:
- •Use a cylindrical point for side grinding on flat surfaces; use a ball point for spot grinding.
- •Keep an assortment of shapes – you never know when you'll need to reach an odd angle.
⚠️ Warnings:
- •Using a cylindrical point in a curved channel can cause uneven wear and poor fit.
Step 5: Check the Arbor (Bond) Type and Quality
The bond holds the abrasive grains together. Resin bonds are common for general metal and wood work – they cut cool and wear predictably. Vitrified bonds (ceramic) are more rigid and heat‑resistant, ideal for precision grinding on steel. Metal bonds (sintered or electroplated) hold diamond or CBN grains for hard materials; they last long but cut slowly. For die grinders, resin‑bonded points are the safest and most versatile choice. Avoid cheap points with poor bonds that crumble or shed grains—they can cause imbalance and vibration.
💡 Tips:
- •Premium brands like Norton or 3M indicate the bond type on the label – look for 'Resinoid' or 'Vitrified'.
- •Check the arbor hole if the point mounts on a screw – most die grinder points are mounted on a steel shank.
⚠️ Warnings:
- •Never use a point with a cracked or chipped bond – it can shatter at high RPM.
Step 6: Consider the Maximum RPM Rating
Every mounted point has a maximum safe rotational speed, usually printed on the shank or packaging. Die grinders spin at high RPM (20,000–30,000+), so you must ensure the point's rated speed is higher than your tool's no‑load speed. Exceeding the rating can cause the point to burst, sending fragments at high velocity. If the point has no speed rating, do not use it. When in doubt, choose points rated for 25,000 RPM or more. For large‑diameter points, the max RPM is lower because of increased centrifugal force.
💡 Tips:
- •Reduce tool speed when using large-diameter or heavy points to avoid exceeding the RPM rating.
- •Use a tachometer on your die grinder to verify actual speed if you're unsure.
⚠️ Warnings:
- •Never run a mounted point above its rated speed – even a small fracture can cause catastrophic failure.
Step 7: Test Fit and Balance the Point
After inserting the shank, tighten the collet securely. Spin the die grinder momentarily (off the workpiece) to feel for vibration. Excessive vibration indicates the point is out of balance or the shank is bent. An unbalanced point will produce poor surface finish and wear out bearings. If it wobbles, remove and try another point. For critical work, use a balancing arbor. A smooth‑running point is essential for precise work and operator safety.
💡 Tips:
- •Hold the die grinder with loose grip while spinning – vibration will be obvious.
- •Use a marker to mark the high side if you need to balance a point by dressing.
⚠️ Warnings:
- •Do not attempt to balance a point by adding weights – replace it if unbalanced.
Step 8: Dress the Point for Optimal Cutting
New mounted points may have a glazed surface or be out of round. Use a dressing stone (silicon carbide stick) to true the point and expose fresh abrasive grains. Gently touch the stone against the rotating point for 1–2 seconds. Dressing improves cutting efficiency and reduces heat. After dressing, test on a scrap piece to confirm smooth action. Dress periodically during use if the point loads up (clogs) with material.
💡 Tips:
- •Keep a dedicated dressing stick near your work area – it extends point life significantly.
- •Dress lightly – removing too much material shortens the point's life.
⚠️ Warnings:
- •Dress only with the recommended stone – using a metal file will damage the bond.
▸Pro Tips
- •Buy a mixed set of shank sizes (1/8 and 1/4 inch) for maximum compatibility.
- •Use coolant or light oil when grinding metal to prevent heat buildup and extend point life.
- •Store mounted points in a padded case or separate compartments to avoid chipping.
- •Label your points by grit and material (e.g., 'Al2O3 80') using a marker on the shank.
- •For repetitive tasks, dedicate one point per material to avoid cross‑contamination.
- •Check your collet regularly for wear—a worn collet can cause runout and break points.
▸Common Mistakes to Avoid
- •Using a shank that's too small and relying on the collet to grip – leads to slippage and breakage.
- •Ignoring the RPM rating and running a point at too high speed – dangerous and damages the point.
- •Selecting a shape based on appearance rather than the geometry of the workpiece – leads to inefficient grinding.
- •Using the same grit for roughing and finishing – results in wasted time and poor surface quality.
- •Not dressing the point before first use – causes excessive vibration and poor cut.
▸Troubleshooting
Problem: Point vibrates excessively when running.
Solution: Check if the shank is properly seated and collet is tight. Inspect point for chips or cracks. If still unbalanced, replace with a new point.
Problem: Cutting slows down or point becomes shiny (glazed).
Solution: The point is loaded with material. Dress it with a silicon carbide stick to expose fresh abrasive. Reduce pressure and use coolant if applicable.
Problem: Point leaves deep scratches or chatters.
Solution: You may be using too coarse a grit or running too high RPM. Switch to a finer grit and reduce speed. Ensure the point is balanced and the workpiece is securely held.
Problem: Point breaks shortly after use.
Solution: Causes: excessive speed, excessive pressure, or using a point not rated for your tool's RPM. Check max RPM rating and reduce pressure. Use a point with a stronger bond (e.g., vitrified instead of resin) for heavy stock removal.
Problem: Shank spins inside the collet.
Solution: The collet may be worn or the shank is undersized. Replace the collet or use a shim. Ensure the shank is clean and free of oil. Do not over-tighten as it can damage the collet.
Norton Mounted Points Set (1/4 inch shank)
Norton is a trusted brand with consistent quality. This set includes a variety of shapes (cylindrical, conical, ball) in aluminum oxide and silicon carbide for most materials.
Best for: General metalworking and deburring on steel, aluminum, and stone.
Price Range: $20 – $40
Dremel 932 Aluminum Oxide Mounted Point (1/8 inch shank)
Perfect for rotary tools like Dremel. High-quality aluminum oxide for steel and wood. Single point with 60 grit for fast material removal.
Best for: Detail work, engraving, and light deburring on metal and wood with a Dremel or similar rotary tool.
Price Range: $5 – $10
3M Cubitron II Mounted Point
Uses ceramic abrasive and precision-shaped grain for fast cutting and long life. Excellent for heavy-duty grinding on hard steels.
Best for: Professional metal fabrication, weld removal, and grinding on stainless steel and tool steel.
Price Range: $15 – $30 per point
Diamond Mounted Point Set (Electroplated)
Diamond abrasive for carbide, ceramic, glass, and stone. Set includes multiple shapes with 1/4 inch shank. Ideal for precision grinding of hard materials.
Best for: Sharpening carbide tools, engraving glass, shaping ceramic tiles.
Price Range: $25 – $50
Gesswein Ultra Hard Mounted Points (CBN)
Cubic boron nitride points for hardened tool steel and die work. Excellent for mold makers and machinists. Resin bond for cool cutting.
Best for: Tool and die grinding, finishing hardened steels (Rockwell 50+).
Price Range: $30 – $60 per point