Grilling on a small balcony or patio can feel challenging when space is tight and apartment rules apply. But with the right grill, you can still enjoy burgers, steaks, and veggies without sacrificing flavor or safety. This guide will walk you through everything you need to consider—from measuring your outdoor area and understanding fuel types to navigating fire codes and choosing the best size and features. By the end, you'll have a clear plan to select a grill that fits your space, lifestyle, and budget.
▸What You'll Need
- •Tape measure to assess your available space
- •Knowledge of local building codes and balcony grilling regulations
- •Understanding of grill types: gas, electric, charcoal, or pellet
- •Budget for grill and necessary accessories (cover, tank, tools)
Estimated Time: 30 minutes to read and take notes, plus additional research time to compare models
Difficulty: beginner
▸Step-by-Step Instructions
Step 1: Measure Your Outdoor Space
Start by measuring the length, width, and height of your balcony or patio area. Account for grill clearance: you'll need at least 3 feet on all sides from walls, railings, and furniture to prevent fire hazards. Also check ceiling height if you're under a roof overhang—some grills produce heat that can damage surfaces.
💡 Tips:
- •Use a tape measure and mark the grill's footprint with chalk or tape to visualize the fit.
- •Consider where you'll store the grill when not in use—some models fold or have wheels.
⚠️ Warnings:
- •Never place a grill directly against vinyl siding or wooden railings.
- •Check if your building management or HOA has specific grill placement rules.
Step 2: Check Local Laws and Building Rules
Many apartments, condos, and cities prohibit charcoal or propane grills on balconies due to fire codes. Electric grills are often the only allowed type because they don't produce open flames or combustible fuel vapors. Call your landlord or HOA, and check your city's fire department website for specific regulations.
💡 Tips:
- •Some localities allow propane grills if the tank is under a certain size (e.g., 1 lb).
- •Printed rules are better than verbal permission—get it in writing.
⚠️ Warnings:
- •Ignoring balcony grilling laws can result in fines, eviction, or loss of deposit.
- •Charcoal grills produce large amounts of smoke and embers, rarely permitted.
Step 3: Choose a Fuel Type Based on Restrictions and Preference
Electric grills are the safest and most allowed on balconies—they plug into a standard outlet, heat up quickly, and are smokeless. Propane grills offer high heat and classic flavor but require a small tank (1 lb or 20 lb with proper storage). Charcoal grills provide authentic smoky taste but are rarely allowed and need careful ash disposal. Pellet grills give smoke flavor but need electricity and may be too large.
💡 Tips:
- •Electric grills like the Weber Q1400 or Cuisinart CEG-980 are popular for small spaces.
- •If propane is allowed, look for models with a built-in tank scale so you never run out mid-cook.
⚠️ Warnings:
- •Never store a propane tank indoors or on a balcony in direct sunlight.
- •Electric grills require a GFCI-protected outdoor outlet.
Step 4: Select the Right Size and Cooking Area
For a small balcony, look for grills with a cooking area between 100 and 300 square inches. That’s enough for 4–6 burgers or 2–4 steaks. Compact grills often have foldable side tables or shelves to maximize space. Measure the grill's total footprint (including handles and propane tank) to ensure it fits within your marked area.
💡 Tips:
- •A two-burner gas grill or a single-burner electric often works best.
- •Consider a grill with a lid that can double as a warming rack.
⚠️ Warnings:
- •Avoid oversized grills that exceed your space—they become tripping hazards.
- •Don't forget to account for the swing of the lid when opened.
Step 5: Consider Portability and Storage
If your balcony is shared or you need to store the grill inside during winter, choose a portable model with wheels or a carry handle. Folding legs and detachable propane tanks make storage easier. Electric grills often have removable drip trays and cooking grates for cleaning and compact storage.
💡 Tips:
- •Look for grills with locking casters so they don't roll away in wind.
- •A weatherproof grill cover is essential for outdoor storage.
⚠️ Warnings:
- •Propane tanks cannot be stored indoors (including garages) in many areas; check local rules.
- •Electric grills should be unplugged and stored dry to avoid electrical issues.
Step 6: Evaluate Heat Output and Temperature Control
For even cooking, look for a grill with at least 10,000 BTUs per burner (gas) or 1,500 watts (electric). Adjustable controls are key—electric grills often have infinite heat settings, while gas grills have knobs from low to high. Check if the grill has a built-in thermometer in the lid for accurate temperature monitoring.
💡 Tips:
- •Cast-iron cooking grates retain heat better than porcelain-coated ones, but need more maintenance.
- •A grill with a sear zone or hot spot can help get those perfect grill marks.
⚠️ Warnings:
- •Low BTUs may not get hot enough for proper searing (under 400°F).
- •Electric grills can take longer to heat up, so preheat for 10-15 minutes.
Step 7: Look for Safety Features
Essential safety features include a stable base to prevent tipping, heat-resistant handles, and a locking lid for transport. Electric grills should have an automatic shutoff if the unit overheats or tips. Gas grills need a secure regulator and hose that won't crimp. Look for UL or CSA certification marks.
💡 Tips:
- •For gas grills, a push-to-turn knob prevents accidental ignition.
- •A grill with a side shelf can hold a fire extinguisher nearby.
⚠️ Warnings:
- •Never modify a grill's safety devices or use extension cords with electric grills unless rated for outdoor use.
- •Always keep a spray bottle of water or a fire extinguisher within reach.
Step 8: Set a Budget and Compare Features
Small grills range from $50 for basic portable charcoal units to $500+ for high-end electric or gas models. Decide which features matter most: quick assembly, easy cleaning, warranty, or additional accessories like a rotisserie kit. Read customer reviews focusing on longevity, heat distribution, and customer support.
💡 Tips:
- •Mid-range electric grills ($150–$250) often offer the best balance of quality and value.
- •A grill with a removable drip tray and dishwasher-safe parts saves cleaning time.
⚠️ Warnings:
- •Ultra-cheap grills may rust quickly or have uneven heating.
- •Don't overlook the cost of a propane tank and cover if not included.
Step 9: Read the Fine Print: Warranty and Return Policy
Check the manufacturer's warranty—most offer 1–3 years for small grills. Ensure the retailer has a reasonable return policy in case the grill doesn't fit or function as expected. Some brands like Weber offer good customer service and replacement parts availability.
💡 Tips:
- •Register your product online after purchase to activate the warranty.
- •Keep the original packaging for at least 30 days in case of defects.
⚠️ Warnings:
- •Warranties often exclude rust, normal wear, and improper use.
- •Return shipping for large items can be expensive, so buy from a local store if possible.
Step 10: Make the Purchase and Prepare for First Use
Buy your chosen grill from a reputable seller—online or in-store. For gas grills, purchase the appropriate propane tank (1 lb disposable or 20 lb refillable) and a tank stand if needed. Electric grills need a short, outdoor-rated extension cord if the cord is too short. Season the cooking grates as per the manual (usually heat and oil) before first use.
💡 Tips:
- •For propane, consider buying a tank at a hardware store rather than a gas station—easier to exchange.
- •Preheat the grill for 10–15 minutes with the lid closed to burn off manufacturing residues.
⚠️ Warnings:
- •Never use a grill indoors, in a garage, or under an overhang without proper clearance.
- •Check all gas connections for leaks using soapy water before lighting.
▸Pro Tips
- •Use a grill cover to protect from rain and sun, extending the grill's life.
- •Cook with the lid closed as much as possible to hold heat and smoke—this also reduces flare-ups.
- •Clean the drip tray after every use to prevent grease buildup and odor.
- •If using an electric grill, preheat on high for 10 minutes before lowering to desired temp.
- •For small spaces, a folding side table or cart gives you extra prep space without permanent footprint.
- •Keep a small fire extinguisher rated for grease fires nearby—a must for any balcony griller.
- •Season your grill grates with oil after cleaning to prevent rust and create a non-stick surface.
▸Common Mistakes to Avoid
- •Buying a grill without measuring the balcony first—leads to returns or unsafe clearance issues.
- •Assuming charcoal grills are safe for balconies; they produce embers and are often banned.
- •Neglecting to check local fire codes, resulting in fines or having to remove the grill.
- •Choosing a grill with too little cooking area—you'll run out of space if hosting even a small group.
- •Forgetting to budget for accessories like a cover, propane tank, or extension cord.
▸Troubleshooting
Problem: Grill smokes excessively on first use.
Solution: This is normal manufacturing residue. Burn it off by preheating for 20 minutes with lid closed. After that, it should subside.
Problem: Gas grill won't light.
Solution: Check that the propane tank is full and valve is open. If there's a spark but no flame, clean the burner ports with a wire brush. If no spark, replace batteries in the igniter.
Problem: Electric grill has uneven heating.
Solution: Ensure the grill is on a level surface. The heating element may be slightly uneven by design—rotate food halfway through cooking. If one side is significantly cooler, check for debris on the element.
Problem: Grill flames flare up during cooking.
Solution: Trim excess fat from meat and avoid using high heat with fatty foods. Keep a spray bottle of water handy to tame small flare-ups. Do not use water on electric grills—turn down heat instead.
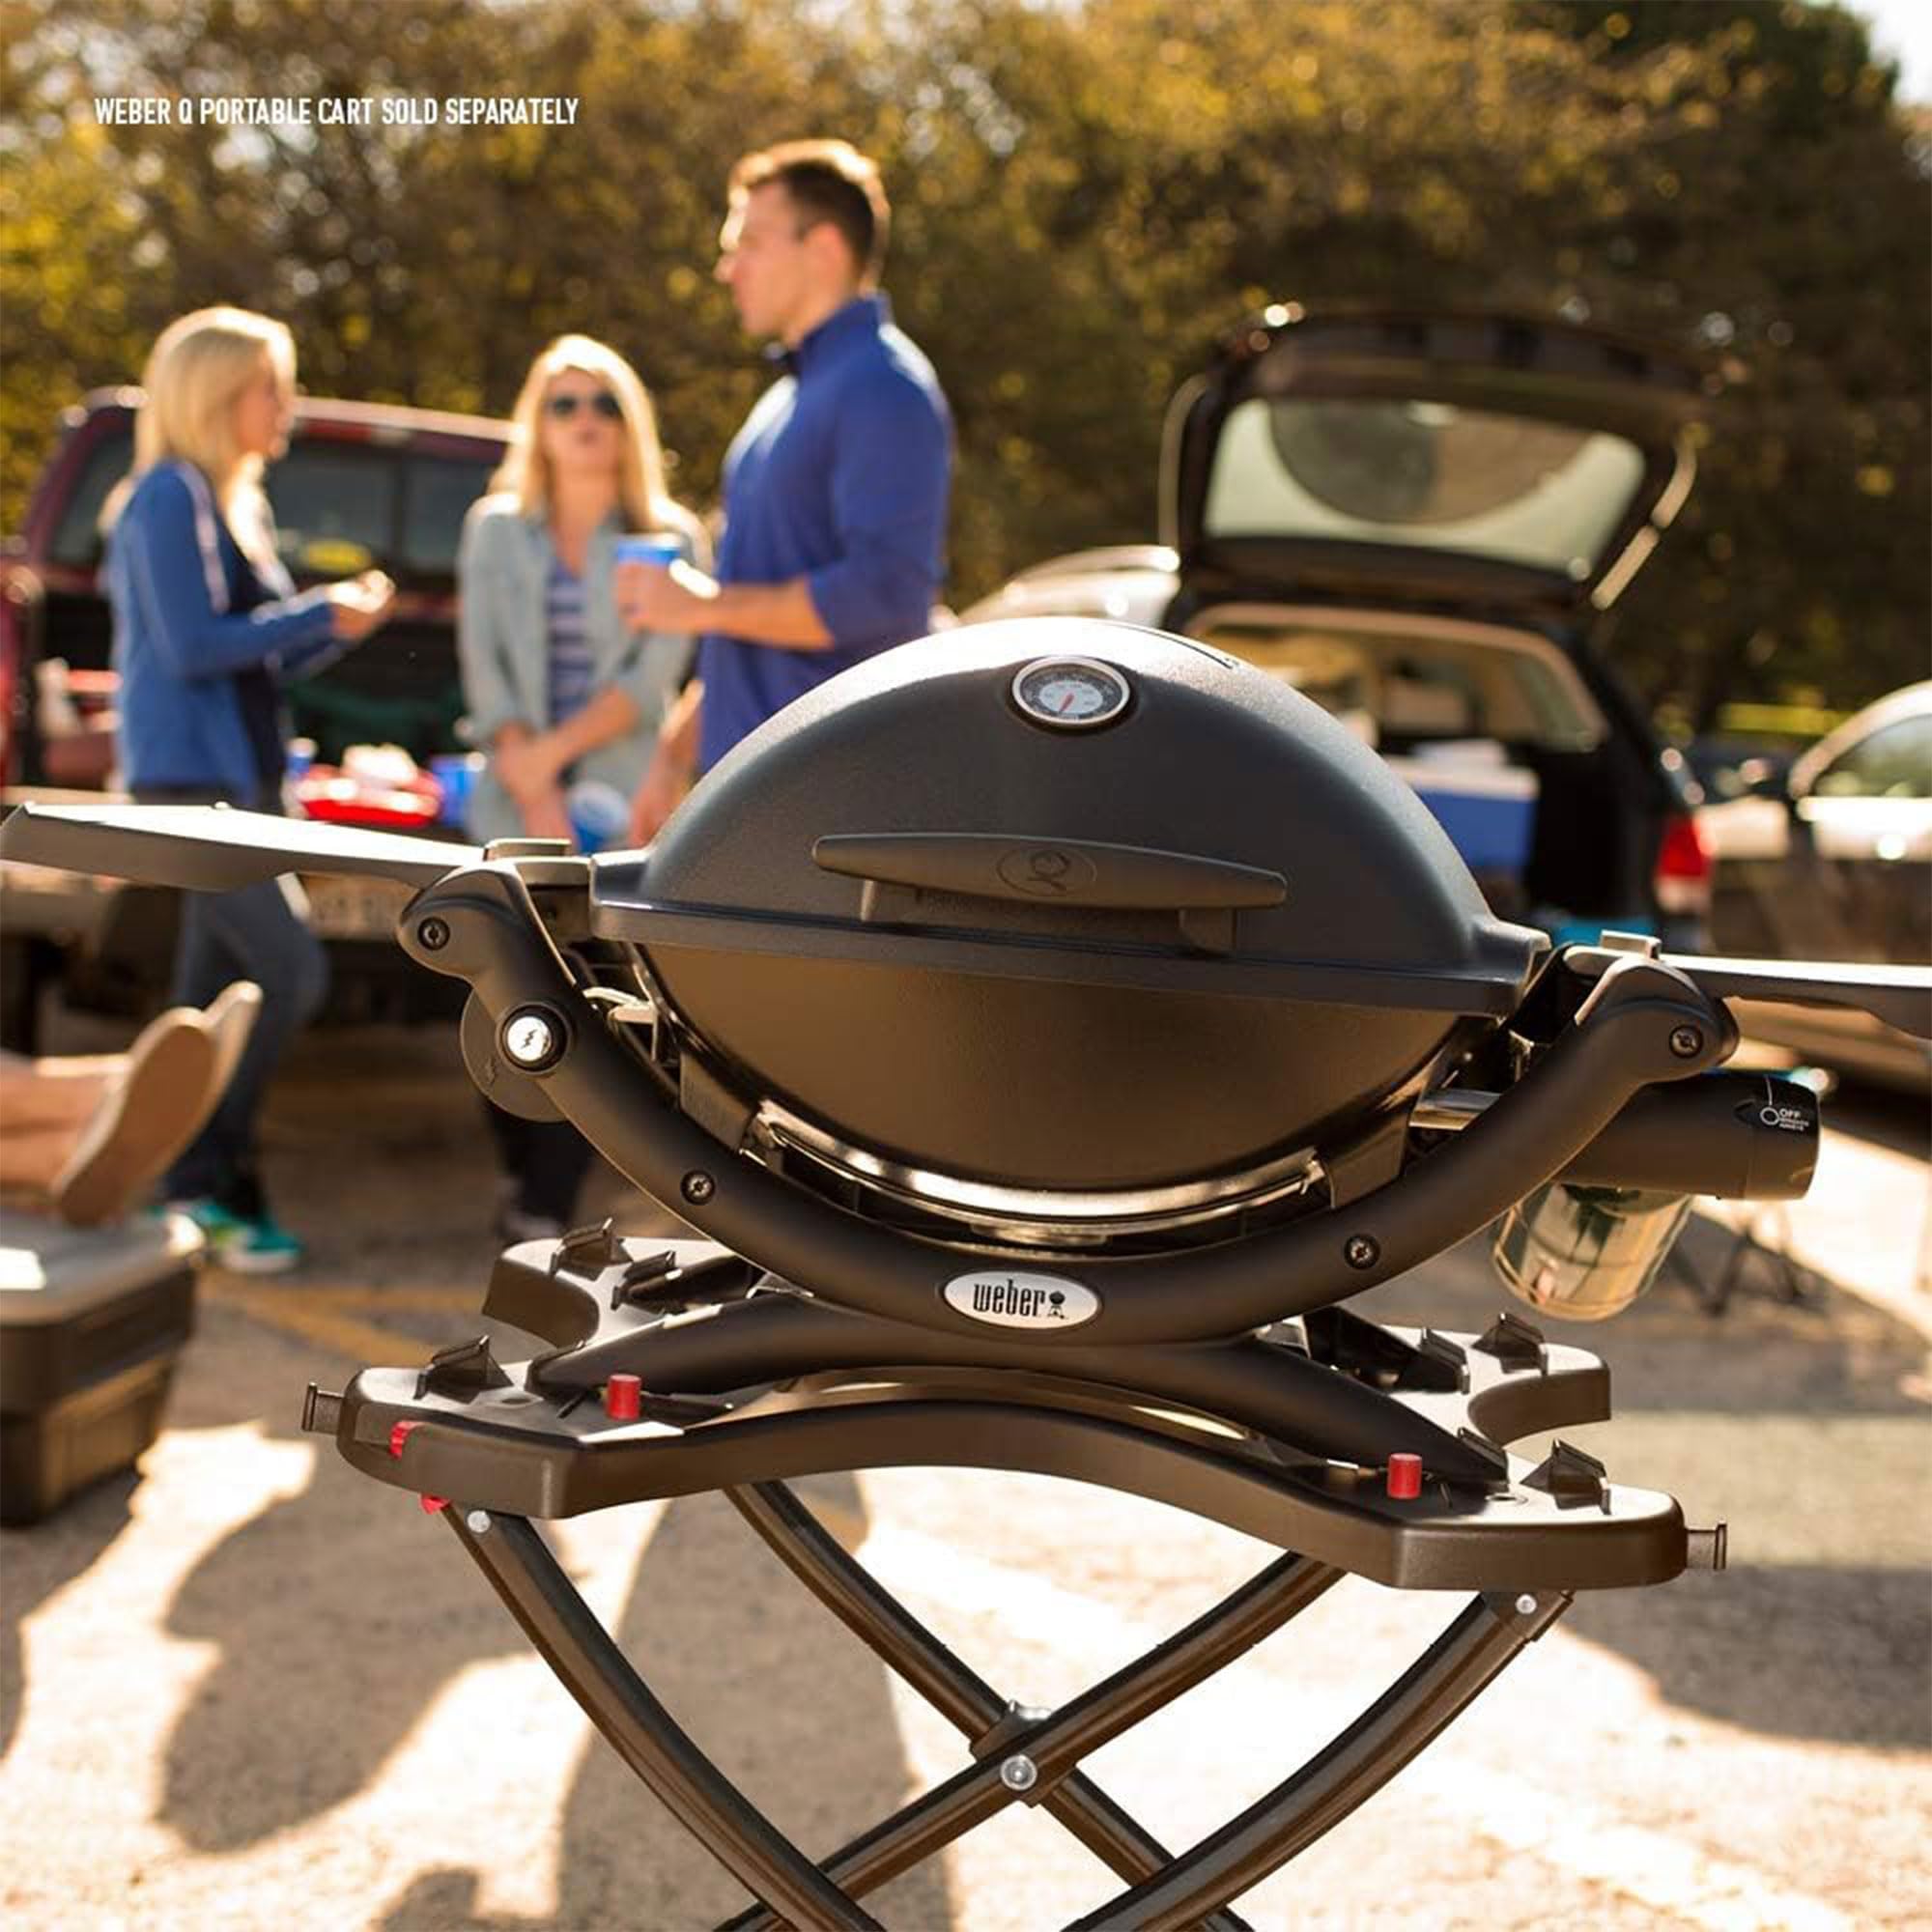
Weber Q1200 Liquid Propane Grill
Compact, well-built, and offers excellent heat distribution. Perfect for small balconies where propane is allowed.
Best for: Ideal for 2-4 person meals with a 189 sq. in. cooking area. Side tables fold down for storage.
Price Range: $200–$250
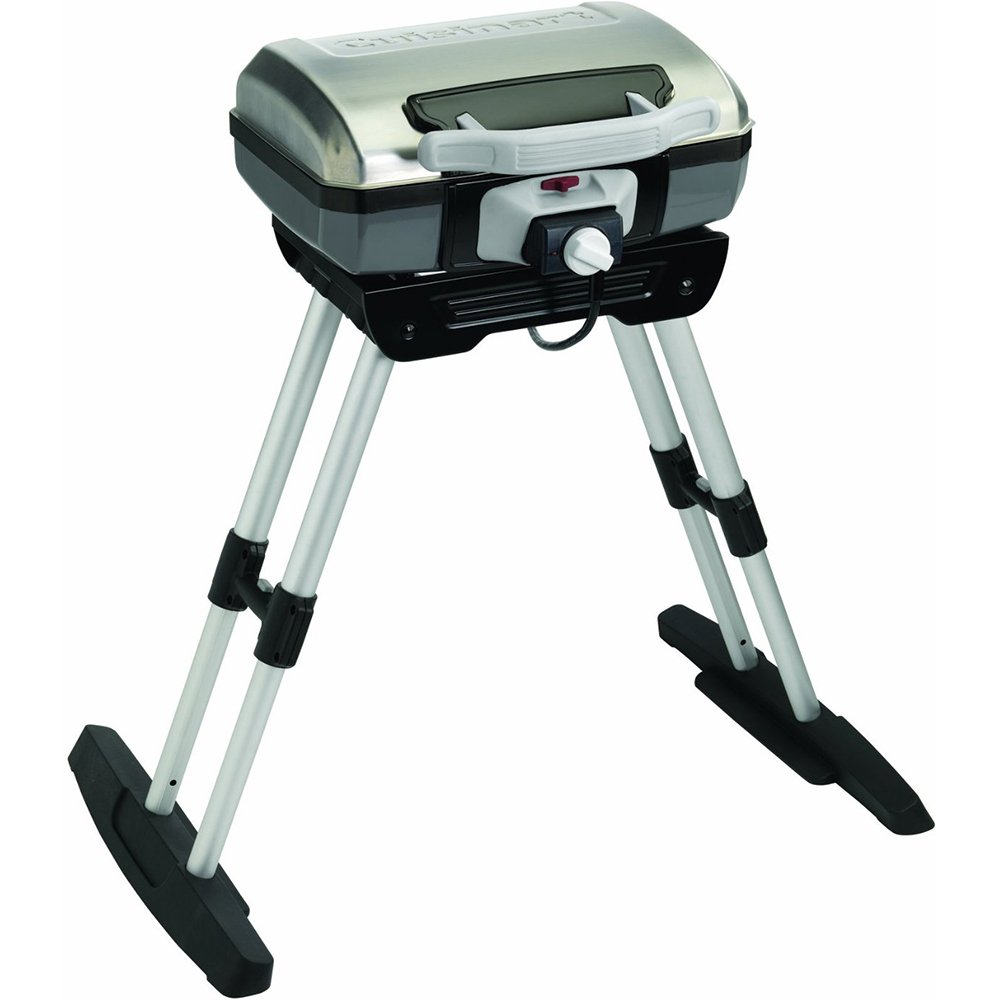
Cuisinart CEG-980 Electric Grill
A top-rated electric grill that's balcony-friendly with no gas or charcoal. Heats quickly and has a non-stick cooking surface.
Best for: Great for apartments where open flames are prohibited. 145 sq. in. grilling area, adjustable thermostat.
Price Range: $100–$150
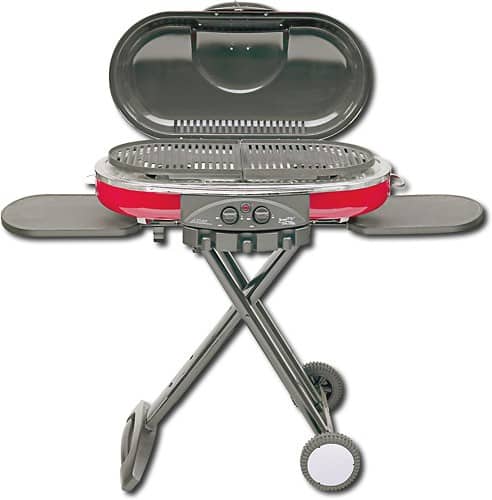
Coleman RoadTrip XE Propane Grill
Portable, stands on legs, and has interchangeable cooktops. Easy to store and carry.
Best for: Excellent for tailgating or small patios where you need versatility. Uses 1 lb propane canisters.
Price Range: $150–$200
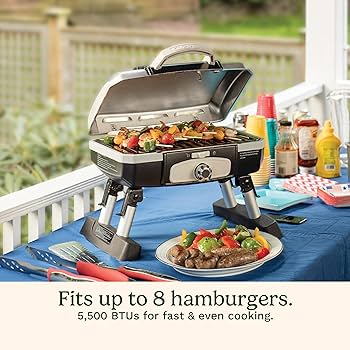
Cuisinart Petit Gourmet Portable Charcoal Grill
A mini charcoal grill for those who absolutely want charcoal flavor. Compact and lightweight.
Best for: Only suitable if charcoal is allowed on your balcony. Best for 1-2 people. Easy to transport to parks.
Price Range: $70–$90
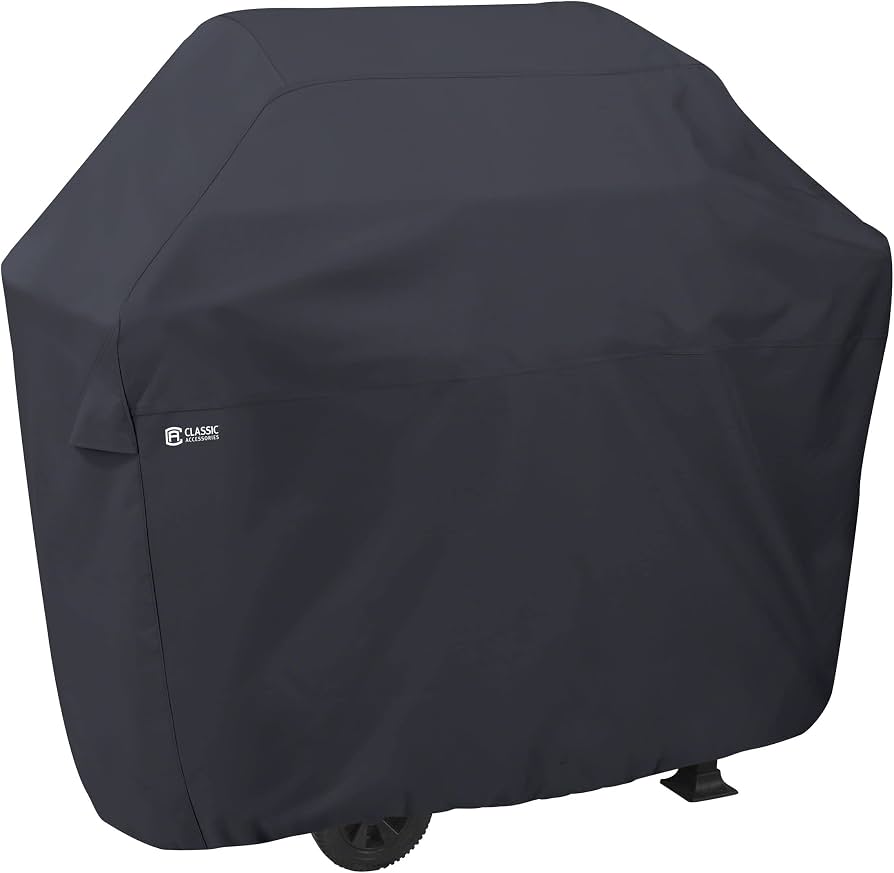
Grill Cover for Small Gas Grills (Classic Accessories 71273-04-1323)
Protects your grill from rain, snow, and UV rays, extending its life significantly.
Best for: Essential if you store your grill outdoors. Universal fit for grills up to 48 inches.
Price Range: $25–$40