There’s nothing more disappointing than a blender that whirs noisily but leaves you with chunky, half-crushed ice at the bottom of your smoothie or frozen drink. Whether you're craving frozen margaritas, protein shakes, or smooth crushed ice for summer cocktails, the right blender can make all the difference.
In this guide, you'll learn exactly what to look for when choosing a blender for crushing ice. We'll break down the key specifications—motor power, blade design, jar material, and available settings—and explain how each affects ice-crushing performance. You’ll also get practical tips for evaluating blenders on your own, common mistakes to avoid, and product recommendations to help you narrow down your choice.
By the end, you'll feel confidently equipped to compare blenders and pick one that crushes ice with ease—without spending more than you need.
▸What You'll Need
- •A clear list of your typical blending tasks (smoothies, frozen drinks, ice-crushing only)
- •A budget range in mind
- •Basic understanding of blender specs (wattage, RPM, blade material)
- •Kitchen counter space to measure the blender size
- •A shortlist of 3–5 blenders you're interested in
Estimated Time: 15 minutes to read (plus 30–60 minutes for price comparisons)
Difficulty: beginner
▸Step-by-Step Instructions
Step 1: Assess your ice-crushing needs
Before comparing specs, think about how you plan to use the blender. Do you need crushed ice for cocktails only, or will you also make smoothies, nut butters, and soups? A blender used only for occasional crushed ice can be simpler and less expensive than a high-performance machine that handles everything.
Consider also the frequency of use. If you'll be crushing ice daily, durable components and a powerful motor become more important. If it's a once-a-week margarita night, a mid-range blender might be plenty.
Write down your must-have features—like a large capacity, easy-to-clean jar, or a compact footprint. This list will help you filter options.
💡 Tips:
- •If you only crush ice, you don't need a 1,500-watt machine. Even a basic 500-watt blender can crush ice with sharp blades and a few pulses.
- •Think about future needs—a blender that also handles hot soups may be a better value.
⚠️ Warnings:
- •Don't assume higher price always means better ice crushing—some pricey blenders focus on high-speed blending, not specifically on ice.
Step 2: Understand motor power and speed
Motor power is often the first specification people look at. In the US, blenders typically list watts (W) while many international brands use horsepower (HP). A higher wattage generally means the motor can handle tougher ingredients and maintain speed when the blade hits ice.
For reliable ice crushing, a motor around 700 to 1,000 watts is a good starting point. Blenders with 1,200+ watts, like those from professional brands, can crush ice effortlessly but may cost more. Some budget blenders around 500 watts can still handle ice if the blades are sharp and you use the pulse function correctly.
Also pay attention to whether the blender has preset programs for ice, crushed ice, or frozen drinks. These presets automatically ramp the speed up and down, which is more effective than holding the highest speed manually.
💡 Tips:
- •Compare power by wattage rather than horsepower to keep numbers familiar. 1 HP ≈ 746 watts.
- •Look for blenders with a dedicated pulse function—pulsing breaks up large ice cubes before continuous blending.
⚠️ Warnings:
- •Be cautious of brands that advertise "peak wattage" vs. "continuous wattage". Peak wattage may be higher than the continuous power the motor can sustain.
Step 3: Evaluate blade design and material
Blender blades are usually made from stainless steel, which is sturdy and resists corrosion. However, blade design matters more than material alone. For crushing ice, look for blades that are specially angled or shaped to pull ingredients down and repeatedly slice through cubes.
Many blenders have four or six blades. A common misconception is that more blades mean better crushing. Actually, blade geometry and the space between the blade and the jar's bottom are equally important. Some brands like Vitamix use a single blade with dulled edges for high-speed blending, which creates a vortex and crushes ice by impact rather than by shaving.
When evaluating, consider whether the blades are removable for cleaning. Some blenders have the blade assembly at the bottom of the jar, which can be tricky to clean. A few models have self-cleaning cycles—just warm water and a drop of dish soap.
💡 Tips:
- •Look for "ice-crush" or "frozen" settings—these indicate the blades are optimized for hard ingredients.
- •If you plan to wash the blades by hand, choose a model with a removable, dishwasher-safe blade assembly.
⚠️ Warnings:
- •Avoid blenders with advertised "plastic" or "coated" blades for ice—they may dull quickly.
- •Be careful when removing blades from the jar; they're extremely sharp.
Step 4: Check the jar material and capacity
Jars are typically made of glass, plastic, or stainless steel (usually for commercial models). Glass jars are heavy and more fragile, but they don't scratch or retain odors like plastic. Plastic jars (often Tritan or BPA-free) are lightweight and shatter-resistant, making them safer for active kitchens. For ice-crushing, a sturdy plastic jar is often the practical choice because it withstands the force of ice impact without cracking.
Capacity matters too. If you're making drinks for one or two people, a 32-ounce (1-liter) jar is sufficient. For families or entertaining, a 64-ounce (2-liter) jar is better. But remember, you can't fill the jar to the brim when adding ice—you need room for the ice and liquid to move. A 48-ounce jar is a versatile middle ground.
Look for a jar with a wide mouth and a secure lid, ideally with a pour spout and vented lid for adding ingredients while blending.
💡 Tips:
- •If you want to see your ice being crushed, choose a clear plastic jar—glass is heavier but gives a crystal-clear view.
- •Measure the height of the jar on your counter to ensure it fits under your kitchen cabinets.
⚠️ Warnings:
- •Glass jars can break if you accidentally drop them or if they're subjected to extreme temperature changes. Check the warranty and replacement part availability.
- •Check the jar's maximum capacity for ice—some blenders specify a limit like "4 cups of ice" for crush cycles.
Step 5: Consider controls and preset programs
Blender controls range from simple toggle switches to digital touch screens with multiple preset cycles. For ice-crushing, what matters most is having a pulse function and a variable speed dial or buttons. The pulse function allows you to quickly chop ice without liquefying your drink. Variable speed lets you gradually increase the speed to avoid jamming the blade.
Some blenders have a dedicated "Crush Ice" button. While convenient, it's not essential—a manual pulse with a high-speed blend works just as well. Presets are especially helpful if you're a beginner, because they take the guesswork out of timing and speed control.
If you're considering a blender with smart features like an app or Wi-Fi, remember that these add to the cost and may not improve ice-crushing performance. Focus on the basics first.
💡 Tips:
- •Test the pulse function in the store if possible—it should be responsive and quick to engage.
- •Choose a blender with a start/stop button and a lockable lid, especially if you have kids in the kitchen.
⚠️ Warnings:
- •Touchscreen controls can be less durable over time than physical buttons, especially if you often clean the blender with a wet cloth.
- •Make sure the base has non-slip feet to prevent the blender from "walking" on the counter during an ice-crush cycle.
Step 6: Evaluate ease of cleaning
Cleaning a blender after crushing ice is a chore. Sticky ice residue and blade crevices can make cleaning a hassle. Look for blenders that are dishwasher-safe on the jar and lid, or that have a self-cleaning cycle. Many modern blenders can be cleaned by adding warm water and a drop of dish soap, then running the blender for 30 seconds—this is a huge time-saver.
Some blenders have a removable blade assembly that twists out of the base of the jar, making hand-washing much easier. Others have permanently sealed bases, which prevent leaks but force you to clean from the top.
Whatever you choose, check if replacement parts (jars, lids, blades) are available. A blender brand with readily available parts is a better long-term investment.
💡 Tips:
- •After blending, fill the jar halfway with warm water, add a tiny drop of dish soap, and run the blender on hi for 20–30 seconds. Rinse thoroughly.
- •Wipe the base unit clean with a damp cloth—never submerge it in water.
⚠️ Warnings:
- •Avoid abrasive sponges on plastic jars—they can scratch the surface and make it cloudy over time.
- •If the blender has a sealed base, inspect the rubber gasket occasionally to prevent leaks and maintain a tight seal.
Step 7: Set a budget and compare warranties
Blender prices range from under $40 to over $500. For ice-crushing alone, you can find capable blenders in the $50–$150 range. As you go up in price, you're paying for more power, stronger materials, better warranties, and often more versatile blending (hot soups, nut butters, etc.).
Set a realistic budget based on how often you'll crush ice and what else you'll make. If you're experimenting with frozen drinks, a mid-range blender is a safe bet. For daily smoothies and heavy use, investing in a premium blender might be worth it.
Compare warranties—longer warranties indicate the manufacturer's confidence in the motor and build quality. Many entry-level blenders have a 1-year warranty, while premium brands offer 5–10 years.
💡 Tips:
- •Look for holiday and seasonal sales; blenders are often discounted around summer (for frozen drinks) and Black Friday.
- •Check the blender's noise rating in customer reviews if you value a quieter kitchen.
⚠️ Warnings:
- •Be cautious of ultra-cheap blenders under $30—they may have thin plastic jars and weak motors that struggle with ice and burn out quickly.
- •Warranties often don't cover damage from blending ice with insufficient liquid. Always follow the manual's instructions for ice-crushing ratios.
Step 8: Read customer reviews and make your choice
Before you finalize, read reviews from people who have actually used the blender for crushing ice. Look for keywords like "crushed ice" or "frozen margaritas" in customer reviews. Reviews can reveal how well the blender handles a full batch of ice, whether it jams while crushing small cubes, and how easy it is to clean.
Use an aggregate of ratings rather than a single review. If 80% of reviewers say it crushes ice easily, that's a strong signal. Also check for common complaints—e.g., "blade dulls after a month" or "oozes liquid under the base"—to gauge long-term reliability.
Once you've narrowed your choices to two or three, compare their dimensions, noise levels, and included accessories. Sometimes a slightly higher price includes additional cups, smoothie cups, or a tamper that adds value. Make your decision based on specs and reviews, not just brand name.
💡 Tips:
- •Use video reviews to see the blender in action, but remember that video may not show long-term wear.
- •Check whether the brand has an official store page on Amazon or reliable support options.
⚠️ Warnings:
- •Ignore reviews that praise a blender only for smoothies if you need it for ice—usage context matters.
- •Don't rely solely on 5-star ratings; read a mix of 3- and 4-star reviews to learn about potential flaws.
▸Pro Tips
- •Add a little liquid—water, milk, or juice—with the ice before blending. A dry blend jams the blade and can damage the motor.
- •Use the pulse function in short 2-3 second bursts to break large cubes into smaller pieces before switching to continuous blending.
- •If you're making a frozen margarita or smoothie, add frozen fruit first, then ice, then liquid—layering helps the blades circulate.
- •Let ice cubes sit at room temperature for a few minutes before blending—they're less likely to clump and easier to crush than extremely cold, dry ice.
- •Avoid overfilling the jar: fill no more than 2/3 full when mixing ice with liquids, leaving room for vortex formation.
- •If your blender has a tamper, use it to push ingredients down, but never stick your hand or a spoon into the running blender.
- •Clean the blender immediately after use to prevent dried drink residue—it makes next-time cleaning much easier.
- •Consider buying a separate 'personal smoothie' cup if you regularly make single-serve frozen drinks. This lets you crush ice directly in a travel cup.
▸Common Mistakes to Avoid
- •Choosing a blender with too low wattage (under 500W) and expecting it to handle a full pitcher of ice with no liquid. Even mid-range blenders need the right technique.
- •Filling the jar to the brim with ice. This prevents the vortex from forming and causes the blade to spin without pulling cubes down.
- •Running the blender on high speed continuously from the start. First pulse slowly, then increase speed to avoid stalling.
- •Ignoring the jar material—thin plastic jars can crack or shatter from the force of ice. Look for heavier-duty Tritan plastic or glass.
- •Buying a blender without checking if replacement parts are available—when the blade dulls, you'll need a replaceable assembly.
▸Troubleshooting
Problem: Ice cubes get stuck at the bottom and the blade stops spinning.
Solution: Turn off the blender, unplug it, and use a spatula to stir the ice. Add more liquid (¼ cup) and pulse again. Ensure the jar is not overfilled.
Problem: Ice is crushed unevenly—some chunks remain after a long blend.
Solution: Your blender may not have enough power, or you're not pulsing long enough. Try crushing in two batches and using the pulse setting. If the problem persists, check that the blade is still sharp.
Problem: Blender emits a burning smell during ice blending.
Solution: This indicates the motor is overheating, usually from too much ice and too little liquid. Immediately turn off the blender, unplug it, and allow it to cool for at least 10 minutes. Always follow the recommended ice-to-liquid ratio.
Problem: The blender base 'walks' across the counter while crushing ice.
Solution: Check for non-slip feet on the base. If they're missing or dirty, clean them with a damp cloth. Alternatively, place the blender on a silicone mat to provide traction.
Vitamix 5200 Standard Blender
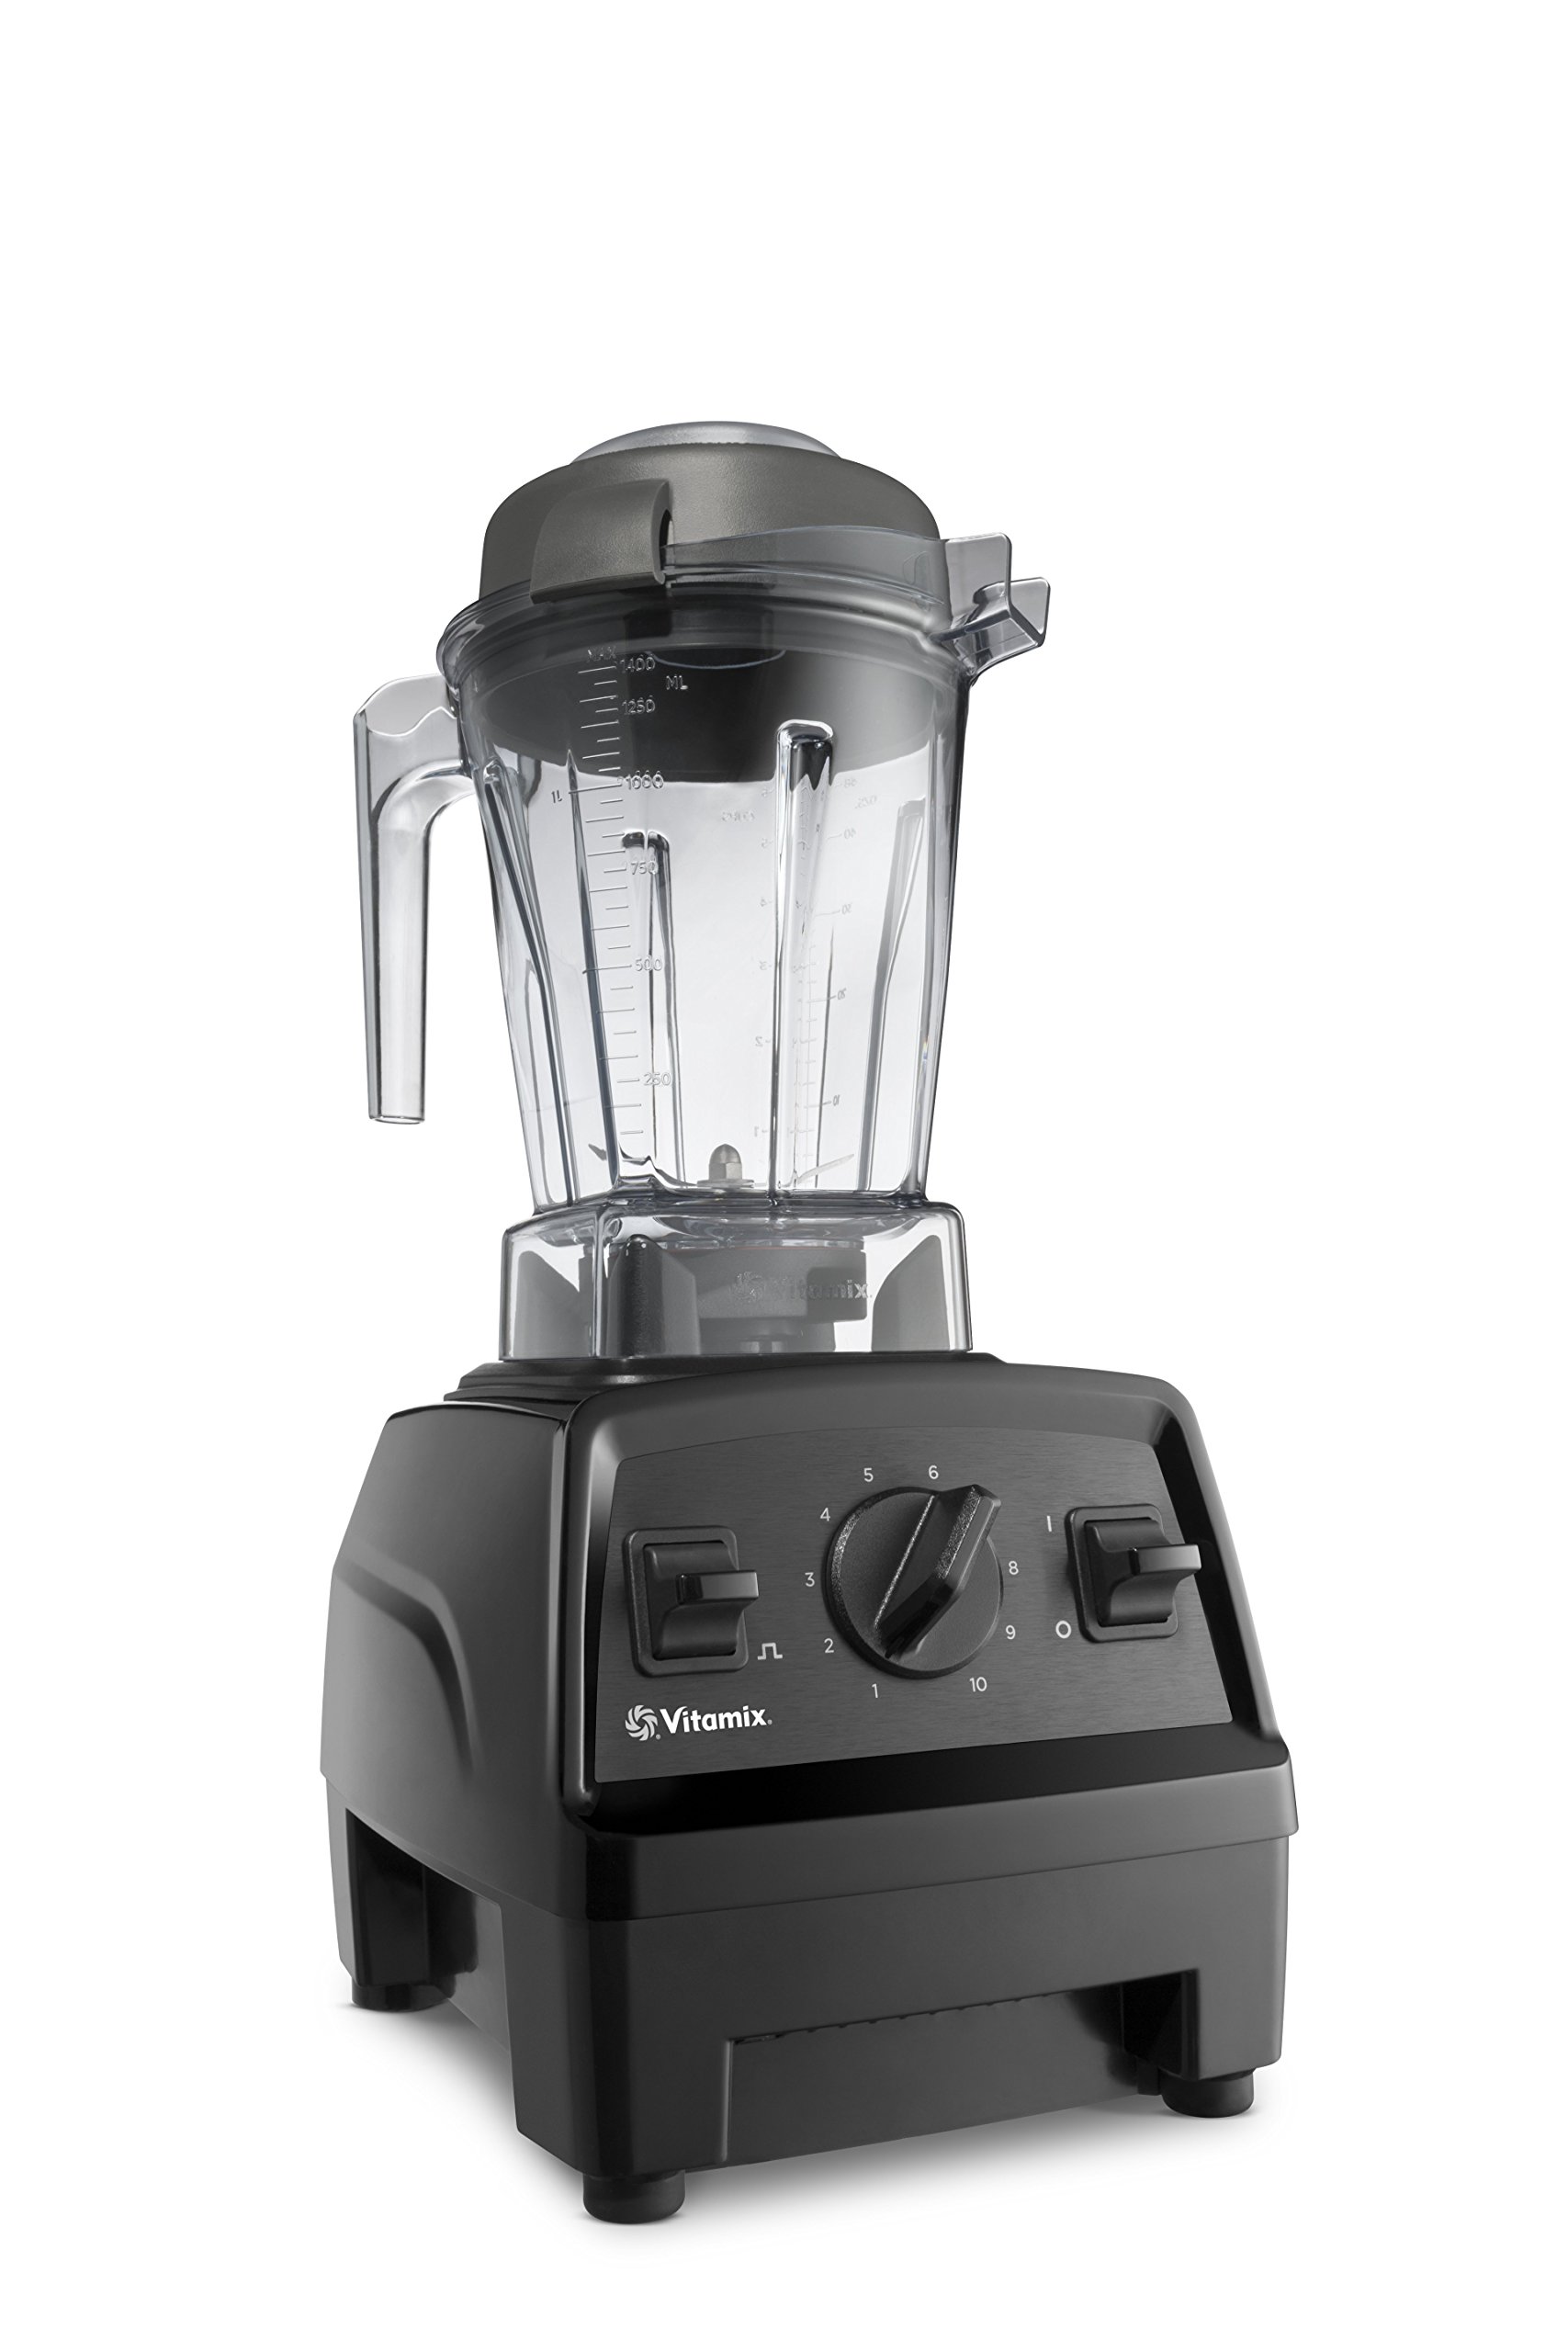
Vitamix is one of the most reliable brands for ice crushing. The 5200 is a favorite for its powerful 2-peak HP motor that crushes ice effortlessly, a strong Vortex system, and an extremely durable jar.
Best for: You want a premium blender that handles ice as well as hot soups and nut butters, and you're willing to invest in longevity.
Price Range: $350-$400
Ninja BL660 Professional Blender
Ninja's BL660 has a powerful 1100-watt motor, six stainless steel blades, and a dedicated ice-crash program. It consistently earns praise for crushing ice at a fraction of the cost of premium models.
Best for: A mid-range budget with excellent performance for frozen drinks and smoothies, great for everyday family use.
Price Range: $90-$120
Oster Pro 1200 Blender
The Oster Pro 1200 features a glass jar and stainless steel blades, with 1200 watts of power and a selected ice-crush setting. It's another reliable mid-range choice and is often more affordable than Ninja.
Best for: You prefer a glass jar for stain resistance and a well-known brand that offers good value for occasional ice crushing.
Price Range: $70-$100
Hamilton Beach Power Blender 58148A
This model is designed specifically to crush ice. It has a 700-watt motor, a durable plastic jar, and a flexible blade that creates a vortex. It's a budget pick that still handles ice reasonably well.
Best for: You're on a tight budget and need a blender for occasional ice crushing and simple smoothies.
Price Range: $40-$60
NutriBullet Pro-900 Series
A personal blender with a strong motor and cyclonic action for crushing ice in small batches. Its compact design and single-serving cups make it ideal for frozen shakes and iced coffee.
Best for: You live alone or want a quick single-serve blender for crushing ice for a single drink without using a full-size pitcher.
Price Range: $90-$120