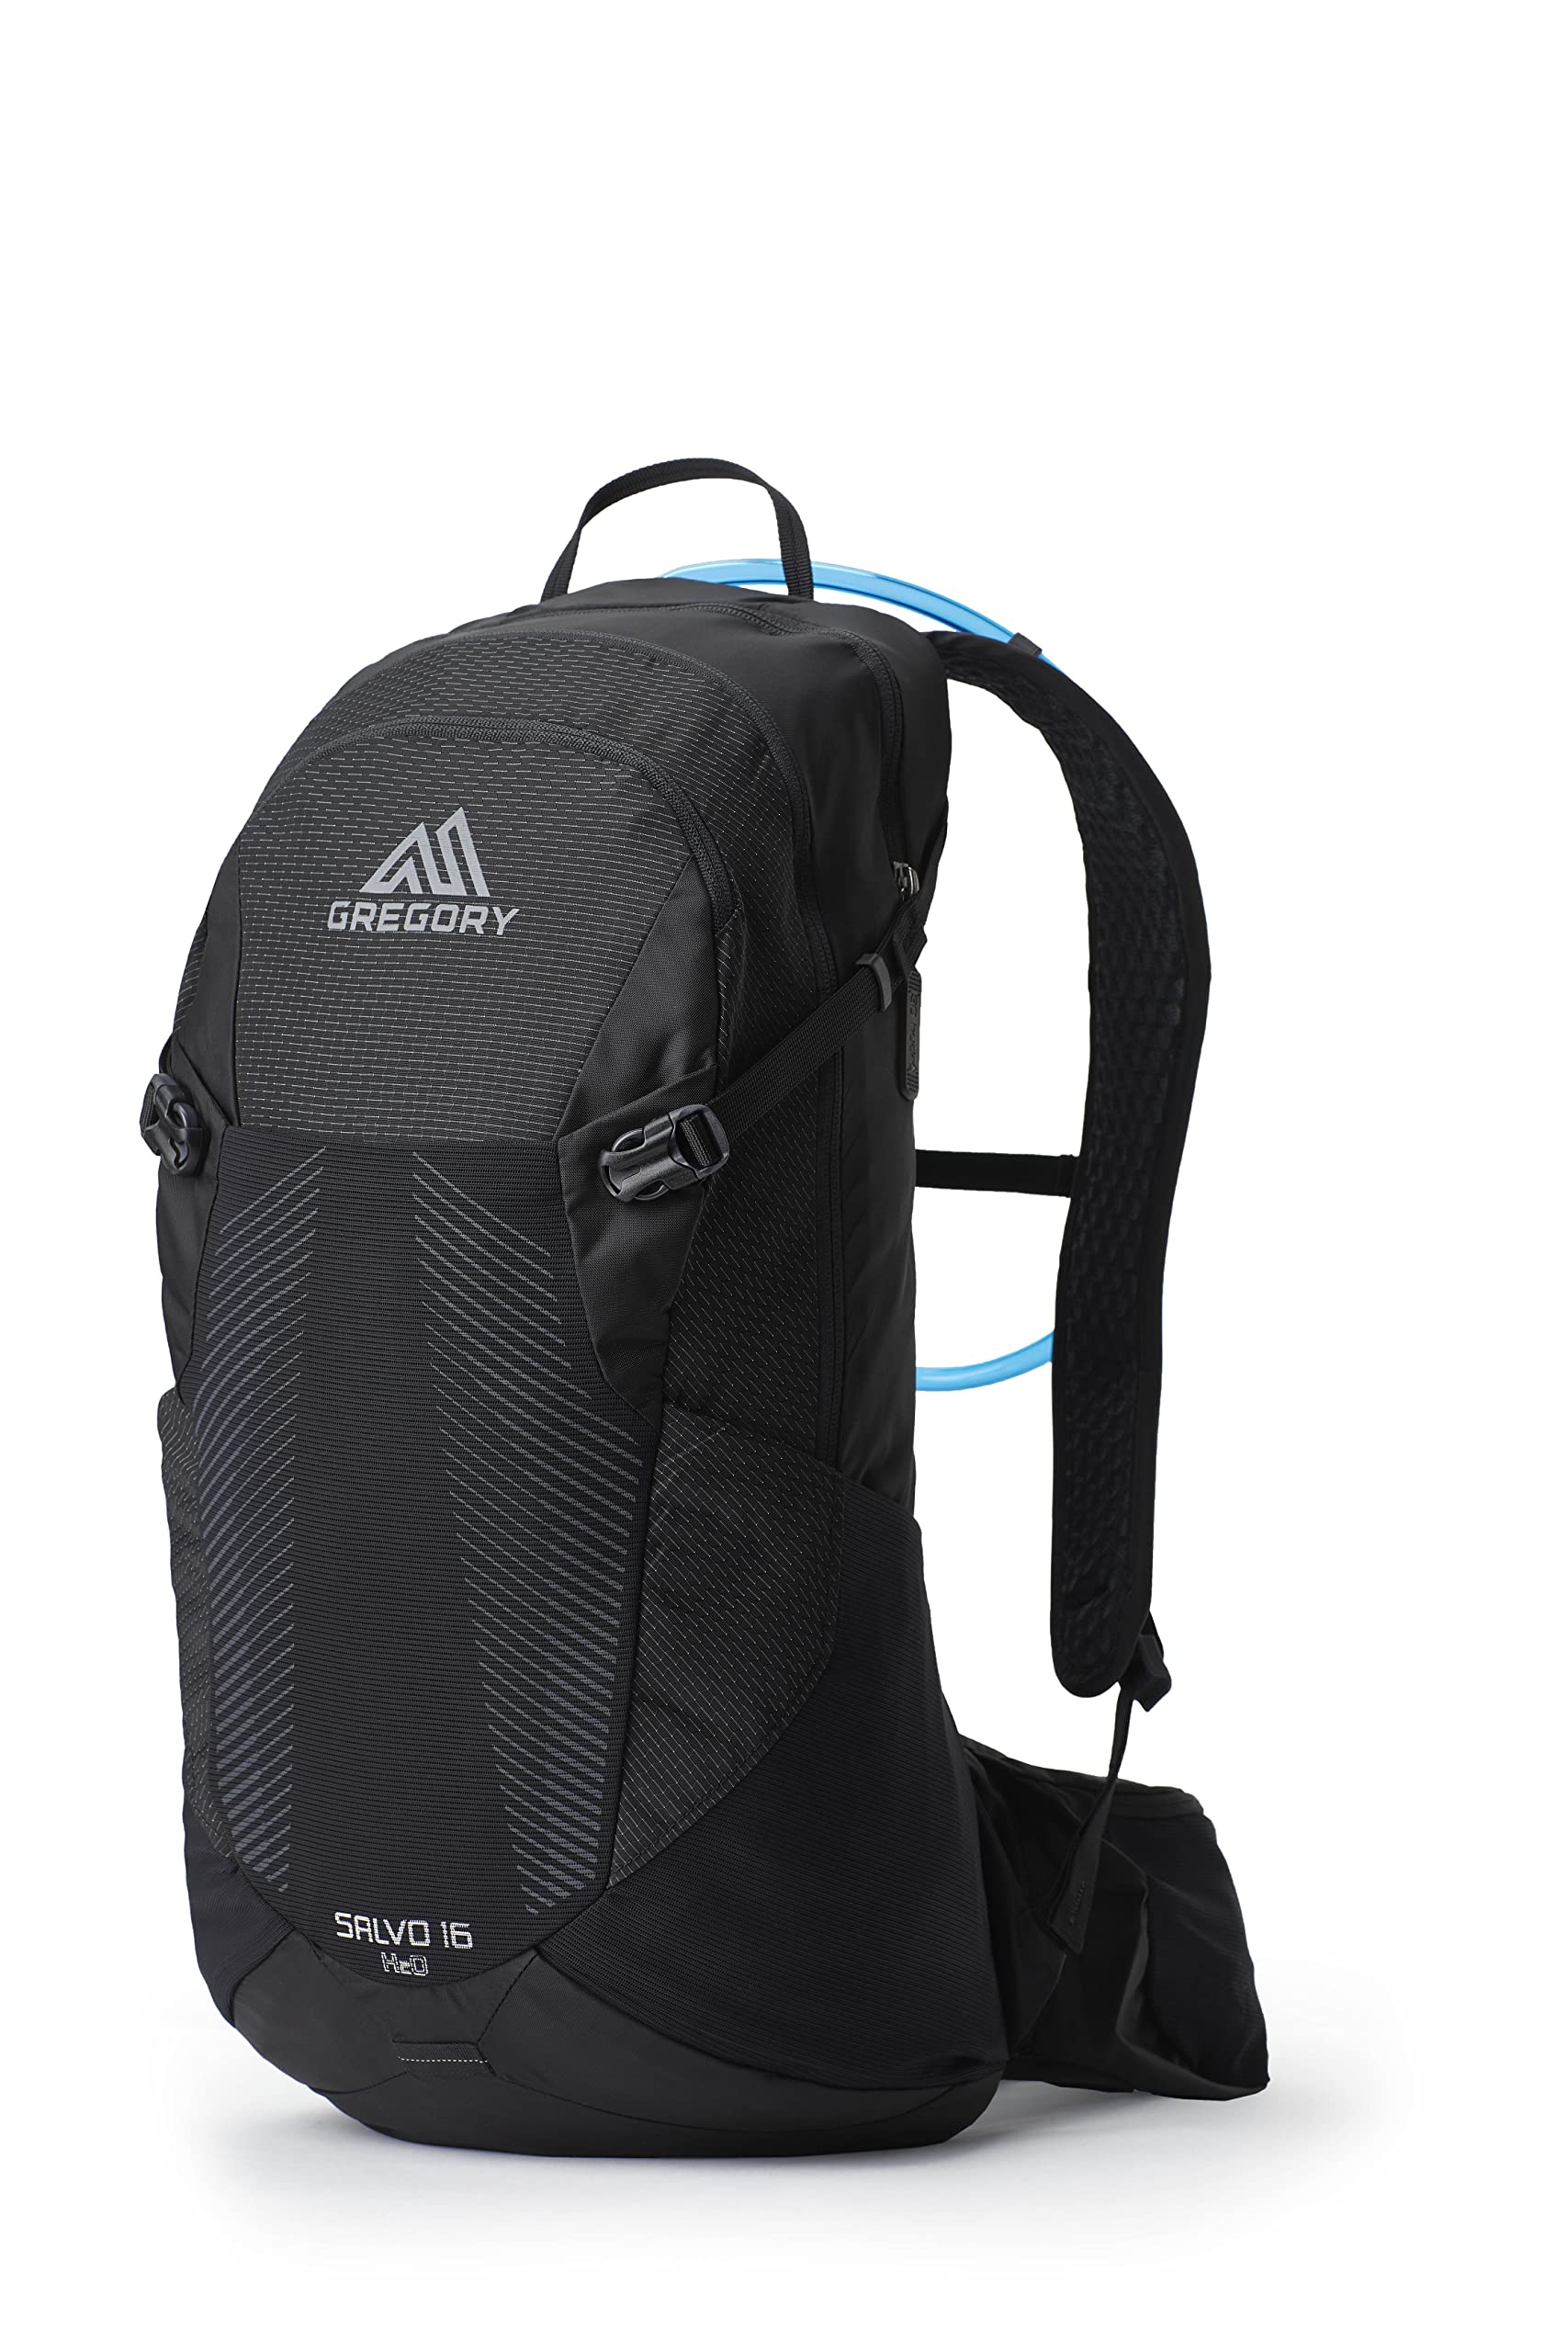
Choosing the right backpack can make or break your hiking experience. A pack that’s too small leaves you scrambling for space, while one that’s too large can be heavy and unwieldy. For beginners, the first big decision is whether you need a daypack (for hikes under 10 miles) or a multi-day pack (for overnight trips). This guide will break down the differences in capacity, suspension, features, and fit, helping you confidently select the backpack that matches your hiking style. By the end, you’ll know exactly what to look for and which pack suits your needs.
▸What You'll Need
- •Knowledge of your typical hike length and duration
- •A measuring tape or soft ruler for torso length measurement
- •A list of gear you plan to carry (sleeping bag, tent, etc.)
- •Access to a local outdoor store or online retailers (e.g., Amazon) for trying packs
Estimated Time: 30 minutes to learn the concepts; 1-2 hours for in-store fitting
Difficulty: beginner
▸Step-by-Step Instructions
Step 1: Define Your Hiking Style: Day Hikes vs. Overnight Trips
Start by deciding what kind of hiking you’ll do most. Day hikers need a pack to carry water, snacks, extra layers, and small essentials for a few hours to a full day. These packs typically range from 10 to 30 liters. Multi-day hikers require a pack that can hold a tent, sleeping bag, stove, food for multiple days, and extra clothing. These packs range from 40 to 80 liters. If you mostly do day hikes but want to occasionally do an overnight, a 30-40 liter pack can work for ultralight trips.
💡 Tips:
- •If you’re unsure, start with a 20-30 liter daypack. It’s versatile for most short outings.
- •For overnight trips, consider the longest duration you’ll go without resupply.
⚠️ Warnings:
- •Avoid buying a giant pack for day hikes—it will be overkill and uncomfortable.
- •Don’t underestimate the weight of overnight gear; you need a pack with proper support.
Step 2: Understand Backpack Capacity: Liters Explained
Backpack volume is measured in liters. A good rule of thumb: daypacks: 10-30L, weekend packs: 30-50L, multi-day packs: 50-80L. For a day hike, 20L is enough for water, food, a jacket, and first aid. For a 3-day trip, you’ll need at least 50L, plus room for a bear canister if required. Consider if you’ll carry gear for others or bulky items like a tripod.
💡 Tips:
- •Use a packing list to estimate total volume. Sleeping bags and tents take up 15-25L combined.
- •Check the pack’s compression straps; they can cinch down a partially filled pack.
⚠️ Warnings:
- •Don’t go too small—cramming gear can damage a pack and make it uncomfortable.
Step 3: Learn the Magic of Suspension Systems: Frame vs. Frameless
The suspension system is the backpack’s skeleton. Daypacks often have a flexible framesheet or are frameless, relying on the body for structure. They’re light but carry less weight comfortably (under 15 lbs). Multi-day packs use an internal frame (aluminum stays or a rigid framesheet) to transfer load from shoulders to hips. A padded hipbelt is crucial—it should carry 70-80% of the weight. Make sure the hipbelt wraps around your iliac crest.
💡 Tips:
- •For loads over 20 lbs, always choose a framed pack with a hipbelt.
- •After trying a pack, adjust the load lifters and sternum strap for a custom fit.
⚠️ Warnings:
- •Frameless packs are only for very lightweight loads (under 10 lbs).
- •A poorly fitted hipbelt can cause soreness and bruises.
Step 4: Get the Right Fit: Measure Your Torso Length
Backpacks come in sizes (S/M/L) based on torso length, not height. To measure: find the bony bump at the base of your neck (C7 vertebra) and the top of your hip bones (iliac crest). Measure the distance between them. Most packs size: S 15-17", M 17-19", L 19-21". Check brand-specific charts. A proper fit ensures the hipbelt sits on your hips, not waist, and shoulder straps are comfortable.
💡 Tips:
- •Get measured at an outdoor store if possible—they can adjust the pack for you.
- •When trying a pack, load it with 15-20 lbs of weight to simulate real use.
⚠️ Warnings:
- •Don’t rely on height alone; torso length varies wildly among people of the same height.
- •A pack that’s too long will sag and chafe.
Step 5: Consider Key Features: Access, Pockets, and Hydration
Think about how you access gear. Daypacks often have a top-loading main compartment with a zippered opening or panel access. Multi-day packs usually have top-loading with a drawstring closure and a floating lid. Look for side pockets (for water bottles or trekking poles), a hydration sleeve (most packs have a port for a hose), and hipbelt pockets (for snacks or phone). Internal organization (like a separate sleeping bag compartment) is useful for multi-day packs.
💡 Tips:
- •A pack with a zippered front panel (like Osprey’s “panel loader”) is easier for day hikes.
- •For multi-day, compression straps on the sides help stabilize the load.
⚠️ Warnings:
- •Too many pockets can add weight; balance convenience with necessity.
- •Make sure the hydration port is waterproof if you hike in rain.
Step 6: Check Material and Durability
Backpack materials range from lightweight ripstop nylon to heavy-duty Cordura. Daypacks use lighter fabrics (100-200 denier) to save weight. Multi-day packs often use 210-420 denier nylon or polyester, with reinforced bottoms. For off-trail or bushwhacking, look for thicker fabrics. Water resistance varies—many packs have a DWR coating but not fully waterproof. Rain covers (often included or sold separately) are recommended for wet climates.
💡 Tips:
- •For ultralight backpacking, look for packs made of Dyneema composite fabric (very light but expensive).
- •Check zippers: YKK is a trusted brand for durability.
⚠️ Warnings:
- •Ultralight fabrics may tear on sharp rocks; use a pack liner inside for waterproofing.
- •Rain covers can trap moisture; a dry bag liner is more reliable.
Step 7: Test the Pack with Weight Before Buying
Never buy a backpack without trying it on. In a store, load it with 15-25 lbs (use sandbags or gear). Adjust all straps: loosen everything, put it on, then tighten in order: hipbelt first, then shoulder straps, load lifters, sternum strap. Walk around for 10 minutes. The pack should feel stable, with no pressure points. The hipbelt should be firmly around your iliac crest. If buying online, ensure free returns or buy from a store with a generous return policy.
💡 Tips:
- •If you can’t try in person, measure carefully and use the brand’s online size guide.
- •Read reviews for fit notes—some brands run small or large.
⚠️ Warnings:
- •Don’t buy a pack that hurts in the store; it won’t get better on the trail.
- •Avoid packs with shoulder straps that dig into your armpits (often a sign of wrong size).
Step 8: Compare Daypack and Multi-Day Pack Examples
To solidify your decision, look at specific popular models. For daypacks: Osprey Daylite (13L), REI Flash 22 (22L), Deuter Speed Lite (20L). For multi-day: Osprey Atmos 65 AG (65L), Gregory Baltoro 75 (75L), REI Co-op Traverse 55 (55L). Compare weight, features, and price. Daypacks cost $50-$150, multi-day packs $150-$350. Try to match your intended use—don’t buy a heavy 65L pack if you only do day hikes.
💡 Tips:
- •Read reviews on comfort and durability from trusted sources like OutdoorGearLab.
- •Consider buying last year’s model for savings.
⚠️ Warnings:
- •Beware of ‘bargain’ packs from unknown brands—they may lack proper suspension.
Step 9: Make Your Decision and Purchase
Now combine all factors: hike type (day vs overnight), torso length, desired features, and budget. If you primarily day hike, buy a 20-25L pack with a hydration sleeve and hipbelt pockets. If you plan overnight trips, choose a 50-65L pack with an internal frame, padded hipbelt, and compression straps. For occasional overnights, a 30-35L ‘weekender’ pack can work if you pack light. Buy from a reputable retailer (REI, Amazon, or directly from manufacturers) with a good return policy.
💡 Tips:
- •If you’re between sizes, size down for better control or up for more comfort if you carry bulky gear.
- •Consider extras like a rain cover or pack liner (e.g., trash compactor bag).
⚠️ Warnings:
- •Don’t skimp on quality—a good pack lasts 10+ years.
▸Pro Tips
- •Always pack heavier items closer to your back and lower in the pack for better balance.
- •Use stuff sacks to compress gear and keep things organized inside your pack.
- •Practice packing your pack at home before your first trip to avoid mistakes.
- •If you hike in hot weather, look for packs with a mesh back panel for ventilation.
- •Check the pack’s warranty—Osprey offers an ‘All Mighty Guarantee’ for example.
- •For multi-day trips, a pack with a removable top lid can become a daypack for summit climbs.
- •Consider buying a pack scale to ensure you stay under your pack’s recommended weight limit (usually 20-40 lbs).
▸Common Mistakes to Avoid
- •Buying a pack that’s too big for your needs, leading to extra weight and a tendency to overpack.
- •Ignoring torso length measurement, resulting in an ill-fitting pack that causes pain.
- •Choosing a frameless pack for loads over 15 lbs, leading to shoulder strain.
- •Not testing the pack with weight before buying—it feels different empty.
- •Forgetting to account for water weight (1 liter = 2.2 lbs) in load calculations.
▸Troubleshooting
Problem: The hipbelt slips down onto my waist instead of staying on my hips.
Solution: The pack may be too long for your torso. Try a shorter size or adjust the hipbelt’s angle if your pack allows. Also ensure the hipbelt is tightened firmly.
Problem: My shoulders hurt after 30 minutes of hiking.
Solution: The hipbelt isn’t carrying enough weight. Loosen shoulder straps slightly and tighten the hipbelt more. Also check that load lifters are correctly adjusted (45-degree angle from shoulders to pack).
Problem: The pack wobbles from side to side.
Solution: Tighten compression straps to bring load closer to your back. Also ensure the hipbelt is snug. If still wobbling, the suspension system may be too loose or undersized.
Problem: I can’t reach my water bottle from the side pocket while hiking.
Solution: Look for packs with side pockets that are angled forward or have a tension system. Alternatively, use a hydration bladder and tube for easier access.
Osprey Daylite Daypack
Lightweight, versatile, and perfect for day hikes. It has a hydration sleeve, sternum strap, and attaches to larger Osprey packs.
Best for: Ideal for short day hikes or as a summit pack attached to a bigger bag.
Price Range: $65-75
Deuter Speed Lite 20
undefined
Best for: For day hikes in warm weather where breathability is key.
Price Range: $90-110
Osprey Atmos 65 AG
A top-rated multi-day pack with an adjustable suspension and Anti-Gravity system that keeps load close to body. Very comfortable for loads up to 45 lbs.
Best for: Excellent for 3-7 day backpacking trips with moderate to heavy gear.
Price Range: $260-290
Gregory Baltoro 75
Designed for heavy loads, with a responsive suspension and ample storage. Good for extended trips or carrying bulky gear.
Best for: For multi-day trips where you need space for a bear canister or extra food.
Price Range: $330-360
REI Co-op Trail 25 Pack
Affordable, durable daypack with a hydration sleeve and padded hipbelt. Good entry-level option.
Best for: Budget-friendly choice for beginners on day hikes.
Price Range: $55-65