Nothing ruins a day on the golf course like a dead battery in your golf cart. 6V flooded lead-acid batteries, common in many carts like Club Car or EZ-GO models, require careful charging to prevent sulfation, overheating, or even explosions from hydrogen gas buildup. Improper charging is a leading cause of battery failure and safety incidents.
In this guide, you'll learn a foolproof process to charge your 6V batteries safely at home. We'll cover preparation, inspection, charging, and post-charge care. Expect 30 minutes of hands-on work plus 8-12 hours of monitored charging time. This intermediate-level tutorial assumes basic familiarity with tools like multimeters.
By the end, your batteries will be fully charged, tested, and ready for action, potentially adding years to their lifespan.
▸What You'll Need
- •Compatible 6V golf cart battery charger (15-30A automatic model)
- •Digital multimeter or voltmeter
- •Distilled water
- •Battery terminal cleaning brush and baking soda solution
- •Safety gear: insulated gloves, safety goggles, face shield
- •Ventilated workspace or battery charger fan
- •Wrench or socket set for terminals (optional: terminal protectors)
- •pH-neutral battery electrolyte tester (optional)
Estimated Time: 30 minutes setup + 8-12 hours charging
Difficulty: intermediate
▸Step-by-Step Instructions
Step 1: Prepare a Safe Workspace
Choose an outdoor or well-ventilated garage area away from flames, sparks, or children/pets. Hydrogen gas from charging is explosive, so good airflow is critical. Lay down protective mats under batteries to catch spills.
Clear the space and ensure good lighting. Plug in your charger to a grounded GFCI outlet for safety.
Success looks like: A clutter-free, ventilated area with all gear within arm's reach.
💡 Tips:
- •Use a fan to enhance ventilation if indoors.
⚠️ Warnings:
- •Never charge in enclosed spaces without explosion-proof ventilation.
Step 2: Gear Up with Safety Equipment
Put on insulated rubber gloves, safety goggles, and a face shield. These protect against acid splashes and sparks.
Why it matters: Battery acid burns skin instantly, and sparks can ignite gas.
Success looks like: You're fully protected before touching batteries.
💡 Tips:
- •Keep a baking soda-water mix nearby to neutralize spills.
⚠️ Warnings:
- •Skip PPE at your peril—acid contact requires immediate flushing.
Step 3: Inspect Batteries for Damage
Visually check each 6V battery for cracks, bulges, leaks, or corrosion. Test voltage with multimeter: fully charged should read 6.3-6.4V; below 6.0V needs charging.
Disconnect batteries from cart if in series (typically 6x6V for 36V systems) using wrench—note polarity (+/-).
Success looks like: Batteries pass inspection; damaged ones are set aside for replacement.
💡 Tips:
- •Label cables to avoid mix-ups.
⚠️ Warnings:
- •Cracked batteries can leak acid—dispose properly, don't charge.
Step 4: Check and Top Up Electrolyte Levels
Remove vent caps and check fluid levels—plates should be covered by 1/4-1/2 inch. Add distilled water only (never acid unless specified).
Why: Low electrolyte causes overheating and dry-out.
Success looks like: All cells topped to proper level; excess spills wiped.
💡 Tips:
- •Use a turkey baster for precise filling.
⚠️ Warnings:
- •Overfilling causes boil-over during charge.
Step 5: Clean Battery Terminals
Mix baking soda/water, scrub terminals with brush, rinse with water, dry thoroughly. Apply terminal protector spray.
Corrosion blocks current flow, reducing efficiency.
Success looks like: Shiny, corrosion-free terminals.
💡 Tips:
- •Petroleum jelly prevents future corrosion.
⚠️ Warnings:
- •Avoid getting cleaner inside cells.
Step 6: Connect Charger Correctly
Match red clamp to positive (+), black to negative (-). For multiple batteries, charge individually or in parallel if charger allows.
Secure connections tightly.
Success looks like: Secure clamps, no loose wires.
💡 Tips:
- •Charge one bank at a time for best results.
⚠️ Warnings:
- •Reversing polarity damages charger and battery instantly.
Step 7: Set Charger and Start Process
Select 6V mode (bulk/absorption/float stages ideal). Start charger—expect initial high amps tapering off.
Monitor temp: under 125°F/52°C.
Success looks like: Charger LEDs show 'charging'; voltage rises slowly.
💡 Tips:
- •Automatic chargers desulfate better—avoid manual if possible.
⚠️ Warnings:
- •Overheating? Stop and cool down.
Step 8: Monitor and Complete Charge
Check every 2-4 hours: full charge at 7.2-7.5V float, specific gravity 1.265-1.280 (hydrometer optional). Auto-cutoff when green light.
Success looks like: Batteries at full charge, cool to touch.
💡 Tips:
- •Overnight charge for convenience.
⚠️ Warnings:
- •Don't leave unattended first time.
Step 9: Disconnect, Test, and Reinstall
Unplug charger, remove clamps (black first). Retest voltage: 6.3+V good. Reconnect to cart, respecting series polarity.
Success looks like: Cart powers up smoothly.
💡 Tips:
- •Equalize monthly: charge at higher voltage per manual.
⚠️ Warnings:
- •Sparks on disconnect—do in ventilated area.
▸Pro Tips
- •Charge at 10-20% of battery Ah rating (e.g., 15A for 225Ah battery) for optimal life.
- •Store at 50% charge in cool, dry place if off-season.
- •Use a temperature-compensating charger for varying climates.
- •Log charge times/voltages to predict replacement.
- •Desulfate weekly with pulse charger mode.
- •Water after full charge to avoid dilution.
- •Parallel charge pairs to balance series banks.
▸Common Mistakes to Avoid
- •Charging without ventilation—leads to gas explosions; always use open air.
- •Using tap water—minerals cause plating; stick to distilled.
- •Overcharging—boils electrolyte; rely on auto-shutoff.
- •Ignoring polarity—fries internals; double-check clamps.
- •Charging damaged batteries—risks fire; inspect first.
▸Troubleshooting
Problem: Battery won't hold charge (drops below 6V quickly)
Solution: Sulfation likely—use desulfator mode or replace. Test load with cart use.
Problem: Charger overheating or alarms
Solution: Disconnect, cool batteries, check connections. Use lower amp setting.
Problem: Low electrolyte after charge
Solution: Top up with distilled water post-charge. Check for over-gassing.
Problem: Uneven voltage across series bank
Solution: Charge individually, then equalize. Balance cells.
Problem: Sparking or smoking
Solution: Immediate disconnect. Check for shorts/corrosion. Seek pro if persists.
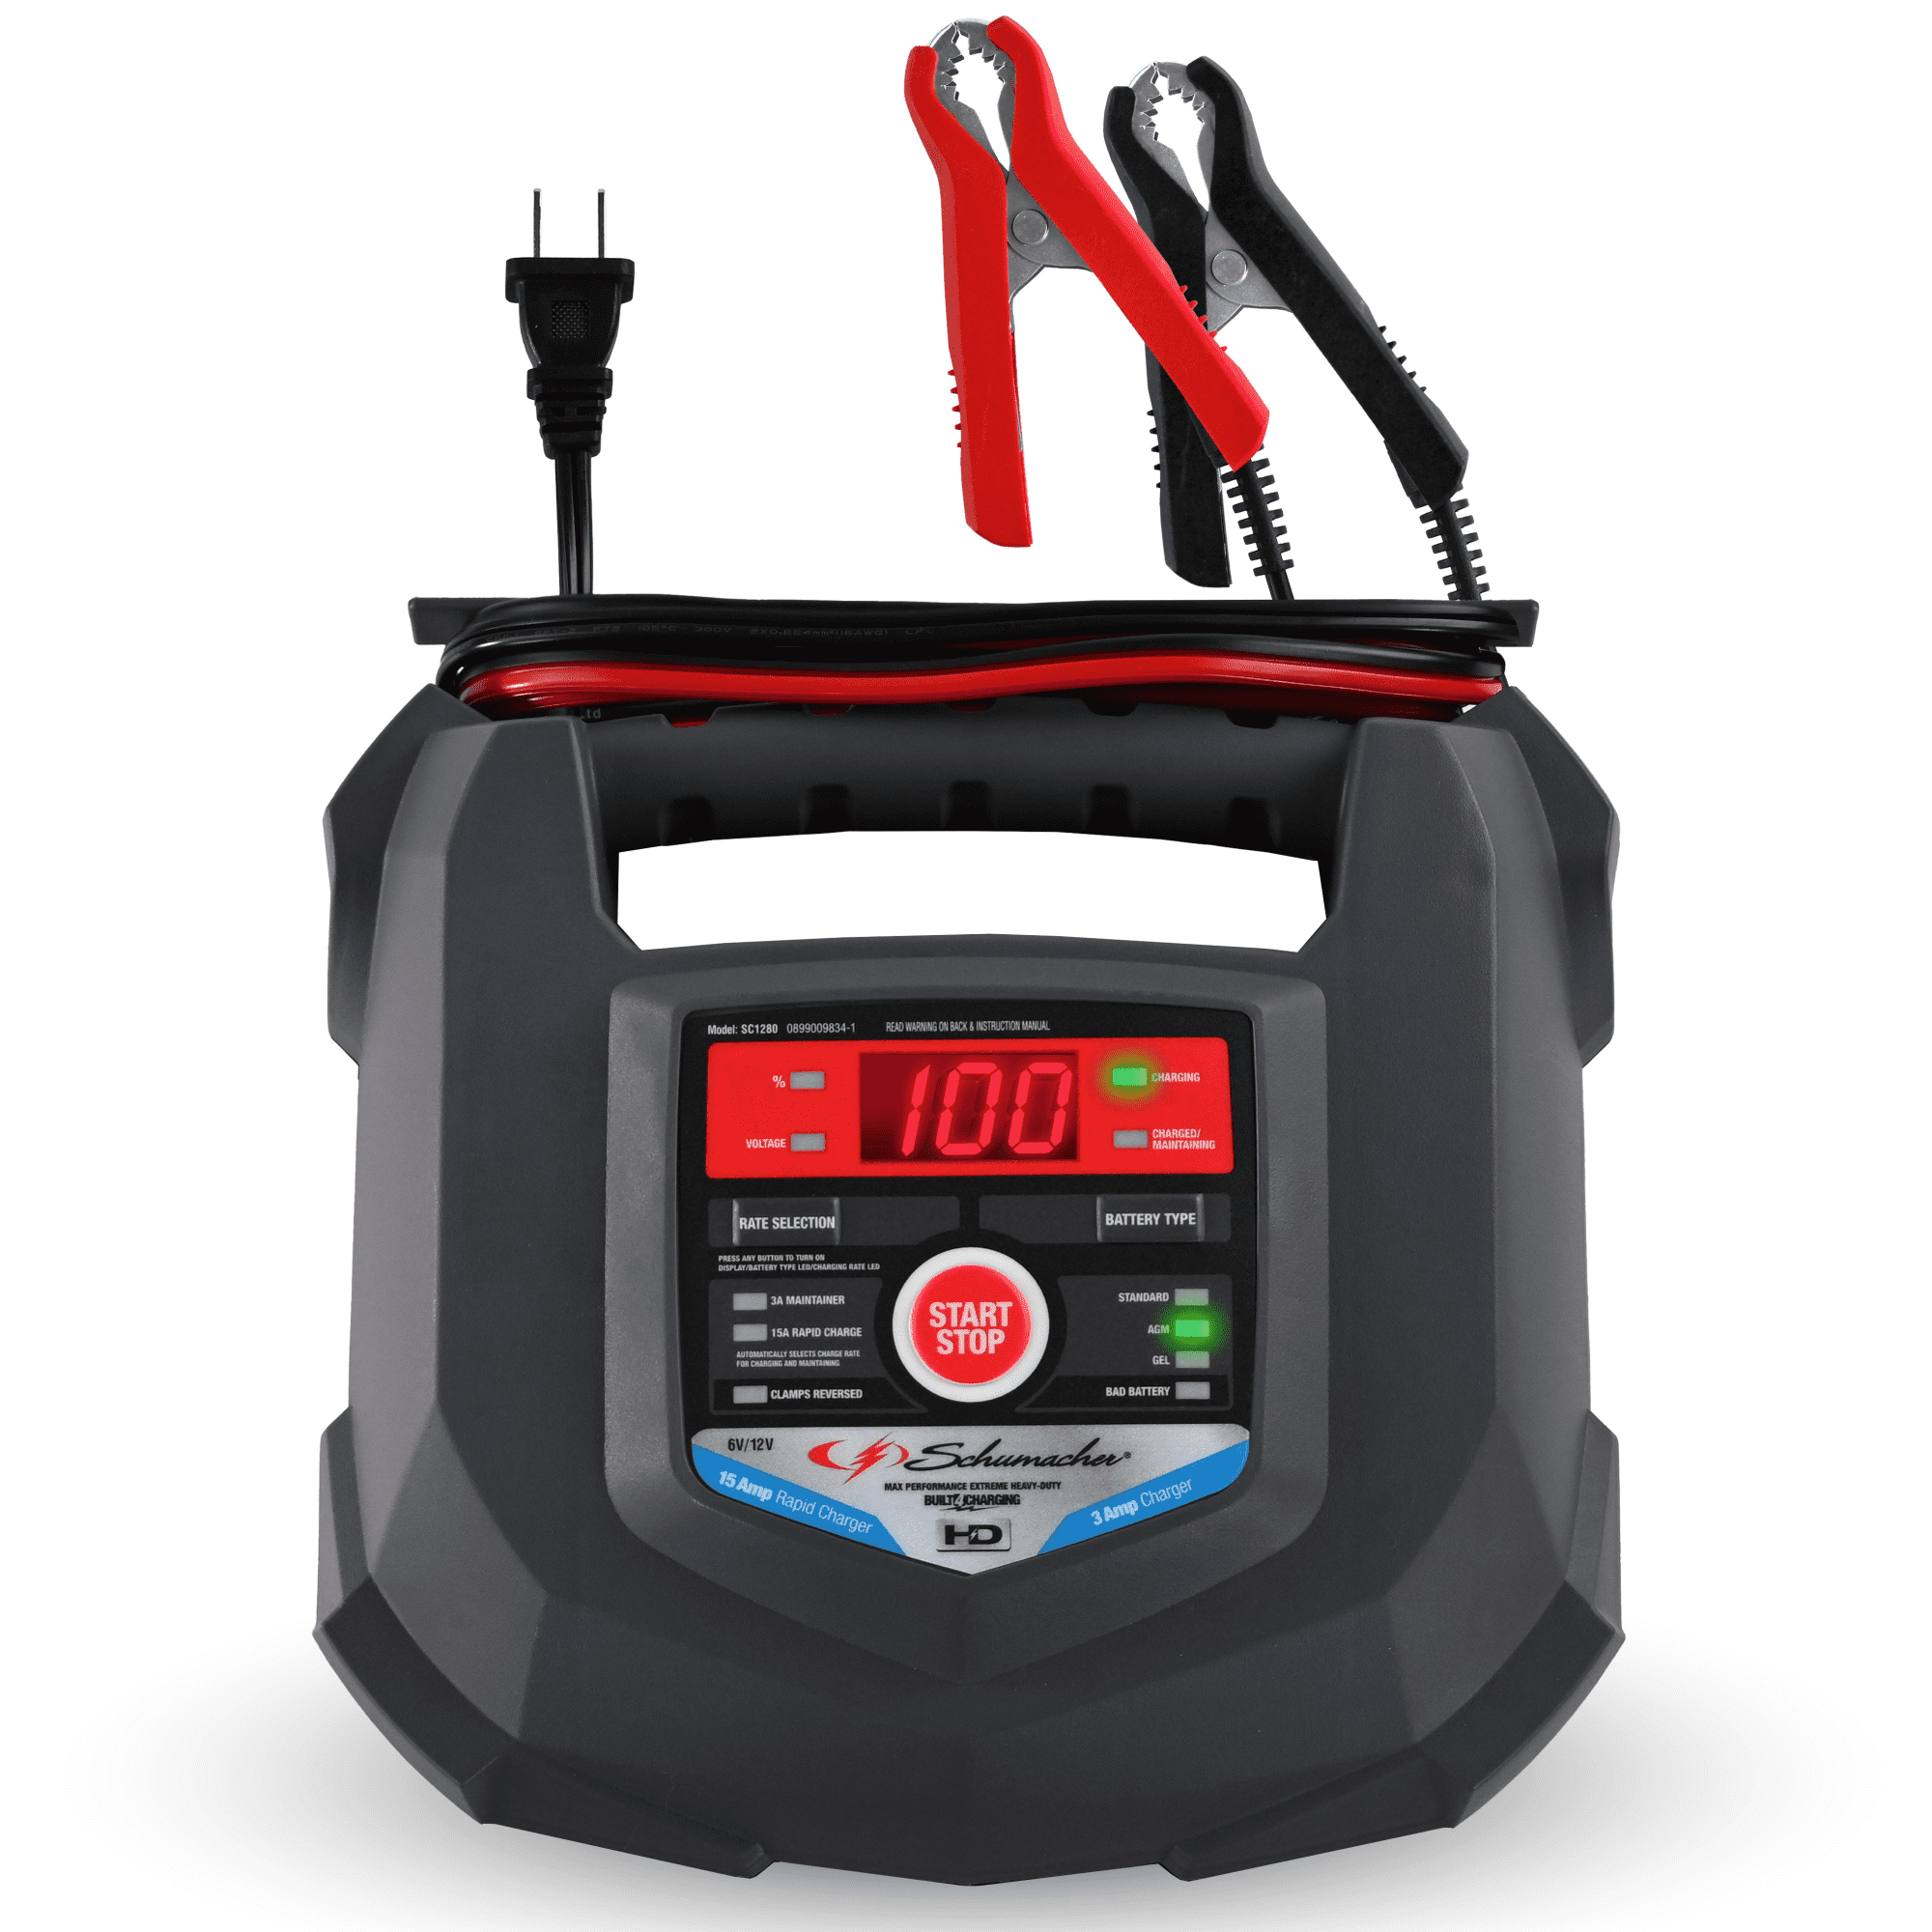
Schumacher SC1280 15A Battery Charger
Fully automatic 6V/12V modes with desulfation, thermal protection, and float maintenance—perfect for safe golf cart charging.
Best for: Daily/weekly charging of single or parallel 6V batteries.
Price Range: $40-$50
AstroAI Digital Multimeter DM6000AR
Accurate voltage/resistance testing with auto-ranging—essential for pre/post-charge checks.
Best for: Verifying battery health and polarity.
Price Range: $25-$35
NoCry Safety Goggles
Anti-fog, impact-resistant protection against acid splashes—top-rated for battery work.
Best for: All handling and charging steps.
Price Range: $10-$15
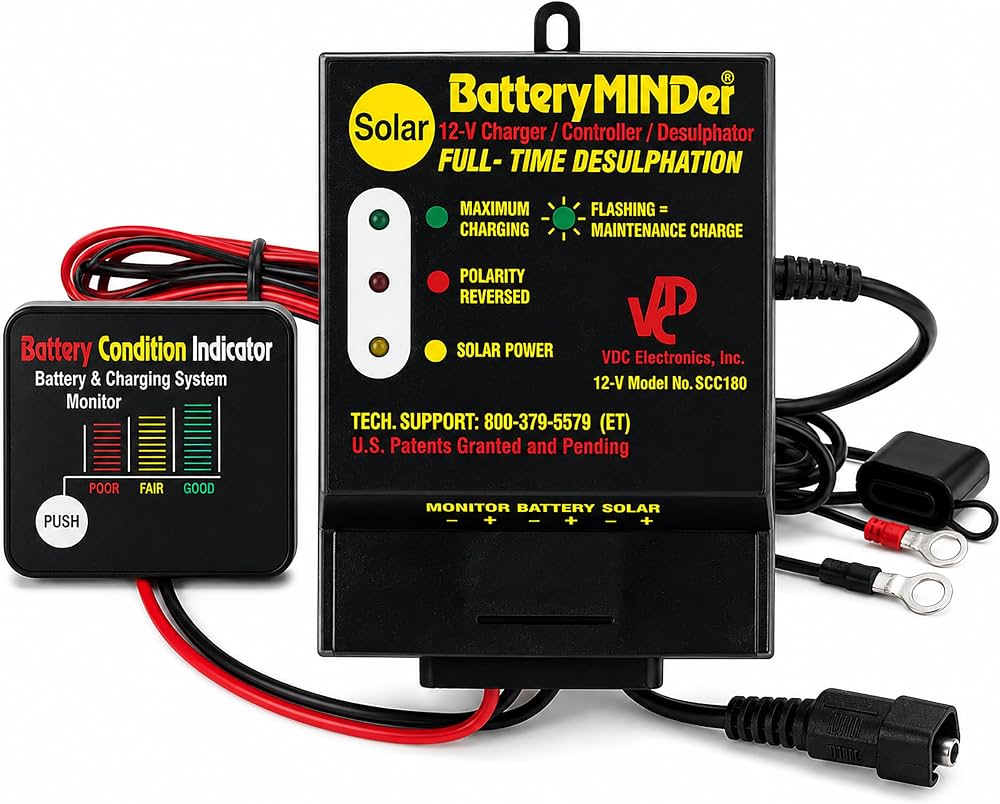
BatteryMINDer 2012-6 Solar Battery Maintainer
6V-specific with full-time float/desulfation—ideal for long-term maintenance.
Best for: Storage or trickle charging.
Price Range: $90-$110
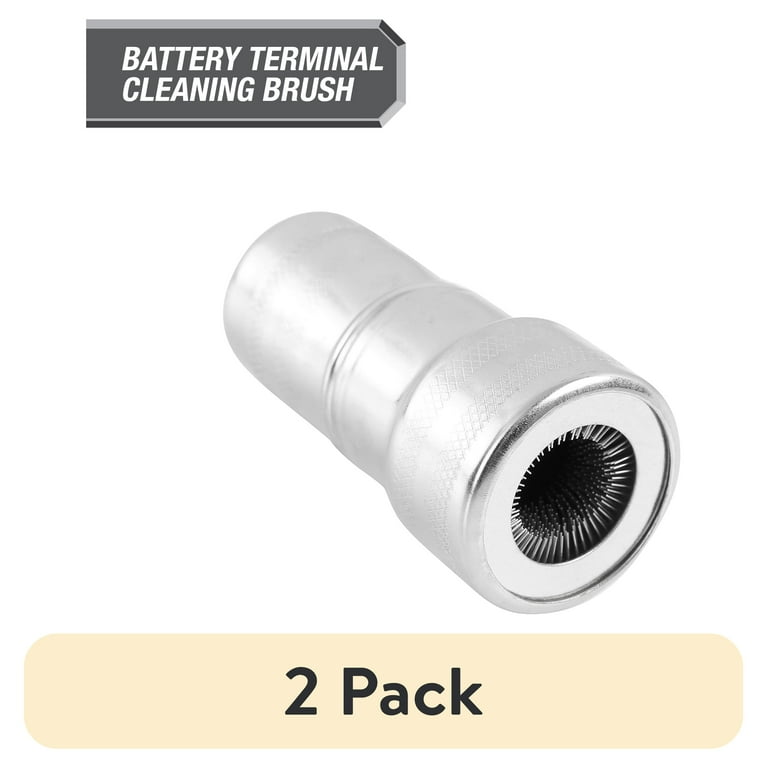
MSDS Battery Terminal Cleaner Brush
Dual-sided brush with scraper removes corrosion effectively without damage.
Best for: Pre-charge terminal cleaning.
Price Range: $8-$12