Nothing ruins a day on the golf course like dead 6V batteries leaving your cart stranded. Poor charging practices cause sulfation, reduced capacity, and premature failure, costing hundreds in replacements. This guide teaches you efficient, safe methods to charge your 6V flooded lead-acid batteries (common in 36V systems with 6 batteries).
You'll learn to inspect, prepare, charge, and maintain batteries for optimal performance. Expect 20-30 minutes for setup and checks, plus 8-12 hours for a full charge. Ideal for intermediate users familiar with basic tools—no advanced electrical knowledge needed.
Follow these steps to achieve 20-30% longer battery life, lower energy bills, and reliable starts every time.
▸What You'll Need
- •Compatible smart charger for 6V or 36V/48V golf cart packs (e.g., with 6V mode)
- •Digital multimeter (voltmeter)
- •Distilled water
- •Baking soda and water solution for cleaning
- •Wire brush or terminal cleaner
- •Safety gloves and goggles (required)
- •Wrench or socket set for battery access
- •Optional: Battery hydrometer for precise electrolyte check
Estimated Time: Setup and checks: 20-30 minutes; Full charge: 8-12 hours
Difficulty: intermediate
▸Step-by-Step Instructions
Step 1: Prepare Your Workspace and Safety Gear
Choose a well-ventilated, cool (below 77°F/25°C), dry area away from flames or sparks. Golf cart batteries release hydrogen gas during charging, which is flammable.
Put on safety goggles and acid-resistant gloves. Disconnect the cart's tow cable or negative battery cable to isolate the pack. Park on level ground.
Success looks like: Clean, safe space with no trip hazards; you're protected from acid splashes.
💡 Tips:
- •Work in shade to prevent overheating during summer charges.
⚠️ Warnings:
- •Never charge in enclosed garages—ventilation prevents explosions.
Step 2: Visually Inspect Batteries
Remove battery covers (if present) and check for cracks, bulges, leaks, or corrosion on cases and terminals. Look for low electrolyte levels exposing plates.
Wipe away dirt with a damp cloth. White powdery corrosion indicates sulfation—address early for efficiency.
Success looks like: All batteries intact, no visible damage; corrosion noted for cleaning.
💡 Tips:
- •Take photos before/after for records.
⚠️ Warnings:
- •Damaged batteries? Replace immediately—don't charge.
- •Avoid if warranty-covered; consult dealer.
Step 3: Check and Top Up Electrolyte Levels
Use a flashlight to verify fluid covers plates by 1/4-1/2 inch (6-13mm). If low, gently add distilled water only (never tap water or acid).
Why? Pure water prevents mineral buildup, maintaining conductivity for efficient charging.
Success looks like: All cells topped to proper level; no spills.
💡 Tips:
- •Top up after charging, not before—acid levels rise during charge.
⚠️ Warnings:
- •Overfilling causes spills and corrosion during gassing phase.
Step 4: Clean Terminals and Connections
Mix baking soda and water (1:4 ratio), apply to corroded terminals with a brush. Scrub gently, rinse with water, dry thoroughly.
Tighten loose cables. Clean prevents resistance, allowing efficient current flow.
Success looks like: Shiny, corrosion-free terminals; secure connections.
💡 Tips:
- •Apply dielectric grease post-clean for corrosion protection.
Step 5: Measure Battery Voltage and State of Charge
Set multimeter to DC volts. Test each 6V battery: Fully charged = 6.3-6.4V; 50% = ~6.1V; below 5.8V needs attention.
For pack (e.g., 36V/6 batteries), total ~37.8V full. This identifies weak cells for efficient charging focus.
Success looks like: Voltages recorded; no battery under 5.5V (sulfated?).
💡 Tips:
- •Charge individually if one is weak to balance pack.
⚠️ Warnings:
- •Reverse polarity damages multimeter—mind + and - leads.
Step 6: Connect the Charger Properly
Match charger to system (36V for 6x6V pack). Connect positive (red) to positive first, then negative (black) to negative or chassis ground.
Use a smart charger with 6V/lead-acid mode for automatic bulk/absorption/float stages.
Success looks like: Charger LEDs indicate connection; no sparks.
💡 Tips:
- •Charge as pack for convenience unless balancing.
⚠️ Warnings:
- •Wrong polarity sparks or fries electronics—double-check!
Step 7: Charge and Monitor Progress
Select correct voltage/amperage (e.g., 14-15A for 225Ah batteries). Let charge 8-12 hours or until float mode (green light).
Check hourly first 2 hours for heat (>125°F/52°C abnormal). Efficient chargers desulfate automatically.
Success looks like: Batteries reach 6.3V+ per cell; charger auto-stops.
💡 Tips:
- •Unplug during thunderstorms to protect charger.
⚠️ Warnings:
- •Overnight ok with smart charger; manual = risk of overcharge.
Step 8: Disconnect, Test, and Reinstall
Unplug charger (negative first). Retest voltages—all ~6.3V. Reconnect to cart, drive test.
Log charge data for trends.
Success looks like: Full voltage, cart runs smoothly; ready for course.
💡 Tips:
- •Equalize monthly (higher voltage cycle) for deep-cycle batteries.
▸Pro Tips
- •Charge weekly or after 5-10 rounds to prevent deep discharge (<50% SOC).
- •Keep batteries 75-85°F for fastest, safest charging.
- •Use temperature-compensating chargers for all-season efficiency.
- •Track runtime vs. charge time to spot weak batteries early.
- •Store at 100% charge if off-season; check monthly.
- •Pair with solar maintainer for always-ready batteries.
- •Balance charge: Fully charge weakest battery individually first.
▸Common Mistakes to Avoid
- •Using tap water: Minerals cause plating and inefficiency—stick to distilled.
- •Overcharging with dumb chargers: Boils electrolyte—use smart auto-shutoff.
- •Ignoring weak cells: Drags down pack—test individually.
- •Charging hot batteries: Accelerates damage—cool first.
- •Fast-charging daily: Causes heat/wear—use slow for longevity.
▸Troubleshooting
Problem: Batteries won't take charge (under 5.5V)
Solution: Desulfate with pulse charger or equalize mode; replace if sulfated >1 month.
Problem: Charger overheating or alarms
Solution: Disconnect, cool batteries; check connections. Faulty charger? Test on known good battery.
Problem: Uneven voltages across pack
Solution: Charge individually until balanced, then as pack. Check cables for corrosion.
Problem: Cart won't run post-charge
Solution: Retest SOC; inspect controller/fuses. Seek pro if voltages good.
Problem: Excessive gassing/smell
Solution: Ventilate; stop if violent—overcharged or bad cell.
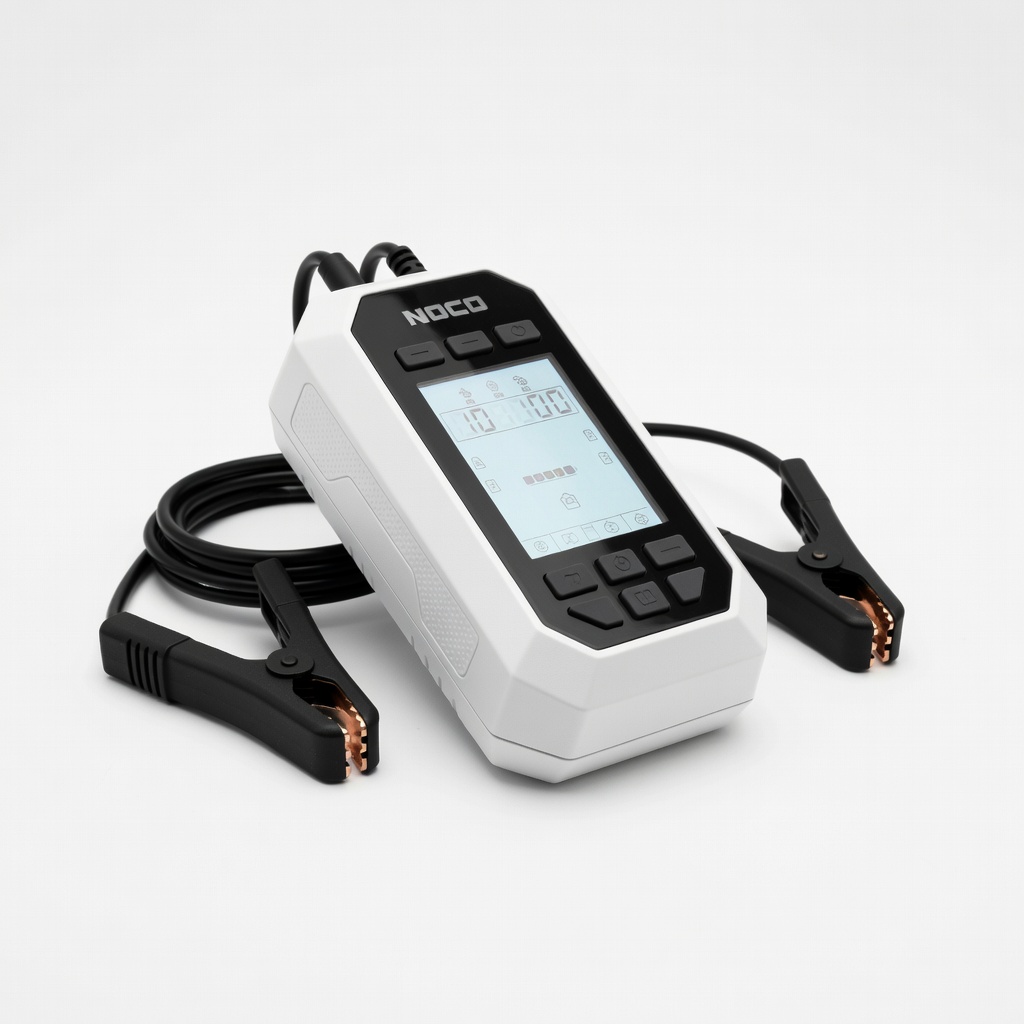
NOCO GENIUS GEN5X2 10A Smart Charger
Supports 6V/12V lead-acid with desulfation, temp compensation for efficient, safe golf cart charging.
Best for: Ideal for 36V packs or individual 6V batteries; auto-maintains float.
Price Range: $120-$140
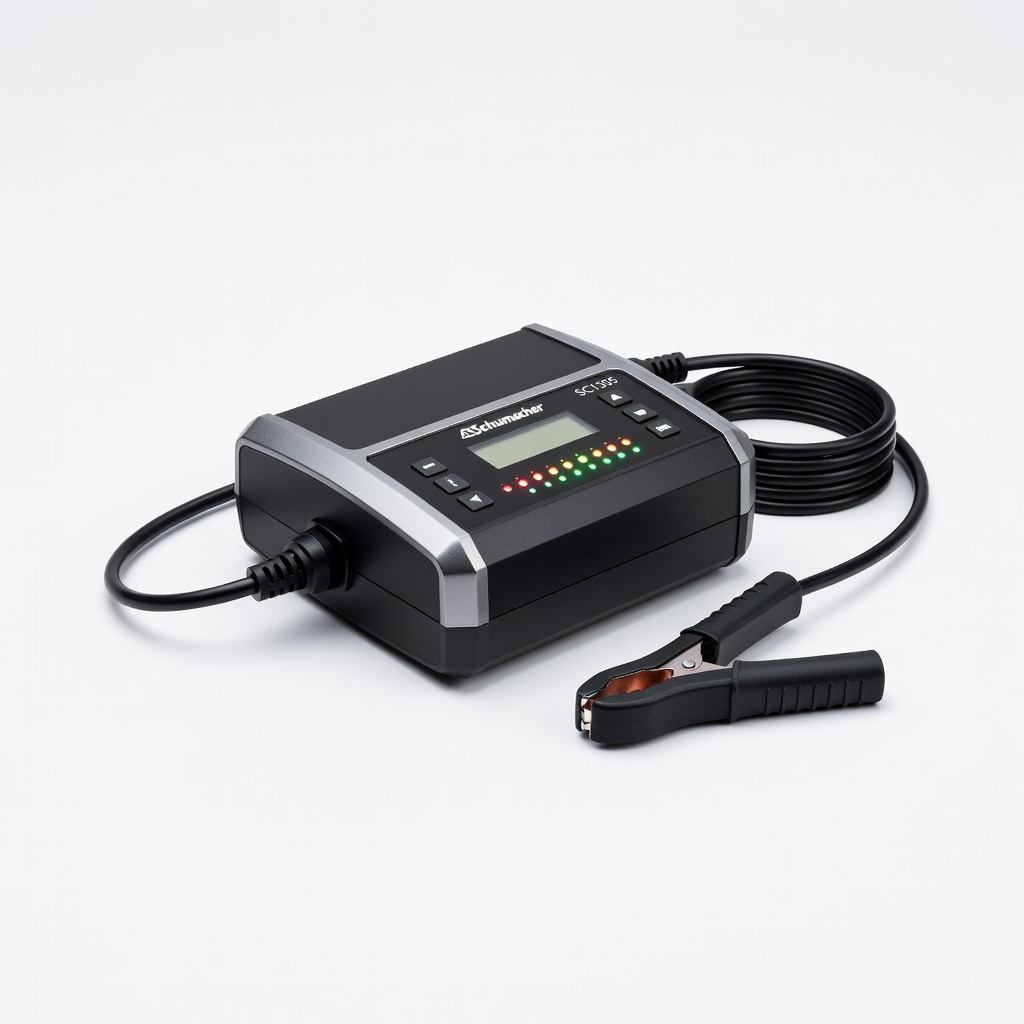
Schumacher SC1305 15A Battery Charger
Affordable 6V/12V auto charger with microprocessor for reliable bulk/float stages.
Best for: Budget option for routine golf cart battery maintenance.
Price Range: $40-$50
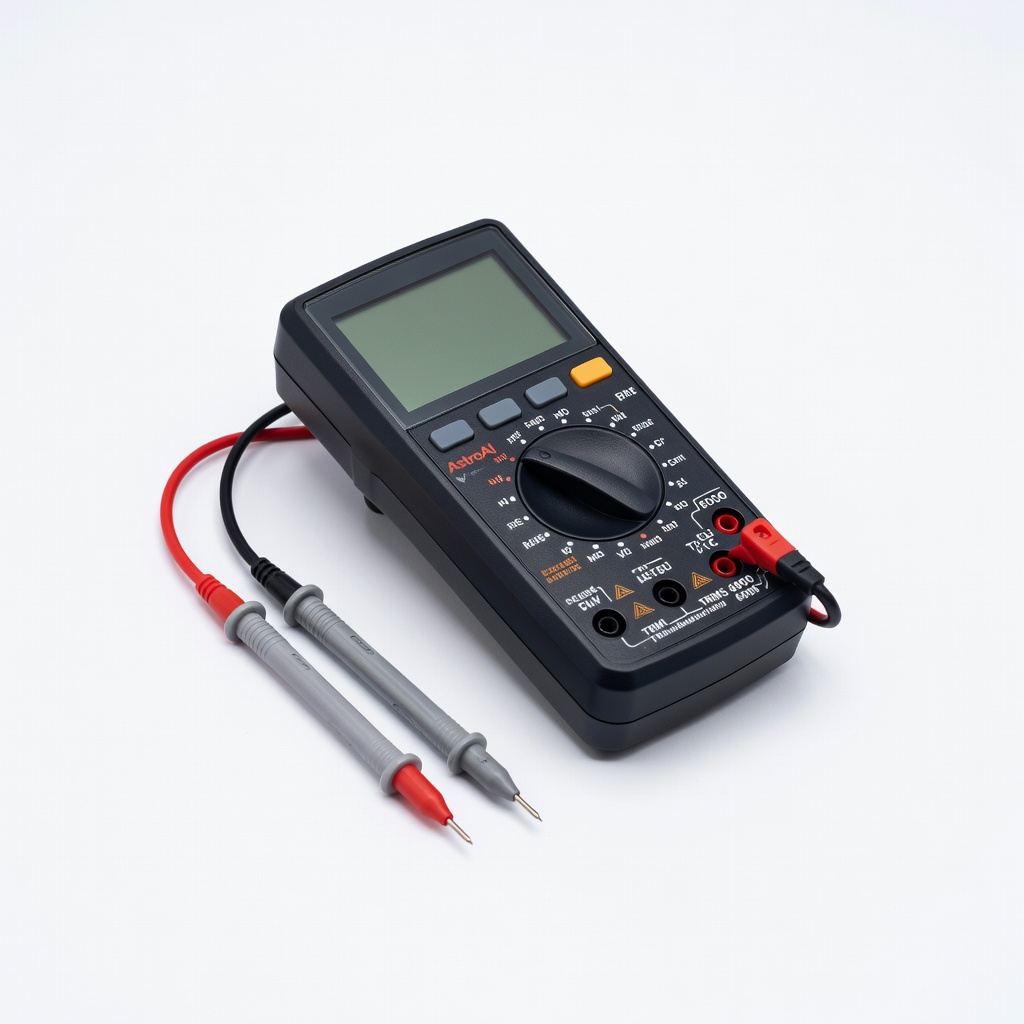
AstroAI Digital Multimeter TRMS 6000
Accurate voltage/SOC testing essential for efficient charging diagnostics.
Best for: Measure each 6V battery before/after to ensure balance.
Price Range: $14-$20
Battery Terminal Cleaning Brush Kit
Removes corrosion quickly for low-resistance connections.
Best for: Prep step before every charge to maximize efficiency.
Price Range: $8-$12
Great Value Distilled Water (1 Gallon)
Pure H2O required for topping up without contaminants.
Best for: Maintain electrolyte levels post-charge.
Price Range: $1-$2