Charging a 24V battery system with solar panels is crucial for off-grid setups like RVs, cabins, or home backups, but mismatching components or poor wiring can lead to undercharging, overcharging, or even fires. Proper setup ensures your batteries last longer and deliver consistent power.
In this guide, you'll learn everything from sizing your system to wiring and monitoring. We'll cover step-by-step instructions for intermediate users familiar with basic electrical concepts. Expect 1-2 hours for initial setup, plus 5-10 minutes daily monitoring.
By the end, you'll have a fully operational 24V solar charging system producing clean DC power, with voltage stabilizing at 28-29V during bulk charge—ready for inverters or loads.
▸What You'll Need
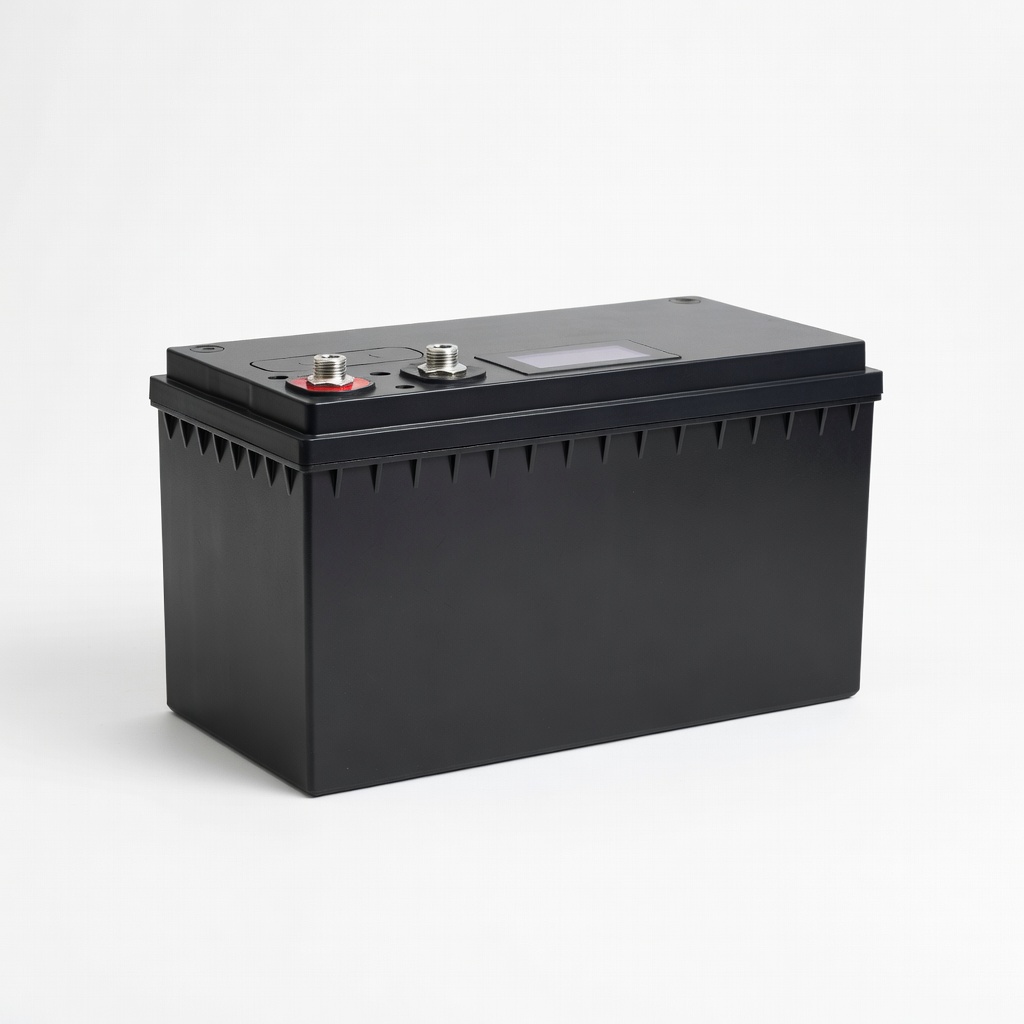
- •24V deep-cycle batteries (AGM, flooded lead-acid, or LiFePO4; e.g., 100-200Ah bank)
- •Solar panels (total 400-800W, wired in series for 24V nominal; Voc < controller max)
- •MPPT charge controller rated for 24V battery and panel array (e.g., 40-60A)
- •Heavy-gauge solar wire (10-6 AWG UV-resistant for panels/controller)
- •Battery cables (4-2/0 AWG with lugs)
- •Inline fuses or breakers (e.g., 60A for battery, 15-30A for panels)
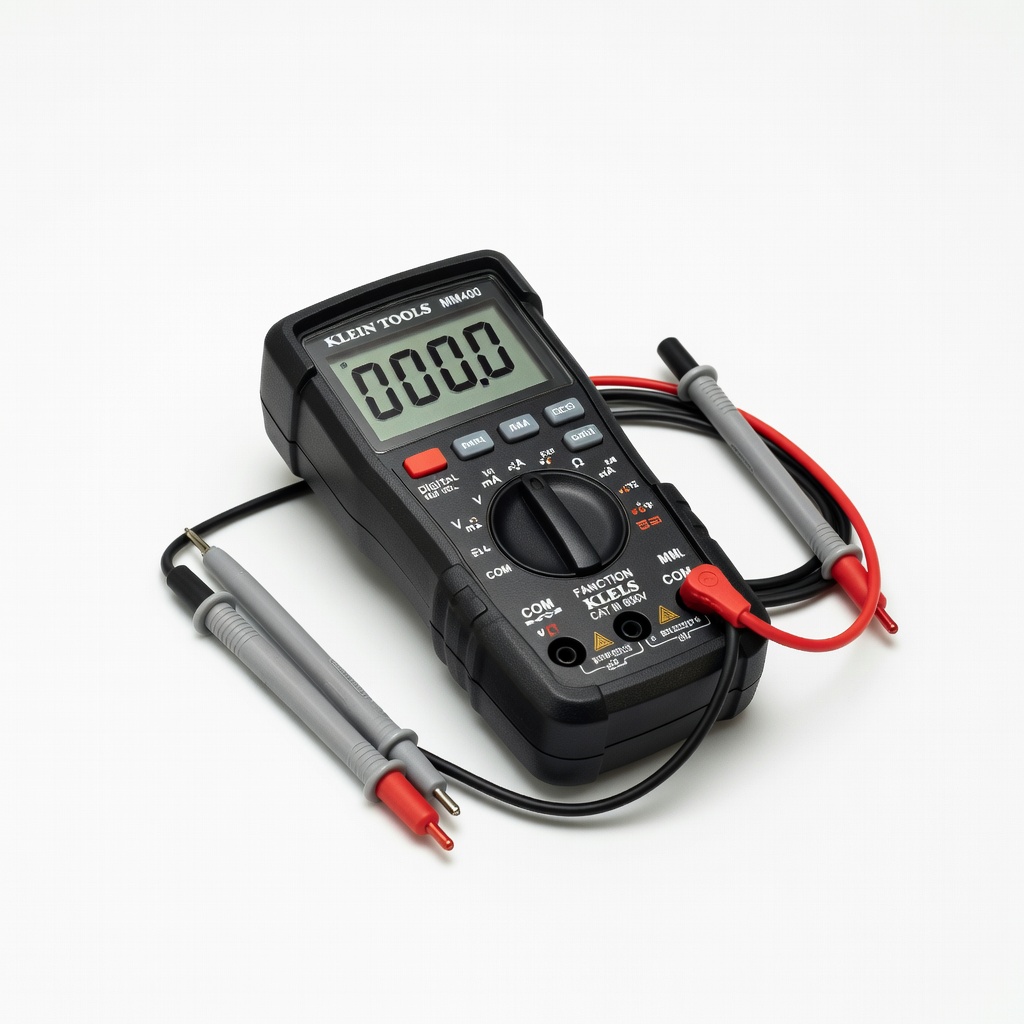
- •Digital multimeter
- •Wire crimper, strippers, screwdriver set
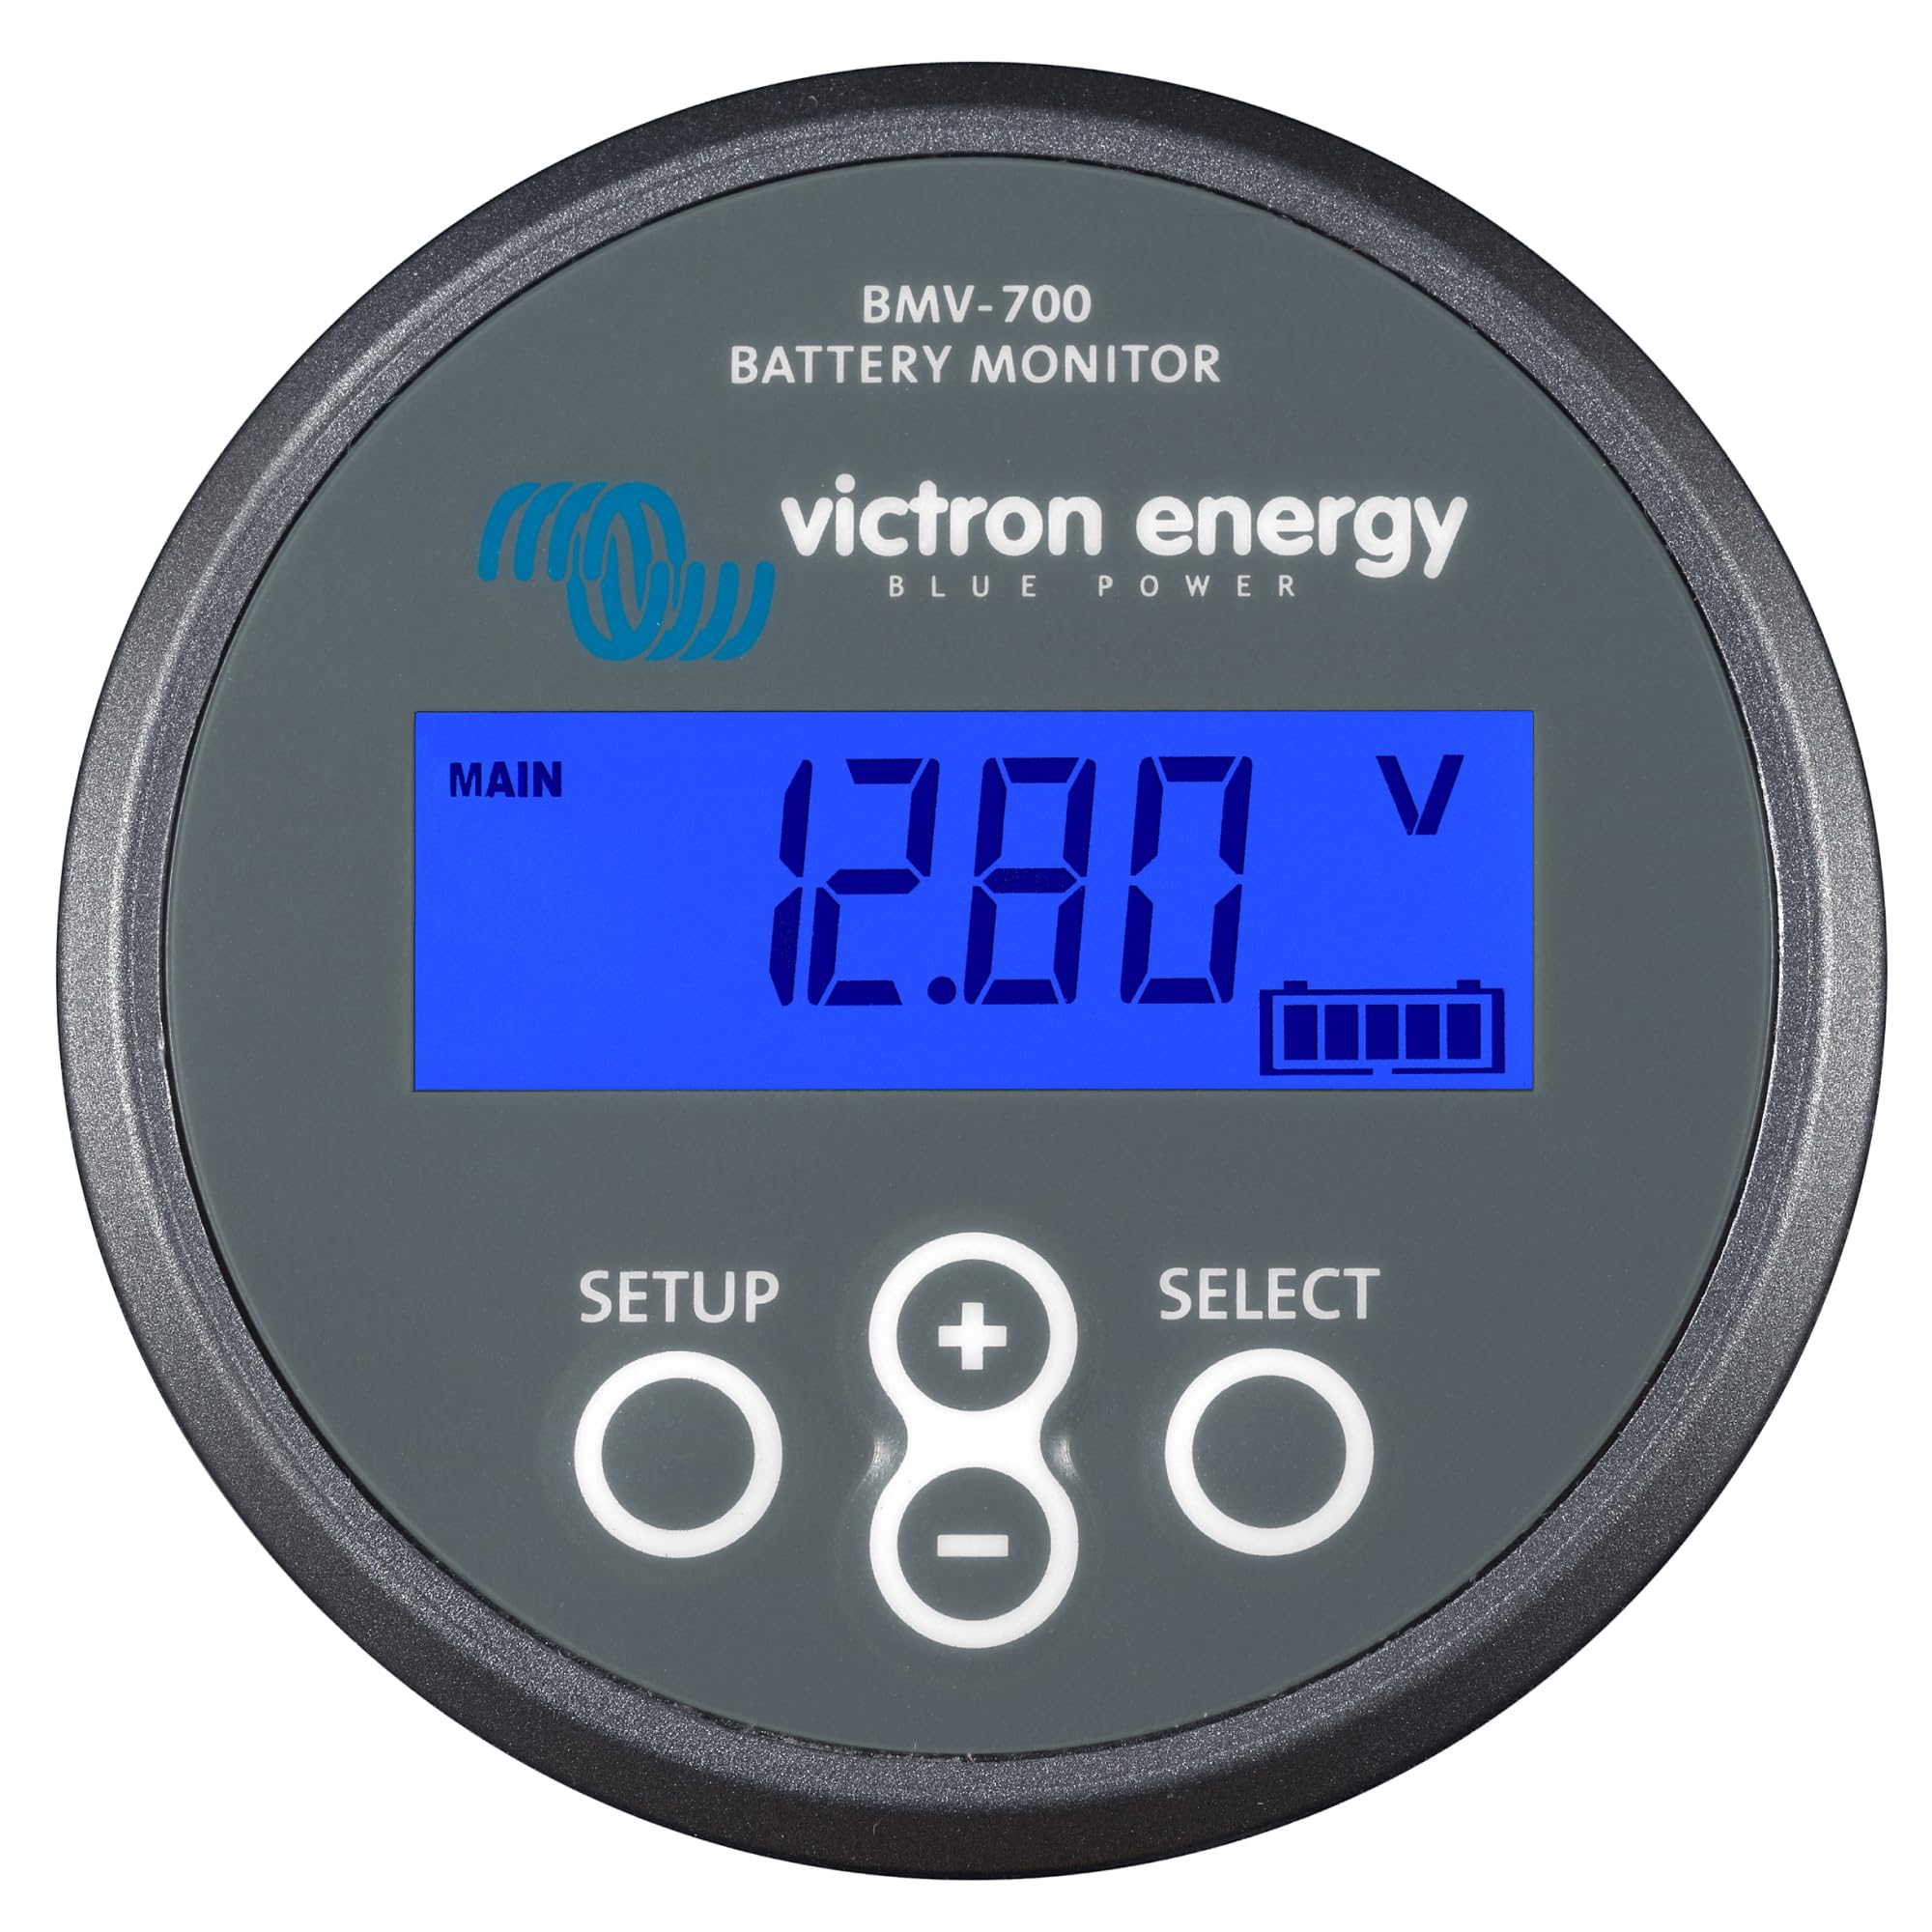
- •Optional: Battery monitor (e.g., shunt-based like Victron BMV-712)
- •Optional: Solar panel mounting hardware
Estimated Time: 1-2 hours for setup; 5-10 minutes daily monitoring
Difficulty: intermediate
▸Step-by-Step Instructions
Step 1: Calculate Your Power Needs
Determine daily energy consumption (Wh) by listing loads (e.g., lights 100W x 5h = 500Wh) and adding 20-50% for inefficiencies. Divide by 5 peak sun hours to size panels (e.g., 1000Wh / 5h = 200W panels). For batteries, aim for 2-3 days autonomy (e.g., 1000Wh x 3 / 24V = 125Ah).
Why it matters: Oversizing wastes money; undersizing fails during clouds. Expect a spreadsheet or app like PVWatts for calculations.
Use this formula: Panels (W) = Daily Wh / (Sun hours x 0.8 efficiency).
💡 Tips:
- •Factor in location's insolation from NREL maps.
- •Start small and expand.
⚠️ Warnings:
- •Don't exceed battery DoD (50% lead-acid, 80% lithium).
Step 2: Select Compatible Components
Choose panels with Vmp ~36-48V in series for 24V charging. Pick MPPT controller with battery voltage 24V, input Voc > panel max, output current > panels/24V x 1.25.
Verify battery type matches controller settings (e.g., LiFePO4 needs custom curve). Success: Specs align, no voltage mismatches.
💡 Tips:
- •MPPT > PWM for 20-30% more efficiency in 24V systems.
⚠️ Warnings:
- •Avoid PWM for series wiring; can damage batteries.
Step 3: Mount and Wire Solar Panels
Secure panels south-facing at latitude tilt. Connect in series (+ to -, parallel if needed). Run UV wire to controller location, max 10% voltage drop.
Expect: Panels produce ~Voc x temp factor (e.g., 45V open circuit). Use MC4 connectors for waterproof joins.
💡 Tips:
- •Elevate for airflow; clean monthly.
Step 4: Install Charge Controller
Mount near batteries (<6ft) in ventilated spot. Connect panel + to PV+, - to PV-. Set battery type via app/buttons (24V auto-detect).
Why: Controller regulates to 3-stage charge (bulk 28.8V, absorption 29.2V, float 27V). Success: LEDs show PV connected, voltage reading.
⚠️ Warnings:
- •Disconnect all before wiring.
Step 5: Connect to 24V Battery Bank
Wire controller BAT+ to battery + via fuse (controller Amps x 1.25), BAT- to -. For multiple batteries, series parallel balance.
Expect: Controller powers up, shows battery 24-26V. Fans spin if hot.
💡 Tips:
- •Use torque specs on lugs (5-7Nm).
Step 6: Add Safety Fuses and Breakers
Install ANL fuse near battery +, DC breaker on PV line. Ground frame/chassis.
Why: Prevents shorts/fires. Success: No sparks, multimeter continuity check.
⚠️ Warnings:
- •Fuse rating > controller max, < wire ampacity.
Step 7: Test and Commission System
Cover panels, connect last wire. Uncover, measure PV amps (multimeter inline), battery voltage rise. Enable loads.
Success: App/logs show bulk charge, 10-20A input on sunny day.
💡 Tips:
Step 8: Monitor and Equalize
Daily check SOC >80%, monthly equalize lead-acid (30.6V 1-2h). Use Bluetooth app.
Expect: Full charge by afternoon, float hold overnight.
⚠️ Warnings:
▸Pro Tips
- •Wire shortest runs to minimize losses; use calculator for AWG.
- •Add temp sensor to controller for accurate charging.
- •Tilt panels seasonally for 20% more yield.
- •Use DC-DC charger from alternator as solar backup.
- •Log voltage/amps weekly to predict issues.
- •Lithium batteries charge faster, last 5x longer.
- •Shade one panel in series? Whole string drops—use bypass diodes.
▸Common Mistakes to Avoid
- •Wrong wire gauge: Causes 10-20% loss/heat—use ampacity charts.
- •Ignoring polarity: Sparks damage controllers—double-check +/-.
- •PWM controller on high-voltage panels: No charge, battery sulfation.
- •No fuses: Fire risk from shorts—always protect positive leads.
- •Over-discharging: Kills lead-acid—set low-voltage cutoff.
▸Troubleshooting
Problem: No charge, PV voltage 0V
Solution: Check MC4 connections, polarity; test panel Voc >20V.
Problem: Battery not reaching float
Solution: Clean terminals; verify settings match battery type; check sulfation.
Problem: Controller error/alarm
Solution: Overheat? Improve ventilation. High volt? Reduce panels.
Problem: Low amps despite sun
Solution: Dirty panels/shade; MPPT scan button.
Problem: When unsure, consult electrician.
Solution: undefined
Renogy Rover 40A MPPT Solar Charge Controller
Efficient MPPT tracking boosts yield 30% over PWM; Bluetooth app for real-time monitoring in 24V systems.
Best for: Mid-size setups (400-800W panels); remote viewing via app.
Price Range: $99.99
Ampere Time 24V 100Ah LiFePO4 Battery
Lightweight (23lbs), 4000+ cycles, built-in BMS prevents overcharge—ideal for solar longevity.
Best for: RV/cabin banks needing deep discharge without damage.
Price Range: $269.99
Renogy 100W 12V Monocrystalline Solar Panel (x2 for series)
High efficiency cells, durable frame; two in series perfect for 24V input.
Best for: Portable or roof-mount arrays under 600W.
Price Range: $85 each
Klein Tools MM400 Digital Multimeter
Accurate auto-ranging for DC voltage/amps up to 600V; rugged for solar fieldwork.
Best for: Testing connections, verifying charge stages.
Price Range: $29.97
Victron Energy SmartShunt 500A/50mV
Bluetooth battery monitor tracks SOC, consumption precisely—essential for optimizing 24V systems.
Best for: Long-term monitoring without guesswork.
Price Range: $109