
Renogy 100W 12V Monocrystalline Solar Panel
Ideal for single battery setups in RVs or boats; portable with kickstands.
$95-$110
Renogy 100W 12V Monocrystalline Solar Panel High-efficiency mono cells deliver reliable 18V output for fast 12V charging.
Get the App
Better experience on mobile
Build a reliable solar charging setup for your 12V batteries and power off-grid adventures with step-by-step instructions for beginners to intermediates.
Whether you're powering an RV, boat, cabin, or emergency backup system, charging 12V batteries with solar panels offers clean, free energy independence. But mismatched components or improper wiring can lead to undercharging, overcharging, or even battery damage—common frustrations for off-grid enthusiasts.
In this guide, you'll learn everything from sizing your system to safe installation and testing. We'll cover selecting parts, wiring a charge controller, and monitoring performance for optimal results. Expect a straightforward process focusing on deep-cycle lead-acid or lithium batteries.
This intermediate-level tutorial takes 1-2 hours to set up, assuming basic electrical knowledge like reading a multimeter. No prior solar experience needed—we'll explain key concepts along the way.
Estimated Time: 1-2 hours for initial setup + 4-8 hours for first full charge Difficulty: intermediate
Start by determining how much power your battery needs. Measure your battery's amp-hour (Ah) capacity (e.g., 100Ah) and daily usage. For a 100Ah 12V battery, aim for 100-200W solar input to recharge in 4-6 hours of sunlight.
Use this formula: Required Watts = (Battery Ah × Depth of Discharge × 1.2) / Peak Sun Hours (typically 4-5 hours/day). Why? This accounts for inefficiencies and ensures full daily recharge. Success: A panel size matched to your needs—no guesswork.
Pro tip: For RVs or boats, add 20% buffer for cloudy days.
💡 Tips:
⚠️ Warnings:
Choose a 12V nominal panel (Voc < controller max). Mount it in full sun, tilted at your latitude angle (e.g., 30° south-facing). Secure with Z-brackets on a roof, pole, or ground rack.
Why tilt? Maximizes energy capture (up to 30% more). Expect 5-15A output in peak sun. Test open-circuit voltage (Voc) with multimeter: Should read 18-22V unloaded.
Secure cables with UV-resistant zip ties to prevent wear.
💡 Tips:
⚠️ Warnings:
Mount the controller indoors or shaded, near the battery (within 3 ft to minimize voltage drop). Use MPPT for 20-30% more efficiency than PWM, especially in partial sun.
Why essential? Prevents overcharging (battery boil-over) and regulates voltage to 14.4V bulk/absorption/float stages. Success: LEDs or app shows 'battery connected' and no errors.
💡 Tips:
⚠️ Warnings:
Wire positive (+) battery terminal to controller's BAT+ (with 30A fuse inline, 6-12" from battery). Negative (-) to BAT-. Torque to spec (usually 10-15 Nm).
Why first? Powers controller safely. Expect controller to power up, showing battery voltage ~12.2-12.8V (50-100% SOC). Use ring terminals for secure connections.
Check polarity: Reverse fries the controller.
💡 Tips:
⚠️ Warnings:
Connect panel + to PV+, - to PV- using MC4 cables. Add 15-20A fuse on PV+ line if >10 ft away.
Why last? Safest order. In sun, expect 10-15A charging current (multimeter on PV terminals). Controller LCD shows MPPT tracking, voltage stabilizing.
Success: Green charging light; amps flowing to battery.
💡 Tips:
⚠️ Warnings:
Install fuses: 30A ANL on battery +, 20A on PV+. Optional: DC breaker for easy disconnect, battery temp sensor.
Why? Protects against shorts/overloads. Test continuity with multimeter—no voltage drop >0.2V across fuses.
System now safe for loads like lights/inverter.
💡 Tips:
⚠️ Warnings:
Expose panel to sun, check multimeter: PV 17-22V, charge amps 5-15A, battery rising to 14.4V. Monitor 1-2 cycles.
Why? Verifies full operation. Success: Battery reaches 100% SOC in expected time (e.g., 8A × 6hrs = 48Ah input).
Log data daily initially.
💡 Tips:
⚠️ Warnings:
Clean panel monthly, check connections quarterly. Equalize lead-acid batteries per controller schedule.
Why ongoing? Ensures 5+ year lifespan. Expect 10-20% seasonal output variation.
💡 Tips:
Problem: No charging (0A output)
Solution: Check connections/polarity, clean panel, verify >17V PV. Test controller fuse.
Problem: Battery not reaching full charge
Solution: Confirm absorption stage (14.4V), check for sulfation (equalize), add capacity.
Problem: Overheating wires/controller
Solution: Upgrade wire gauge, add shade/ventilation, check amp draw < rating.
Problem: Low voltage in shade/clouds
Solution: Normal—add second panel or generator backup. MPPT helps most.
Problem: Controller error lights
Solution: Reset power, check manual codes (e.g., HH=high voltage). Replace if faulty.
High-efficiency mono cells deliver reliable 18V output for fast 12V charging.
Best for: Ideal for single battery setups in RVs or boats; portable with kickstands.
Price Range: $95-$110
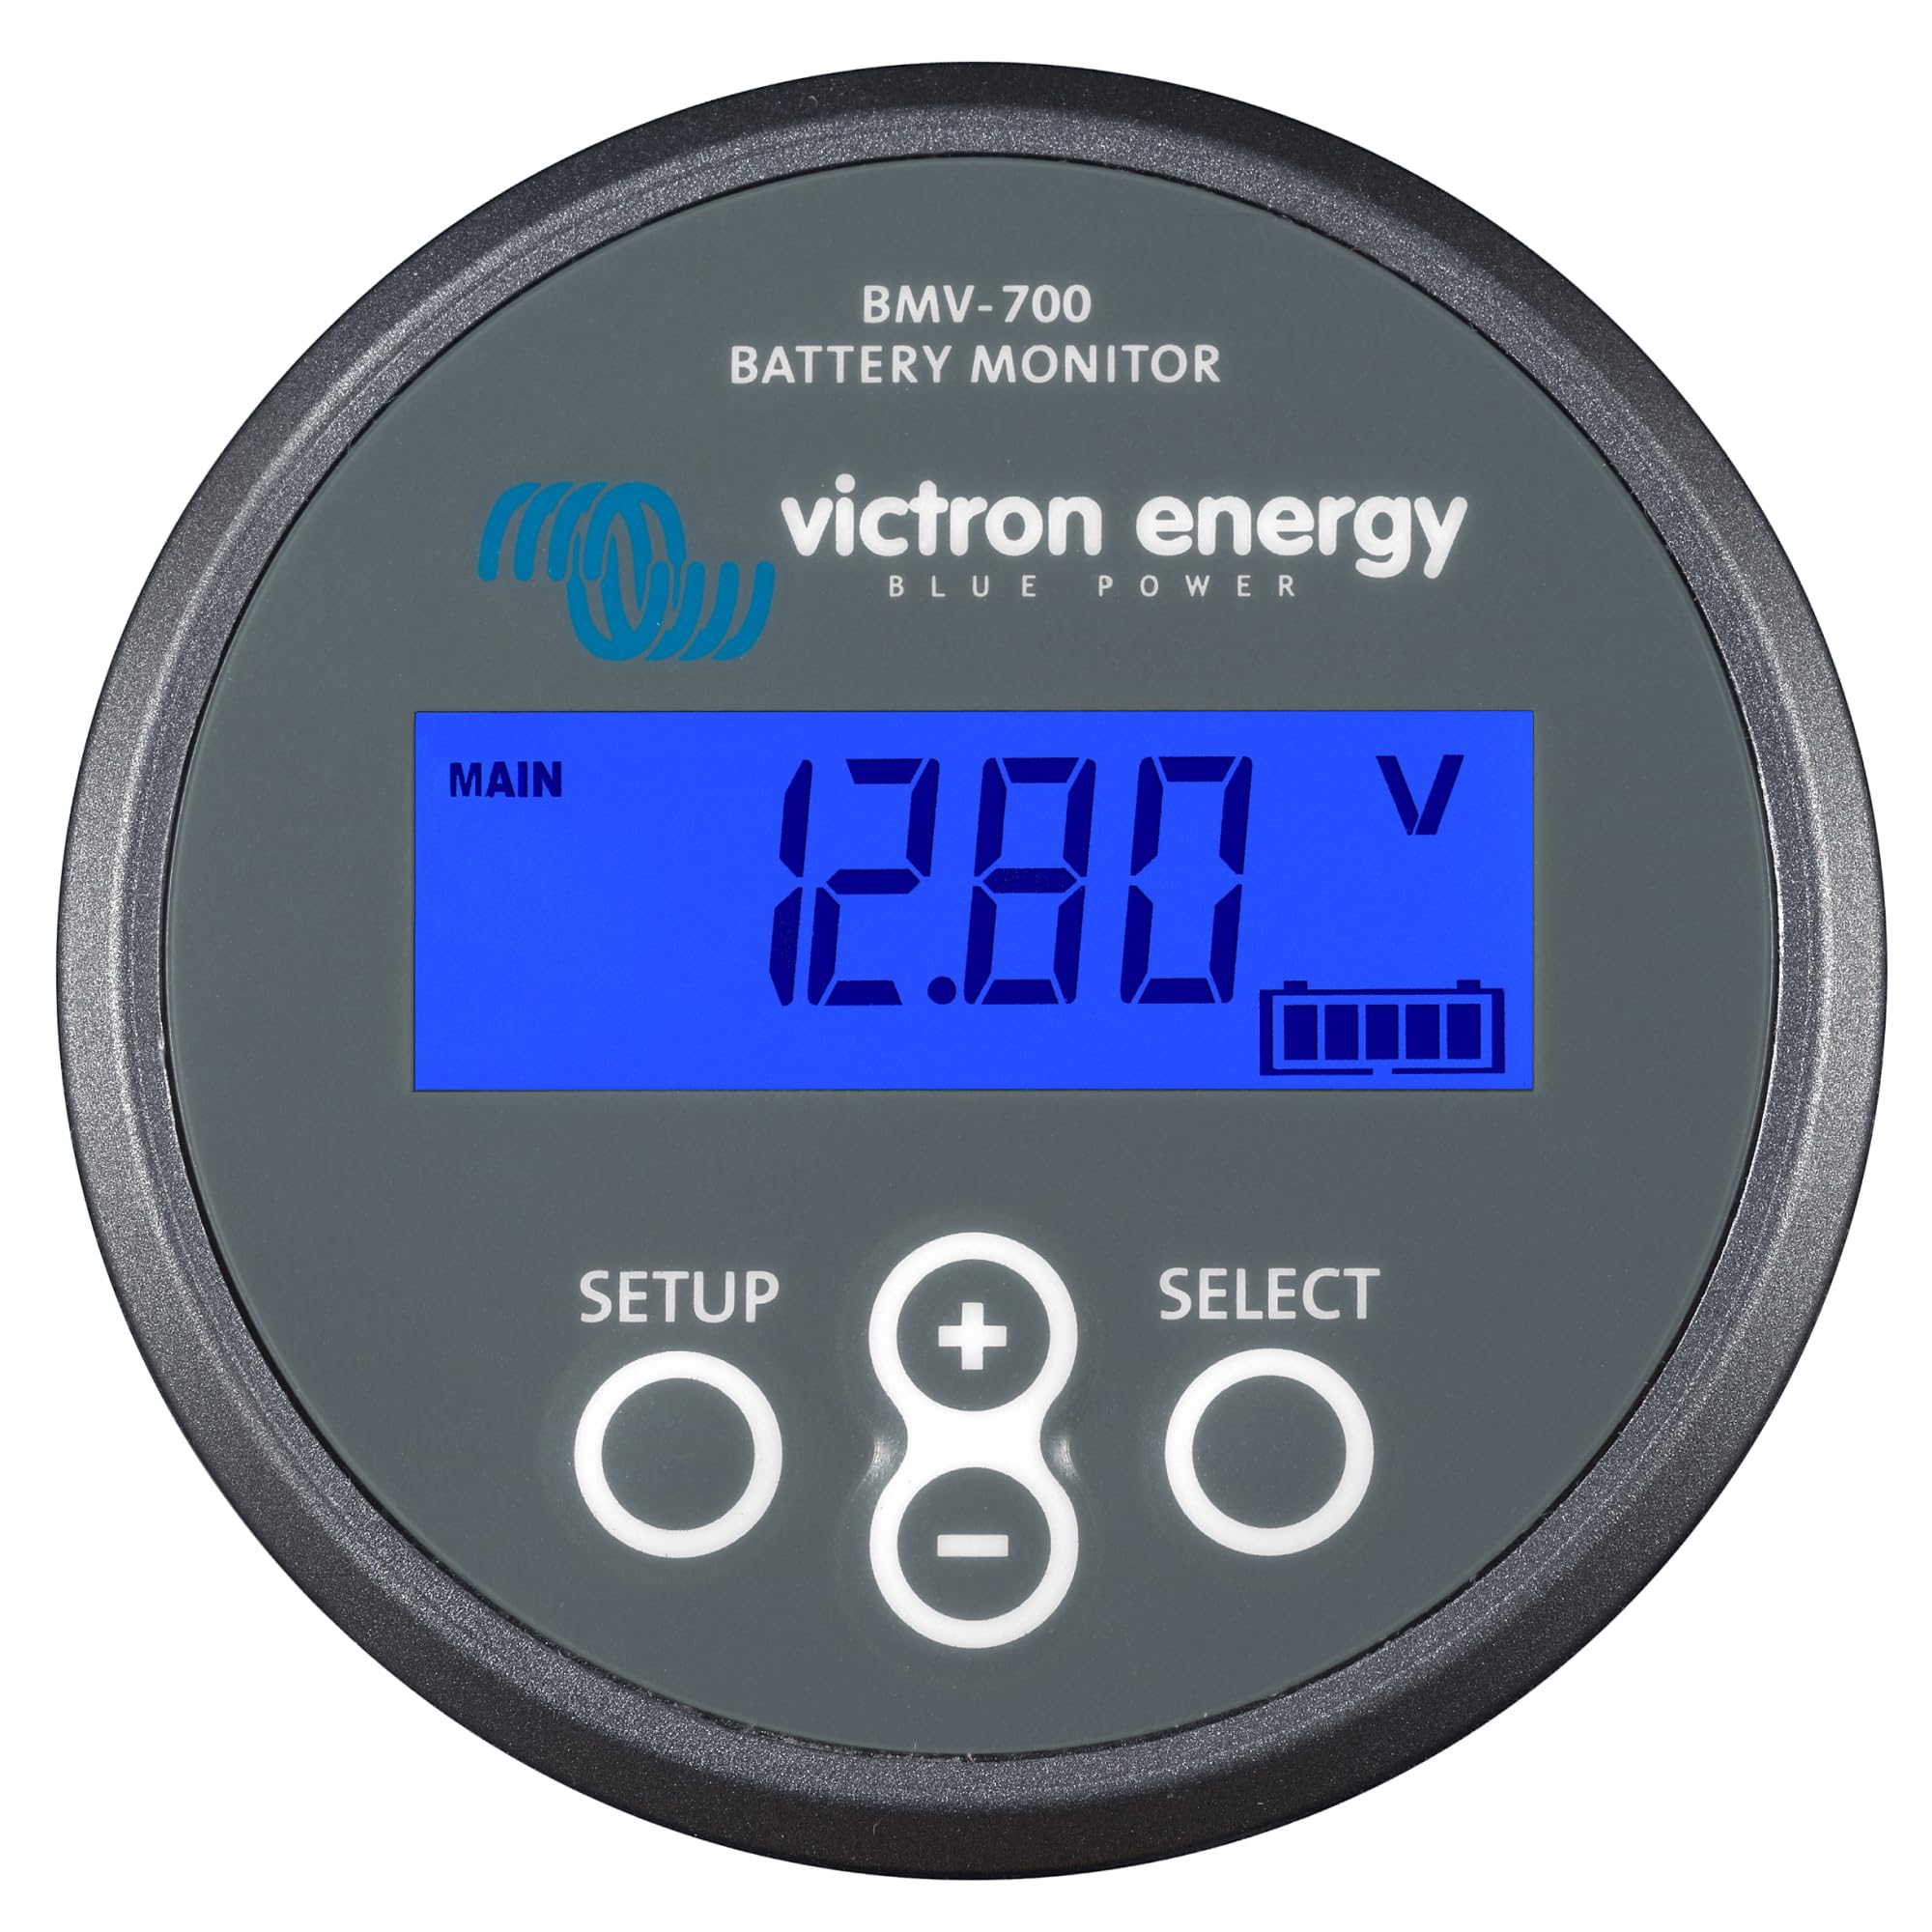
Bluetooth monitoring and 98% efficiency maximize harvest in variable weather.
Best for: Any 12V system up to 200W panels; app tracks SOC and history.
Price Range: $80-$100
Maintenance-free, deep-cycle design handles 50% DOD without damage.
Best for: Primary battery for solar storage; spill-proof for marine/off-road.
Price Range: $170-$200
Budget-friendly with LCD display for basic setups; protects against overcharge.
Best for: Entry-level 100W systems where MPPT isn't needed.
Price Range: $15-$25
Thick gauge minimizes loss; weatherproof MC4 connectors for easy plug-in.
Best for: Connecting rooftop panels to indoor controller.
Price Range: $25-$35
Ideal for single battery setups in RVs or boats; portable with kickstands.
Renogy 100W 12V Monocrystalline Solar Panel High-efficiency mono cells deliver reliable 18V output for fast 12V charging.
Any 12V system up to 200W panels; app tracks SOC and history.
Victron Energy SmartSolar MPPT 100/20 Charge Controller Bluetooth monitoring and 98% efficiency maximize harvest in variable weather.
Primary battery for solar storage; spill-proof for marine/off-road.
Mighty Max ML100-12 12V 100Ah AGM Battery Maintenance-free, deep-cycle design handles 50% DOD without damage.
Entry-level 100W systems where MPPT isn't needed.
Renogy 20A PWM Solar Charge Controller Budget-friendly with LCD display for basic setups; protects against overcharge.
Connecting rooftop panels to indoor controller.
BougeRV 10AWG Solar Extension Cable 20FT Thick gauge minimizes loss; weatherproof MC4 connectors for easy plug-in.