
Renogy Rover 20A MPPT Solar Charge Controller
Ideal for 100-200W solar setups charging 100Ah batteries.
$69.99
Renogy Rover 20A MPPT Solar Charge Controller Efficient MPPT tech extracts max power from panels, Bluetooth monitoring via app.
Get the App
Better experience on mobile
Master safe, efficient charging of 12V batteries in solar setups to extend battery life and power your off-grid system reliably.
In solar-powered setups, properly charging your 12V batteries is crucial to avoid undercharging, overcharging, or sulfation that shortens battery lifespan. Many off-grid enthusiasts struggle with dead batteries during cloudy days or improper setups, leading to costly replacements. This guide solves that by walking you through the process step-by-step.
You'll learn how to set up a solar charge controller, connect components safely, monitor voltage, and maintain peak performance. Whether using lead-acid, AGM, or lithium batteries, these intermediate techniques ensure 2-5x longer battery life.
Expect 30-60 minutes for initial setup, plus 4-12 hours of charging time depending on sunlight and battery state. No advanced electrical knowledge needed—just follow the steps carefully.
Estimated Time: 30-60 minutes setup + 4-12 hours charging Difficulty: intermediate
Start with safety to prevent shocks, fires, or acid spills. Wear insulated gloves and safety glasses. Work in a well-ventilated area away from flammables. Disconnect all loads from the battery.
Why it matters: 12V systems can still spark or arc, especially during connection. Expect a clean, organized space ready for components.
Image description: Person wearing gloves and glasses inspecting tools on a workbench with solar components laid out.
💡 Tips:
⚠️ Warnings:
Visually check the battery for cracks, leaks, or bulging. Clean terminals with baking soda/water mix if corroded. Use a multimeter to measure open-circuit voltage (OCV): fully charged is 12.6-13.2V for lead-acid/AGM, 13.2-13.6V for lithium.
Why? Discharged batteries (<12.0V) need equalization; over-discharged ones (<11.8V) may be sulfated. Success: Voltage reading displayed, battery confirmed viable.
Rinse and dry terminals thoroughly.
💡 Tips:
⚠️ Warnings:
Secure the controller near the battery (within 3-6 feet to minimize voltage drop). Connect a fuse between battery positive and controller (30A for most 12V setups).
Wire battery first: positive (+) to controller BAT+, negative (-) to BAT-. This order prevents reverse polarity damage. Tighten connections firmly but not excessively.
Expect: Controller powers on with LED indicators if battery is connected correctly.
💡 Tips:
⚠️ Warnings:
Match panel voltage to controller input (e.g., 18-20V panels for 12V battery). Connect panel positive to PV+, negative to PV-.
Why: Controller converts high-voltage panel output to safe battery charging (bulk, absorption, float stages). Success: PV LEDs light up, showing input voltage/power.
Cover panels initially to avoid sparks.
💡 Tips:
⚠️ Warnings:
Access controller settings via app, buttons, or display. Set battery type (e.g., AGM: absorption 14.4V, float 13.5V; Lithium: 14.4V bulk, 13.5V cutoff).
Enable temperature compensation if sensor attached. Start in manual mode to test.
Why: Wrong settings cause under/overcharge. Success: Display shows correct voltages matching your battery specs.
💡 Tips:
⚠️ Warnings:
Uncover panels; controller enters bulk charge (constant current). Monitor for 15-30 min: amps rising, voltage climbing.
Track stages: bulk (to ~80%), absorption (constant voltage), float (maintenance). Use multimeter or app for real-time SOC.
Expect full charge in 4-12 hours under good sun.
💡 Tips:
⚠️ Warnings:
Once float stage holds >12.6V for 1 hour, load test battery (connect a 10A load, voltage >12.2V). Disconnect PV first, then battery.
Why: Verifies full capacity. Success: Battery holds charge under load.
Store if not using; recharge monthly.
💡 Tips:
⚠️ Warnings:
Problem: No charging despite sun
Solution: Check PV voltage (>17V), fuses, polarity. Clean panels.
Problem: Battery won't hold charge
Solution: Test OCV after rest; sulfated? Desulfate or replace. Check for parasitic loads.
Problem: Controller overheating
Solution: Improve ventilation; reduce PV input. Fan if needed.
Problem: Overcharge alarms
Solution: Verify settings match battery; add temp sensor.
Problem: Low output in shade
Solution: Switch to MPPT; add bypass diodes or more panels.
Efficient MPPT tech extracts max power from panels, Bluetooth monitoring via app.
Best for: Ideal for 100-200W solar setups charging 100Ah batteries.
Price Range: $69.99
Ultra-reliable with VE.Direct app for precise monitoring and custom profiles.
Best for: Intermediate users needing temp compensation and data logging.
Price Range: $89.00-$99.00
Accurate voltage/current testing essential for safe setup and troubleshooting.
Best for: Daily checks on battery health and connections.
Price Range: $29.97
Drop-in lithium upgrade with BMS for safe charging, 3,000+ cycles.
Best for: Long-term solar storage replacing lead-acid.
Price Range: $799.00-$899.00
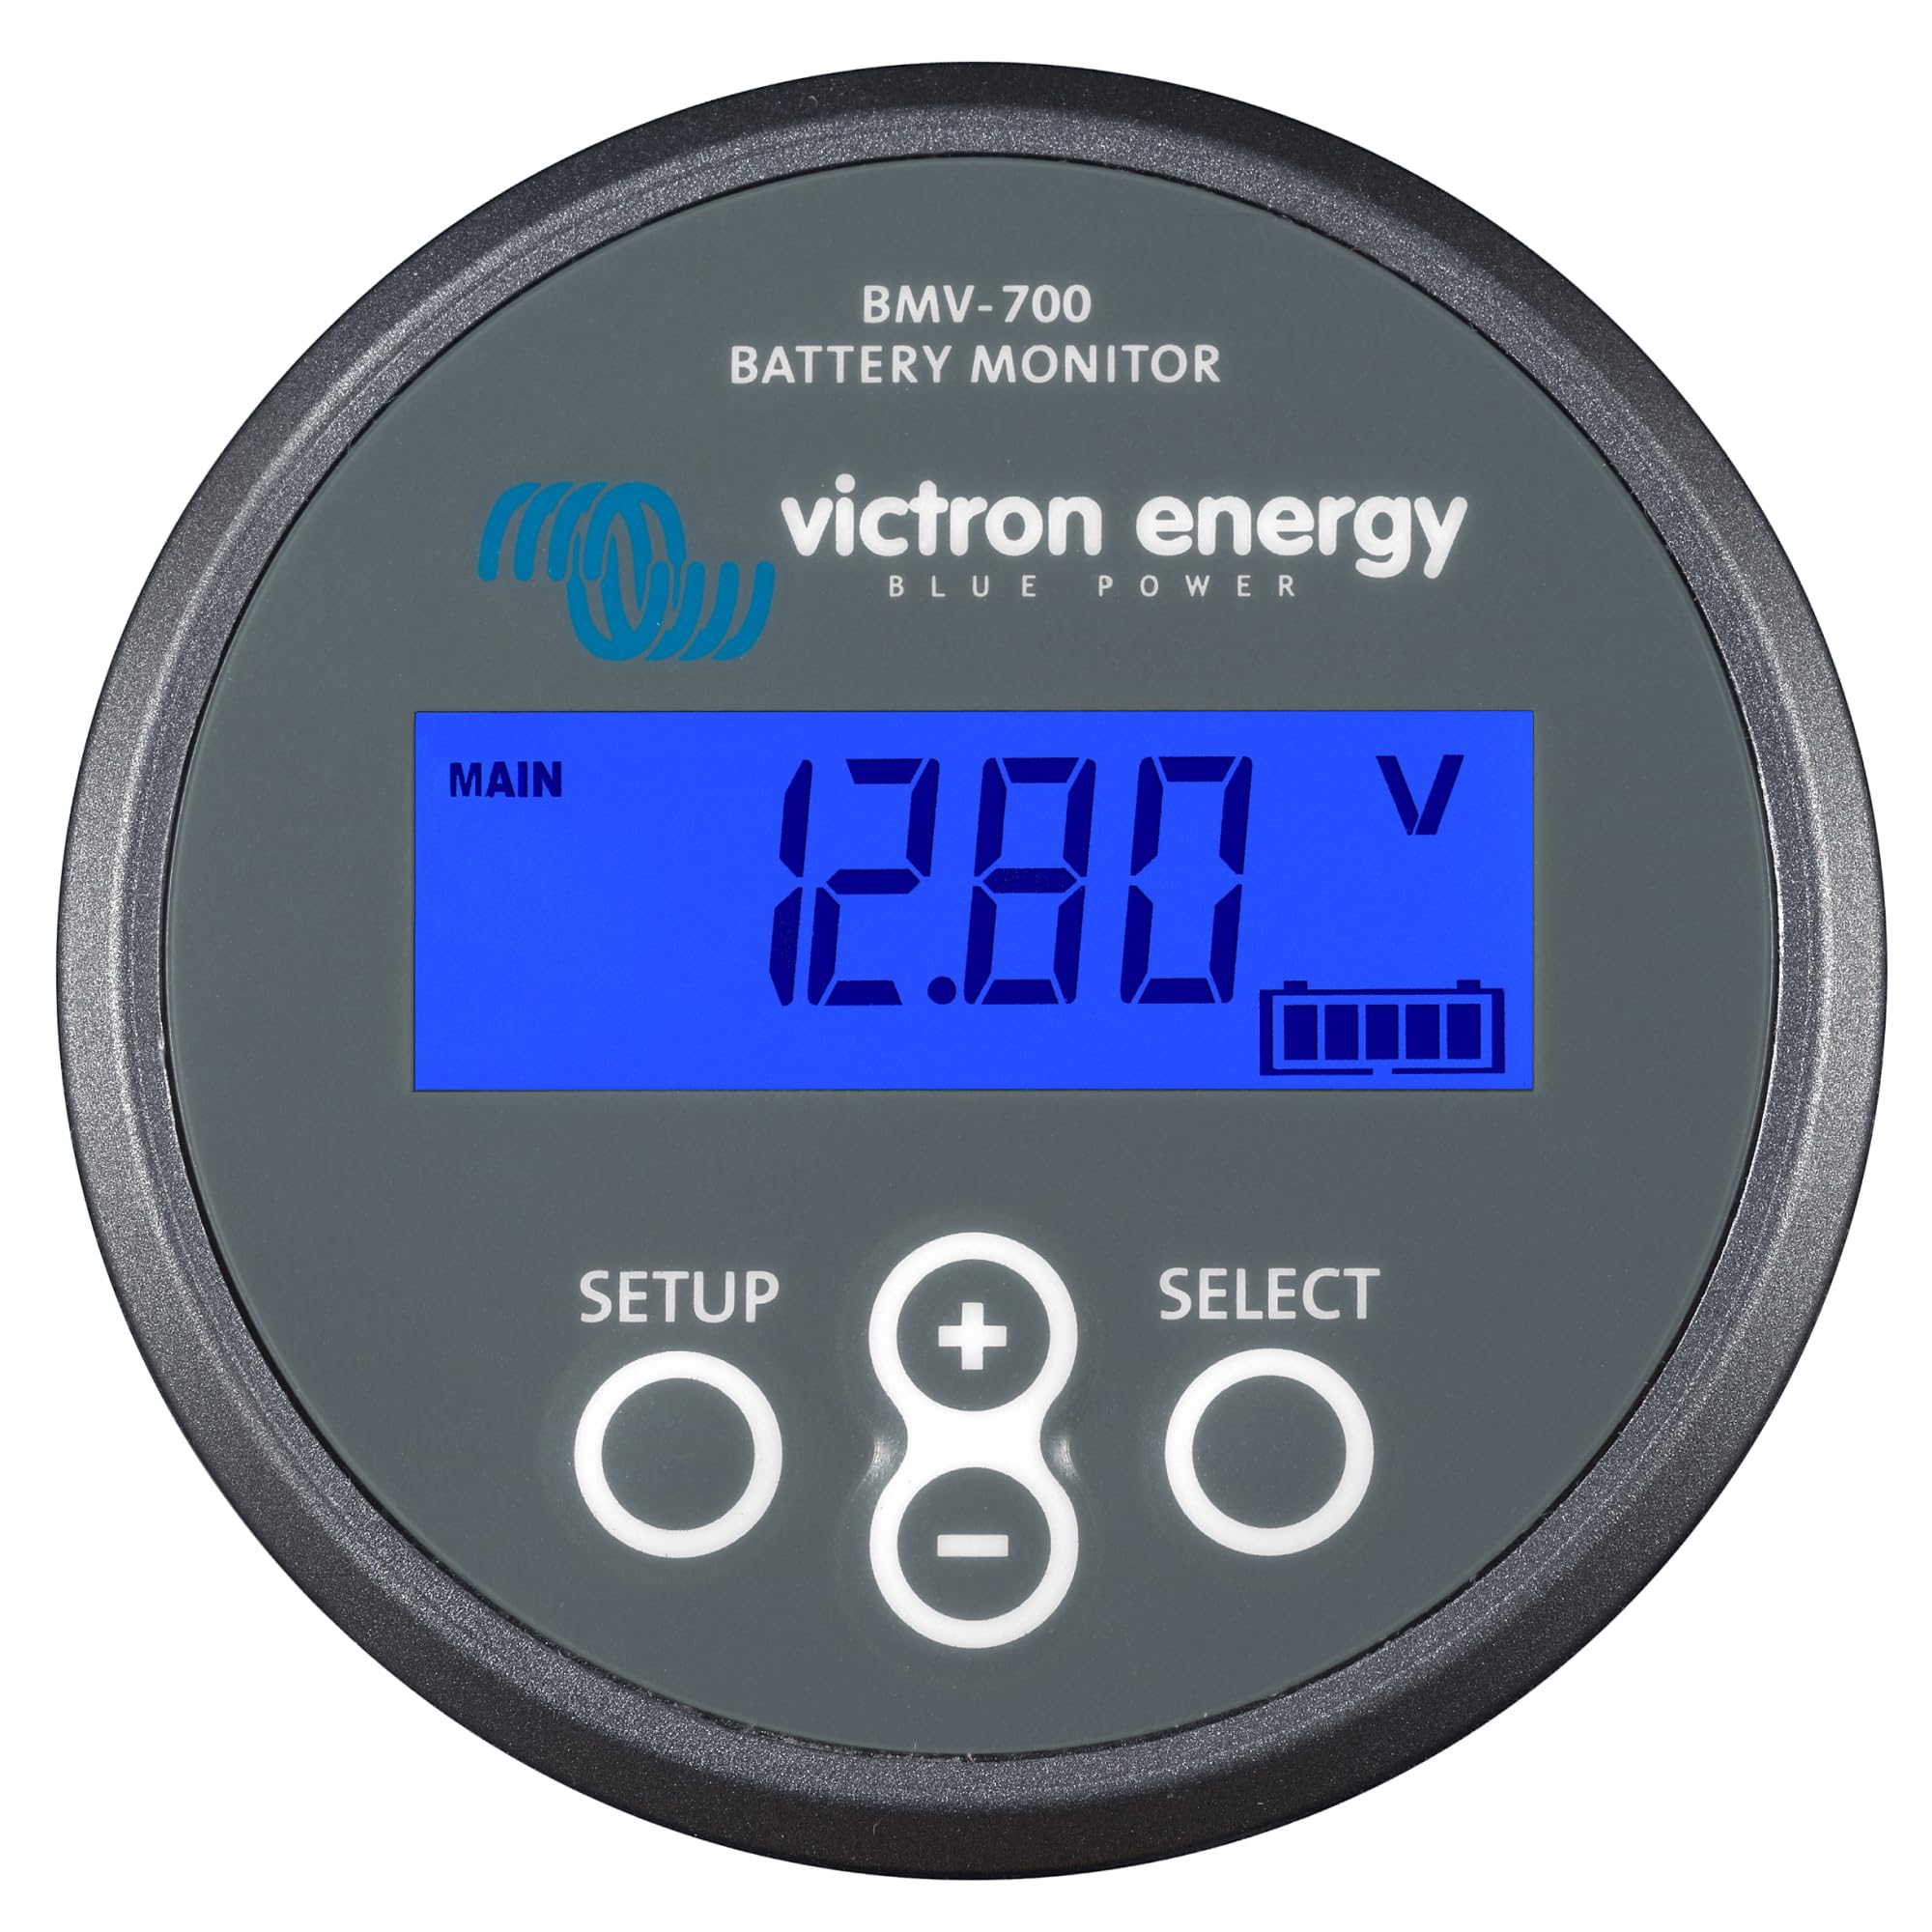
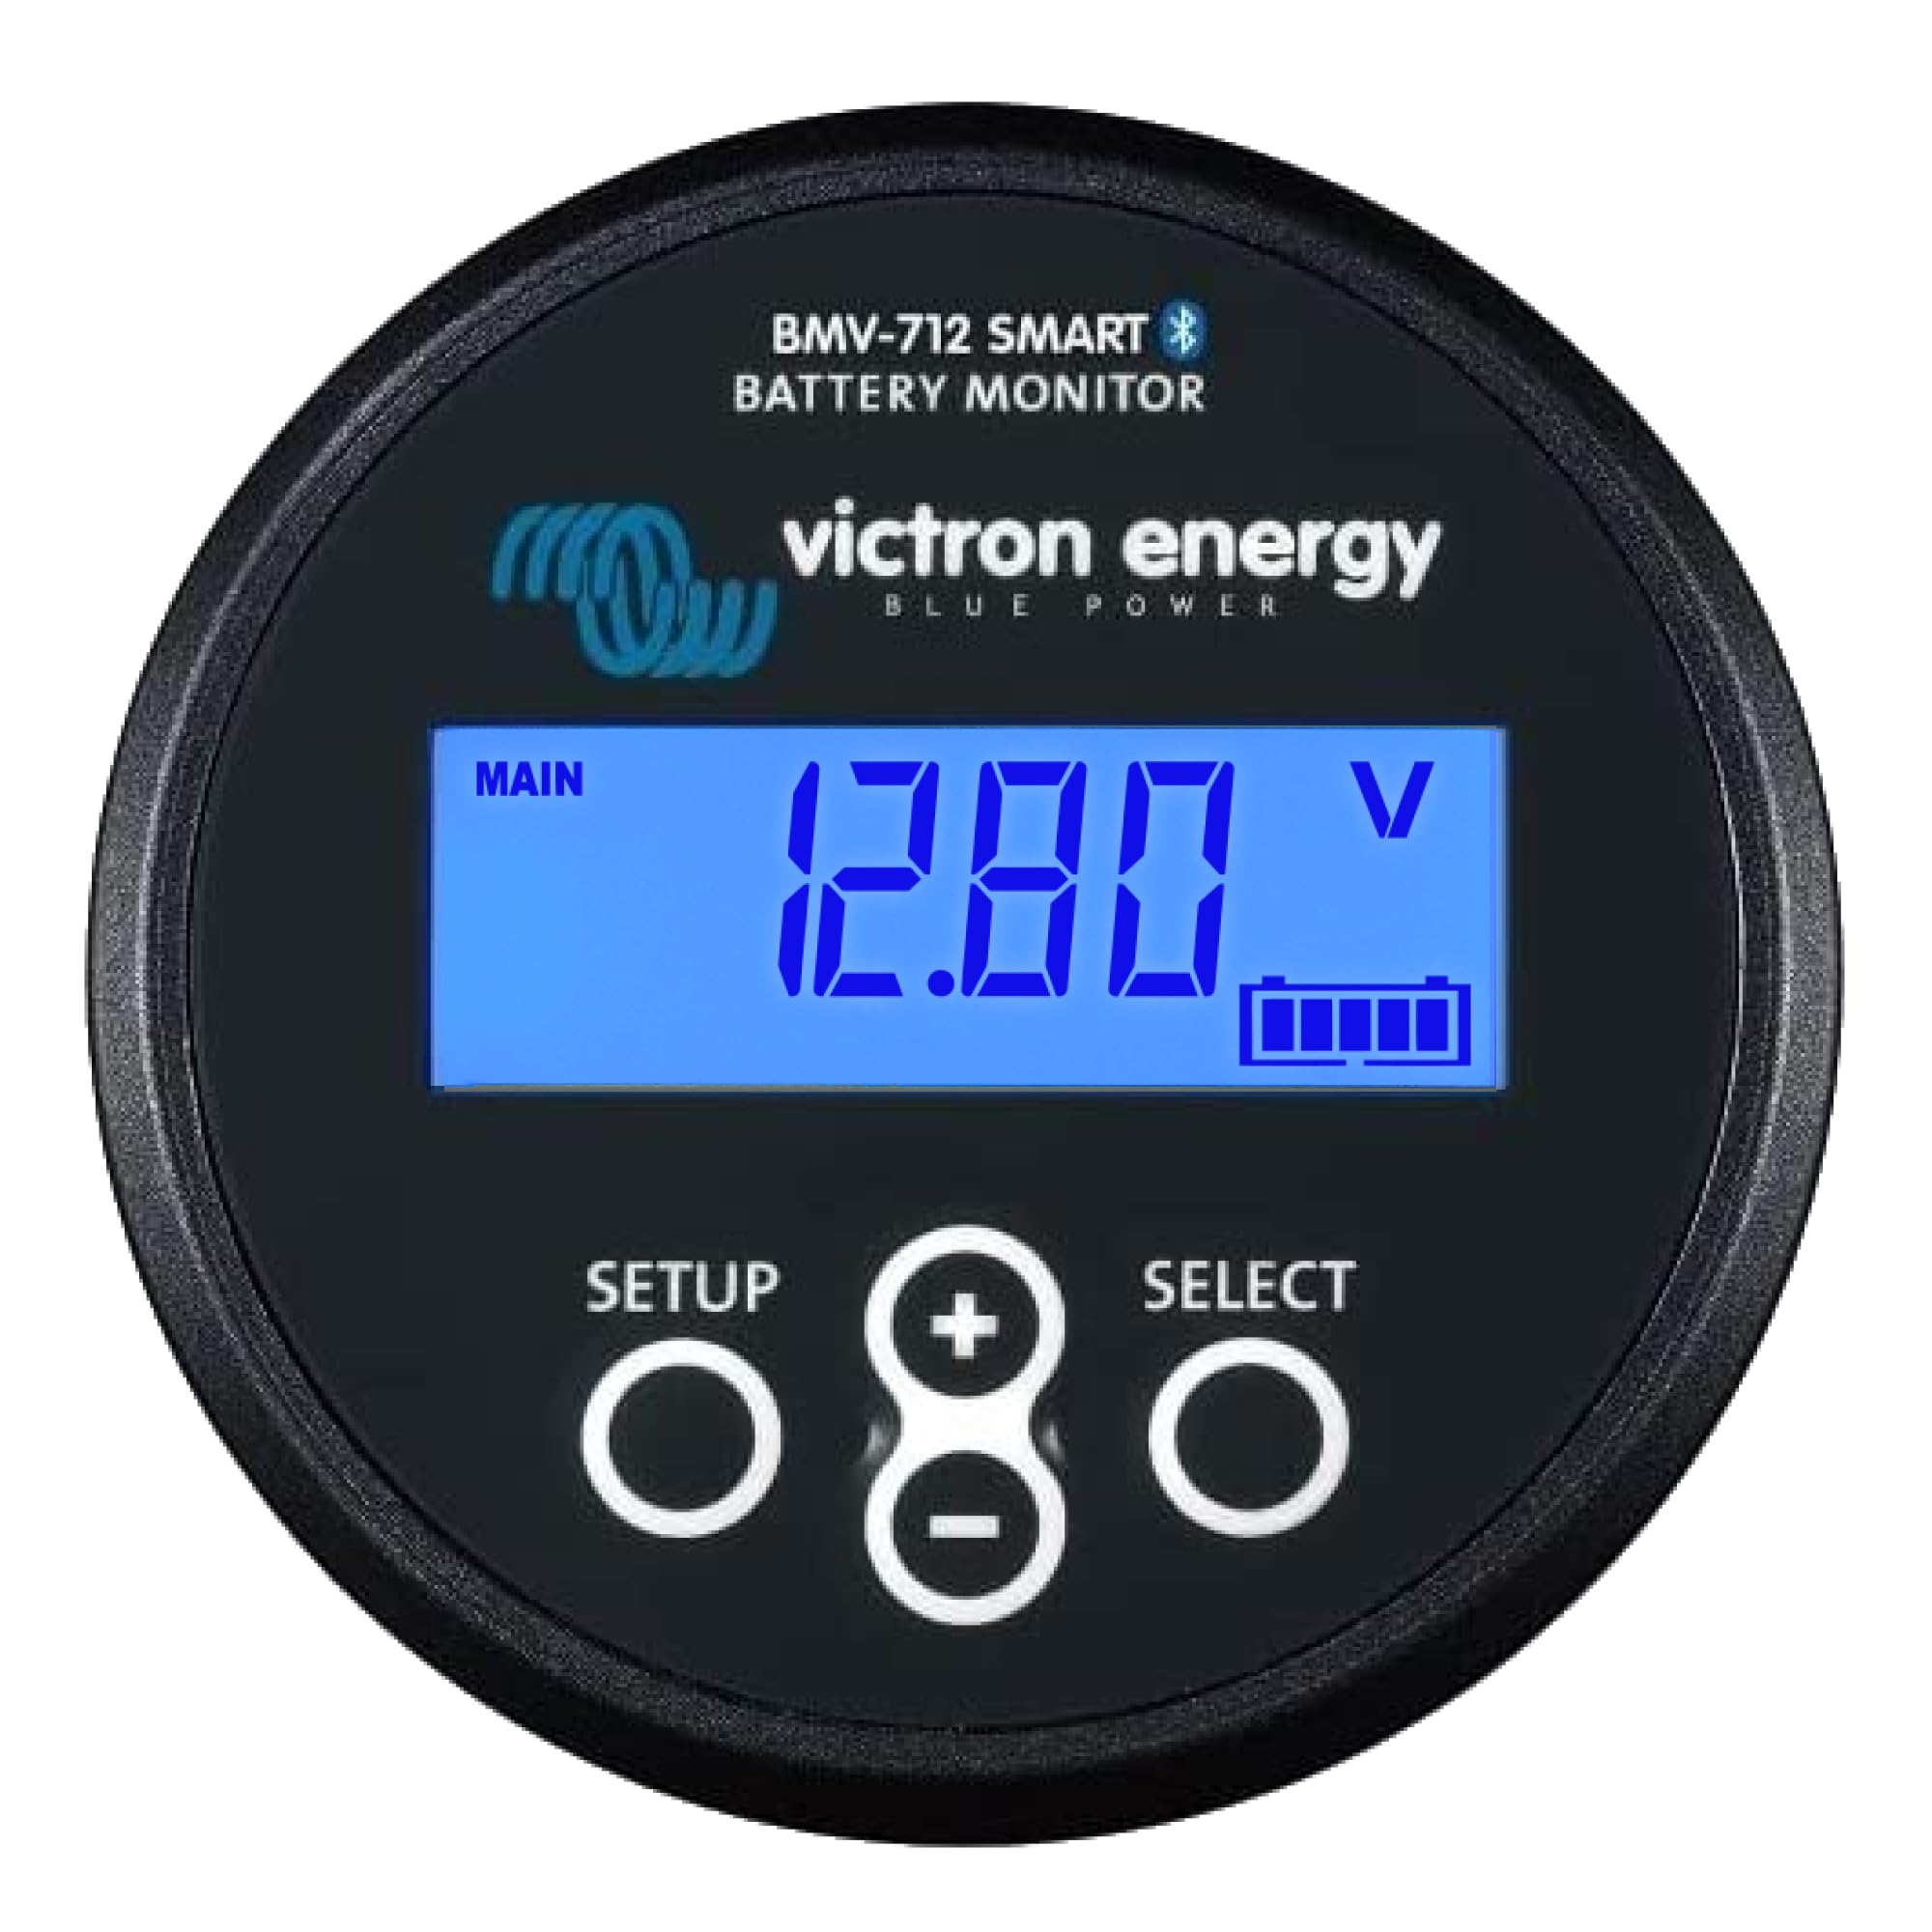
Bluetooth SOC tracking prevents deep discharge.
Best for: Ongoing monitoring in fixed solar installs.
Price Range: $152.30
Ideal for 100-200W solar setups charging 100Ah batteries.
Renogy Rover 20A MPPT Solar Charge Controller Efficient MPPT tech extracts max power from panels, Bluetooth monitoring via app.
Intermediate users needing temp compensation and data logging.
Victron Energy SmartSolar MPPT 100/20 Ultra-reliable with VE.Direct app for precise monitoring and custom profiles.

Daily checks on battery health and connections.
Klein Tools MM400 Digital Multimeter Accurate voltage/current testing essential for safe setup and troubleshooting.

Long-term solar storage replacing lead-acid.
Battle Born BB10012 100Ah 12V LiFePO4 Battery Drop-in lithium upgrade with BMS for safe charging, 3,000+ cycles.
Ongoing monitoring in fixed solar installs.
Victron BMV-712 Smart Battery Monitor Bluetooth SOC tracking prevents deep discharge.