
NOCO GENIUS5 12V Smart Charger
Primary charger for RV house batteries; safe for beginners.
$60-$70
NOCO GENIUS5 12V Smart Charger Fully-automatic with repair modes for AGM/lead-acid; prevents overcharge.
Get the App
Better experience on mobile
Master safe 12V battery charging for your RV in simple steps to avoid damage, fires, and downtime on your next trip.
Nothing kills an RV adventure faster than a dead 12V battery—leaving you stranded without lights, fans, or fridge power. As a beginner RVer, safely charging your deep-cycle lead-acid or AGM batteries is essential to extend their life and ensure reliable performance. This guide walks you through the process step-by-step.
You'll learn everything from safety prep to monitoring and testing, using common tools like a smart charger and multimeter. The whole process takes 30-60 minutes (plus charging time), is beginner-friendly, and focuses on preventing common hazards like overcharging or sparks.
By the end, your battery will be fully charged, tested, and ready for the road, with tips to make it routine maintenance.
Estimated Time: 30-60 minutes active time + 4-12 hours charging Difficulty: beginner
Choose a flat, non-flammable surface outdoors or in a well-ventilated garage—away from kids, pets, and flammable materials. Battery charging produces hydrogen gas, which is explosive, so ventilation prevents buildup.
Wear safety goggles and insulated gloves to protect against acid splashes or sparks. Disconnect the battery from the RV if possible to avoid electrical shorts. Success: Clean, safe area ready—no clutter or fire risks.
💡 Tips:
⚠️ Warnings:
Visually check for cracks, bulges, leaks, or corrosion on terminals (white/blue powdery buildup). Clean terminals with a wire brush and baking soda/water mix if corroded—rinse and dry.
For flooded batteries, check electrolyte levels; top up with distilled water if low (never acid). Why? Damaged batteries can leak or explode. Success: Battery looks intact, terminals shiny and dry.
💡 Tips:
⚠️ Warnings:
Set multimeter to DC volts (20V scale). Touch red probe to positive (+) terminal, black to negative (-). A healthy 12V battery reads 12.6V+ (full), 12.2V (50%), under 12V needs charge.
Note the reading. Why? Confirms if charging is needed and tracks progress. Success: Voltage recorded, probes handled safely (no sparks).
💡 Tips:
⚠️ Warnings:
Match charger clamps: red to positive (+, larger terminal), black to negative (-). For smart chargers, connect black to a chassis ground first if battery is in RV, then positive, avoiding direct negative terminal sparks.
Plug into a grounded outlet. Success: Secure connections, no loose clamps, charger powered on.
💡 Tips:
⚠️ Warnings:
Select 12V mode (lead-acid, AGM, or auto-detect on smart chargers). Set to low amp (2-10A) for safety. Press start—LEDs show bulk, absorption, float stages.
Why? Matches battery type prevents gassing/overcharge. Expect fans/humming; monitor temp (shouldn't exceed 125°F). Success: Charger running, stage 1 indicated.
💡 Tips:
⚠️ Warnings:
Check every 30-60 minutes: voltage rising? No excessive heat/smoke? Full charge: 12.6-13.2V, charger switches to float.
Time varies (4-12 hours). Why? Catches issues early. Success: Steady progress, battery warming slightly but not hot.
💡 Tips:
⚠️ Warnings:
Unplug charger, remove black clamp first, then red. Remeasure voltage: 12.6V+ = success. Reconnect to RV if needed.
Why? Verifies full charge. Success: Battery at full voltage, ready for use.
💡 Tips:
⚠️ Warnings:
Problem: Battery not charging (0 amps shown)
Solution: Check connections, fuses, outlet. Test voltage—dead battery? Replace.
Problem: Battery overheating (>125°F)
Solution: Stop charging, let cool, use lower amps. Poor ventilation?
Problem: Voltage stuck below 12.4V after hours
Solution: Battery sulfated—use desulfator mode or replace. Retest.
Problem: Sparks or smoke
Solution: Disconnect immediately, ventilate, inspect for shorts. Seek pro if damaged.
Fully-automatic with repair modes for AGM/lead-acid; prevents overcharge.
Best for: Primary charger for RV house batteries; safe for beginners.
Price Range: $60-$70
Compact, waterproof maintainer with spark-proof tech.
Best for: Storage maintenance or slow overnight charges.
Price Range: $30-$40
Accurate, easy-to-read for voltage/amperage checks.
Best for: Pre/post-charge testing on any 12V battery.
Price Range: $15-$20
Fast charge for deeply discharged batteries with multi-stage.
Best for: Quick top-ups before trips; budget-friendly.
Price Range: $40-$50
Anti-fog, durable for acid/splash protection.
Best for: Essential PPE during inspections and charging.
Price Range: $10-$15
Primary charger for RV house batteries; safe for beginners.
NOCO GENIUS5 12V Smart Charger Fully-automatic with repair modes for AGM/lead-acid; prevents overcharge.
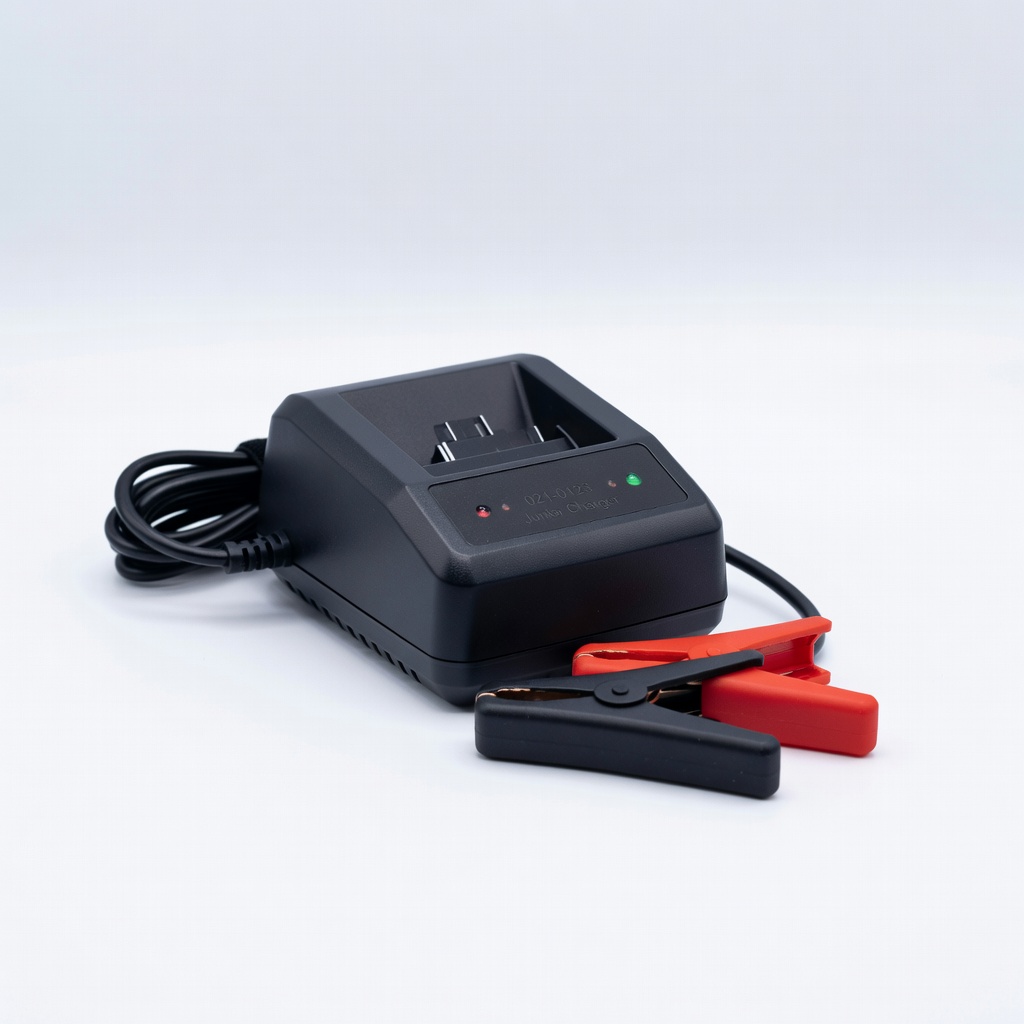
Storage maintenance or slow overnight charges.
Battery Tender 021-0123 Junior Charger Compact, waterproof maintainer with spark-proof tech.
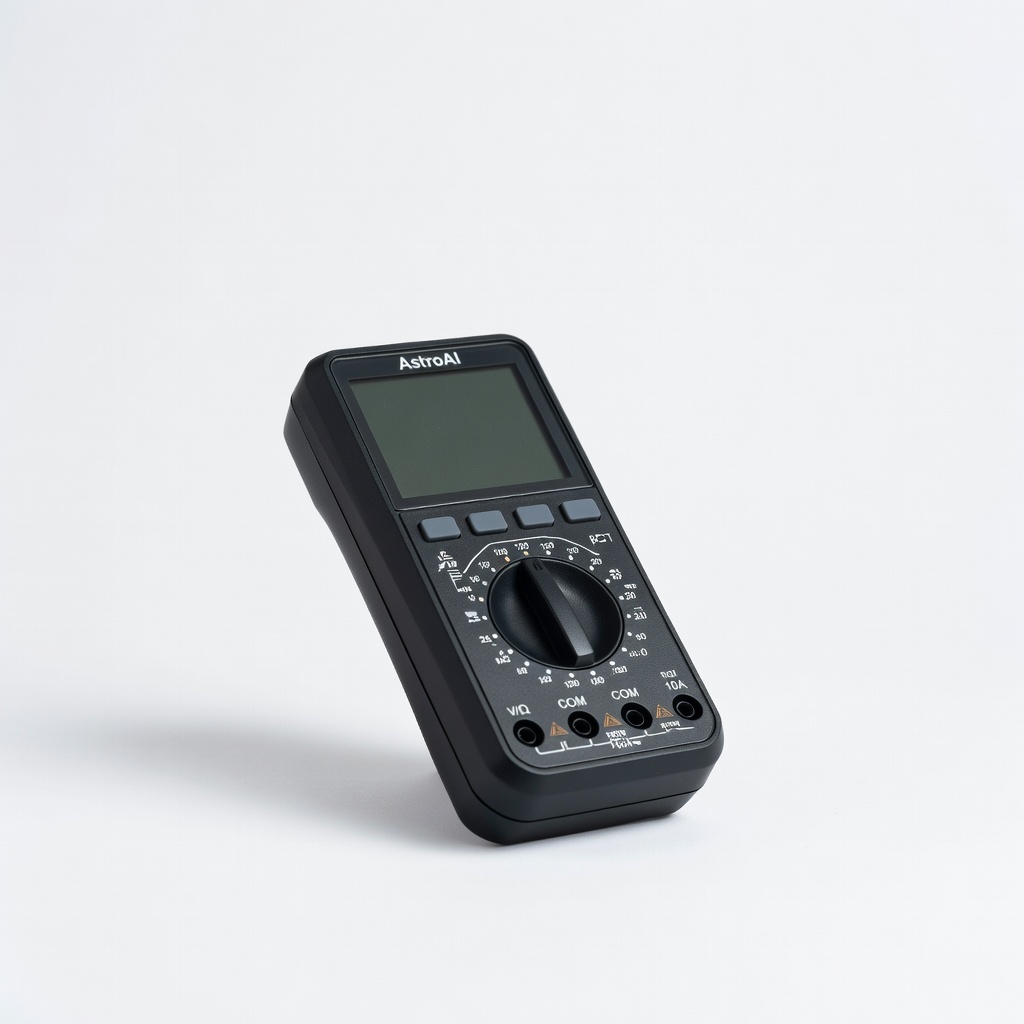
Pre/post-charge testing on any 12V battery.
AstroAI Digital Multimeter Accurate, easy-to-read for voltage/amperage checks.
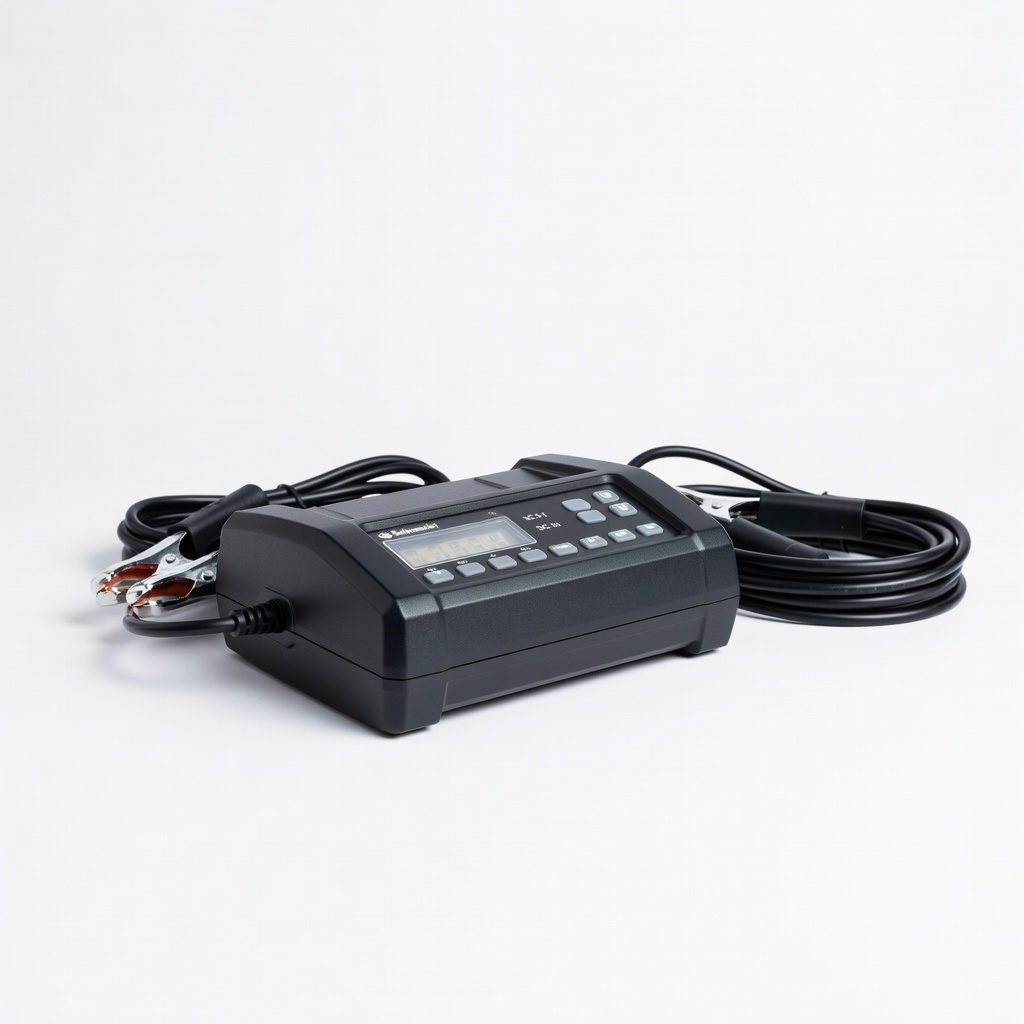
Quick top-ups before trips; budget-friendly.
Schumacher SC1281 30A Charger Fast charge for deeply discharged batteries with multi-stage.

Essential PPE during inspections and charging.
NoCry Safety Goggles Anti-fog, durable for acid/splash protection.