Nothing kills an RV adventure faster than dead 12V batteries leaving you stranded without lights, fans, or pumps. RV batteries, typically deep-cycle lead-acid, AGM, or lithium types, power your essentials when boondocking or off-grid. Improper charging leads to sulfation, reduced capacity, or even fires—common issues for intermediate RVers upgrading from basic maintenance.
In this guide, you'll learn how to safely charge your 12V RV batteries using a smart charger, from inspection to full charge verification. We'll cover flooded, AGM, and lithium specifics for all setups. Expect 30-60 minutes per battery your first time, dropping to 15-30 with practice. Intermediate skills like using a multimeter are assumed, but we'll explain key terms.
By the end, your batteries will hit optimal voltage (12.6-13.2V rested), ready for reliable power.
▸What You'll Need
- •Smart 12V battery charger (multi-stage, compatible with lead-acid/AGM/lithium)
- •Digital multimeter (for voltage/amperage checks)
- •Battery terminal cleaning brush and baking soda solution
- •Safety glasses and gloves
- •Distilled water (for flooded lead-acid batteries only)
- •Wrench or socket set (10mm common for terminals)
- •Optional: Battery hydrometer (for flooded batteries)
Estimated Time: 30-60 minutes per battery
Difficulty: intermediate
▸Step-by-Step Instructions
Step 1: Prepare Your Workspace and Safety Gear
Choose a well-ventilated area away from flames or sparks—RV batteries can release explosive hydrogen gas during charging. Wear safety glasses and nitrile gloves to protect against acid splashes.
Disconnect the battery from your RV: Negative (-) cable first, then positive (+). This prevents shorts. Label cables to avoid mix-ups.
Success looks like: Clean, dry workspace with battery isolated and you geared up.
💡 Tips:
- •Work on a non-conductive surface like wood or rubber mat.
⚠️ Warnings:
- •Never charge in an enclosed RV compartment—ventilation is critical to avoid explosions.
Step 2: Inspect the Battery
Visually check for cracks, bulges, leaks, or corrosion on terminals. For flooded lead-acid, inspect electrolyte levels—tops of plates should be covered by 1/4-1/2 inch.
Use your multimeter set to DC volts: Probe positive then negative terminals. A healthy rested battery reads 12.6V+ (fully charged), 12.2-12.4V (50-75%). Below 12V? It's deeply discharged—proceed cautiously.
Success looks like: No damage noted, voltage recorded (e.g., 12.3V).
💡 Tips:
- •Take a 'before' voltage photo for tracking.
⚠️ Warnings:
- •Damaged batteries? Replace immediately—don't charge.
- •Lithium batteries rarely bulge; focus on BMS indicators if equipped.
Step 3: Clean Terminals and Refill if Needed
Mix baking soda and water (1:10 ratio) to neutralize corrosion. Scrub terminals with a wire brush, rinse with water, and dry thoroughly.
For flooded batteries only: Add distilled water to low cells using a turkey baster—never overfill. AGM/lithium are sealed; skip this.
Success looks like: Shiny, corrosion-free terminals ready for connection.
💡 Tips:
- •Apply dielectric grease post-clean for corrosion prevention.
⚠️ Warnings:
- •Acid eats clothes—rinse spills with baking soda water immediately.
Step 4: Connect the Charger
Match charger clamps: Red (+) to positive terminal first, black (-) to negative. Ensure firm connections—no wobbling.
Plug charger into a grounded 120V outlet. Smart chargers auto-detect; confirm display shows battery type.
Success looks like: Charger LEDs on, no sparks, initial voltage/amperage display (e.g., 10A bulk charge).
💡 Tips:
- •Connect to a dedicated outlet to avoid tripping breakers.
⚠️ Warnings:
- •Reverse polarity sparks fires—double-check + and -.
Step 5: Select Charging Mode
Choose mode: '12V Flooded' (14.4-14.8V bulk), 'AGM' (14.7V), or 'Lithium' (14.2-14.6V). Avoid 'standard' mode—use smart multi-stage (bulk, absorption, float).
Start charge. Bulk phase pushes high amps until ~80%; absorption finishes; float maintains.
Success looks like: Charger advances phases (e.g., green 'absorption' light after 1-2 hours).
💡 Tips:
- •For deeply discharged, use 'repair' mode if available (desulfates plates).
⚠️ Warnings:
- •Wrong mode overcharges AGM/lithium, causing heat/damage.
Step 6: Monitor the Charge
Check every 30 minutes: Battery warm (not hot >125°F)? Monitor multimeter (14.4V peak, drop to 13.2-13.8V float). Full charge: Amps <1-2A, voltage holds 12.6V+ after 1-hour rest.
Lithium charges faster (1-4 hours); lead-acid 4-12 hours based on capacity (e.g., 100Ah at 10A = ~10 hours).
Success looks like: Steady float mode, battery at 13.2V float.
💡 Tips:
- •Remote monitors like Victron BMV track remotely.
⚠️ Warnings:
- •Overnight ok with smart charger; manual timers risk under/overcharge.
Step 7: Disconnect and Test
Unplug charger from wall first. Remove black (-) clamp, then red (+). Let rest 1-4 hours, retest voltage: 12.6V+ = full.
Reconnect to RV: (+) first, then (-). Start appliances to confirm.
Success looks like: 12.7V rested voltage, systems power up smoothly.
💡 Tips:
- •Log charge time/voltage for maintenance schedule.
⚠️ Warnings:
- •Touch clamps together post-disconnect—sparks fly.
▸Pro Tips
- •Charge at 10-20% of battery Ah rating (e.g., 10A for 100Ah) for fastest, gentlest charge.
- •Equalize flooded batteries monthly (15V for 2-4 hours) to prevent sulfation.
- •Use temperature compensation chargers in extreme climates.
- •Store at 50% charge (12.2V) in off-season with float maintainer.
- •Upgrade to lithium for 5x cycles, but match charger.
- •Test under load: Good battery drops <0.5V starting fridge/pump.
- •Bulk buy distilled water for flooded batteries.
▸Common Mistakes to Avoid
- •Charging without ventilation—leads to hydrogen buildup and boom.
- •Using car chargers (14.8V constant) on deep-cycle—causes gassing/overheat.
- •Ignoring battery type—AGM needs 14.7V max, lithium 14.4V.
- •Fast-charging dead batteries without desulfate mode—worsens sulfation.
- •Skipping terminal cleaning—corrosion halves effective amps.
▸Troubleshooting
Problem: Charger won't start or shows error
Solution: Check connections, battery voltage >10V. Try 'repair' mode or test battery—replace if <11V.
Problem: Battery gets hot or boils (flooded)
Solution: Stop charging, ventilate, let cool. Wrong mode or bad cell—test specific gravity.
Problem: Voltage doesn't rise above 12.5V
Solution: Sulfated plates: Use desulfator charger 24-48 hours. If no improvement, replace.
Problem: Charger alarms low voltage
Solution: Deep discharge—jump with good battery briefly, then charge slowly.
Problem: Lithium won't charge
Solution: Check BMS—needs >2V/cell. Use Li-specific charger; reset if locked.
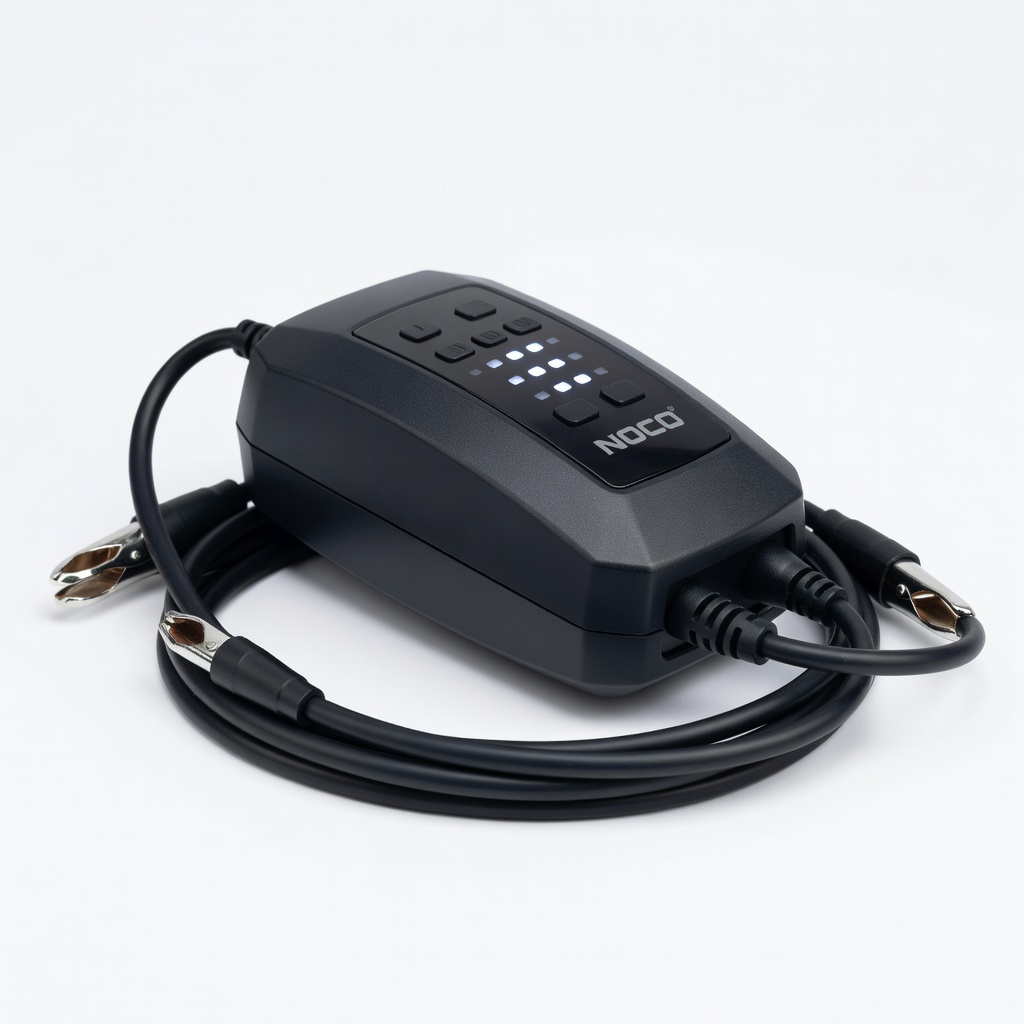
NOCO GENIUS5 12V Smart Charger
Fully-automatic multi-stage charger detects flooded/AGM/lithium, desulfates, and temperature compensates—ideal for RV versatility.
Best for: Primary charger for all 12V RV batteries; handles 5-120Ah.
Price Range: $59.95
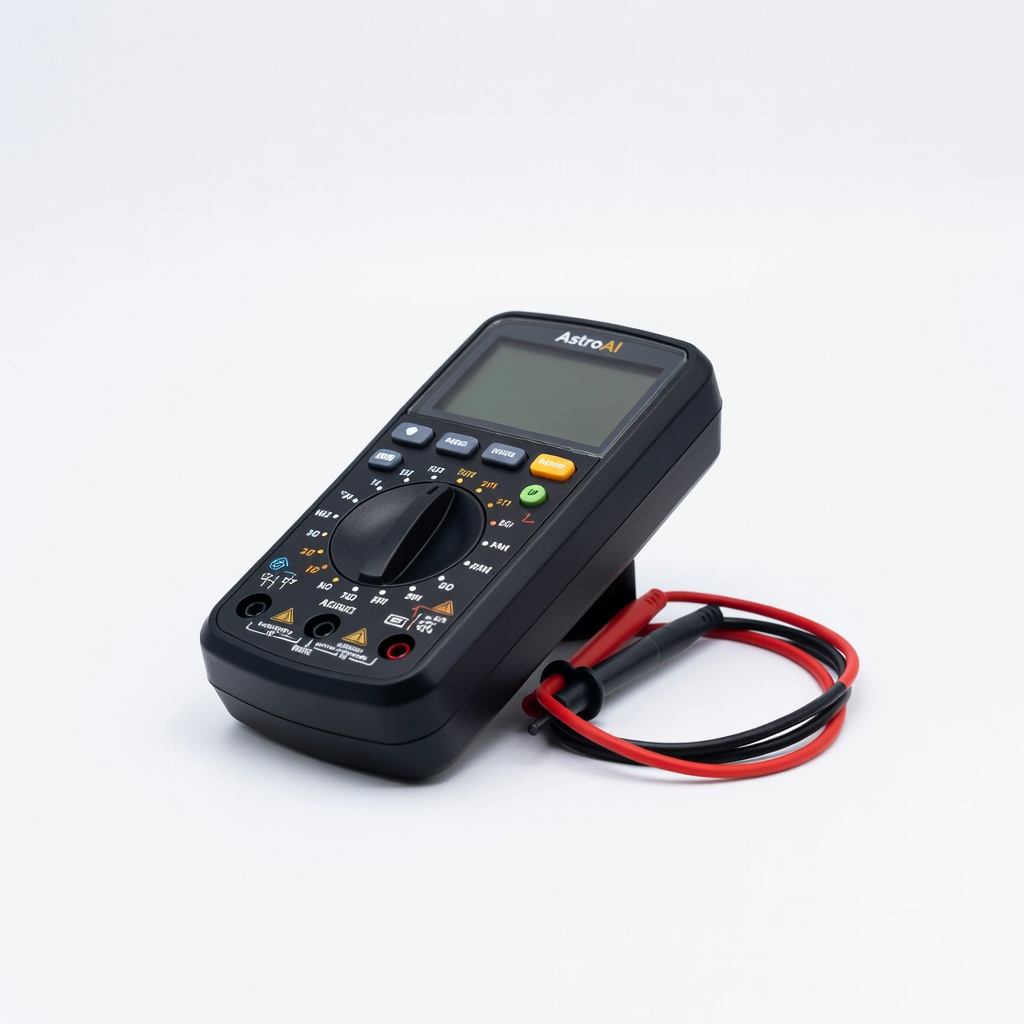
AstroAI Digital Multimeter
Accurate DC voltage/amperage readings with auto-range—essential for monitoring charge stages.
Best for: Verify voltage before/after charging and under load.
Price Range: $12.99
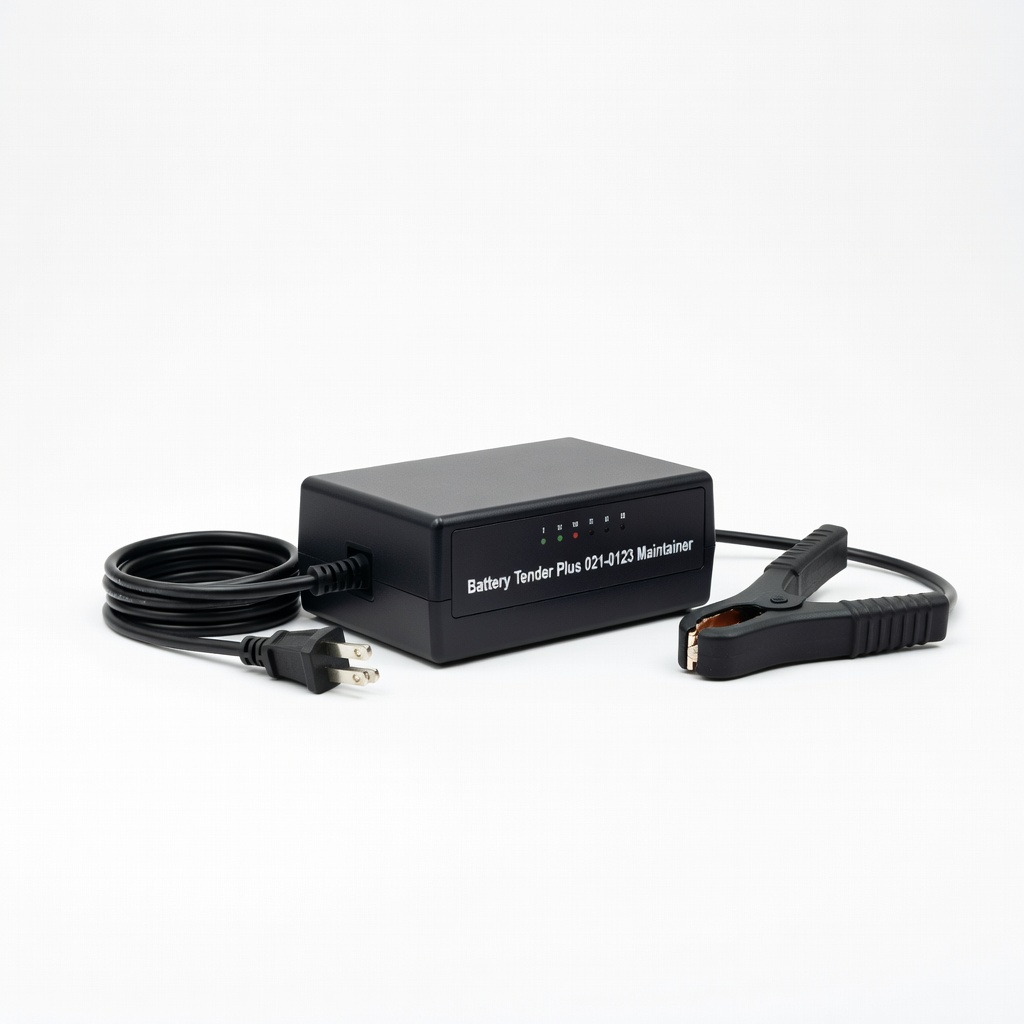
Battery Tender Plus 021-0123 Maintainer
Trickle float charger prevents self-discharge during storage—safer than full chargers for long-term.
Best for: Off-season maintenance or solar backup.
Price Range: $49.95
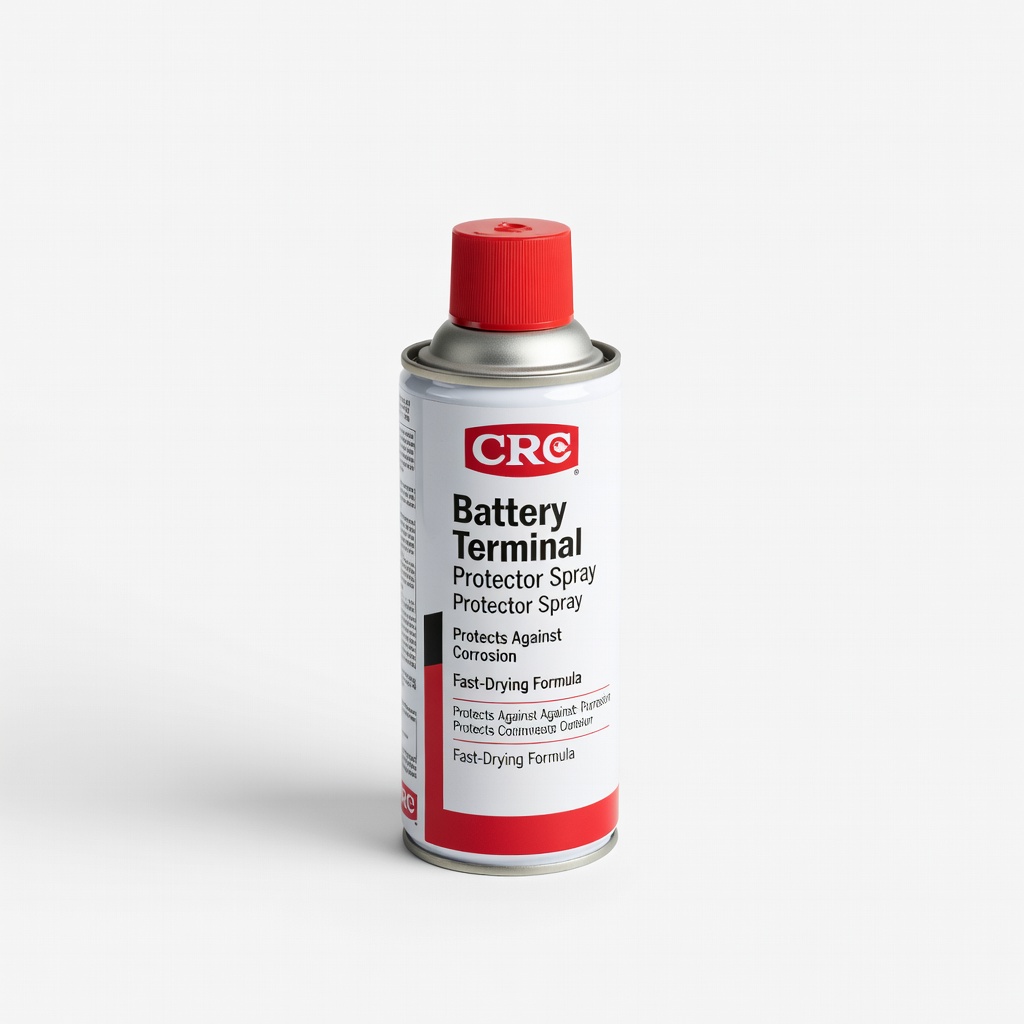
CRC Battery Terminal Protector Spray
Stops corrosion post-cleaning for reliable connections in humid RV environments.
Best for: Apply after every clean/reconnect.
Price Range: $8.99
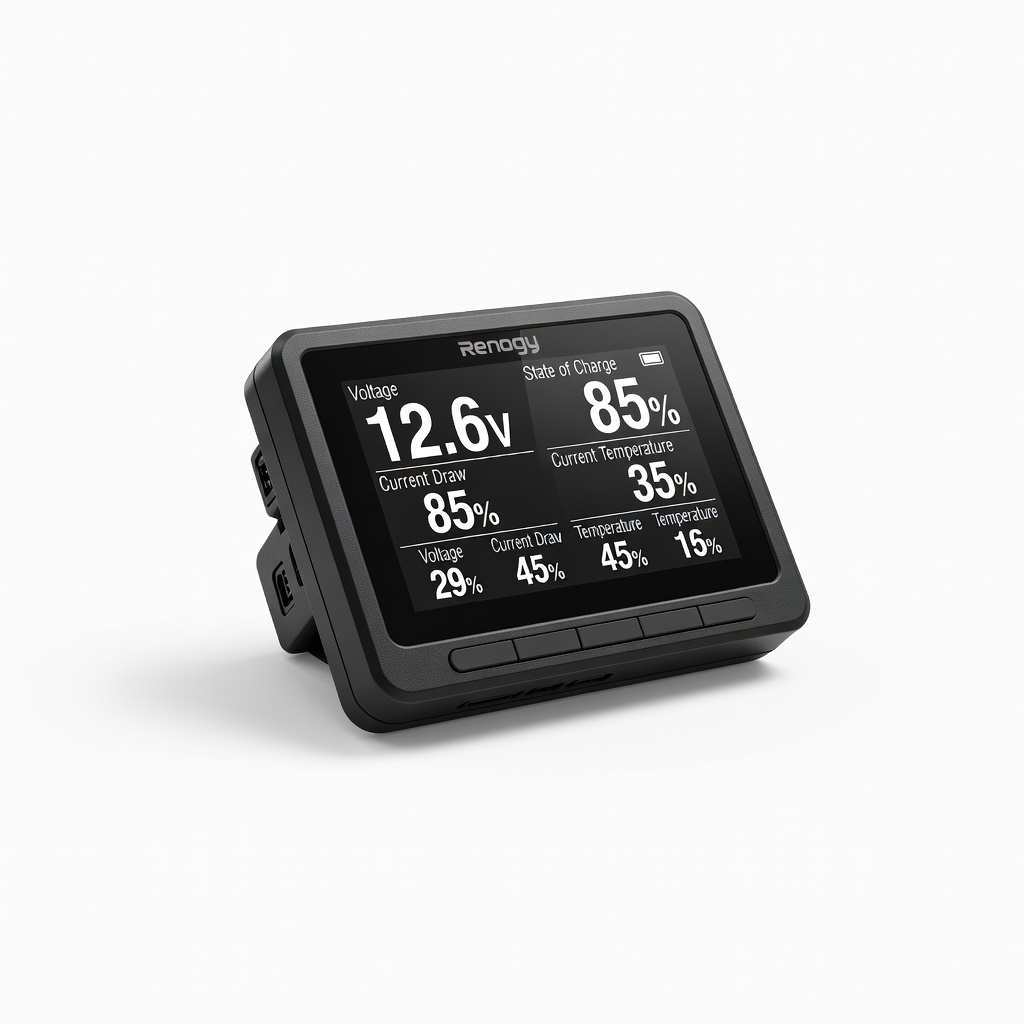
Renogy Battery Monitor
Bluetooth shunt tracks state-of-charge in real-time—pro upgrade for multiple batteries.
Best for: Monitor RV bank during boondocking.
Price Range: $99.99