If your acoustic guitar sounds dull, buzzes, or has a broken string, it's time for a fresh set. Changing strings regularly—every 1-3 months depending on play—keeps your instrument sounding bright and responsive. Neglecting this simple maintenance can lead to frustration during practice or performance, but don't worry: it's a straightforward task that saves money over professional services.
In this guide, you'll learn everything from loosening old strings to tuning the new ones properly. We'll cover the full step-by-step process with clear instructions, tips for success, and common pitfalls to avoid. By the end, your guitar will play like new, and you'll gain confidence in basic upkeep.
Expect to spend 20-30 minutes total. This is beginner-friendly—no advanced tools or skills required. Just patience and a steady hand.
▸What You'll Need
- •New acoustic guitar strings (e.g., light gauge 12-53 for beginners; required)
- •String winder (optional but highly recommended for speed)
- •Wire cutters or string clippers (required for trimming excess)
- •Electronic tuner (clip-on or app-based; required for accurate tuning)
- •Clean cloth or towel (required for cleaning)
- •Peg drops or lubricant (optional for sticky tuning pegs)
Estimated Time: 20-30 minutes
Difficulty: beginner
▸Step-by-Step Instructions
Step 1: Prepare Your Workspace and Gather Materials
Set up a stable, well-lit area like a table with a soft cloth to protect your guitar's finish. Lay out all tools and the new string set. Open the string package carefully—acoustic strings are typically wound and labeled by gauge (e.g., .012 for high E, .053 for low E).
Why this matters: Organization prevents frustration and lost parts. Expect to see shiny, uncoiled strings ready for installation. This prep takes 2-3 minutes and ensures a smooth process.
Take a moment to inspect your guitar for any issues like loose bridge pins.
💡 Tips:
- •Work in good lighting to avoid dropping small parts.
- •If your guitar has a truss rod, note its position but don't adjust it now.
⚠️ Warnings:
- •Avoid sharp surfaces that could scratch the guitar body.
Step 2: Loosen and Remove Old Strings
Start with the low E string (thickest, 6th string). Use the string winder on the tuning peg to loosen it counterclockwise until slack. Then, unwind it from the peg and gently pull the string out from the bridge pin at the bottom of the guitar.
Repeat for each string, working from thickest to thinnest. Why one by one? Removing all at once can stress the neck. Expect some resistance at the bridge—wiggle the pin with pliers if needed, but don't force it. This step reveals the guitar's interior for cleaning.
Once removed, clip off the old strings safely and dispose of them.
💡 Tips:
- •Tune down gradually to avoid sudden tension release.
- •Label strings if you're unsure of order (E-A-D-G-B-E from low to high).
⚠️ Warnings:
- •Never cut taut strings—they can snap and injure you.
Step 3: Clean the Guitar
With strings off, wipe the fretboard, body, and headstock with a soft, dry cloth to remove dust, sweat, and grime. For the rosewood or ebony fretboard, use a slightly damp cloth followed by dry—avoid soaking.
Why clean now? It extends string life and improves tone. Expect a fresher smell and smoother feel. This takes 5 minutes and is therapeutic.
If you have guitar polish, apply sparingly to the body, but skip the fretboard.
💡 Tips:
- •Use a fretboard conditioner like Dunlop Lemon Oil for dry wood (optional).
- •Buff in circular motions for an even shine.
⚠️ Warnings:
- •Don't use household cleaners—they can damage the finish.
Step 4: Install the New Bass Strings (Low E and A)
Take the low E string. Cut off the ball end if it's a classical set (but keep for acoustics). Insert the ball end into the bridge pin hole from the bottom, push through until it stops, then seat the pin firmly with your thumb.
Pull the string taut toward the headstock, over the nut and saddle. At the tuning peg (for E, it's the farthest left), insert the end through the hole, pull 2-3 inches slack, and wind clockwise using the winder. Aim for 2-3 wraps around the peg.
Why start with bass? They're thicker and easier. Success: String lies straight without kinks. Repeat for A string.
💡 Tips:
- •Bend the string end slightly for better grip in the peg.
- •Keep tension even to avoid buzzing.
⚠️ Warnings:
- •Don't over-tighten pins—they can crack the bridge.
Step 5: Install the Treble Strings (D, G, B, High E)
Follow the same process for the remaining strings, from D to high E. These are thinner, so handle gently to avoid kinking. Insert at bridge, pull to headstock, thread through peg (right side for high E), and wind 3-4 times for better hold on smaller diameters.
Expect the thinner strings to feel more fragile. Why sequential? Maintains balance. Tune roughly to pitch now using your tuner—don't worry about perfection yet.
All strings on? Your guitar should look ready to play, though slightly out of tune.
💡 Tips:
- •Use the winder's notch to clip excess after winding.
- •Wind from the inside out for clean coils.
⚠️ Warnings:
- •Twist thinner strings carefully to prevent breakage during install.
Step 6: Tune and Stretch the Strings
Using your electronic tuner, bring each string to standard pitch: E2 (82 Hz low E) up to E4 (high E). Tune slowly—acoustics can go sharp easily. Once tuned, gently pull and tug each string upward 1-2 inches along its length to stretch it.
Retune immediately after stretching, as pitch drops. Why stretch? Prevents constant retuning later. Expect 3-5 cycles of tuning/stretching. Success: Strings hold pitch better.
Play a few chords to check intonation.
💡 Tips:
- •Tune up gradually, not past pitch then down.
- •Use a clip-on tuner for hands-free accuracy.
⚠️ Warnings:
- •Over-stretching can break new strings—be gentle.
Step 7: Final Check and Trim Excess
After 10-15 minutes of playing, retune again—new strings settle. Trim any excess string ends with clippers, leaving 1/4 inch for safety. Inspect for buzzes or uneven action.
Why final check? Ensures everything's secure. Expect a bright, responsive tone now. Your guitar is restrung!
Store old tools and enjoy playing.
💡 Tips:
- •Let strings settle overnight for best stability.
- •Wash hands before handling to keep strings clean.
⚠️ Warnings:
- •Don't file the nut unless experienced—seek a pro.
▸Pro Tips
- •Change strings in a warm, dry room to avoid rust on new ones.
- •If pegs stick, apply a drop of peg dope before restringing.
- •For coated strings, they last longer—ideal for infrequent changers.
- •Tune to a slightly lower pitch first, then up, for easier winding.
- •Practice on an old set to build confidence without pressure.
- •Use apps like Guitar Tuna for free, accurate tuning on your phone.
- •Stretch strings more on the first change—they settle faster next time.
▸Common Mistakes to Avoid
- •Removing all strings at once: Causes neck tension imbalance; avoid by doing one at a time.
- •Winding counterclockwise: Strings slip off; always wind clockwise for secure hold.
- •Not stretching strings: Leads to constant detuning; tug gently after initial tuning.
- •Over-tightening bridge pins: Can damage wood; press firmly but don't hammer.
- •Using wrong gauge strings: Affects playability; stick to light gauge for beginners.
▸Troubleshooting
Problem: Strings won't stay in tune after install
Solution: Stretch and retune multiple times; if persistent, check for loose pins or nut binding—lubricate or see a luthier.
Problem: Bridge pin stuck or broken
Solution: Use pliers with cloth padding to gently rock it out; replace if damaged (inexpensive at music stores).
Problem: New strings buzz or rattle
Solution: Ensure proper seating over saddle; retune and check action—if low, adjust truss rod slightly or consult a pro.
Problem: Tuning peg slips
Solution: Add graphite or peg drops to pegs; if worn, professional setup needed.
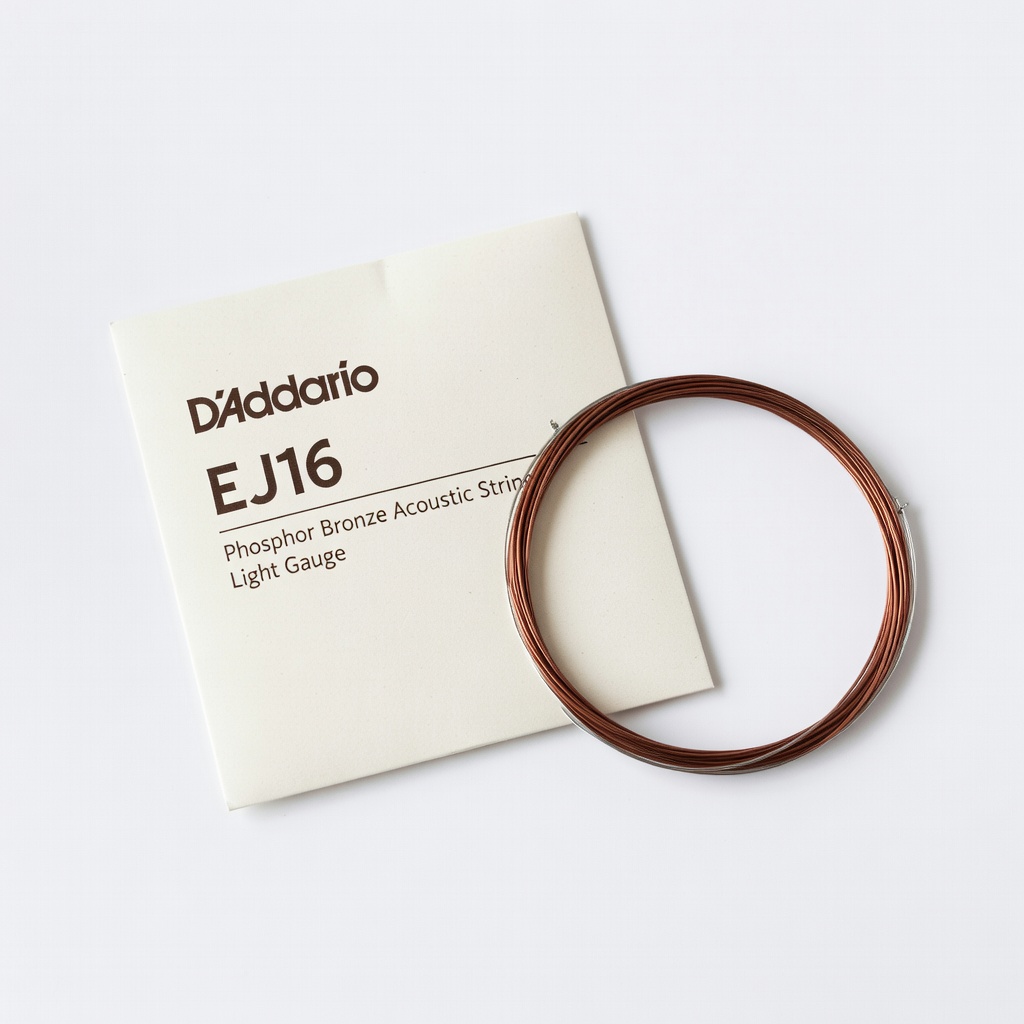
D'Addario EJ16 Phosphor Bronze Acoustic Strings (Light Gauge)
Durable and warm-toned, perfect for beginners seeking easy playability and long-lasting brightness.
Best for: Ideal for standard folk or strumming on most acoustics; replace every 1-3 months.
Price Range: $5-7
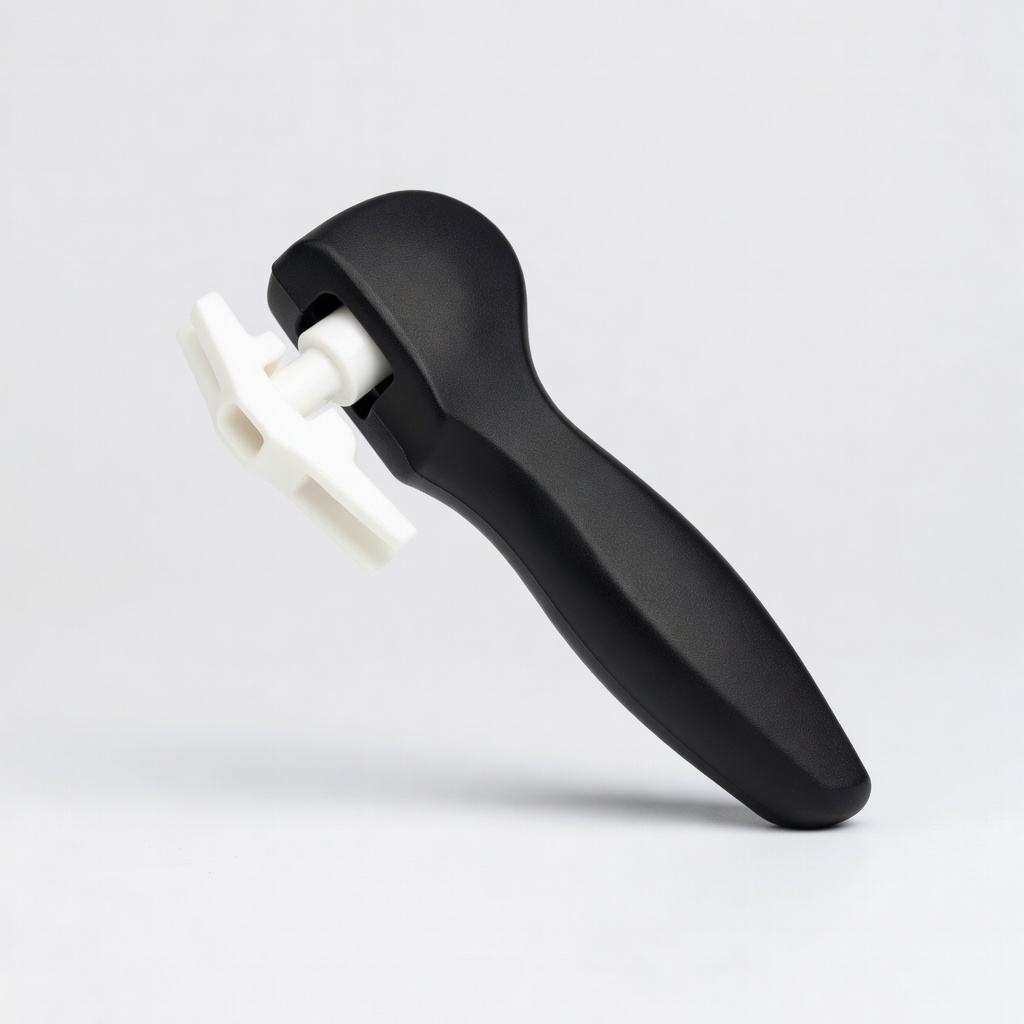
Ernie Ball Polypro String Winder
Makes loosening and winding faster and less hand-straining, preventing peg damage.
Best for: Essential for quick changes during gigs or home practice.
Price Range: $6-8
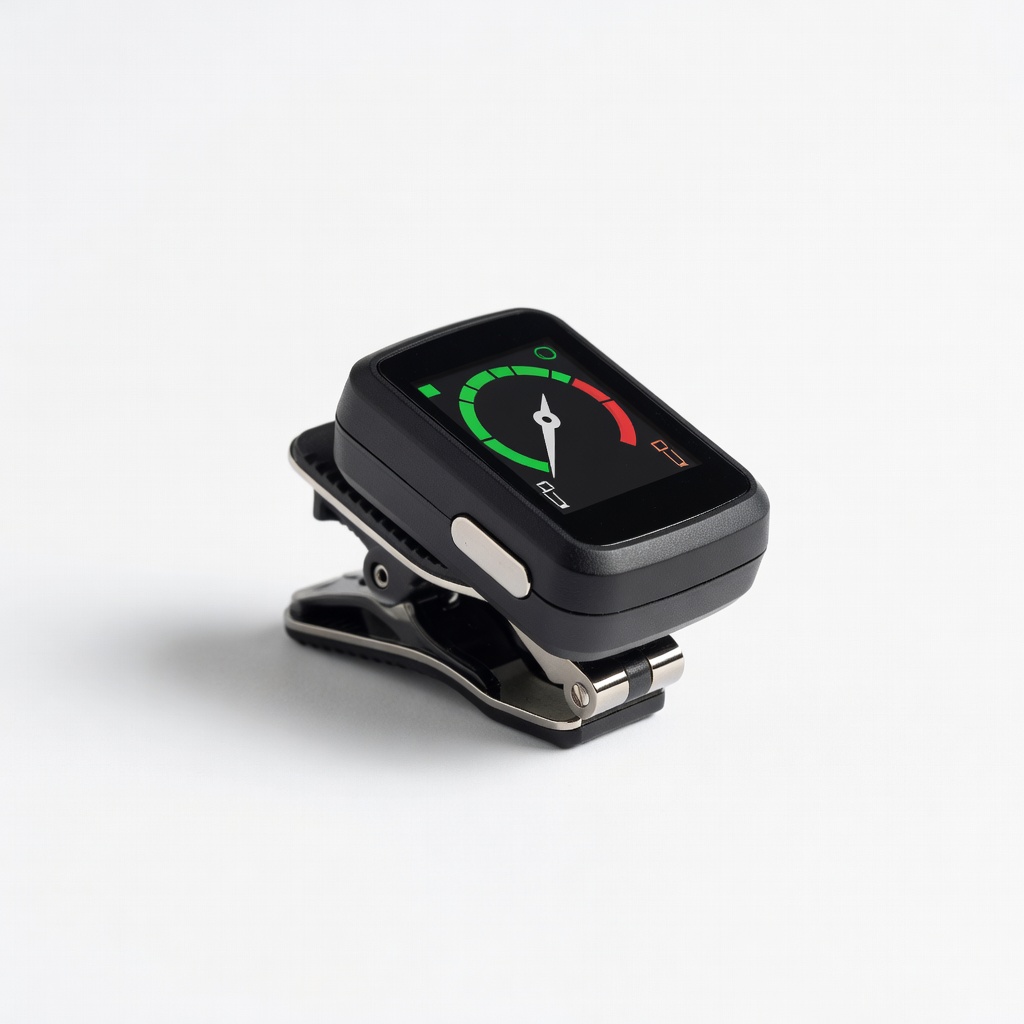
Snark ST-8 Clip-On Tuner
Accurate, vibration-based tuning with chromatic mode for precise pitch on all strings.
Best for: Hands-free for beginners learning to tune by ear over time.
Price Range: $15-20
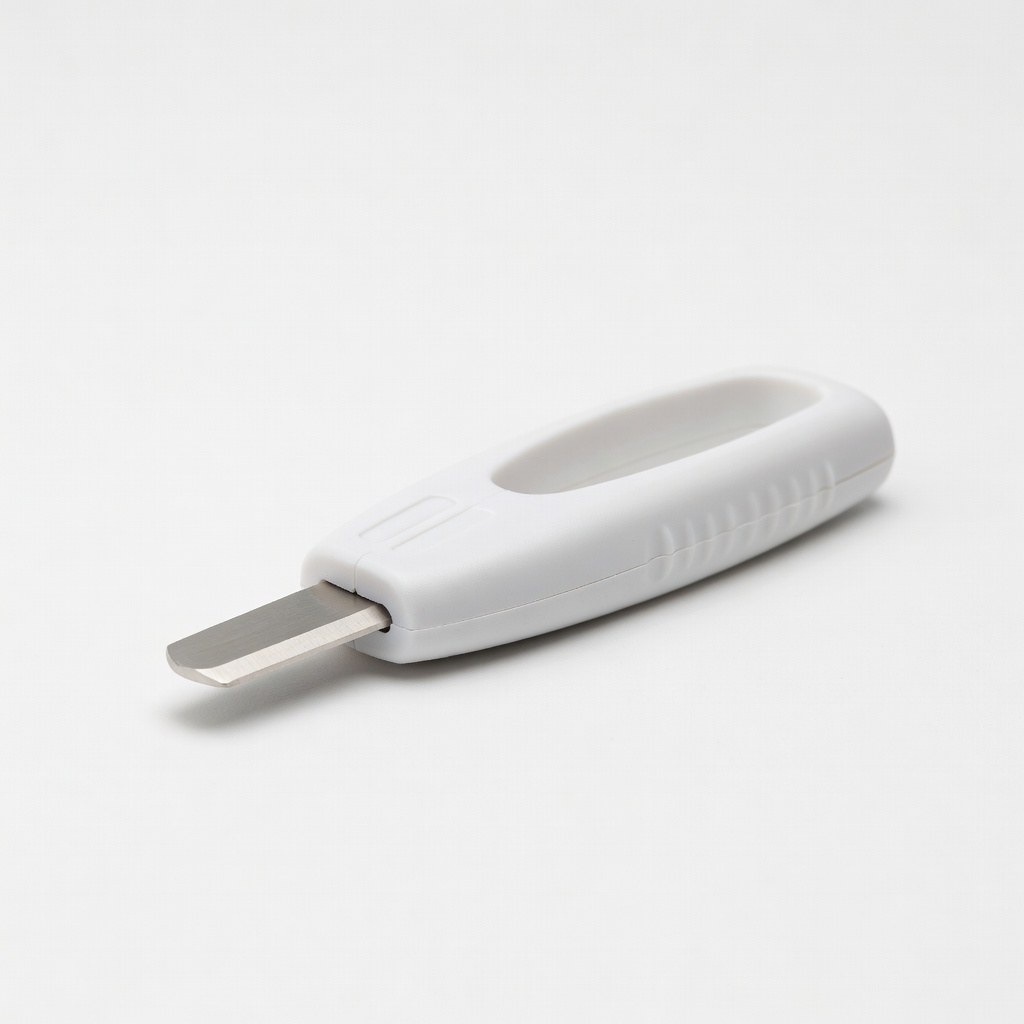
D'Addario Planet Waves Poly Drive String Cutter
Precision clippers that cut cleanly without fraying, safer than household tools.
Best for: Trimming excess after winding to keep the headstock neat.
Price Range: $10-12
Elixir Optiweb Acoustic Strings
Coated for extended life (3-5x longer), reducing finger noise and corrosion.
Best for: For players in humid climates or those who hate frequent changes.
Price Range: $12-15