Changing your car's brake pads is a crucial maintenance task that ensures your safety on the road. Worn brakes can lead to longer stopping distances, vibrations, or even failure in emergencies—issues that affect thousands of drivers annually. If you've noticed squealing noises, a spongy pedal, or dashboard warnings, it's time to act. Doing it at home not only cuts costs (professional jobs run $200-$500 per axle) but also empowers you with mechanical know-how.
In this guide, you'll learn a straightforward, step-by-step process to replace front or rear brake pads on most sedans and SUVs. We'll cover everything from gathering tools to testing your work, assuming basic familiarity with your vehicle (consult your owner's manual for specifics). The process typically takes 1-2 hours per axle for beginners, but prioritize safety—brakes are no place for shortcuts. If you're uncomfortable with any step, consult a professional.
Expect hands-on work involving jacking the car and handling heavy parts. By the end, you'll have fresh pads installed, restored braking performance, and the satisfaction of a job well done.
▸What You'll Need
- •Vehicle owner's manual (required for torque specs and model-specific info)
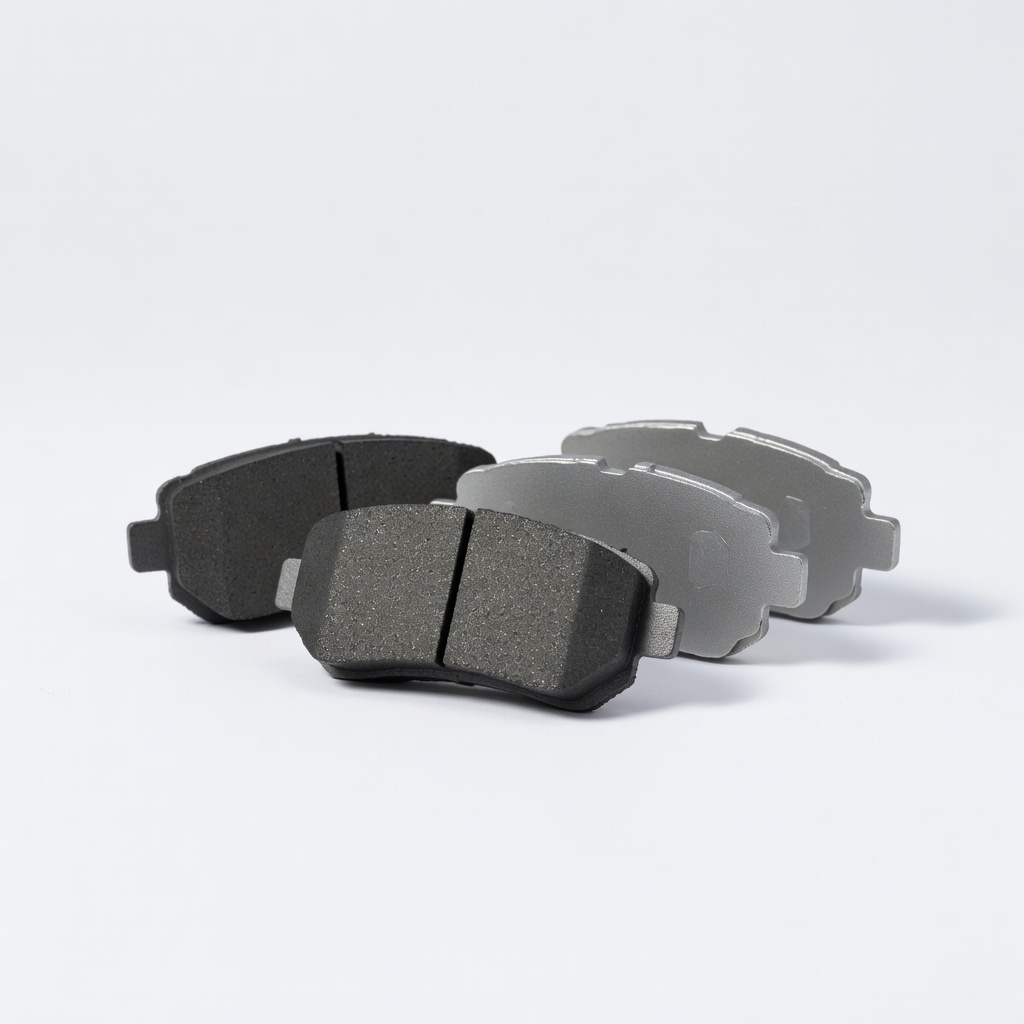
- •New brake pads compatible with your car (required; match to your make/model/year)
- •Brake lubricant or anti-seize compound (required for smooth operation)
- •Floor jack (required; rated for your vehicle's weight)
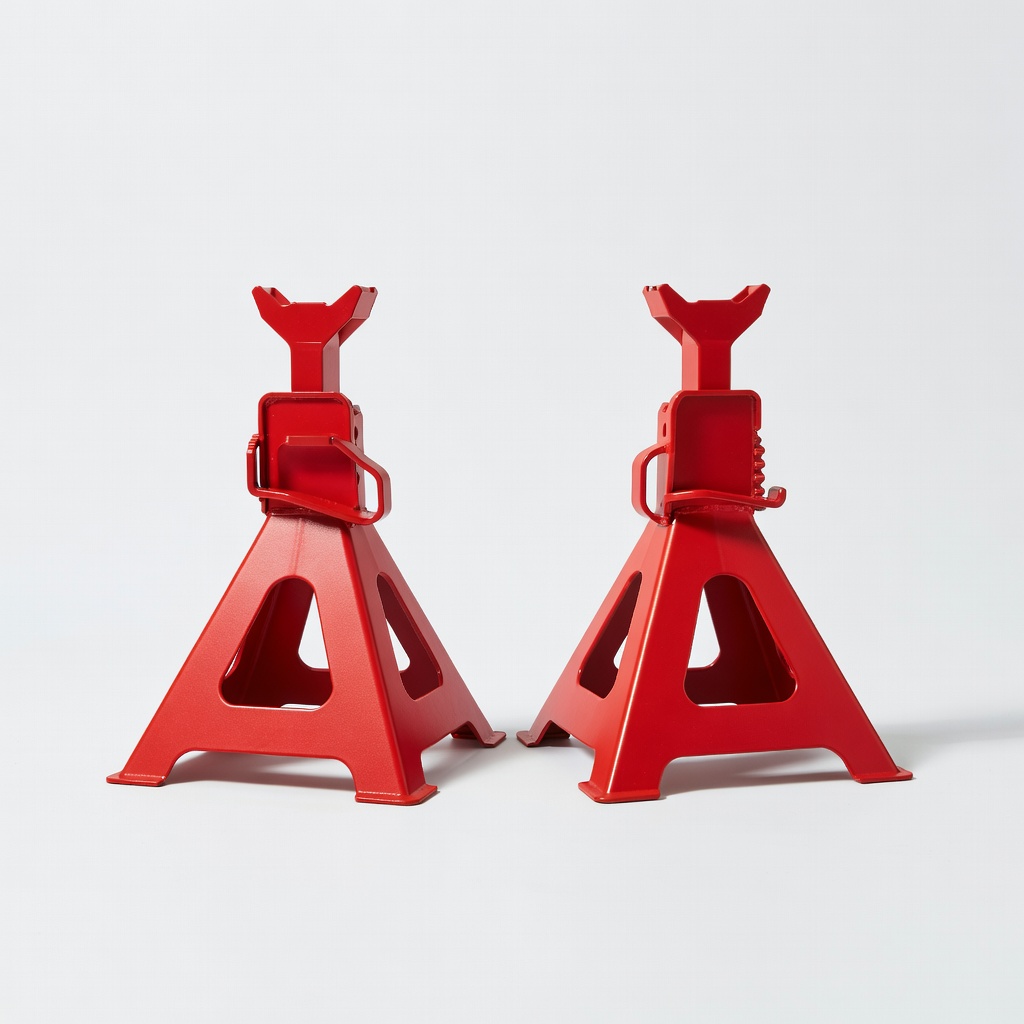
- •Jack stands (required; pair rated for at least 2 tons each)
- •Lug wrench or impact wrench (required for wheel removal)
- •C-clamp or brake piston compressor tool (required for compressing caliper piston)
- •Socket set and ratchet (required; include 13mm-19mm sizes for most cars)
- •Torque wrench (required for proper tightening)
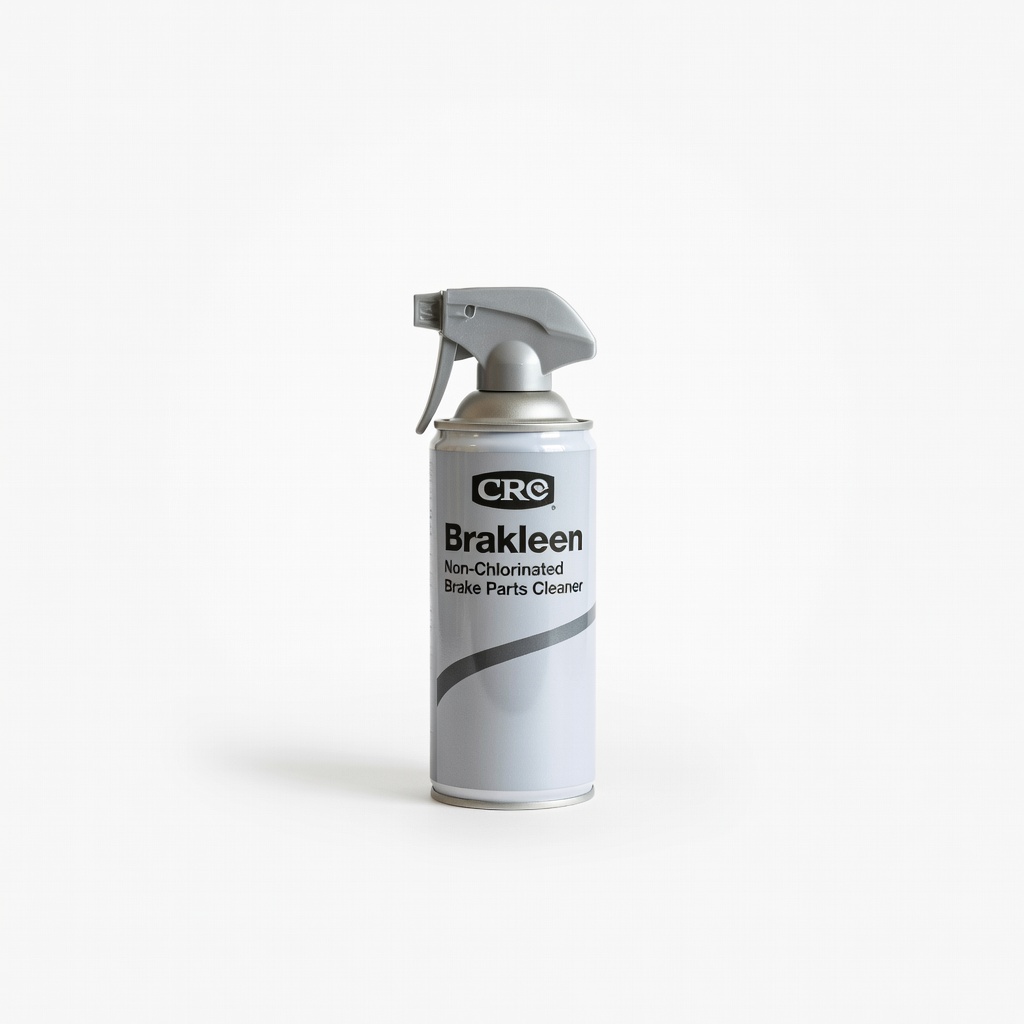
- •Brake cleaner spray (required for cleaning components)
- •Wheel chocks or blocks (optional but highly recommended for safety)
- •Gloves and safety glasses (optional for protection)
Estimated Time: 1-2 hours per axle (2-4 hours for all four wheels)
Difficulty: beginner
▸Step-by-Step Instructions
Step 1: Prepare Your Workspace and Vehicle
Park your car on a flat, level surface away from traffic. Engage the parking brake and place wheel chocks behind the wheels you're not working on to prevent rolling. This step is essential for safety, as it stabilizes the vehicle before lifting.
Consult your owner's manual for specific instructions, like torque values for lug nuts (typically 80-100 ft-lbs for most cars). Gather all tools and lay out the new brake pads to familiarize yourself. Success here looks like a secure, organized setup with no distractions—expect 5-10 minutes of prep.
Why it matters: Proper preparation prevents accidents and ensures you have everything needed, avoiding mid-job trips to the store.
💡 Tips:
- •Work in good lighting and on a clean garage floor to spot any issues early.
- •Take photos of the assembly before disassembly for reference.
⚠️ Warnings:
- •Never work under a car supported only by a jack—always use stands.
Step 2: Loosen the Lug Nuts
With the car on the ground, use a lug wrench to loosen (but don't remove) the lug nuts on the wheel you're working on. Turn counterclockwise while applying steady pressure—use your body weight if needed.
This prevents the wheel from spinning when lifted and makes removal easier. You should feel the nuts turn about 1/4 to 1/2 rotation; success is loose nuts that can be fully removed later without excessive force.
Why it matters: Tight lug nuts can be dangerous to loosen on a jacked-up wheel, risking the car slipping.
💡 Tips:
- •If nuts are rusted, spray with penetrating oil and wait 10 minutes.
⚠️ Warnings:
- •Avoid using impact tools on aluminum wheels to prevent damage.
Step 3: Jack Up the Car and Secure It
Position the floor jack under the frame rail near the wheel (per manual). Pump the jack to lift the car until the tire is 1-2 inches off the ground, then slide jack stands under the designated lift points and lower the car onto them.
Gently rock the car to ensure stability— it shouldn't wobble. Remove the wheel by fully unscrewing the lug nuts and pulling it off. Success: A stable, lifted vehicle with the wheel off, exposing the brake assembly.
Why it matters: This creates a safe working height and prevents collapse during the job.
💡 Tips:
- •Double-check jack stand placement; incorrect spots can damage the frame.
⚠️ Warnings:
- •Test stability by pushing the car side-to-side before crawling underneath.
Step 4: Remove the Brake Caliper
Locate the two caliper bolts (usually 13-17mm) on the back of the caliper bracket. Use a socket and ratchet to remove them, then slide the caliper off the rotor. If stuck, gently pry with a flathead screwdriver.
Hang the caliper from the suspension with a wire or bungee (don't let it dangle by the brake line). The old pads will now be visible and held by clips or shims. Success: Caliper removed without damaging the hose, revealing worn pads.
Why it matters: The caliper houses the pistons; improper removal can bend lines or cause leaks.
💡 Tips:
- •Apply penetrating oil to bolts if seized from rust.
⚠️ Warnings:
- •Never force the caliper—twisted brake lines lead to costly repairs.
Step 5: Remove Old Pads and Compress the Piston
Slide out the old brake pads from the caliper bracket. Inspect the rotor for wear (deep grooves mean replacement). Use a C-clamp or piston tool to slowly compress the caliper piston back into its bore—open the brake fluid reservoir cap first to avoid pressure buildup.
Wipe down the bracket and rotor with brake cleaner. Success: Empty bracket ready for new pads, piston fully compressed (it may take firm pressure).
Why it matters: Compressing allows room for thicker new pads; skipping cleaning leads to contamination and poor braking.
💡 Tips:
- •If the piston won't compress, check for a stuck screw mechanism on rear brakes.
⚠️ Warnings:
- •Don't push too hard—over-compression can damage seals.
Step 6: Install New Brake Pads
Apply brake lubricant to the back of the new pads (where they contact the piston/ bracket) and any shims or clips. Insert the pads into the bracket, ensuring they match the original orientation (inner vs. outer).
Reattach the caliper over the pads and hand-tighten the bolts. Success: Pads seated firmly without gaps, caliper sliding smoothly.
Why it matters: Lubrication prevents squealing and uneven wear; correct placement ensures even braking force.
💡 Tips:
- •Follow pad kit instructions—some include wear sensors that must align properly.
⚠️ Warnings:
- •Avoid contaminating pad friction surfaces with grease.
Step 7: Reassemble and Torque Everything
Tighten caliper bolts to spec (usually 20-30 ft-lbs) with a torque wrench. Reinstall the wheel, hand-tighten lug nuts, then lower the car off the stands. Finally, torque lug nuts in a star pattern to the manual's spec.
Pump the brake pedal several times until it feels firm (this seats the pads). Success: All components secure, pedal responsive, no play in the wheel.
Why it matters: Proper torque prevents loosening over time, ensuring safety and longevity.
💡 Tips:
- •Re-torque lugs after 50-100 miles of driving.
⚠️ Warnings:
- •Under- or over-torquing can cause wheel detachment or warped rotors.
Step 8: Test the Brakes
Start the car and press the brake pedal to ensure firmness. Drive slowly in a safe area, testing stops from low speeds. Listen for noises and feel for vibrations.
Bed in the pads by doing 8-10 moderate stops from 30 mph without hard braking. Success: Smooth, quiet stops with no pulling or grinding.
Why it matters: Initial testing catches issues before highway use; bedding transfers pad material to the rotor for optimal performance.
💡 Tips:
- •Avoid hard stops for the first 200 miles to allow proper bedding.
⚠️ Warnings:
- •If the pedal sinks or brakes feel weak, check for leaks and seek pro help immediately.
▸Pro Tips
- •Always replace pads in pairs (both sides of an axle) for balanced braking.
- •Inspect rotors and replace if thickness is below minimum spec to avoid future jobs.
- •Use a breaker bar for stubborn bolts—it saves time and prevents stripping.
- •Label bolts or parts if your car has unique setups for easier reassembly.
- •Clean and lubricate caliper slide pins during the job to prevent sticking.
- •Work on one wheel at a time to use the other as a reference.
- •Invest in a good torque wrench—it's a one-time buy that pays off in safety.
▸Common Mistakes to Avoid
- •Forgetting to compress the piston fully, leading to caliper not fitting over new pads—always check twice.
- •Not cleaning old debris from the bracket, causing new pads to wear unevenly—use brake cleaner liberally.
- •Incorrect torque on lug nuts, which can loosen and cause wheel wobble—use a torque wrench every time.
- •Ignoring the owner's manual for specs, resulting in improper fit or damage—double-check model details.
- •Skipping the bed-in process, leading to glazing or poor initial performance—follow the stop sequence.
▸Troubleshooting
Problem: Caliper bolts are seized and won't budge
Solution: Apply penetrating oil, let it soak for 15-30 minutes, then use a breaker bar. If still stuck, heat gently with a torch (away from fluids) or call a mechanic to avoid breaking bolts.
Problem: Brake pedal feels soft after reassembly
Solution: Bleed the brakes to remove air (open bleeder valve and pump fluid). If no improvement, check for leaks in lines and consult a pro.
Problem: New pads squeal during test drive
Solution: Apply more lubricant to pad backs or check for loose clips. If persists, it may be normal bedding-in—monitor for a week.
Problem: Wheel doesn't spin freely after install
Solution: Ensure parking brake is off and caliper isn't binding. Readjust if needed; if rotor is warped, replace it.
Torin Big Red T83006 Hydraulic Floor Jack
This reliable jack lifts vehicles up to 3 tons safely and easily, essential for stable access to brakes without strain.
Best for: Use for lifting the car during wheel removal; ideal for beginners due to its low-profile design for sedans.
Price Range: $30-$40
Torin Big Red Jack Stands (Pair)
Heavy-duty steel stands rated for 6 tons total provide secure support, preventing accidents during under-car work.
Best for: Position under frame rails after jacking; crucial for safety when removing calipers.
Price Range: $25-$35
Performance Tool W80530 Brake Caliper Tool Kit
This kit includes adapters for compressing pistons on various vehicles, making the job faster and less frustrating for beginners.
Best for: Use to push back caliper pistons before installing new pads; works on disc brakes front and rear.
Price Range: $15-$20
Bosch BC905 QuietCast Premium Ceramic Brake Pads
High-quality, low-noise pads with excellent stopping power and longevity, compatible with many popular models like Honda Civic or Toyota Camry.
Best for: Direct replacement for worn pads; choose based on your vehicle for OEM-like performance without dust buildup.
Price Range: $30-$50 per axle
CRC Brakleen Non-Chlorinated Brake Parts Cleaner
Effective spray removes brake dust and grime without leaving residue, ensuring clean installation for optimal pad life.
Best for: Spray on rotors, calipers, and brackets during disassembly to prevent contamination.
Price Range: $5-$8