Few things are more frustrating than a flat tire, especially when you're in a hurry or stranded on the side of the road. Yet changing a tire is a basic skill every driver should know—and it's easier than you think. In this guide, I'll show you exactly how to change a flat tire quickly and safely, using nothing more than the tools that come with your car (plus a few optional helpers). By the end, you'll be able to swap that damaged tire for your spare and be back on the road in about 15 minutes.
We'll cover everything from finding a safe location to lowering the car and tightening the lug nuts correctly. I'll also share tips to make the job easier, common mistakes to avoid, and what to do if something goes wrong. Let's roll up our sleeves and get started.
▸What You'll Need
- •Spare tire (fully inflated)
- •Jack (vehicle's factory scissor jack or another compatible jack)
- •Lug wrench (often in the trunk tool kit)
- •Owner's manual (for jack location and torque specs)
- •Wheel wedges or blocks (optional but recommended)
- •Reflective warning triangle and hazard lights
- •Flashlight (if at night)
- •Pair of work gloves (optional)
- •Small piece of cardboard or floor mat to kneel on (optional)
Estimated Time: 15-20 minutes
Difficulty: beginner
▸Step-by-Step Instructions
Step 1: Find a safe location and turn on hazard lights
Pull off the road to a flat, straight area as far away from traffic as possible. Turn on your hazard lights (the triangle button). If you have reflective triangles or flares, place them 50-100 feet behind your vehicle to warn other drivers. On a highway, call for help if you can't get far enough off the road.
Success: Your car is stable, visible, and safe to work on.
💡 Tips:
- •Pick flat, hard ground—grass can shift under the jack.
- •If you're on a slope, find a heavier object to block the opposite wheels.
⚠️ Warnings:
- •Never change a tire on a curve or blind hill where you can't see approaching cars.
Step 2: Apply the parking brake and place wheel wedges
Put your vehicle in Park (or leave it in first gear for a manual transmission) and engage the parking brake. If you have wheel wedges or sturdy blocks, place them in front of and behind the wheel opposite the flat (diagonally across). This prevents the car from rolling when you jack it up.
Success: Vehicle is immobile even if the jack fails.
💡 Tips:
- •Use a brick, a chunk of wood, or even a heavy book if you don't have wedges.
⚠️ Warnings:
- •Never rely on the parking brake alone if you're on an incline.
Step 3: Remove the hubcap or wheel cover (if equipped)
Many cars have a plastic hubcap that covers the lug nuts. Using the flat end of the lug wrench (often a hook or screwdriver), pry the hubcap off carefully. Some hubcaps require turning a lock nut first. Set the hubcap aside.
Success: Lug nuts are exposed and ready to be loosened.
💡 Tips:
- •If the hubcap is stubborn, don't yank—use a plastic trim tool to avoid scratches.
⚠️ Warnings:
- •Some cars use a locking lug nut; you'll need the key from the glove box.
Step 4: Loosen the lug nuts (while the tire is still on the ground)
With the vehicle still on the ground, place the lug wrench on the first lug nut and turn counterclockwise. Use your body weight—brace yourself on the wrench and push down with your leg. Do this for every lug nut, but only break them loose (about half a turn), not fully off. The car's weight prevents the tire from spinning while you loosen.
Success: All lug nuts are loose but still on.
💡 Tips:
- •If a lug nut is extremely tight, you can carefully use your foot to step on the wrench, but be sure you have a firm grip and the handle is horizontal.
⚠️ Warnings:
- •Never use oil or heat on stuck lug nuts; if they won't budge, call for Roadside Assistance.
Step 5: Position the jack at the designated lift point
Look in your owner's manual to find the correct jacking point. This is usually a reinforced metal seam or notch on the frame just behind the front wheel or ahead of the rear wheel. Place the jack squarely under that point, making sure it's flush and stable. Position the jack handle so it can be cranked easily.
Success: Jack is correctly positioned and ready to lift.
💡 Tips:
- •If you're on soft ground, place a wide board (like 2x8) under the jack to spread the weight.
⚠️ Warnings:
- •Never place the jack under a plastic trim piece, a brake line, or the suspension—it'll crack and could drop the car.
Step 6: Jack up the vehicle until the tire leaves the ground
Slowly crank the jack to raise the vehicle. Pump or turn the handle smoothly, checking that the jack remains vertical and the car is lifting evenly. Continue raising until the flat tire is lifted off the ground with a small gap (about 1 inch). Do not jack it higher than necessary.
Success: The flat tire is suspended and free to rotate.
💡 Tips:
- •Keep your foot away from under the car and never put any body part under the vehicle while it's on a jack.
⚠️ Warnings:
- •If you hear creaking or the jack tilts, lower it and reposition before continuing.
Step 7: Remove the lug nuts and the flat tire
Finish unscrewing the lug nuts by hand. Place them in a cup or pocket where they won't get lost. Then pull the tire straight toward you. If it's stuck, kick the sidewall near the bottom or use your legs; but never get under it. Set the flat tire flat on the ground (it can lie under the car as an extra safety cushion if you wish).
Success: Flat tire is off, and the wheel hub is exposed.
💡 Tips:
- •As you remove each lug nut, slide it on your finger like a ring stack so you don't drop them in the grass.
⚠️ Warnings:
- •Some tires are heavy; lift with your knees, not your back.
Step 8: Mount the spare tire onto the wheel hub
Line up the spare's holes with the wheel bolts (studs). Slide it onto the hub as far as it will go. If you have a full-size spare or a donut, it should seat snugly. Push any remaining stud clips out if they interfere. Insert the lug nuts by hand and thread them on until they are hand-tight.
Success: Spare tire is fully seated on the hub and lug nuts are holding it in place.
💡 Tips:
- •If the tire won't seat, pick it up slightly and wiggle it as you push. Check for corrosion on the hub.
⚠️ Warnings:
- •Make sure the spare is the correct orientation—check the air valve, it should face outward.
Step 9: Hand-tighten the lug nuts in a star pattern
Now thread each lug nut by hand first, turning clockwise. Once they're all threaded, use the lug wrench to snug them down lightly. Use a star pattern (like drawing a star between the 5 or 4 lugs) to seat the wheel evenly. Do not fully tighten yet—the car is still on the jack.
Success: All lug nuts are snug, and the wheel spins without wobble.
💡 Tips:
- •If your wheel has 5 lugs, tighten in a 5-point star pattern: e.g., 1, 3, 5, 2, 4.
⚠️ Warnings:
- •Don't tighten fully now—once the car is on the ground you'll torque them to spec.
Step 10: Lower the vehicle back to the ground
Use the jack to lower the car slowly and smoothly until the tire touches the ground. Keep lowering until the full weight of the car is on the tire and the jack is just holding it. Then, remove the jack handle and continue lowering until the jack is free. Leave the car on the ground now.
Success: Car is resting on all four wheels, and the jack is out from under.
💡 Tips:
- •Lower gently to avoid a thud that could shift the spare.
⚠️ Warnings:
- •Keep your hands and feet clear of the jack contact points as it descends.
Step 11: Fully tighten the lug nuts with the wrench and torque to spec (if you have a torque wrench)
With the car on the ground, tighten the lug nuts in the same star pattern. Use your full body weight (push down on the wrench) to achieve the recommended torque—usually around 80-100 ft-lb. If you have a torque wrench, use it to set each nut to the exact spec from your owner's manual. If not, use the lug wrench and add a little extra pressure; over-tightening is safer than under-tightening (but not by much).
Success: All lug nuts are properly torqued and the wheel is secure.
💡 Tips:
- •If you don't know the torque spec, a general rule is 80-100 ft-lb for most passenger cars—but check the manual.
⚠️ Warnings:
- •Never use a wrench with a pipe extension; you can snap the studs.
Step 12: Stow the flat tire and all tools, then check tire pressure
Place the flat tire in your trunk (be careful not to scratch paint) and return all tools to their storage locations. Do not leave the jack loose in the trunk. Finally, check the spare's tire pressure—most spares need to be inflated to their recommended PSI. If you don't have a gauge, visit a gas station soon. Drive to a repair shop to have the flat patched or replaced as soon as possible.
Success: Job done, you're ready to drive (with the spare on) to the nearest shop.
💡 Tips:
- •Take note of the spare tire's speed limit—usually 50 mph (80 km/h) for donut spares.
⚠️ Warnings:
- •Never put a flat tire in a vertical position where it could slide and damage interior panels; secure with a strap if needed.
▸Pro Tips
- •Keep your spare tire inflated: Check it every month or at every oil change. A flat spare defeats the purpose.
- •Use a thick rubber mat or cardboard to kneel on—it's surprisingly comfortable and protects your knees.
- •If your factory lug wrench is too short, carry a PVC pipe or cross wrench for extra leverage.
- •Pop the hubcap before loosening lug nuts—this avoids distorting the hubcap.
- •Practice changing a tire at home in your driveway once, so you know exactly where everything is.
- •Use a torque wrench to ensure proper torque—too loose and the wheel can wobble, too tight and you might strip the studs.
- •Always keep a set of wheel wedges in your trunk—they cost under $5 and provide huge safety.
▸Common Mistakes to Avoid
- •Loosening lug nuts after jacking up the car (causes the wheel to spin).
- •Placing the jack on a plastic side skirt or rusty frame edge—shears off and drops the car.
- •Using the lug wrench to fully tighten lug nuts while the car is in the air, then the car drops or shifts.
- •Forgetting to re-tighten lug nuts after 50 miles of driving—they can loosen as the wheel seats.
- •Driving on a donut spare beyond 50 miles or at highway speeds—these spares are only for temporary use.
▸Troubleshooting
Problem: Lug nuts are rusted or stuck
Solution: Spray with penetrating oil (like WD-40) and let sit for a few minutes. If still stuck, call roadside assistance—you don't want to snap a stud.
Problem: Car won't lift high enough
Solution: Make sure the jack is on a solid point; if the car has low clearance, drive onto a board first (if it's safe).
Problem: Flat tire is stuck to the hub
Solution: Kick the sidewall near the bottom to break it free, or apply pressure at the 3 and 9 o'clock positions. Never get under the car.
Problem: Jack sinks into soft earth
Solution: Use a rigid base like a piece of lumber to spread the load before setting the jack.
Problem: Spare tire won't inflate
Solution: If you have a portable compressor, inflate before driving. If not, use a gas station air pump and start with the car on the ground.
AstroAI Portable Tire Inflator
This compact 12V compressor inflates a spare in minutes and includes a built-in pressure gauge. It's a lifesaver if your spare is low or you need to top off the tire after patching.
Best for: When your spare is low on air or after mowing over a nail, inflate the tire on the spot.
Price Range: $40-$70
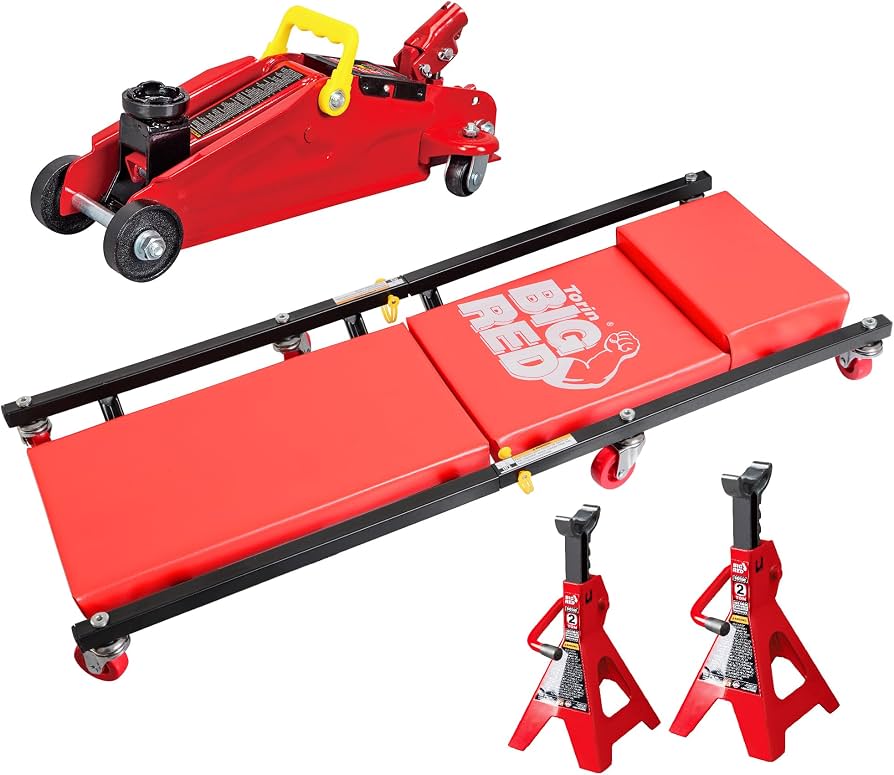
Torin Big Red Steel Floor Jack
A quality floor jack makes the job much easier than the factory scissor jack. It's smoother, quicker, and rated for most cars and SUVs.
Best for: For home use, keep it in your garage for tire rotations, brake work, and quick flat changes.
Price Range: $120-$150
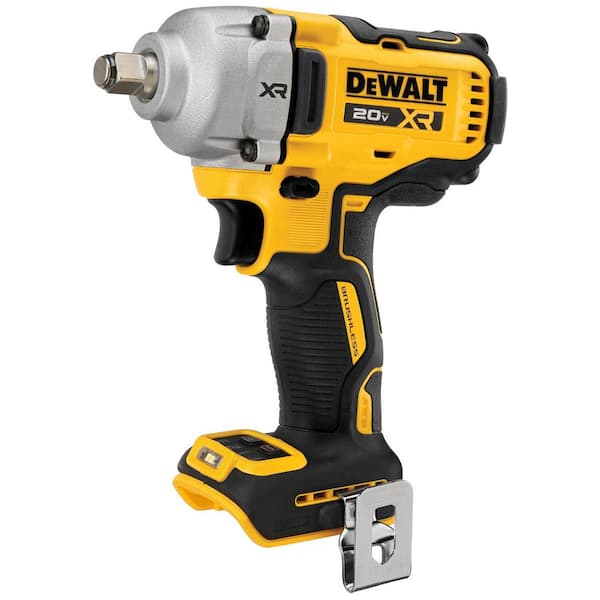
DeWalt 20V MAX XR Cordless Impact Wrench
Stripped or seized lug nuts are a pain. A cordless impact wrench zips them off in seconds. It also speeds up reinstallation and ensures you don't strip threads.
Best for: If you frequently rotate tires or drive on rough roads, this tool saves time and elbow grease.
Price Range: $200-$250
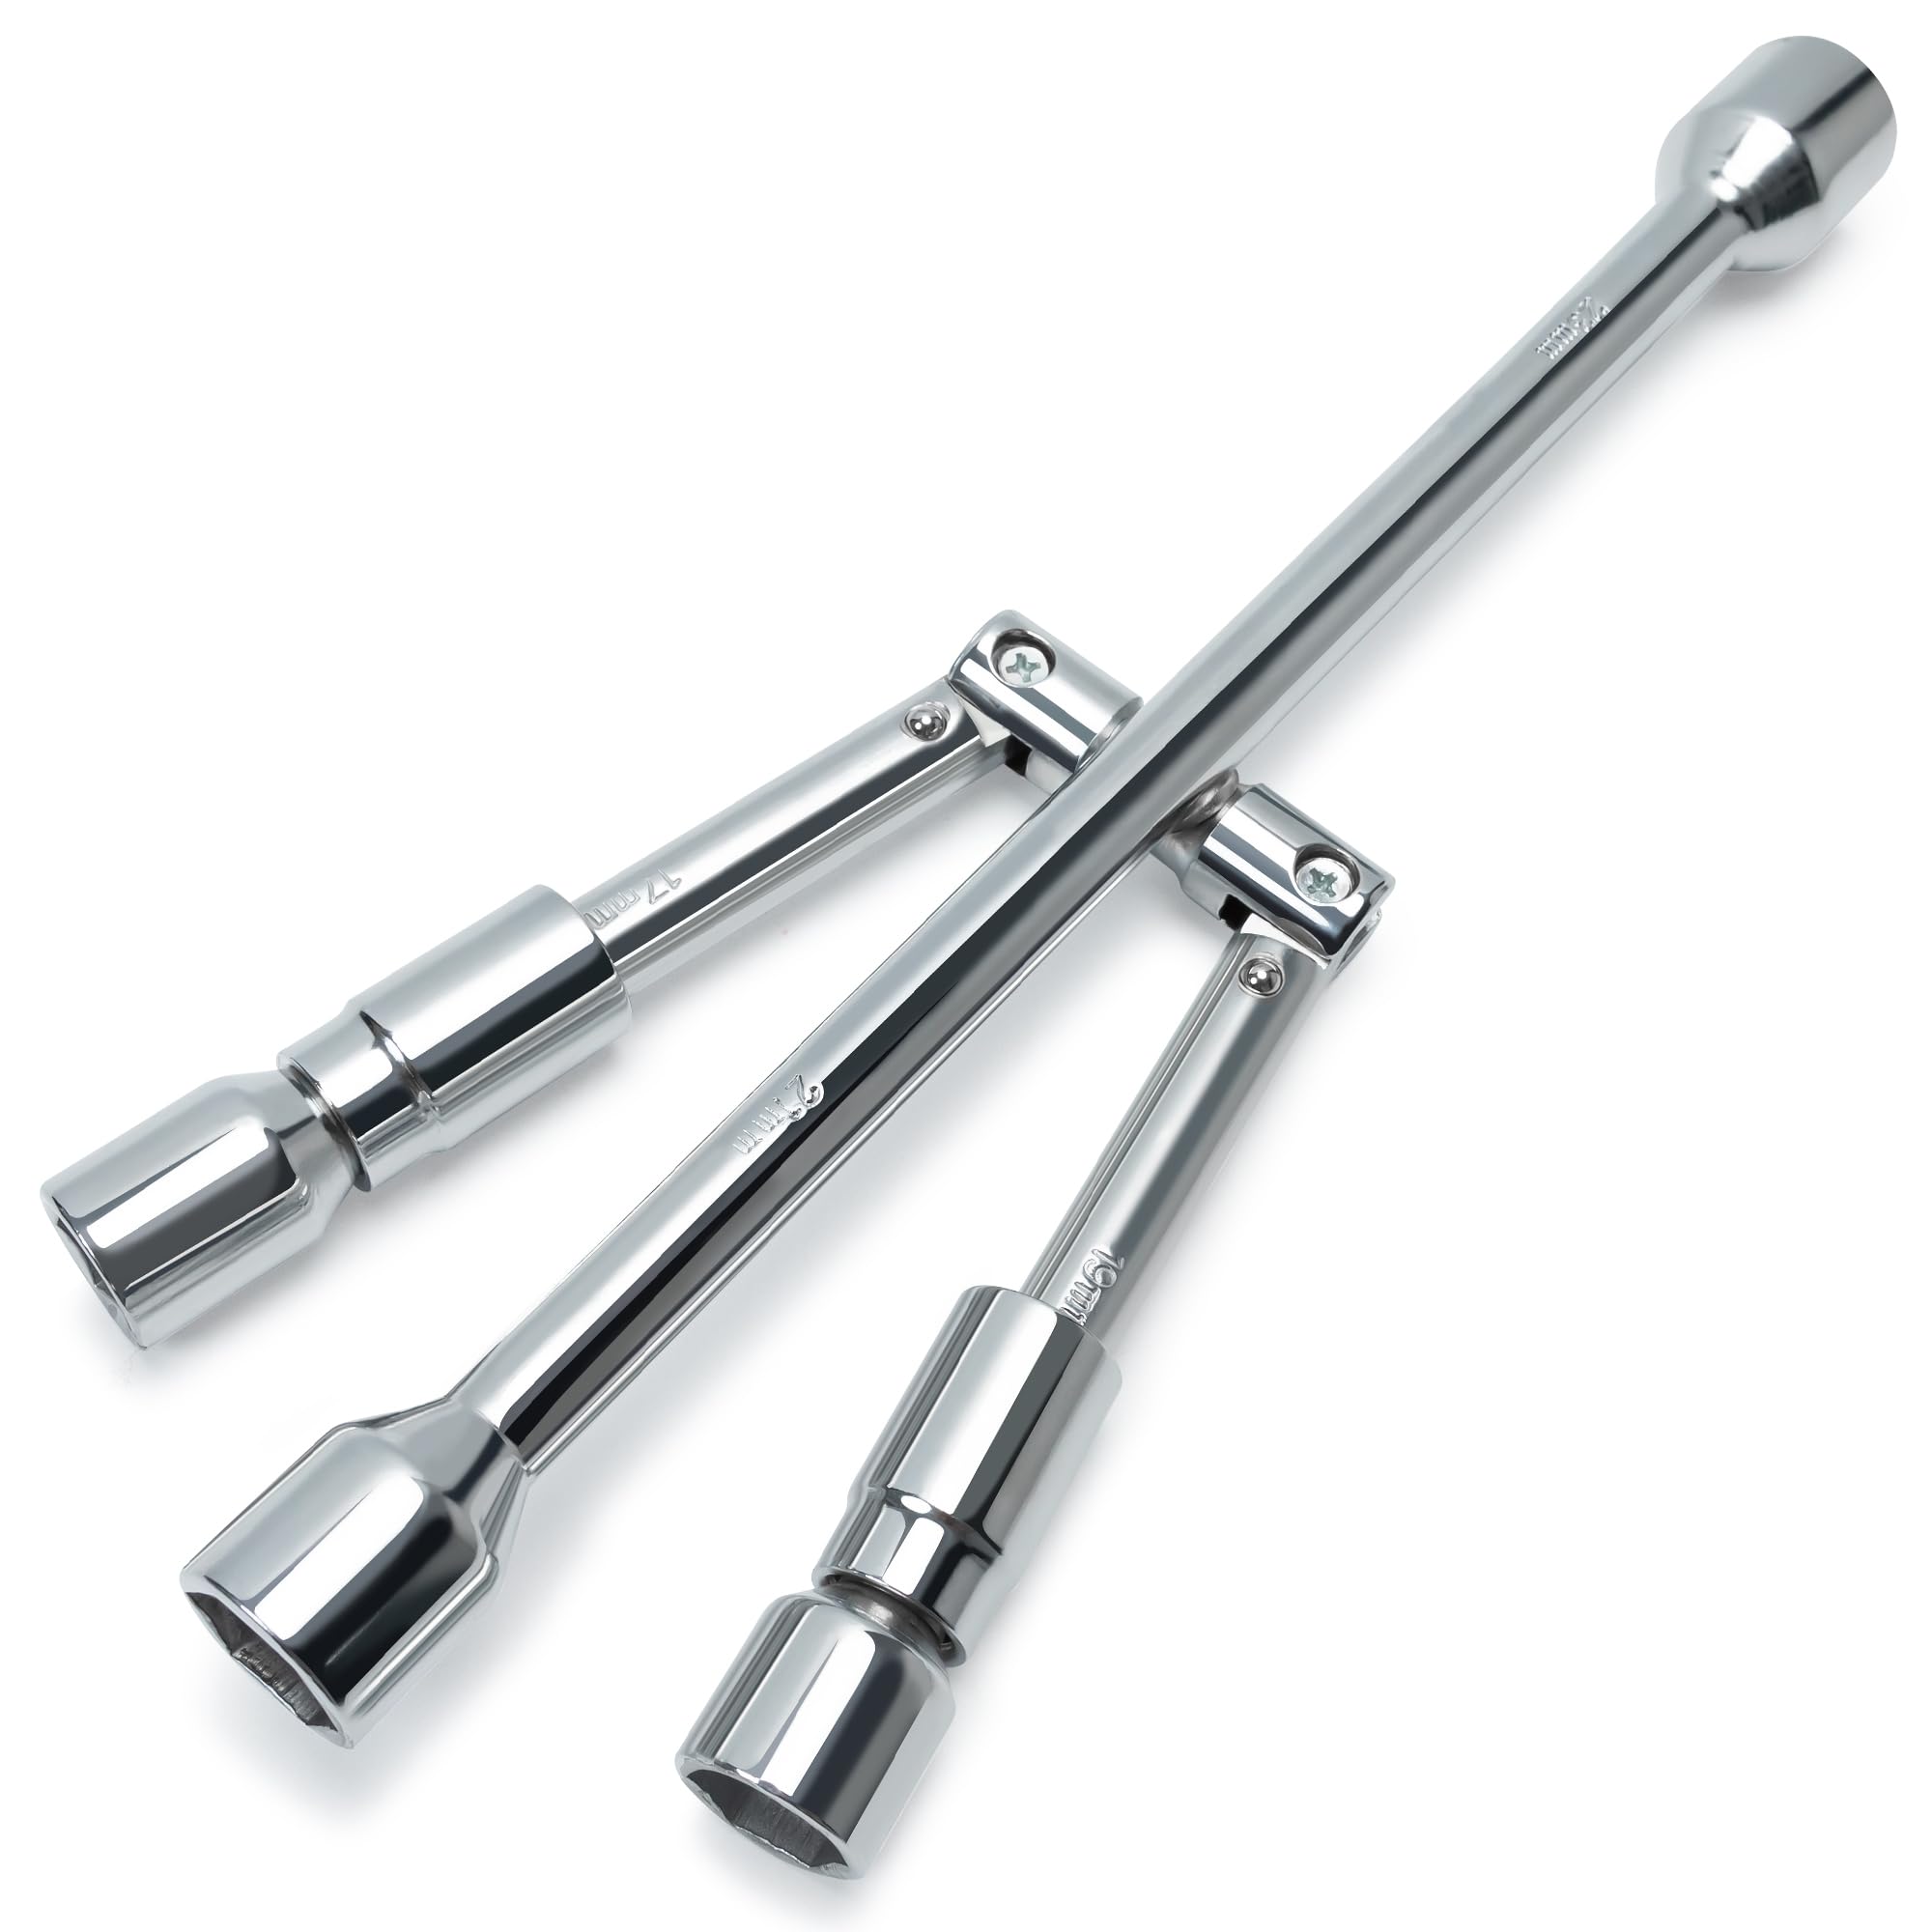
Alltop Heavy Duty Folding Lug Wrench
Made of hardened steel with a non-slip surface, this cross-style wrench gives you extra leverage to loosen stubborn lug nuts.
Best for: Keep it in your car as a backup if the factory wrench is weak or missing.
Price Range: $15-$30
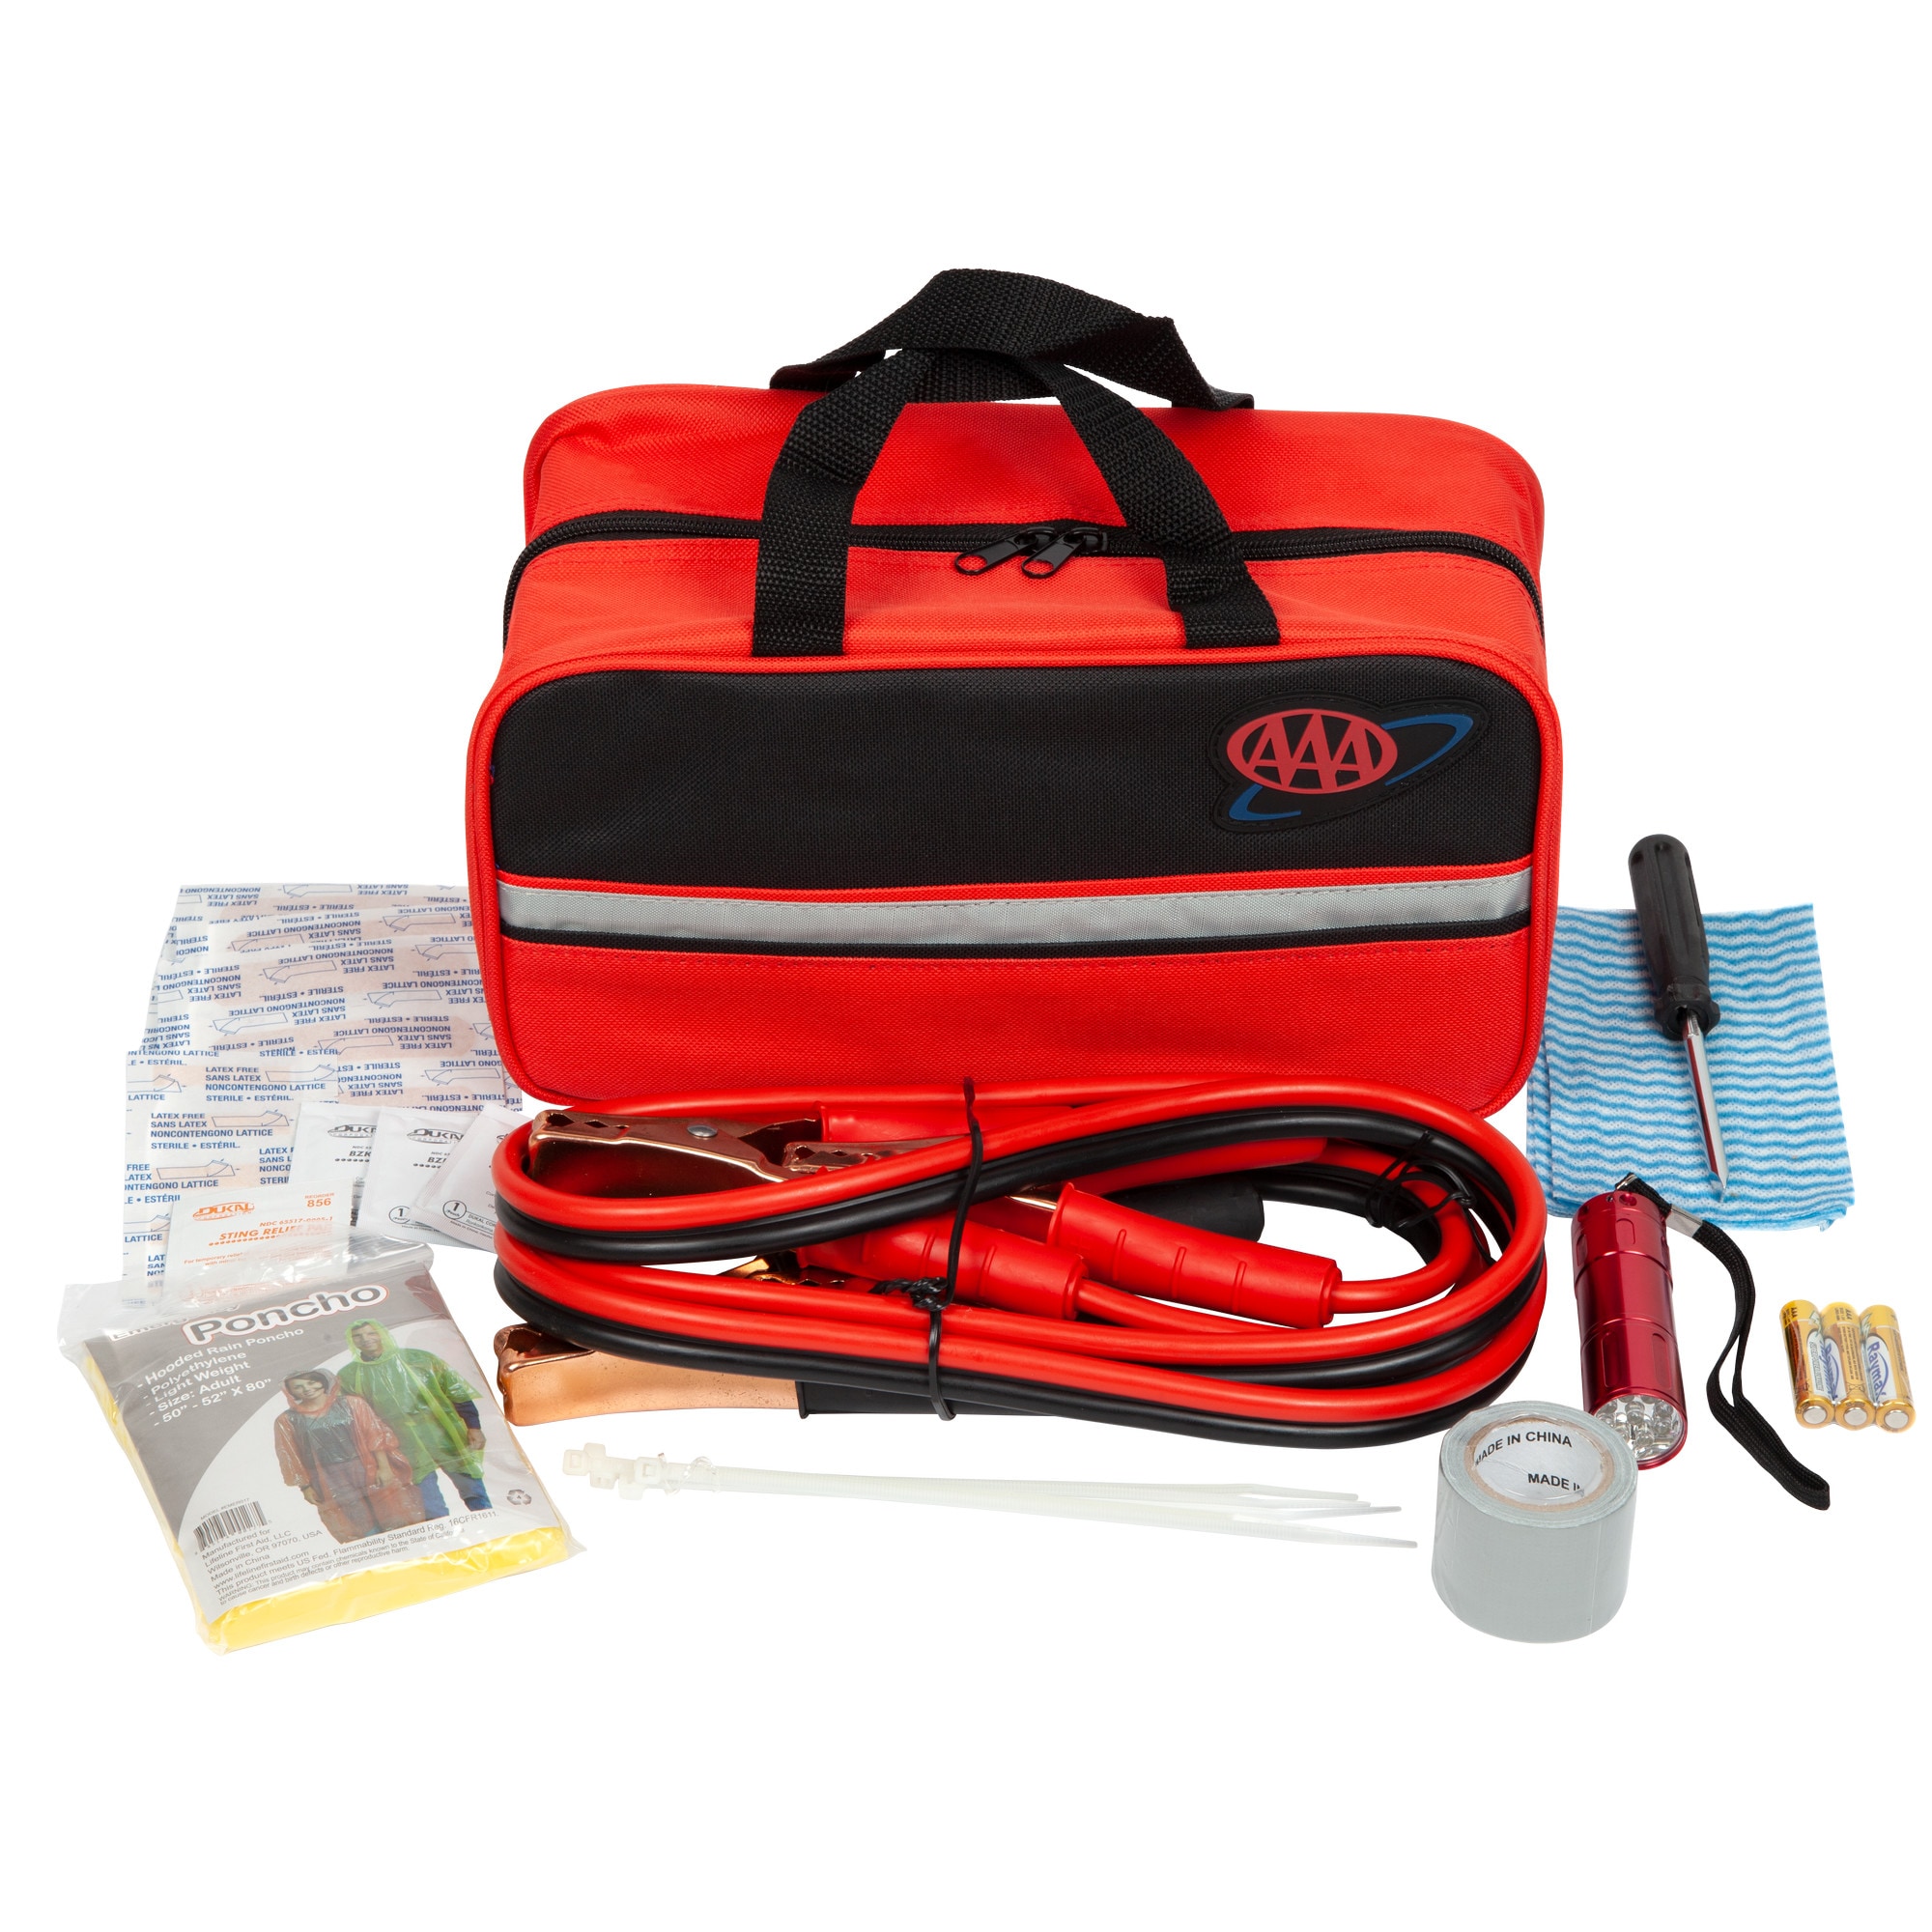
AAA Emergency Roadside Kit
A full kit with jumper cables, flashlight, reflective triangles, and tire repair products. It's the perfect 'get home safe' set.
Best for: When you want to be prepared for any roadside emergency, not just flats.
Price Range: $30-$80