Changing your car's oil filter is a critical part of routine maintenance that keeps your engine clean and running smoothly. While many DIYers focus on draining old oil, skipping or improperly replacing the oil filter can allow contaminants to circulate, leading to premature engine wear. In this guide, you'll learn the exact steps to safely and effectively swap out your oil filter, whether you're on jack stands or a lift. We'll cover the tools you'll need, common pitfalls to avoid, and pro tips to make the job easier. With about 30 minutes and basic mechanical know-how, you can save money and extend your engine's life.
▸What You'll Need
- •New oil filter (correct for your vehicle – check owner's manual)
- •Fresh engine oil (correct viscosity and quantity)
- •Oil filter wrench (cap or adjustable style)
- •Drain pan (5+ quart capacity)
- •Funnel (long neck preferred)
- •Socket or wrench for drain plug
- •Floor jack and jack stands (if needed for access)
- •Mechanic's gloves and safety glasses
- •Rags or shop towels
- •Penetrating oil (optional, for stubborn filters)
Estimated Time: 20–30 minutes
Difficulty: intermediate
▸Step-by-Step Instructions
Step 1: Gather Tools and Prepare the Vehicle
Collect all tools and supplies before starting. Park the car on a level surface and engage the parking brake. If your oil filter is underneath the engine, you'll need to safely lift the front of the car using a floor jack and support it on jack stands. Never rely on the jack alone. For top-mounted or side-mounted filters (common on some cars), you may not need to lift. Let the engine cool for 10–15 minutes – oil should be warm but not hot to avoid burns and ensure proper drainage.
💡 Tips:
- •Warm oil drains faster and flows out more completely.
- •Place the drain pan slightly off-center to catch oil from both the drain plug and the filter.
⚠️ Warnings:
- •Never work under a car supported only by a jack.
- •Allow the engine to cool enough to touch the filter without burning yourself.
Step 2: Locate the Oil Filter and Drain Plug
Consult your owner's manual to find the exact location of the oil filter and oil drain plug. The oil filter is typically a cylindrical canister (often black, white, or orange) attached to the engine block. The drain plug is on the bottom of the oil pan. If the filter is difficult to reach, note its orientation – vertical, horizontal, or angled – as this affects how you'll remove and install it.
💡 Tips:
- •Take a picture with your phone before removing to reference the orientation.
- •If the filter is near hot exhaust manifolds, let the engine cool longer.
⚠️ Warnings:
- •The drain plug may be very tight; use the correct size socket to avoid stripping.
Step 3: Drain the Engine Oil
Place the drain pan directly under the drain plug. Using a socket or wrench, loosen the drain plug counterclockwise. Be ready for oil to flow out quickly – it may be hot. Remove the plug by hand and let the oil drain completely (about 5 minutes). While draining, inspect the drain plug's gasket for damage and clean the plug with a rag. This step reduces mess when you later remove the filter, which still contains some oil.
💡 Tips:
- •Wear gloves to avoid contact with old oil, which can be acidic.
- •If the plug is stuck, use penetrating oil and allow it to soak for 10 minutes.
⚠️ Warnings:
- •Hot oil can cause burns – use caution.
- •Keep the drain plug safe; do not drop it into the pan.
Step 4: Remove the Old Oil Filter
Position the drain pan under the filter. Use an oil filter wrench to grip the filter body and turn it counterclockwise. If the filter is very tight, a strap or cap-style wrench works best. Once loosened, unscrew it by hand – it will be full of oil, so tilt it slightly to drain as you remove it. Dispose of the old filter properly (many auto parts stores accept used filters for recycling).
💡 Tips:
- •Place a rag under the filter to catch drips.
- •If the filter is inaccessible, use a long-reach filter wrench.
⚠️ Warnings:
- •The filter may still be hot – wear gloves.
- •Do not use force that could damage the filter housing or engine components.
Step 5: Check the Old Filter's Gasket and Clean the Mounting Surface
Inspect the old filter to ensure the rubber gasket (ring) came off with it. If it stuck to the engine, you must remove it before installing the new filter – a double gasket will cause a massive oil leak. Use a rag and a scraper or your fingernail to peel off any remaining gasket. Then wipe the flat mounting surface on the engine clean of old oil and debris. A clean surface ensures a proper seal.
💡 Tips:
- •Run your finger around the mounting surface to feel for any leftover gasket.
- •Use brake cleaner on a rag for stubborn residue.
⚠️ Warnings:
- •Oil on the mounting surface can cause the new filter to loosen.
- •If the old gasket is left on, the new filter will leak and possibly blow off.
Step 6: Prepare the New Oil Filter
Before installing, smear a thin layer of fresh engine oil on the new filter's rubber gasket. This lubricates the seal and prevents it from sticking or tearing when tightened. Also, fill the new filter about half full with fresh oil if it installs in a vertical or near-vertical orientation (check your manual). Pre-filling reduces the time the engine runs without oil pressure after startup. For horizontal or upside-down installations, skip pre-filling to avoid spills.
💡 Tips:
- •Use clean oil, not old oil.
- •Spinning the filter while filling helps distribute oil inside.
⚠️ Warnings:
- •Do not overfill – you'll spill oil when screwing it on.
- •Only pre-fill if the filter is mounted with the opening pointing up or sideways.
Step 7: Install the New Oil Filter
Screw the new filter onto the engine by hand in a clockwise direction. Ensure the threads catch smoothly without cross-threading. Tighten it firmly hand-tight – typically 3/4 to 1 full turn after the gasket contacts the mounting surface. Do not use a wrench to overtighten, as this can damage the gasket or make future removal difficult. For cartridge-style filters, tighten the cap to manufacturer torque specs.
💡 Tips:
- •Mark the filter with a paint pen or note the position to verify proper tightening.
- •If you can't tighten by hand, use the filter wrench only for final snug.
⚠️ Warnings:
- •Cross-threading can strip the engine threads – stop and realign if resistance feels wrong.
- •Overtightening can distort the gasket and cause leaks.
Step 8: Replace the Drain Plug and Add New Oil
Install the drain plug with a new crush washer (if recommended by your vehicle). Tighten it to the torque specified in your manual – typically 18–30 ft-lbs. Do not overtighten. Lower the car if it was lifted. Insert a funnel into the oil filler cap on the top of the engine and pour in the correct amount of new oil (check manual; typically 4–6 quarts). Replace the filler cap.
💡 Tips:
- •Use a torque wrench for the drain plug to prevent stripped threads.
- •Add oil slowly to avoid overfilling.
⚠️ Warnings:
- •If you pre-filled the filter, subtract that amount from the total oil you pour in.
Step 9: Start the Engine and Check for Leaks
Start the engine and let it idle for about 30 seconds. The oil pressure light should go off within a few seconds. While the engine runs, visually inspect the oil filter and drain plug areas for any drips or leaks. If you see oil escaping, shut off the engine immediately and address the issue (tighten or reinstall). After the engine has run, turn it off and wait 5 minutes for oil to settle, then check the dipstick and add oil if needed to reach the full mark.
💡 Tips:
- •If the oil light stays on, shut off immediately – there may be a pressure issue.
- •Check the underside with a flashlight for any sneaky drips.
⚠️ Warnings:
- •Do not rev the engine – just idle.
- •If you smell burning oil, wipe any spilled oil from exhaust components.
Step 10: Clean Up and Dispose of Used Materials
Clean up any spilled oil with rags. Dispose of the old oil and filter responsibly: pour used oil into a sealable container and take it to an auto parts store or recycling center. The used filter can be drained and recycled similarly. Record the oil change mileage in your logbook or sticker. Enjoy a job well done.
💡 Tips:
- •Kitty litter or sawdust absorbs small spills on the garage floor.
- •Many states require recycling – never pour oil down the drain.
⚠️ Warnings:
- •Used oil is hazardous waste – store safely away from children and pets.
▸Pro Tips
- •Pre-fill the filter with fresh oil to reduce engine wear on startup – only if the filter mounts vertically or slightly sideways.
- •Always lubricate the new filter’s rubber gasket with oil to ensure a proper seal and easy removal next time.
- •Use a filter wrench with a 3/8-inch drive ratchet for stubborn filters – strap or cap styles work best.
- •If you can’t reach the filter, use a flexible extension or a dedicated oil filter socket with a wobble extension.
- •Mark the filter with a line so you can see exactly how much you've turned it after gasket contact.
- •Use a magnetic oil drain plug to catch metal debris – an extra layer of engine protection.
- •When checking the drain plug torque, 18–30 ft-lbs is typical but consult your manual – overtightening strips aluminum pans.
- •Write the oil change date and mileage on a sticker under the hood or in a logbook for maintenance records.
▸Common Mistakes to Avoid
- •Forgetting to remove the old filter gasket – results in a double gasket that causes a massive leak and potential engine damage.
- •Overtightening the new filter – can crush the gasket, cause leaks, and make future removal extremely difficult.
- •Using the wrong oil filter – incorrect size or bypass pressure can lead to unfiltered oil or poor flow.
- •Cross-threading the filter or drain plug – ruins the threads and requires expensive repairs.
- •Not pre-filling the filter – can cause a delay in oil pressure, increasing wear on startup (especially in cold weather).
▸Troubleshooting
Problem: Oil leak after replacement
Solution: Check if the old filter gasket is stuck on the engine (double gasket). Also ensure the new filter is hand-tightened sufficiently and the drain plug is torqued correctly. Wipe the area clean and recheck after a short drive.
Problem: Old filter won't budge
Solution: Use a penetrating oil around the filter seal and wait 5 minutes. Try a different filter wrench type (strap vs. cap) or use a screwdriver to pierce the filter and use it as a lever (messy, last resort).
Problem: Oil pressure light stays on after startup
Solution: Immediately shut off the engine. Check oil level on dipstick – you may have underfilled. Also verify the filter is tight and the drain plug is in place. If level is fine, there may be a blockage or wrong filter – seek professional help.
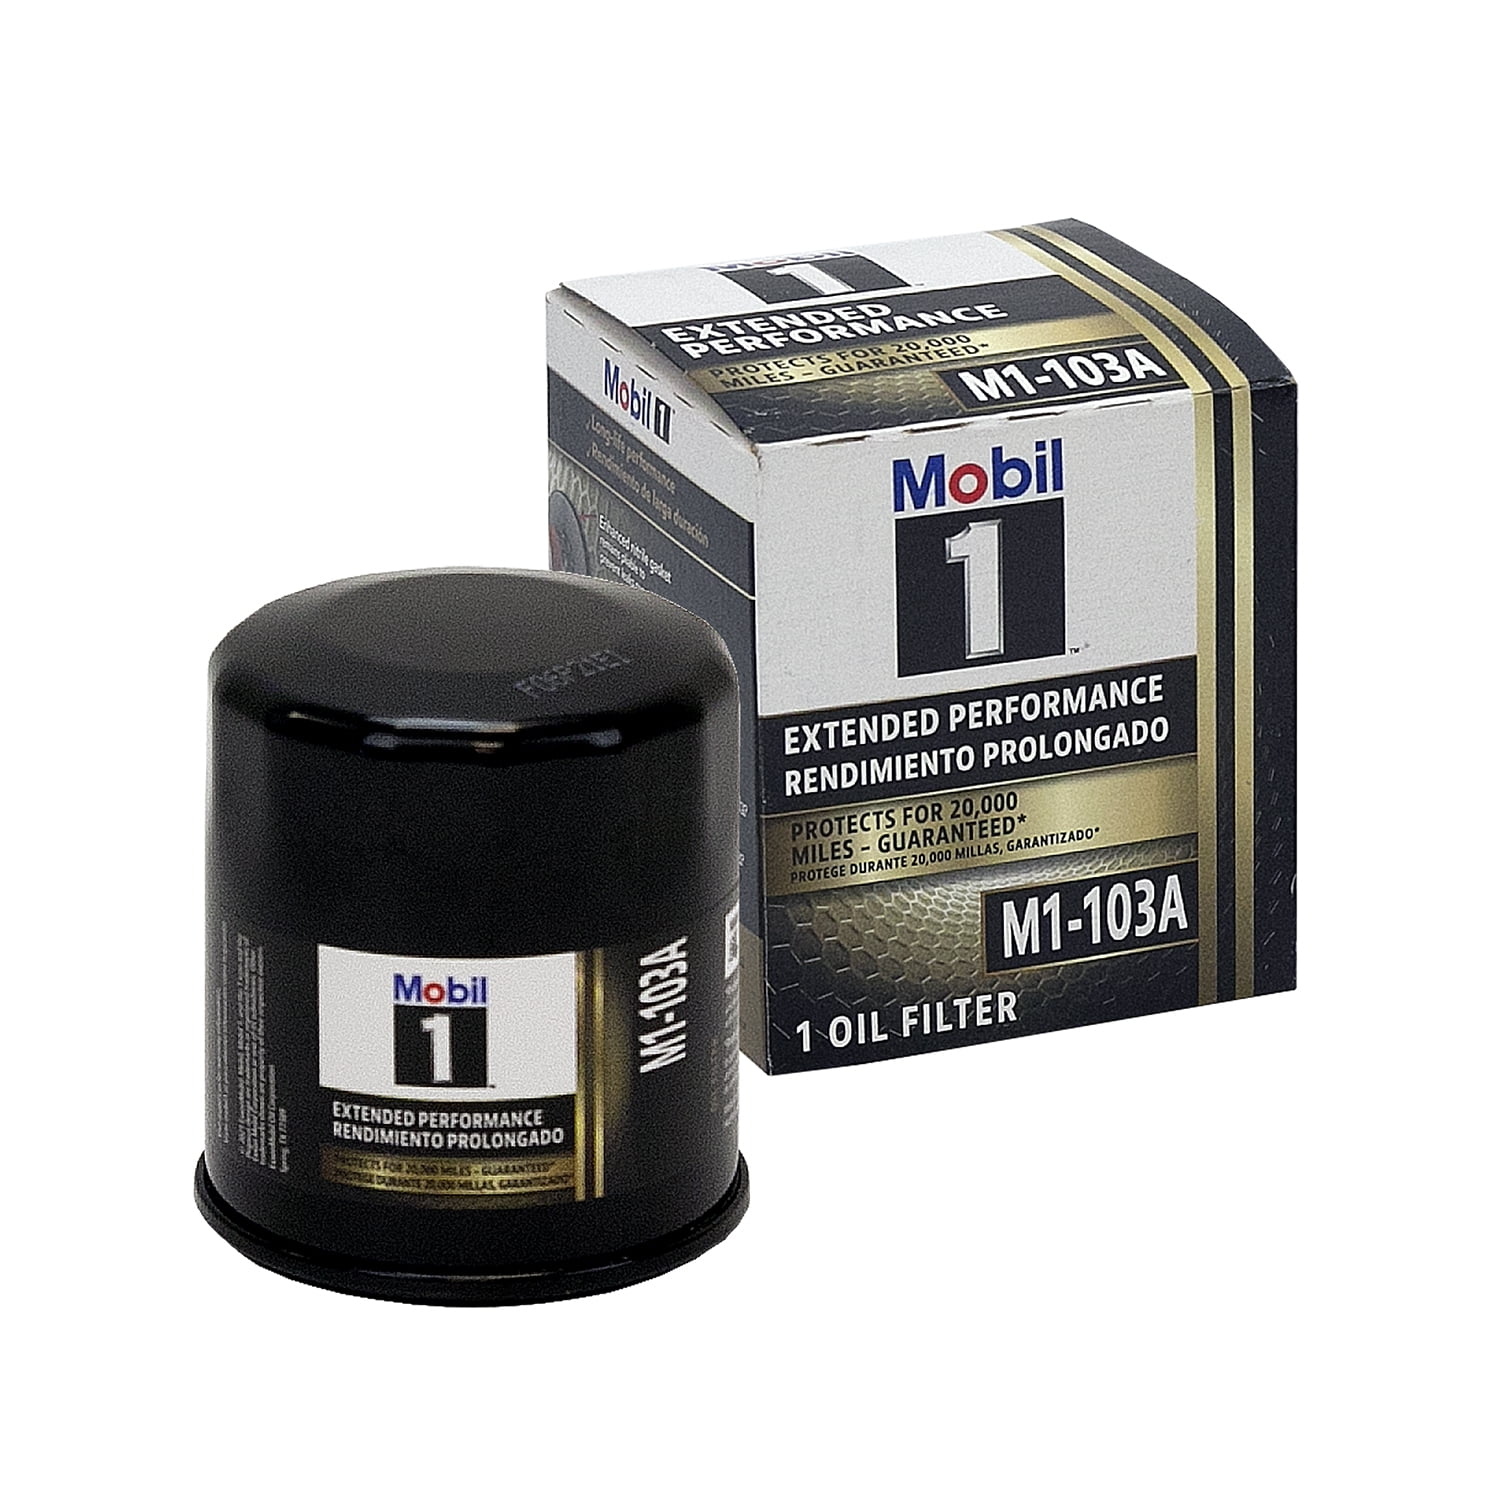
Mobil 1 M1-110 Extended Performance Oil Filter
High-efficiency synthetic media and over 99% dirt-trapping efficiency, meeting standards from leading car manufacturers.
Best for: Ideal for modern engines requiring a premium filter for extended oil change intervals (up to 15,000 miles).
Price Range: $10–$15
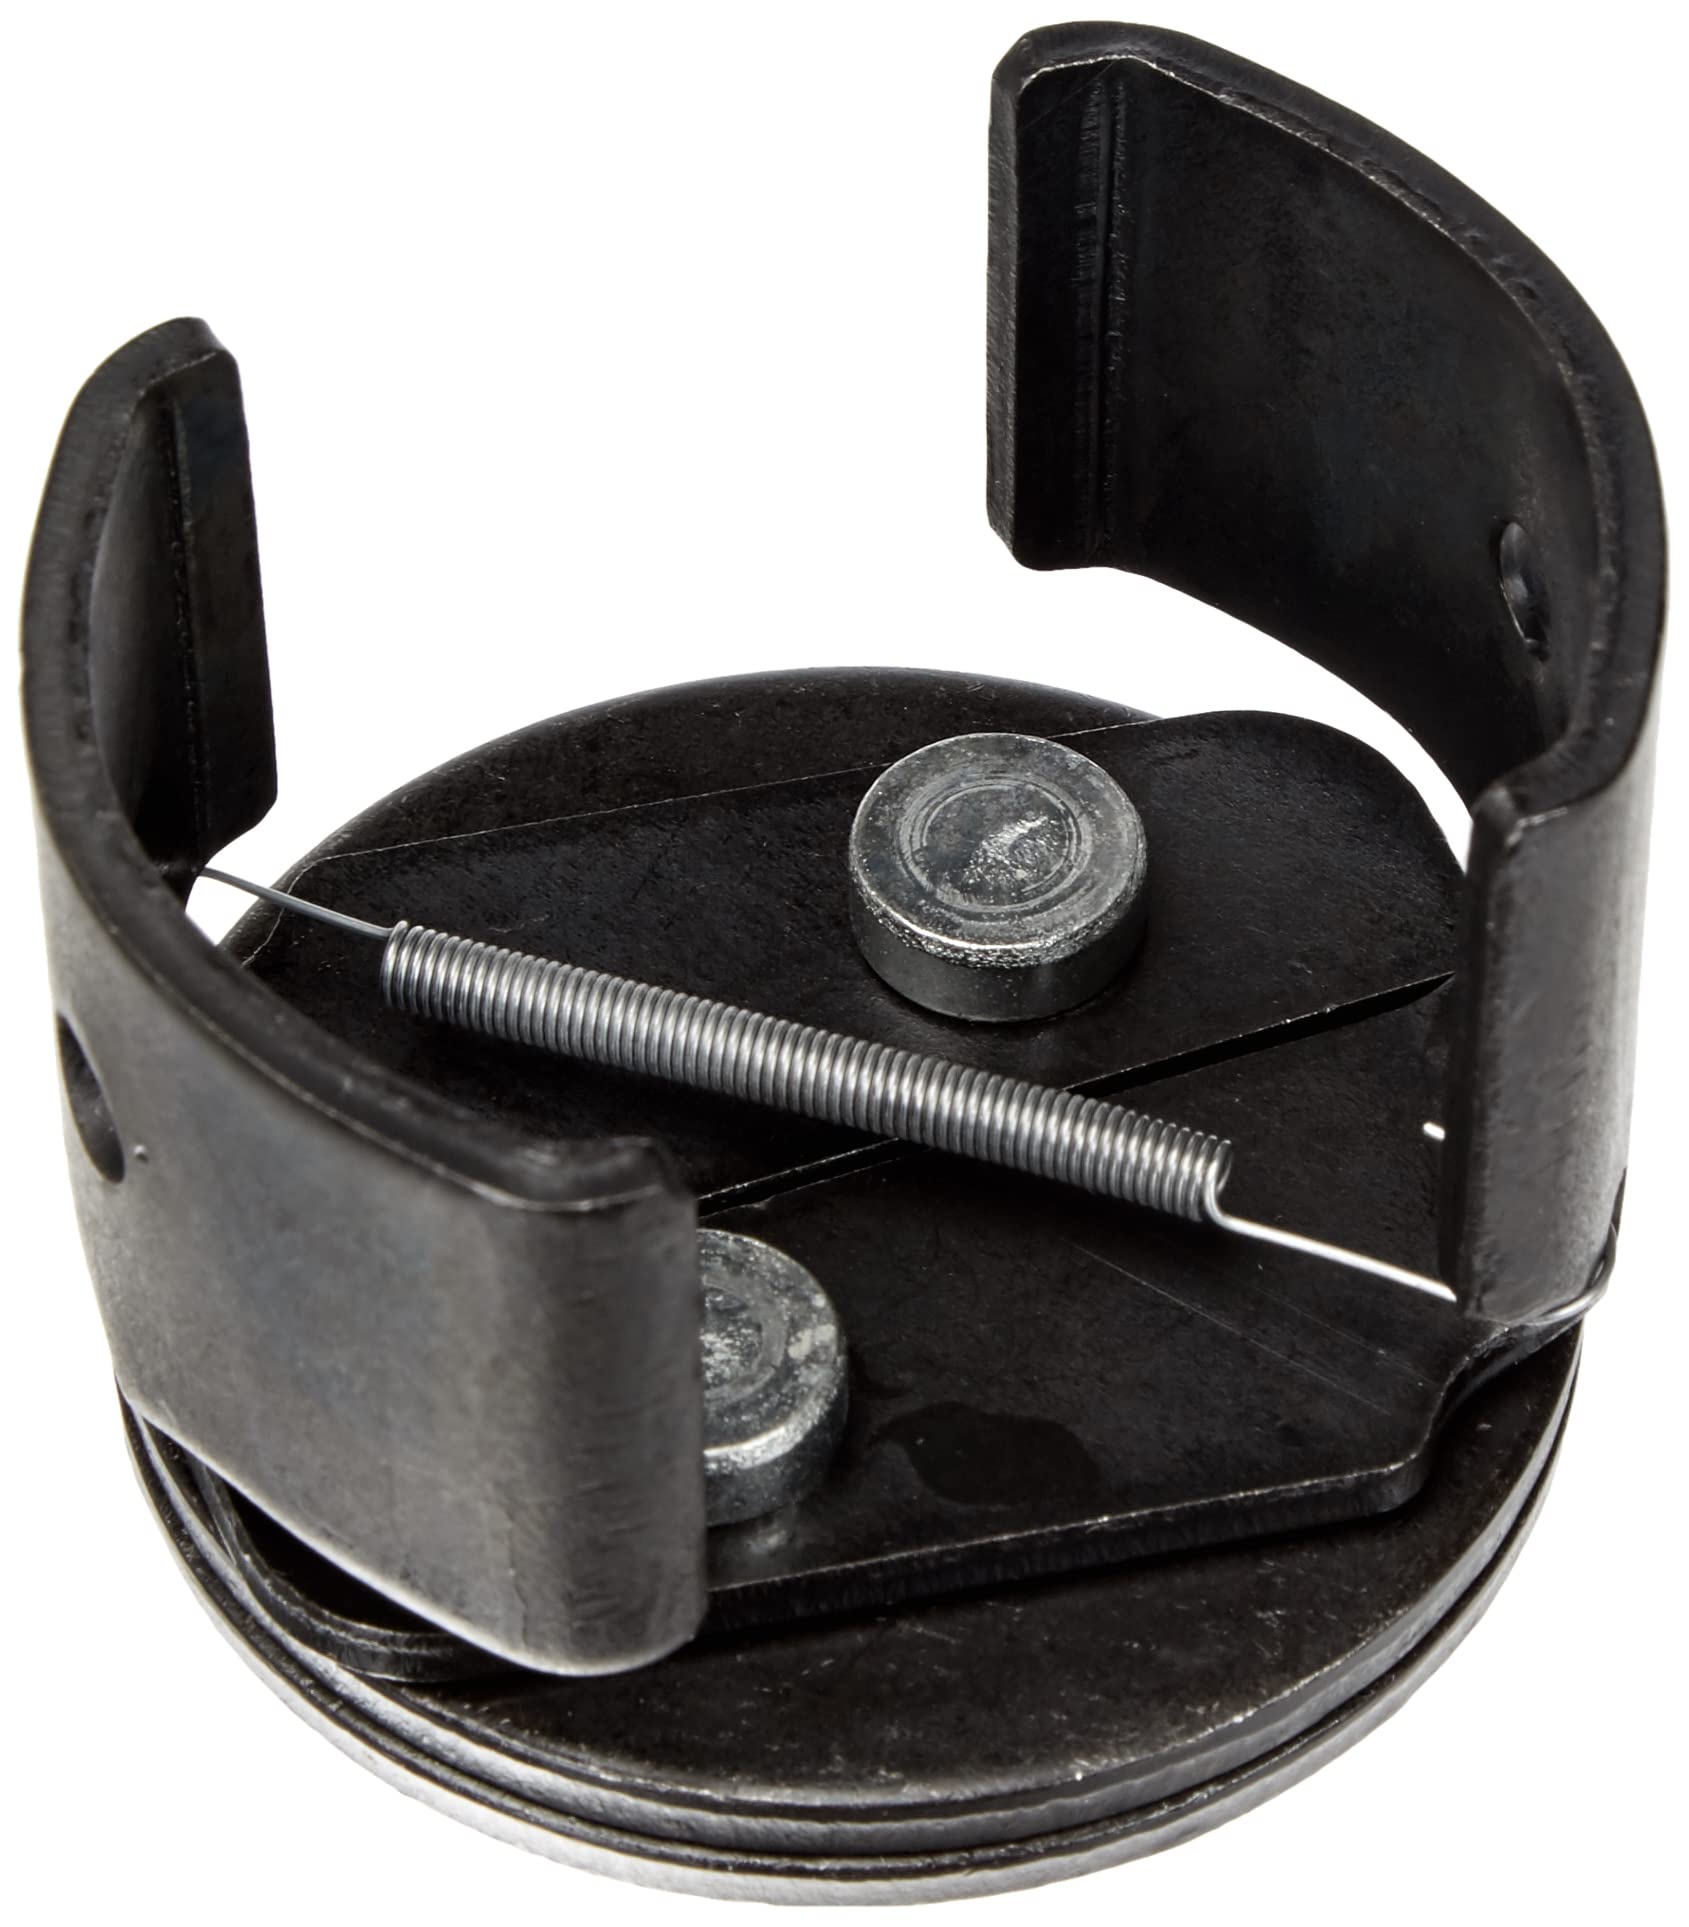
Lisle 63600 Oil Filter Wrench
Versatile cap-style wrench with a 3/8-inch drive, fits most standard spin-on filters, and allows high torque without slipping.
Best for: Essential for removing tight or difficult-to-grip oil filters, especially on vehicles with limited access.
Price Range: $7–$12
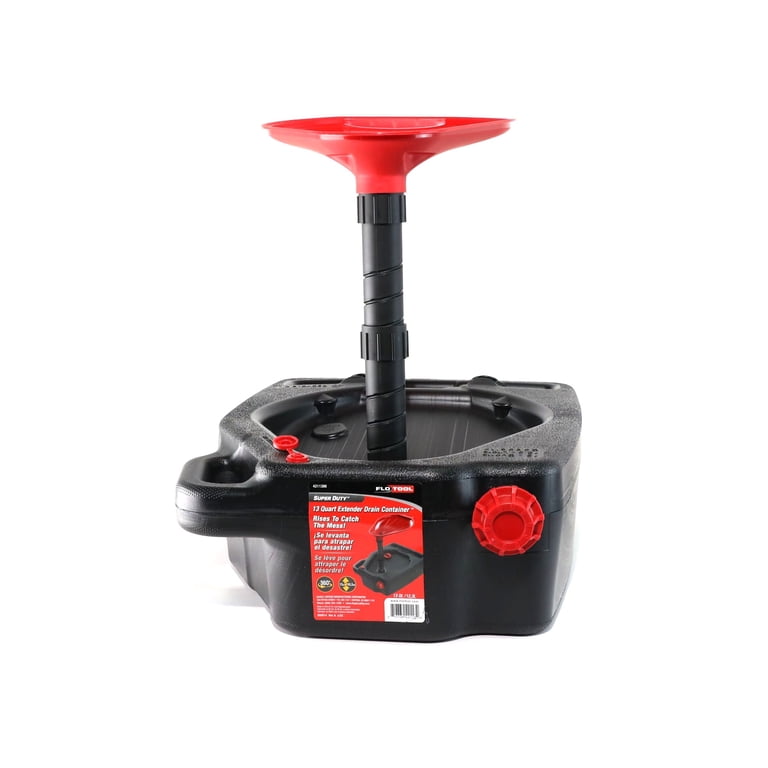
Flotool 10701EZ Oil Drain Pan
5-quart capacity with a twist-off spout for easy pouring into containers, and a splash guard to reduce mess.
Best for: Perfect for DIY oil changes at home—catches oil from drain plug and filter without spilling.
Price Range: $10–$20
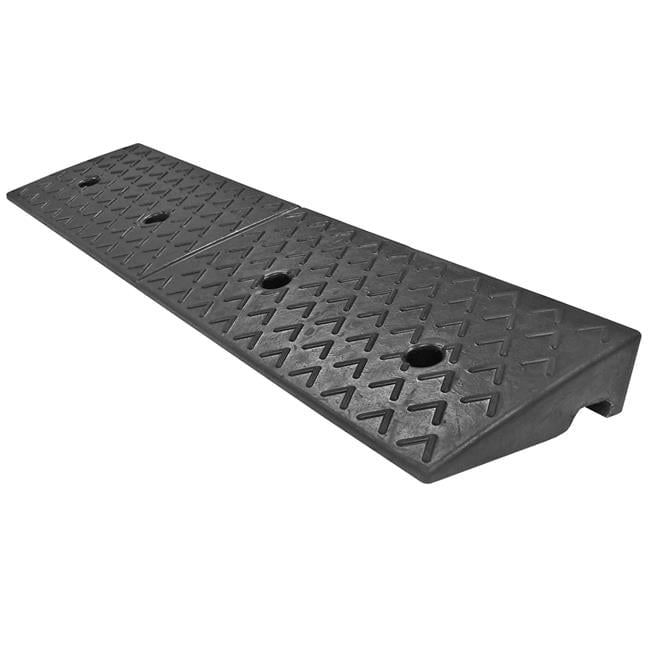
RhinoGear 11909 Ramps
Low-profile, lightweight design with an 8-inch height, rated for 12,000 lbs – safe and easy for lifting the front of most cars.
Best for: A ramp system allows you to drive the car up for better access to the oil filter and drain plug, no jack stands needed.
Price Range: $40–$70
Mechanix Wear Original Work Gloves
Synthetic leather palm with reinforced fingertips provides grip and protection from hot oil and sharp filter edges.
Best for: Keep hands clean and safe while handling oily filter and drain plug – also prevents cuts from metal burrs.
Price Range: $25–$35