Is your 3D printer under-extruding? Seeing gaps between your top layers, or does the nozzle leave thin walls? The root cause often isn’t a clogged nozzle or poor slicing — it’s a simple misconfiguration in your printer’s firmware: the E-steps per millimeter (steps/mm) value. The extruder motor is a stepper motor that moves in defined increments. The E-step value tells the firmware how many of those steps are needed to push exactly 1mm of filament through the hotend. If that number is off, your printer will push too little (under-extrusion) or too much (over-extrusion) filament, leading to weak, ugly, or fragile prints.
In this guide, I’ll walk you through a quick, precision calibration process that uses a simple measuring technique — no fancy equipment required (though a digital caliper is strongly recommended). You’ll learn how to access the E-step setting in your printer’s firmware, perform a test extrusion, calculate the correct value, and save it permanently. By the end, you’ll have a properly calibrated extruder that lays down the exact amount of plastic you expect, bringing your print quality to the next level.
Expect to spend about 15 to 30 minutes — most of that time is just letting the printer warm up and doing repeat measurements. The difficulty is moderate; you’ll need to navigate your printer’s menu or send G-code commands, but you won’t need to disassemble anything. If you can use a digital caliper and do basic math, you’re ready.
▸What You'll Need
- •3D printer with a heated extruder and controllable E-step settings
- •Digital caliper (required for accurate measurement; a ruler can work but is less precise)
- •A marker or a small piece of thin tape with a fine edge
- •Filament spool (the type you normally print with, ideally with a consistent diameter)
- •Access to the printer’s control menu (LCD screen, knob, or SD card) or a PC with USB connection and software like Pronterface, OctoPrint, or your slicer’s machine control panel
- •A flat surface near the extruder to measure against (optional: a piece of cardboard or paper)
Estimated Time: 15-30 minutes (plus a few minutes of print setup for the verification cube)
Difficulty: intermediate
▸Step-by-Step Instructions
Step 1: Understand E-Steps and Why They Matter
E-steps (or extruder steps per millimeter) is a firmware setting that defines how many stepper motor steps are required to push exactly 1 millimeter of filament through the hotend. This value is unique to your printer’s extruder gear size, hobbed bolt diameter, and motor. When it’s wrong, the slicer’s commands for a 100mm extrusion result in a different physical length, causing over- or under-extrusion.
Why calibrate? Even if you’ve printed fine for months, the value can drift due to a worn gear, a clogged nozzle, or even when you replace the nozzle or PTFE tube. Re-calibrating ensures your printer faithfully extrudes the volume your slicer expects, resulting in accurate dimensions, strong layer adhesion, and clean first layers. It’s the foundation for all other calibrations (like flow rate).
💡 Tips:
- •If you’re new to this, look up the default E-step value for your printer model in the manual or online forum (e.g., VORON-style printers usually use 50 for a 0.9° stepper, while direct-drive Bowden setups often use 93–120).
- •Knowing the current value before you change anything helps you double-check your calculation and revert if something goes wrong.
Step 2: Access Your Printer’s Current E-Step Setting
Before you can adjust the E-steps, you need to find where the setting is stored in your printer’s firmware. Most Marlin-based printers have it under: Configuration → Advanced settings → Steps/mm → ESteps/mm. For other firmware like Klipper, the equivalent is the 'rotation_distance' in the printer.cfg file, but we’ll focus on the traditional E-step value. If you have a direct drive printer (like a Prusa or Ender 3 with a direct convert), navigate through the LCD and write down the current numbers. If you don’t have an LCD, you can send a M92 command via OctoPrint or Pronterface to query the current value (e.g., send 'M92' and check the 'E' response).
Once you see it, record the value. For many printers, it’s around 93 or 95 steps/mm, but don’t assume yours is that — double-check because your firmware might be set differently. This baseline value is what we’ll be recalculating.
💡 Tips:
- •Take a picture of the menu screen or write the value in a notebook so you can refer back to it during the calculation.
- •If your firmware is Klipper, see the 'calibrating rotation_distance' documentation — the logic is similar but you’ll adjust a physical distance instead of a step count.
Step 3: Prepare the Extrusion Test
Start by heating your hotend to the recommended temperature for the filament you’re using (e.g., 200°C for PLA). While the printer warms up, make sure the extruder has a clear path for filament to exit through the nozzle. Important: For this test, we don’t want to extrude onto the bed or build plate; we want the filament to flow freely in the air. Also verify that the filament is already loaded and feeding correctly — if there’s a tangle or a jam, the test will be invalid.
Once the hotend reaches temperature, wait a minute for the heat to soak. Then use your printer’s interface to extrude a small amount (say 20mm) to ensure the filament is flowing smoothly and that the extruder gear isn’t slipping. If you see inconsistent motion, fix that before proceeding.
💡 Tips:
- •Make sure the filament path is unobstructed, and if your printer has a Bowden tube, check that the tube is secure at both ends.
- •Use filament that has been dried, as wet filament can pop and thus give inaccurate measurements.
⚠️ Warnings:
- •Do not touch the hotend or the nozzle during this or later steps — you could burn yourself.
Step 4: Measure and Mark Your Filament
Now the careful part. We’ll mark a reference point on the filament that will let us measure how many millimeters were actually pushed. Find the place where the filament enters the extruder (the top of the extruder body or the opening of the Bowden coupling). Measure exactly 120mm from that point upward along the filament, and make a clear mark with a marker or tape. This distance must be measured from the same point every time, so make sure your reference is consistent.
The idea: if the extruder pushes exactly 100mm, the mark will move down so that only 20mm remains between the extruder intake and the mark. If it extrudes less, the mark will be farther away (e.g., 22mm), and if it extrudes more, the mark will be closer (e.g., 18mm). Measuring that remaining distance tells us exactly how much filament was actually fed.
💡 Tips:
- •Use a digital caliper to set the 120mm mark with high precision — this is the most critical measurement of the entire test.
- •If your extruder has a coupler or a lip that creates a physical reference, use its bottom edge as your reference point. Be consistent.
- •Use a thin strip of painter’s tape and draw a fine line with a pen; it’s easier to see and measure than a dot.
⚠️ Warnings:
- •Make sure the filament is not moving while you measure; let the printer idle for a few seconds.
Step 5: Command a 100mm Extrusion
Using your printer’s LCD menu or terminal software, navigate to the extruder control and tell the printer to extrude exactly 100mm of filament at a reasonable speed (often 10–50mm/min in the LCD menu, or you can send a G-code command like 'G1 E100 F50'). The printer’s firmware will then rotate the stepper motor enough to push 100mm according to its current E-step setting. Watch the filament feed — it should move smoothly and steadily. Let the printer finish the extrude command, then wait a few seconds for the pressure in the hotend to release.
Do not touch the filament or manually pull it during this step. Just let the machine do its work. The mark will either be inside the extruder or still visible, depending on your setup, but it stays at a known distance.
💡 Tips:
- •If your printer’s LCD only allows you to move by 1mm or 10mm steps, you can repeat the 10mm command ten times, but a single 100mm command is easier and more accurate.
- •Send the command via OctoPrint terminal: M83 (relative extrusion) then G1 E100 F100 — but be careful, this extrudes 100mm, so ensure there’s enough slack in the filament spool.
⚠️ Warnings:
- •If the extruder skips or clicks during the command, stop immediately and check for a jam or a clogged nozzle — this test won’t be valid.
- •Make sure the filament doesn’t catch on anything; hold the spool lightly if needed but don’t drag it.
Step 6: Measure the Actual Extruded Length
After the extrusion stops, take your calipers and measure the distance from the same reference point (the extruder intake) to the mark you made. If your printer is perfectly calibrated, that measurement will be exactly 20mm. Write down this measurement — let’s call it 'measured remaining length.' The actual length of filament extruded is calculated as 120mm minus the remaining length. For example, if you measure 22mm, the actual extruded length was 98mm (120 - 22 = 98). If you measure 18mm, it was 102mm.
For best accuracy, repeat this whole test two more times, each time starting fresh with a new 120mm mark. Use a new section of filament or if you run out of space, cut the filament and start again. Take the average of the three actual lengths to get a reliable number. Do not be surprised if there is a small variance; that’s normal.
💡 Tips:
- •Measure at eye level to avoid parallax errors.
- •Let the filament cool slightly if it’s flexible and tends to bow — but usually it stays straight enough.
- •If your measurements vary by more than a millimeter, check for a loose grub screw on the extruder gear and tighten it before continuing.
⚠️ Warnings:
- •Do not use a cloth or your hand to wipe the filament; it may move the mark or alter the measurement.
Step 7: Calculate the New E-Step Value
Now you have what you need to compute the correct E-step value. Use this formula: New E-steps = (Current E-steps × 100mm) ÷ Actual Extruded Length. For instance, if your current E-steps are 93.0 and the actual extruded length was 96mm, your new E-steps = (93 × 100) ÷ 96 = 96.875. That extra 3.875 steps per millimeter corrects for the under-extrusion.
If you measured an actual length of 104mm, the calculation becomes (93 × 100) ÷ 104 = 89.42 — meaning you’re over-extruding and need to reduce the value. Always round to two decimal places (e.g., 96.87 or 89.42). Write this number down. This is the value you will enter into the firmware.
💡 Tips:
- •Double-check that you wrote the current E-step value correctly from step 2. A simple typo can throw off the calculation.
- •Use a calculator app on your phone; don’t try to do it in your head, especially with decimals.
- •If you averaged three extrusion runs, use that average in the formula instead of a single run.
⚠️ Warnings:
- •Some printers expect integer values for steps/mm; if you get a decimal, either round or enter the exact decimal if firmware supports it.
- •Ensure you’re not accidentally calculating with the default value from the internet; use the actual value from your machine.
Step 8: Save the New Value and Verify
Enter the new E-step value back into the printer. On Marlin, go to the same menu you used in step 2 (Configuration → Advanced → Steps/mm → ESteps/mm) and change the number to your calculated value. Save it to EEPROM if possible (usually there’s a 'Store Settings' option or send M500). Now perform a quick test extrusion again — mark filament and extrude 100mm — to confirm the remaining distance is close to 20mm. If it’s within 0.5mm, you’re done.
To truly verify, print a simple single-wall cube or a hollow square (e.g., a 20mm calibration cube) and measure the wall thickness with your calipers. The wall should be close to your nozzle diameter plus a reasonable line width. If it’s still off, you may need to adjust your flow rate in the slicer, but the E-step value is now dialed in. Remember to update your slicer’s E-step field if you have it set separately (some slicers include a 'flow' setting, but the firmware E-step value is the foundation).
💡 Tips:
- •After saving, power-cycle your printer to ensure the setting persists.
- •Keep a record of the correct E-step value for your printer, so you can revert quickly if you update firmware or reset the board.
- •If your printer has a micro SD card, you can also update the starting G-code to set E-steps on every print (M92 E...), but permanent EEPROM is cleaner.
⚠️ Warnings:
- •Never set E-steps too high; you could jam the hotend or strip the extruder gear. A value within ±20% of the original is normal.
- •Don’t skip the verification print—this catches any remaining errors.
▸Pro Tips
- •Always calibrate E-steps before worrying about slicer flow rate; E-steps are the hardware-level control, and flow rate is software compensation. If E-steps are off, flow rate adjustments will just mask the problem.
- •Do the test at the temperature you actually print with, not at a lower temp, because viscosity changes and may cause slipping.
- •If you have a metal extruder upgrade (like an aluminum Mk8 or Bondtech), the E-step value can be very different from the stock plastic extruder — don’t rely on the old number.
- •Use a dedicated caliper and make sure its battery is good; a low battery can cause inconsistent readings.
- •When measuring, always use the same reference point (e.g., the bottom of the tension arm) to avoid offset errors.
- •Some printers allow you to set E-steps via a G-code command (M92). You can throw this line into your slicer’s start G-code as a quick temporary fix, but use the EEPROM store for permanence.
- •Keep the extruder tension properly adjusted. A loose idler gear can cause slippage that messes up the measurement — tighten it until just snug.
- •If you have a high extrusion speed print, test with a speed that resembles your actual printing speed (e.g., command a 100mm extrusion at 50 mm/min, not 5 mm/min).
▸Common Mistakes to Avoid
- •Not heating the hotend to the full print temperature. If the filament is too rigid, the extruder may slip or skip, making the actual extruded length shorter than it should be.
- •Measuring from the wrong reference point. If you measure from the top of a coupler instead of the bottom, your measurement will be off by a few millimeters, leading to an incorrect E-step value.
- •Forgetting to save to EEPROM. Many people set the value, extrude a test, and then power off, only to find the value has reverted. Always store settings.
- •Using a different filament diameter that is not the same as what you normally print. Small diameter inconsistencies can add noise to your measurements.
- •Calibrating E-steps when the extruder gear is damaged or the nozzle is clogged. A faulty mechanical part will falsely skew the measurement. Always clear clogs and check the gear condition first.
▸Troubleshooting
Problem: My extruder makes a clicking sound during the test extrusion, and the filament doesn’t move consistently.
Solution: This is usually a sign of a clog or the nozzle temperature too low. Check for a clog by doing a 'cold pull' (removing the nozzle and cleaning it). Also ensure the filament isn’t tangled or the extruder tension is too high. Fix the issue before proceeding with calibration.
Problem: I can’t find the E-step setting in my printer’s LCD menu.
Solution: Some Marlin builds have it under 'Control' > 'Motors' > 'Steps/mm'. If you still can’t find it, connect via USB and send the M92 command to view and set E-steps (e.g., M92 E96.75 then M500 to save).
Problem: My printer’s firmware is Klipper, not Marlin. How does this apply?
Solution: Klipper uses 'rotation distance' instead of E-steps. You need to calibrate the rotation distance by measuring how much filament is physically extruded. The formula is: new rotation distance = old rotation distance × (actual extruded length ÷ commanded length). The principle is exactly the same—only the unit differs.
Problem: After calibration, the first layer still looks squished or has gaps.
Solution: E-step calibration only controls extrusion volume; first layer issues are often caused by incorrect Z-offset (bed leveling) or bed temperature. Re-check your bed level and nozzle height. Also, you may need to adjust your slicer’s 'flow' setting for the first layer.
Problem: The extruder is over-extruding even after setting the correct E-steps. What else could be wrong?
Solution: Assuming the firmware is correct, check the filament diameter setting in your slicer. If the slicer thinks the filament is 1.75mm but it’s actually 1.60mm, it will over-extrude. Also, if you have a swapped nozzle size (e.g., 0.4mm but slicer uses 0.6mm), that can cause visual over-extrusion.
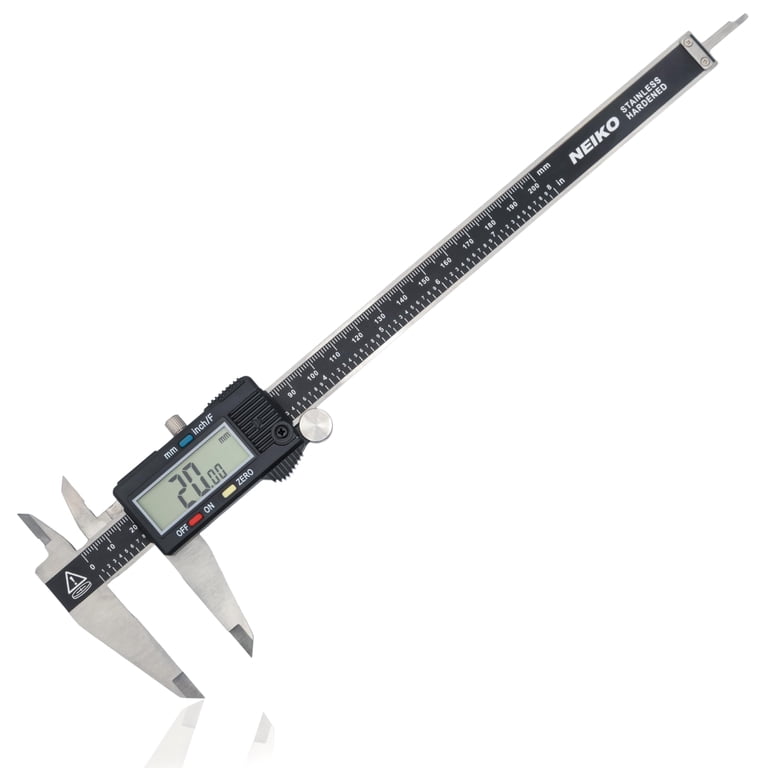
Digital Caliper (e.g., Neiko, iGaging, or Mitutoyo)
Accurate measurement is the linchpin of dialog E-step calibration. A quality digital caliper lets you get within 0.01mm, which is essential for hitting the exact physical length. It’s also useful for measuring filament diameter and wall thickness of test cubes.
Best for: Use it to measure the 120mm stop and the remaining filament after extrusion. Also valuable for verifying print dimensions throughout your printing journey.
Price Range: $15-$30 (budget) up to $150 (professional)
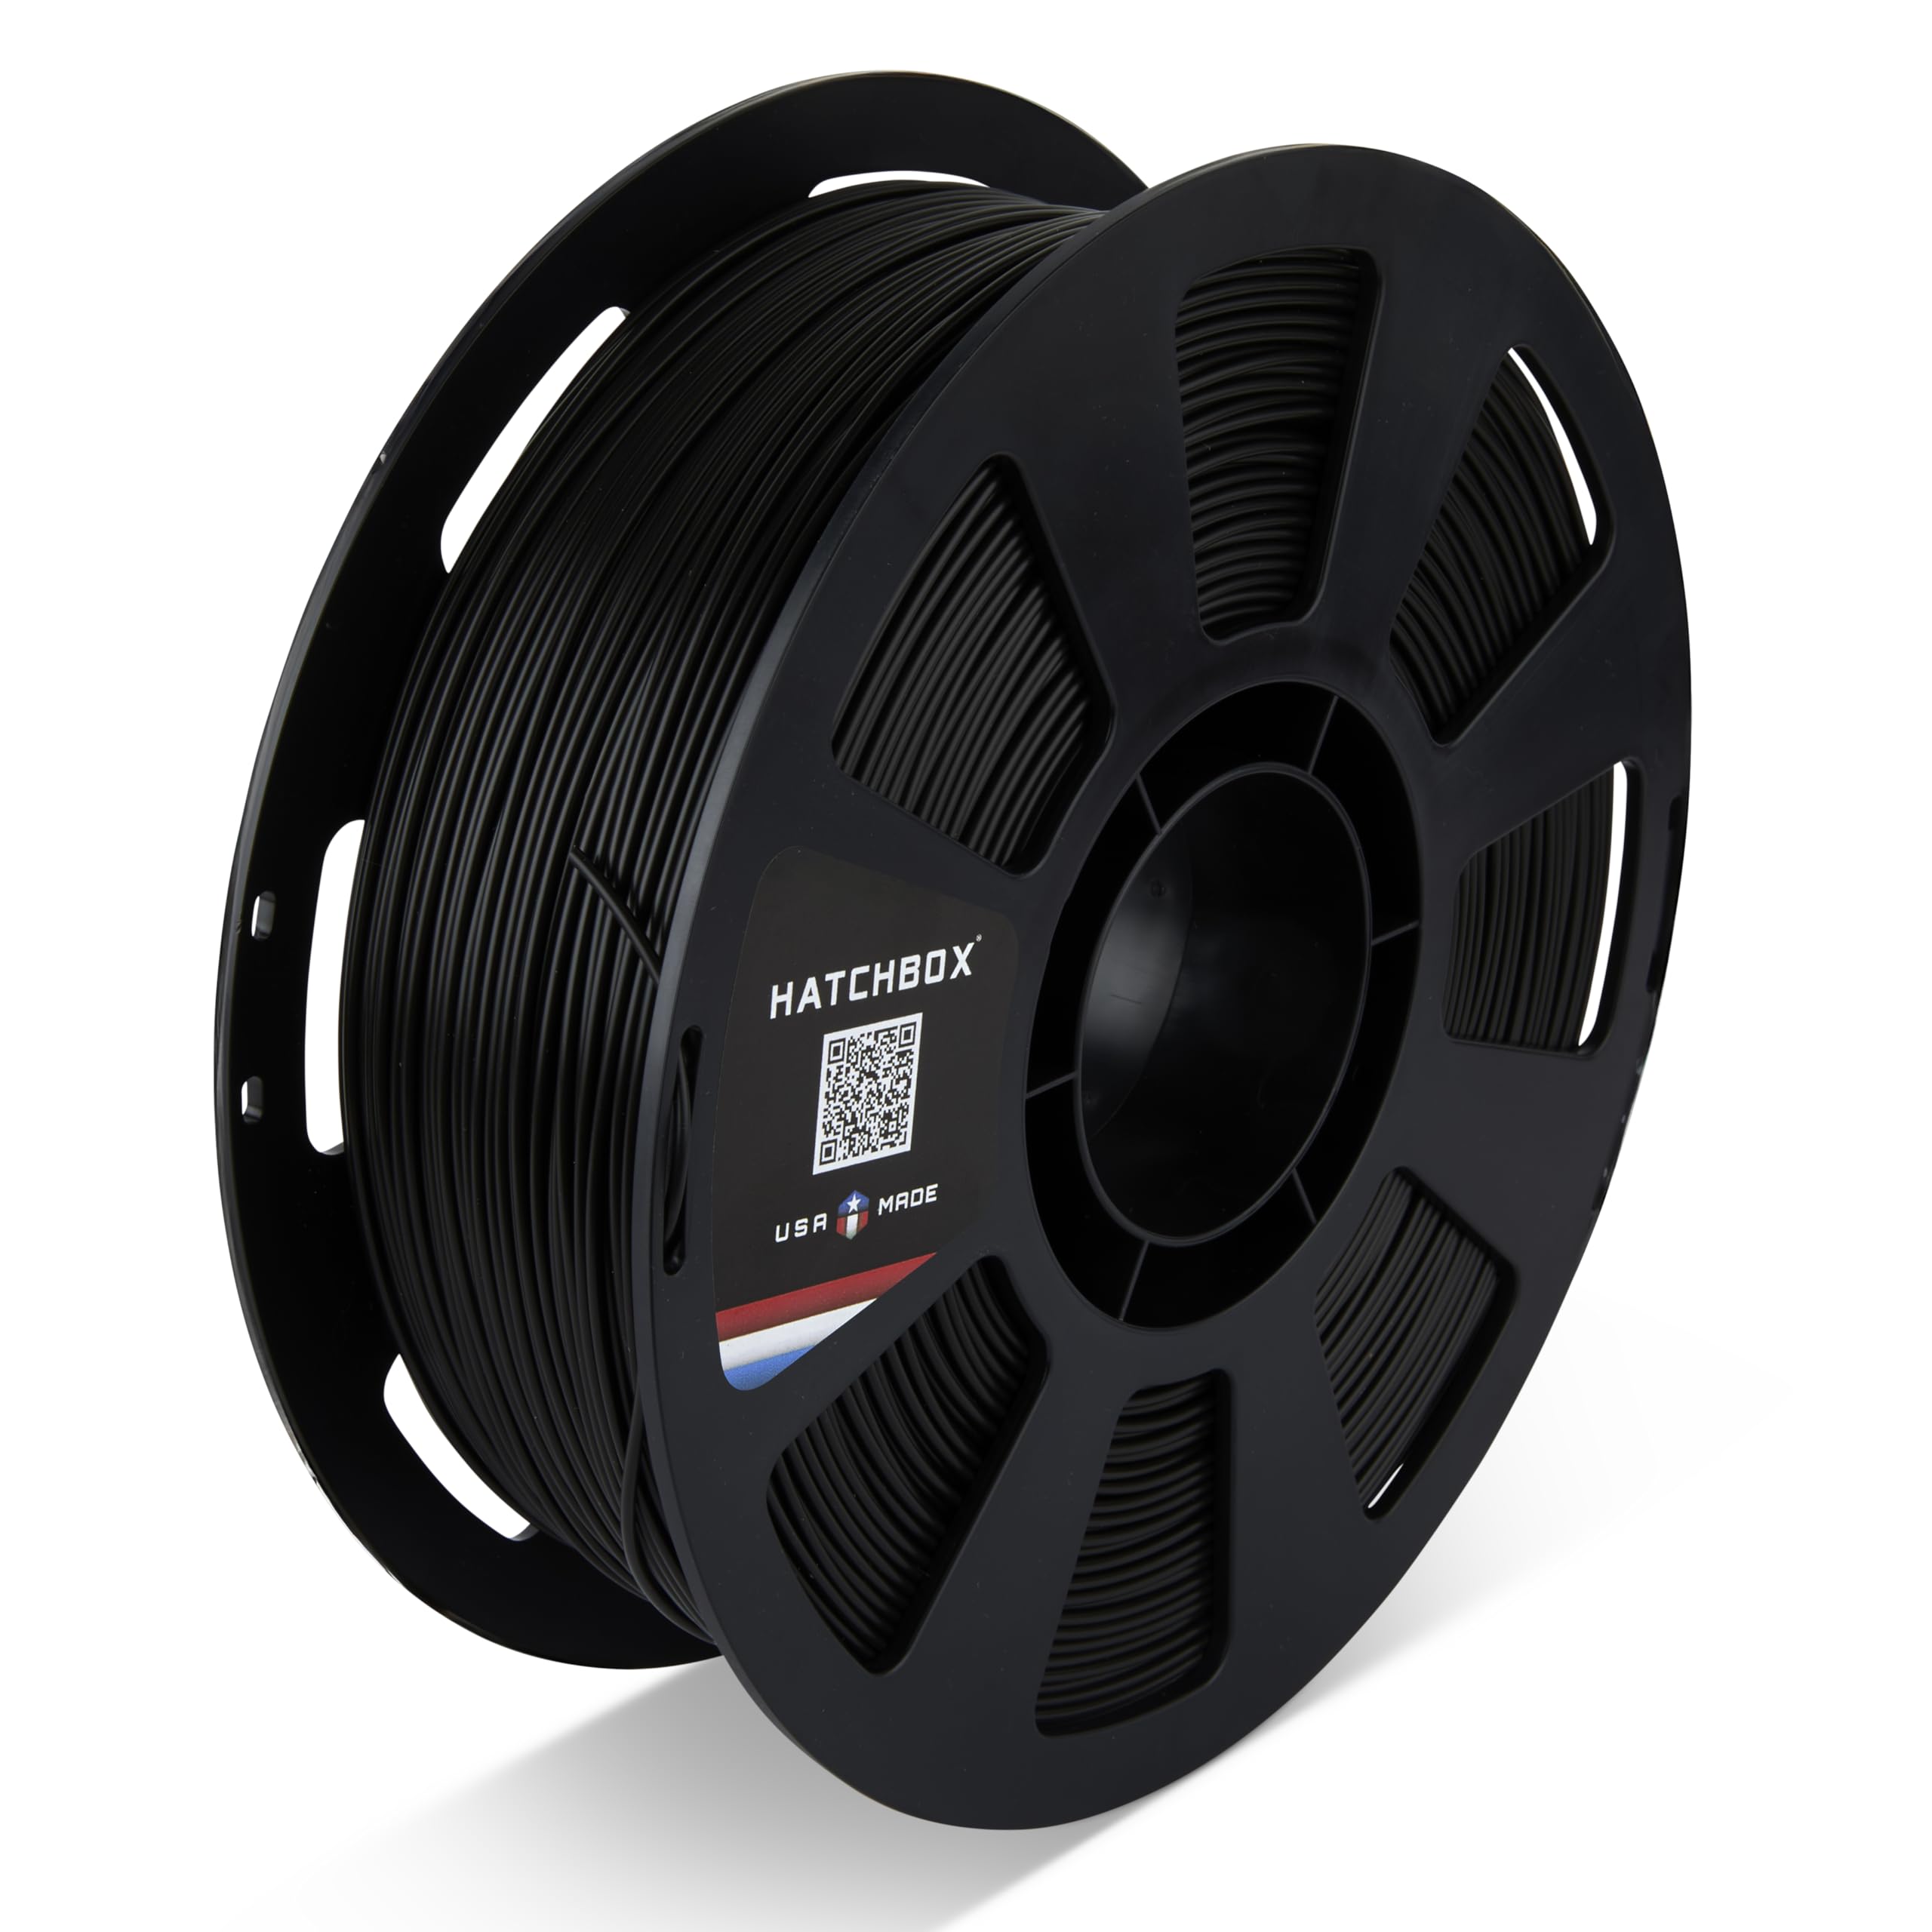
Hatchbox PLA Filament or similar premium PLA
Using filament with a consistent diameter (e.g., ±0.02mm) reduces measurement variation and ensures the test is repeatable. Cheap, poorly made filament can have bulges and narrow sections that give false readings.
Best for: For the calibration test and for your regular prints. A quality PLA also reduces clogging issues that can interfere with correct extrusion.
Price Range: $20-$30 per spool
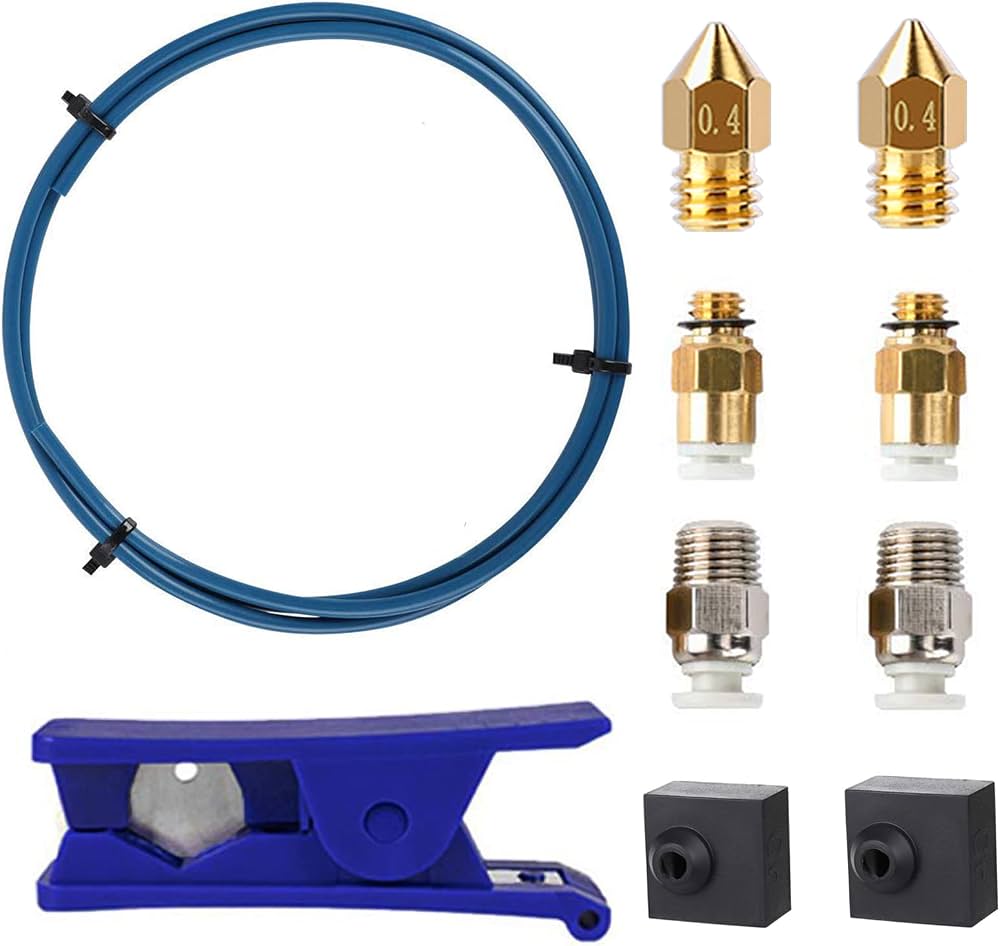
Capricorn Teflon PTFE Tube (for Bowden setups)
If your printer has a Bowden tube, a worn or squishy stock PTFE tube can create resistance and cause inaccurate extrusion distances. Capricorn tubing has a tighter tolerance and a slicker surface, ensuring the filament moves consistently during calibration and during prints.
Best for: Replace your existing PTFE tube before calibration if it’s old or kinked. This helps maintain a smooth, friction-free filament path.
Price Range: $10-$20
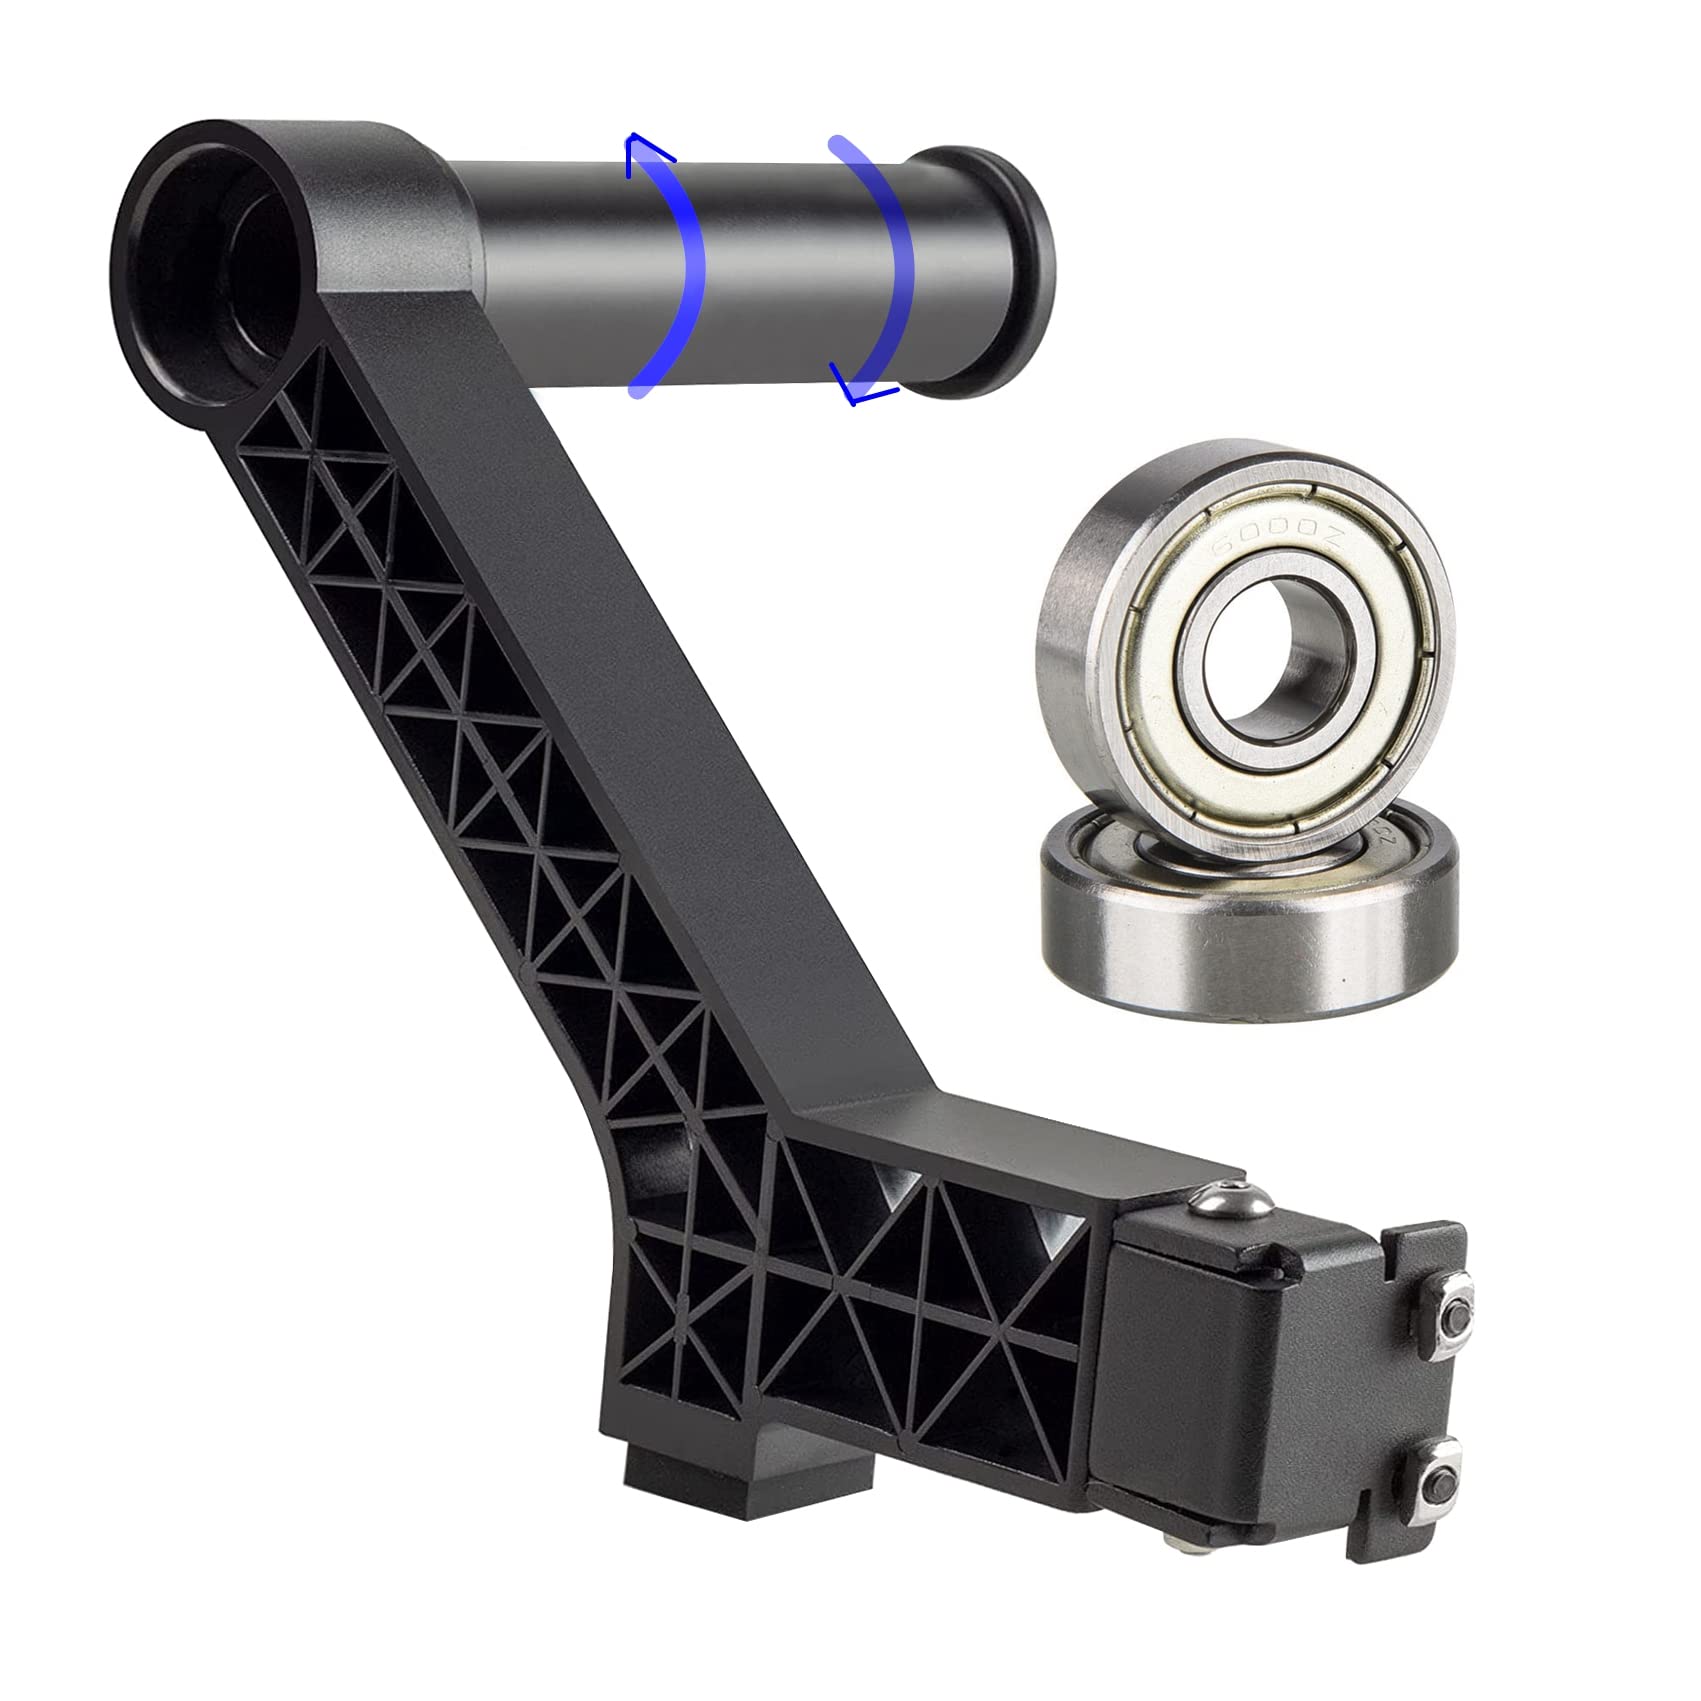
Aluminum Spool Holder with Bearings
A stable spool holder with low-friction bearings prevents the filament spool from snagging during the extrusion test, which would otherwise cause slips and pulled marks. A smooth feed also mimics real printing conditions.
Best for: Mount this before calibration to ensure the filament unspools with minimal resistance. It’s also a general quality-of-life upgrade for all printing.
Price Range: $15-$30