Inaccurate salinity measurements can spell disaster for your saltwater aquarium, leading to stressed fish, dying corals, and imbalanced ecosystems. Many hobbyists struggle with hydrometers that drift over time due to residue buildup or manufacturing variances, causing specific gravity (SG) readings off by 0.002 or more—enough to harm sensitive livestock. Calibrating your hydrometer ensures readings match true salinity levels (aim for 1.025-1.026 SG at 77°F for reef tanks).
In this guide, you'll learn a step-by-step verification and calibration process using a known standard solution, temperature control, and best reading practices. Perfect for intermediate aquarists, this method mimics pro techniques used in reef keeping. Expect to spend 20-30 minutes, with no advanced tools needed beyond basics.
By the end, your hydrometer will deliver trustworthy results, helping you maintain optimal conditions effortlessly.
▸What You'll Need
- •Aquarium hydrometer (glass or acrylic floating type)
- •Salinity calibration solution (35 ppt / 1.026 SG standard, required)
- •Digital aquarium thermometer (accurate to 0.1°F)
- •Tall, narrow glass or plastic cylinder (8-12 inches high, 1-2 inch diameter, e.g., test tube or graduated cylinder)
- •RO/DI or distilled water for cleaning
- •Soft cloth or paper towel
- •Optional: Pipette or turkey baster for handling solution
Estimated Time: 20-30 minutes
Difficulty: intermediate
▸Step-by-Step Instructions
Step 1: Clean Your Hydrometer Thoroughly
Start by rinsing the hydrometer in RO/DI water to remove any salt, algae, or debris that could skew readings. Soak it in a mild vinegar solution (1:10 vinegar to water) for 5 minutes if buildup is present, then rinse multiple times with RO/DI until crystal clear. Dry the exterior gently with a lint-free cloth—never the inside.
Why it matters: Residue alters buoyancy, leading to false SG readings. Expect a spotless, bubble-free stem and bulb after this step.
💡 Tips:
- •Use a soft aquarium-safe brush for stubborn spots.
- •Avoid tap water, as minerals interfere.
⚠️ Warnings:
- •Do not use soap or harsh chemicals—they leave films.
Step 2: Prepare the Calibration Solution
Open your 35 ppt calibration solution (equivalent to 1.026 SG at 77°F/25°C) and pour a small amount into a clean container. Shake the bottle gently before use to ensure homogeneity. This solution is your 'known standard'—its salinity never changes.
Why it matters: Provides a benchmark for accuracy. Success looks like 50-100ml of clear, uncontaminated fluid ready for use.
💡 Tips:
- •Store unused solution in a cool, dark place; it lasts 1-2 years.
Step 3: Stabilize the Temperature
Place the thermometer in the calibration solution and let it sit in a stable room (68-78°F). Adjust with warm/cold RO/DI water if needed to reach exactly 77°F (25°C)—the standard temp for most hydrometer scales. Wait 10 minutes for equilibrium.
Why it matters: SG changes ~0.001 per 5°F variation; calibration assumes 77°F. Success: Thermometer steady at 77°F.
💡 Tips:
- •Use a water bath (bowl of room-temp water) for faster stabilization.
⚠️ Warnings:
- •Cold solution reads higher SG; always correct for temp if not exact.
Step 4: Fill the Test Vessel
Pour the temp-stabilized calibration solution into your tall, narrow cylinder until 3/4 full. Avoid spills or air introduction. The narrow shape prevents the hydrometer from touching sides.
Why it matters: Wide containers cause rocking and unstable floats. Expect a calm, full column of solution.
💡 Tips:
- •Wipe any exterior drips to keep scales clean.
Step 5: Float and Position the Hydrometer
Gently place the hydrometer into the solution, letting it settle naturally. Hold at eye level so the scale aligns horizontally.
Why it matters: Proper positioning ensures parallax-free reading. Success: Hydrometer floats upright, stem above liquid.
⚠️ Warnings:
- •Don't drop it in—shocks can crack glass models.
Step 6: Remove Air Bubbles
Spin the hydrometer gently between fingers or tap the cylinder side lightly. Bubbles on the stem increase buoyancy, reading low SG.
Why it matters: Bubbles are a top error source. Expect smooth, wet stem with no bubbles after 30 seconds.
💡 Tips:
- •If persistent, lift out, rinse, and retry.
Step 7: Read the Specific Gravity
Observe the scale where the water meniscus meets the stem—read the bottom of the curve at eye level. Note the value (should be 1.026 for perfect calibration).
Why it matters: Top-of-meniscus reads high. Success: Clear, precise reading like '1.0260'.
💡 Tips:
- •Use a phone flashlight for better visibility in low light.
⚠️ Warnings:
- •Parallax error from angled view inflates readings by 0.001.
Step 8: Verify and Note Corrections
Compare to expected 1.026 SG. If off by <0.001, it's accurate; >0.002, replace or note offset (e.g., add 0.002 to future tank readings). Test tank water similarly.
Why it matters: Quantifies error for reliable use. Success: Documented calibration log.
💡 Tips:
- •Recalibrate monthly or after cleaning.
▸Pro Tips
- •Always calibrate in the same conditions as tank testing (temp, vessel).
- •Narrow vessels reduce sway; use a 50ml graduated cylinder for precision.
- •Pro tip: Cross-check with a refractometer for ultimate accuracy.
- •Keep a calibration log to track drift over time.
- •Warm solution slowly in a water bath—never microwave.
- •For swing-arm hydrometers, adjust the needle per manufacturer if off.
- •Test multiple times and average readings for consistency.
▸Common Mistakes to Avoid
- •Ignoring temperature: Causes 0.001-0.003 SG errors; always measure and correct using charts.
- •Air bubbles on stem: Reads falsely low; spin thoroughly every time.
- •Reading top of meniscus or at angle: Inflates SG by up to 0.002; eye-level bottom only.
- •Using dirty vessels or tap water: Contaminants mimic salt; stick to RO/DI.
- •No regular checks: Hydrometers drift after 6 months; calibrate monthly.
▸Troubleshooting
Problem: Hydrometer won't float straight or touches sides
Solution: Use a taller/narrower cylinder; ensure no warping from heat.
Problem: Consistent 0.003+ off from standard
Solution: Replace hydrometer—most aren't adjustable; consider refractometer upgrade.
Problem: Readings vary between tests
Solution: Check for bubbles/temp flux; let solution rest 15+ min.
Problem: Solution expired or cloudy
Solution: Buy fresh calibration fluid; discard if >2 years old.
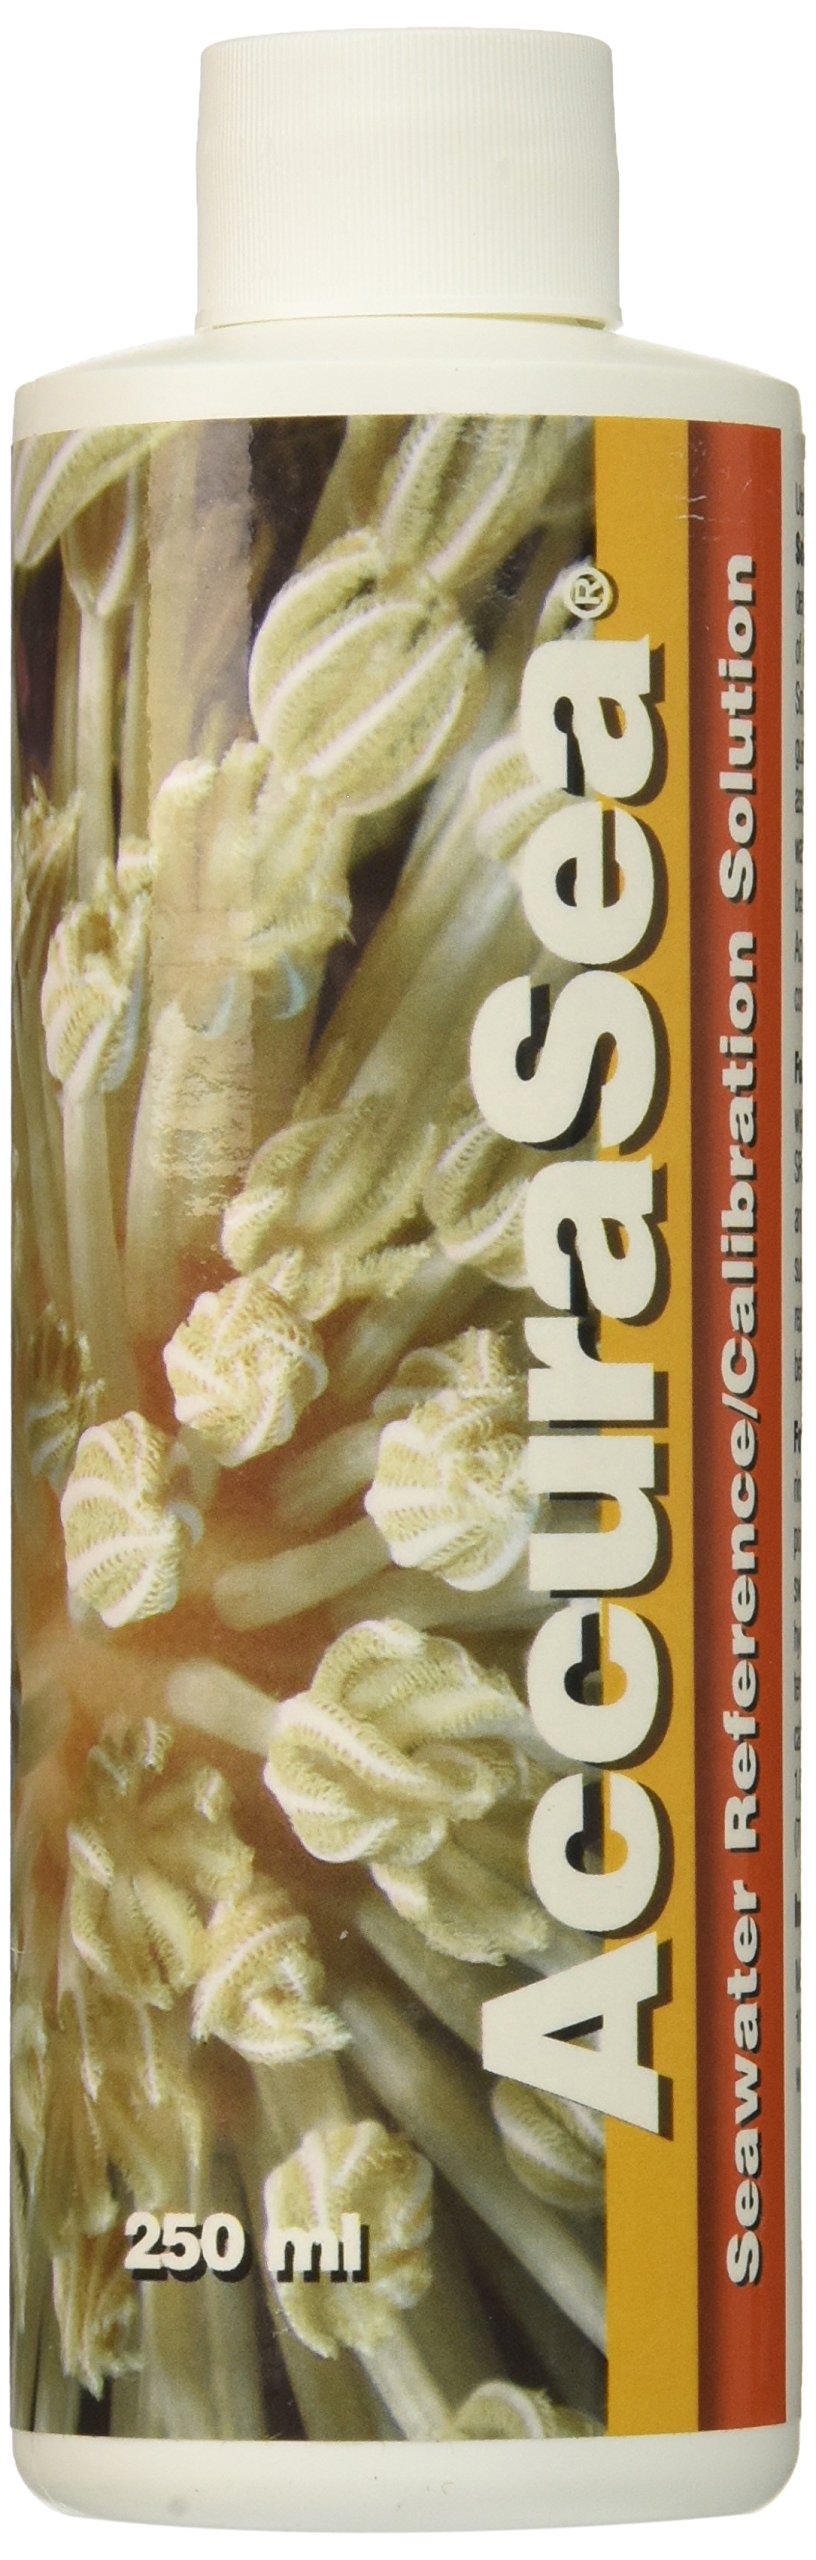
Two Little Fishies Aquarist Calibration Standard 1.026 SG
Provides lab-grade 1.026 SG standard at 77°F for precise verification without mixing errors.
Best for: Essential for every calibration; 250ml lasts dozens of tests.
Price Range: $11.99
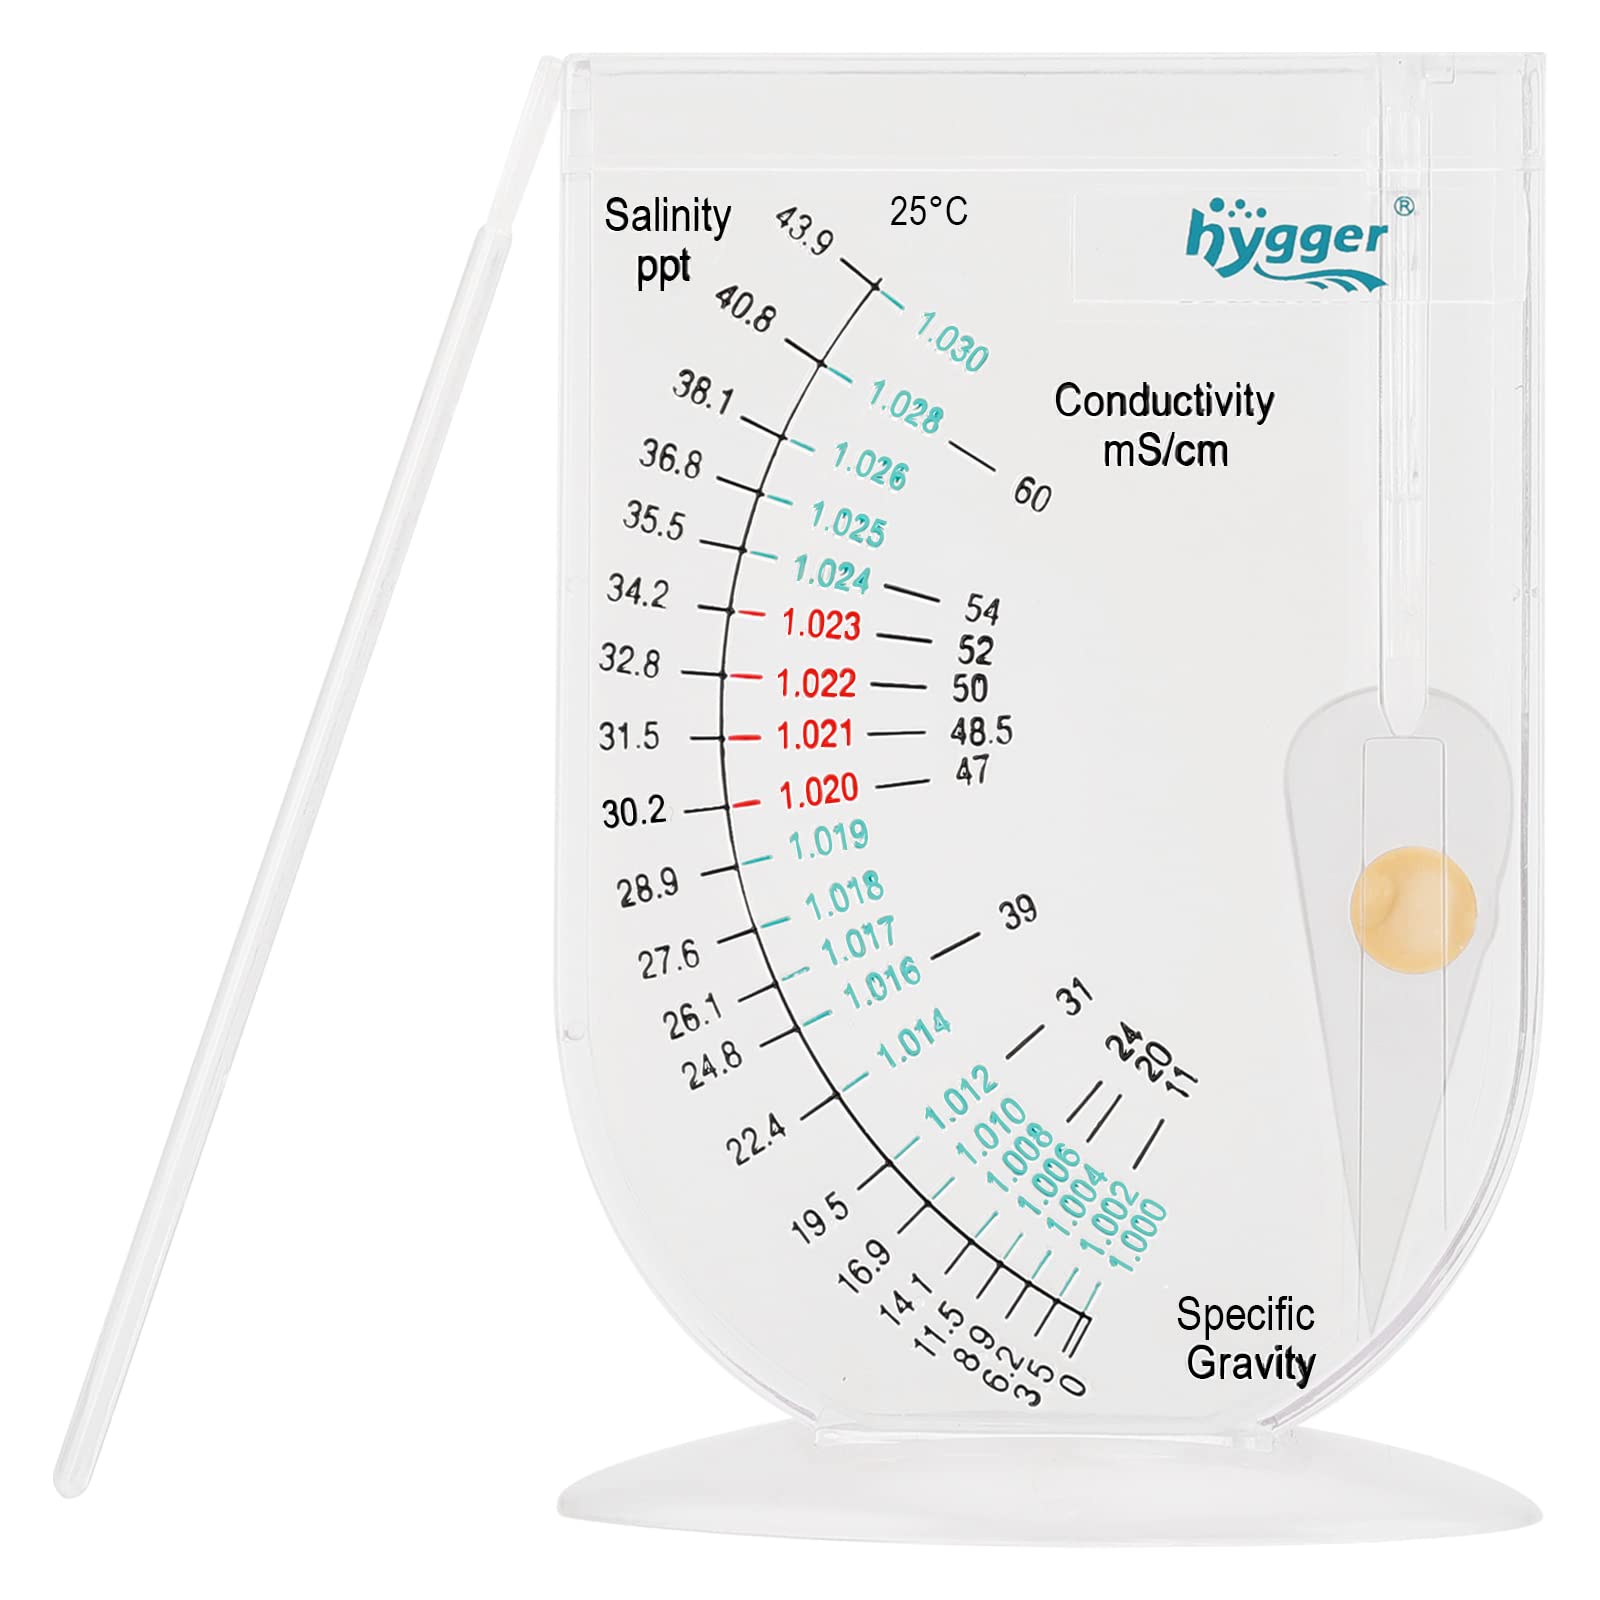
uplifecity Aquarium Hydrometer for Saltwater
Affordable, accurate acrylic model with clear scale; easy to clean and verify.
Best for: Daily SG checks in marine/reef tanks post-calibration.
Price Range: $9.99
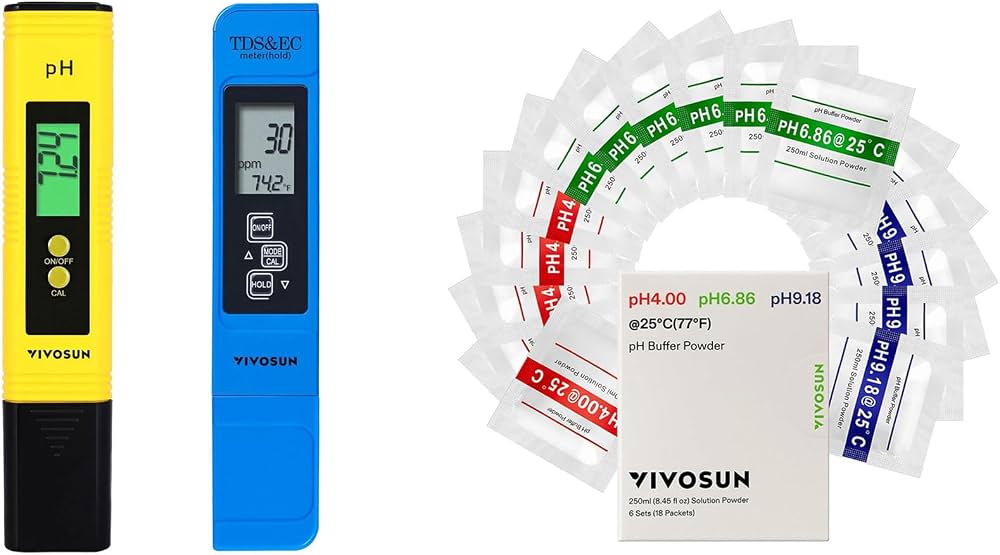
VIVOSUN Refractometer with Calibration Solution
ATC refractometer as upgrade; more precise than hydrometers, includes fluid.
Best for: Verify hydrometer or replace it for pro-level accuracy.
Price Range: $22.99
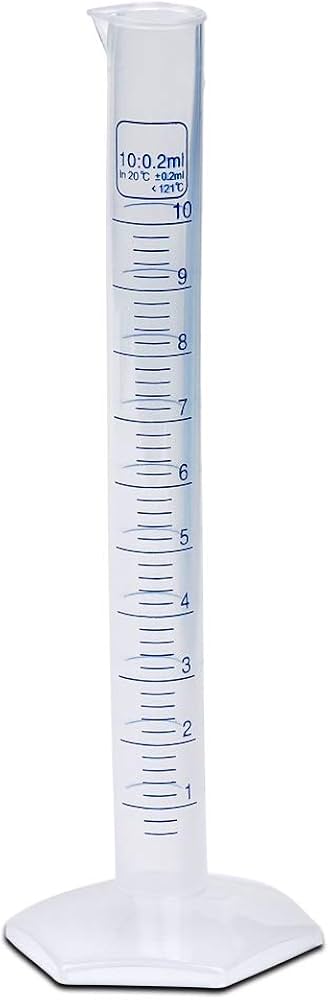
Karter Scientific Glass Graduated Cylinder 10ml
Tall, narrow borosilicate glass ideal for stable hydrometer floats.
Best for: Dedicated calibration vessel; reusable and precise.
Price Range: $8.99
Inkbird IBT-4XS Aquarium Thermometer
Wireless, 0.1°F accuracy for perfect temp control during calibration.
Best for: Monitor solution and tank temps reliably.
Price Range: $19.99