
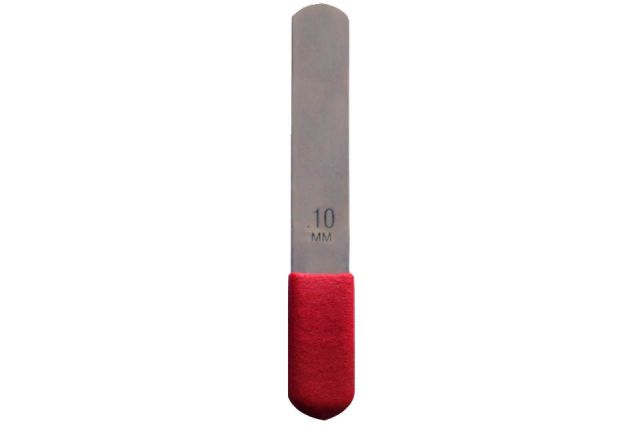
Fulscale 0.10mm Feeler Gauge Set
Replacing paper for leveling—more consistent results.
$8–$15
Fulscale 0.10mm Feeler Gauge Set Provides a precise, repeatable gap compared to paper. The 0.10mm blade is perfect for first layer height.
Get the App
Better experience on mobile
Step-by-step guide to leveling your 3D printer bed for flawless first layer adhesion and print success.
A perfectly level bed is the foundation of successful 3D printing. If your first layer doesn't stick, your print will fail—wasting time, filament, and patience. This guide walks beginners through manual bed leveling and paper method calibration, plus tips for automatic systems. You'll learn the exact steps to achieve that satisfying 'squished' first layer every time. The process takes about 15-30 minutes and requires minimal tools.
Estimated Time: 15-30 minutes Difficulty: beginner
Before any leveling, heat the bed to your typical printing temperature (e.g., 60°C for PLA) and the nozzle to ~200°C. Thermal expansion affects clearances—leveling hot ensures accuracy. Wait 5 minutes after reaching temperature for stabilization.
Why it matters: A cold bed expands when heated, changing the gap. Leveling cold then printing hot will give uneven results.
Tip: Wear heat-resistant gloves when working near hot components.
💡 Tips:
⚠️ Warnings:
Use the printer’s menu to home all axes (X, Y, Z). This moves the nozzle to a known reference corner (usually front-left). Most printers use a limit switch or sensor to find the endstop.
Why it matters: Homing sets the zero reference for Z height. If the Z endstop is loose or misaligned, your leveling will be off. Check the endstop screw is tight.
After homing: Disable steppers (via menu) to allow manual movement of the print head without resistance.
💡 Tips:
With the nozzle at the front-left corner, slide a piece of ordinary printer paper between the nozzle and the bed. Manually rotate the Z-axis lead screw (or use the menu 'Move Z' in 0.1mm steps until the paper just drags with slight resistance.
Success: The paper should slide with a gentle friction—not too tight (paper tears) nor too loose (wiggles freely). This gap is roughly 0.1mm, ideal for first layer.
Pro tip: Use a 0.10mm feeler gauge instead of paper for repeatability. Paper thickness varies (~0.08-0.12mm), but it works for most beginners.
💡 Tips:
⚠️ Warnings:
Move the nozzle to the front-left corner (use manual move commands or slide the gantry). Adjust that corner’s bed knob to achieve the same paper friction as step 3. Repeat for rear-left, rear-right, and front-right corners.
Process: Go around the bed 3-4 times because adjusting one corner affects its neighbor. After each full loop, re-check the center—it should match.
Why it matters: All four corners must be at the same height relative to the nozzle for the entire bed to be parallel.
💡 Tips:
⚠️ Warnings:
After corner leveling, move the nozzle to the bed center (e.g., X=100, Y=100) and perform the paper test. If the center is tighter or looser, your bed may be warped (common on glass beds). For a warped bed, you can use a mesh leveling routine or a piece of aluminum foil under the low spot.
Action: If center is significantly different, consider adding a glass bed or using a silicone heater pad to compensate. For now, adjust the Z offset slightly so the center has acceptable drag, then re-check corners.
Final step: Re-home the printer and save Z offset to EEPROM (if your firmware supports it).
💡 Tips:
⚠️ Warnings:
Print a simple single-layer square or the classic 'bed leveling test' (e.g., a pattern of squares across the bed). Watch the first layer go down: the plastic should be slightly squished onto the bed, forming a flat ribbon with no gaps or ridges.
Success indicators:
If too high: Increase Z offset (move nozzle up in increments of 0.02mm) If too low: Decrease Z offset (move nozzle down)
💡 Tips:
⚠️ Warnings:
Based on the test print, adjust the Z offset live (if your firmware allows 'Baby Stepping'). Many printers like Creality Ender 3 have a 'Tune' menu during print that lets you adjust Z offset in real time.
Best practice: After perfecting the first layer, note the final Z offset value. Save to EEPROM and write it down for future reference.
For auto-leveling printers: Run the mesh leveling routine (e.g., G29) and ensure the firmware uses that mesh. Some need M500 to save.
Final check: Print a small object (e.g., a calibration cube) and inspect the bottom layer for consistency.
💡 Tips:
Problem: Paper test feels different on each corner after multiple passes
Solution: Your bed may be warped or the springs are not consistent. Try replacing springs with silicone bushings for stability. Also check that the printer frame is square.
Problem: First layer won't stick even after leveling
Solution: Clean the bed thoroughly with isopropyl alcohol. If still not sticking, increase bed temperature by 5°C or use adhesion aids like glue stick. Also ensure your Z offset is not too high.
Problem: Nozzle digs into bed on one side
Solution: The bed is likely not parallel to the X-axis gantry. Check that the X gantry is level (measure from bed to gantry at left and right). Adjust the eccentric nuts on the right side if needed.
Problem: Auto-level sensor triggers early or late
Solution: The sensor position or trigger height may be off. For inductive/proximity sensors, ensure the target (bed) is metal. For BLTouch, check that the pin deploys freely. Re-run probe offset calibration.
Provides a precise, repeatable gap compared to paper. The 0.10mm blade is perfect for first layer height.
Best for: Replacing paper for leveling—more consistent results.
Price Range: $8–$15
Flexible, removable build surface with excellent adhesion and easy part removal. Reduces warp issues.
Best for: Upgrading from glass or stock bed for better first layer consistency.
Price Range: $20–$35
Replace stock springs with silicone dampeners that hold level longer and resist temperature changes.
Best for: Improving bed stability on Creality printers (Ender 3, CR-10).
Price Range: $10–$18
Affordable and effective adhesion aid for glass or PEI beds. Washes off easily.
Best for: Improving first layer adhesion when leveling is perfect but print still won't stick.
Price Range: $3–$6
Automates bed mesh compensation, saving time on manual leveling. Highly recommended for warped beds.
Best for: Upgrading a printer without auto-level for hands-free calibration.
Price Range: $15–$40
Replacing paper for leveling—more consistent results.
Fulscale 0.10mm Feeler Gauge Set Provides a precise, repeatable gap compared to paper. The 0.10mm blade is perfect for first layer height.
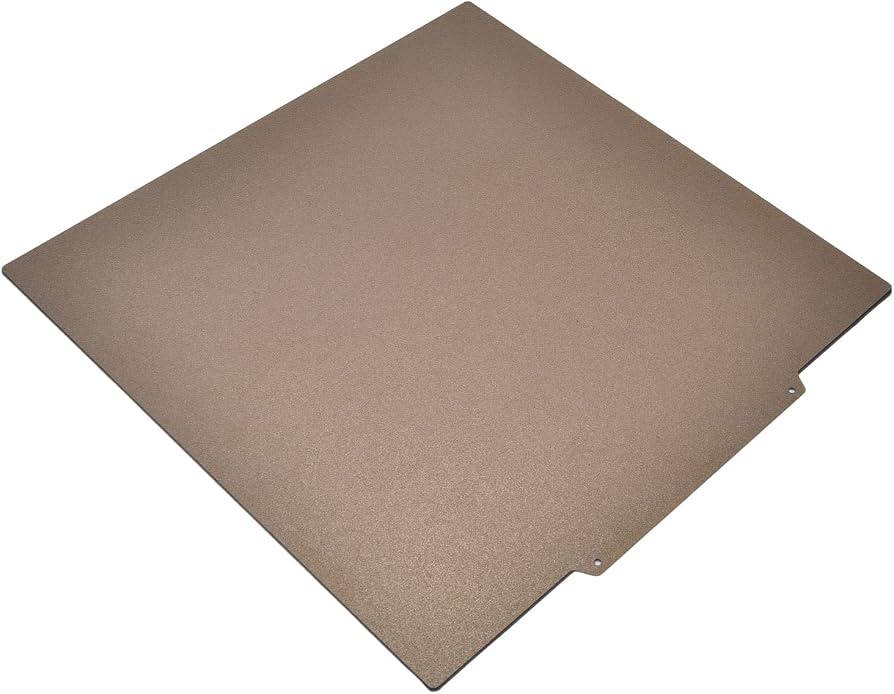
Upgrading from glass or stock bed for better first layer consistency.
TH3D EZFlex Spring Steel Bed Flexible, removable build surface with excellent adhesion and easy part removal. Reduces warp issues.
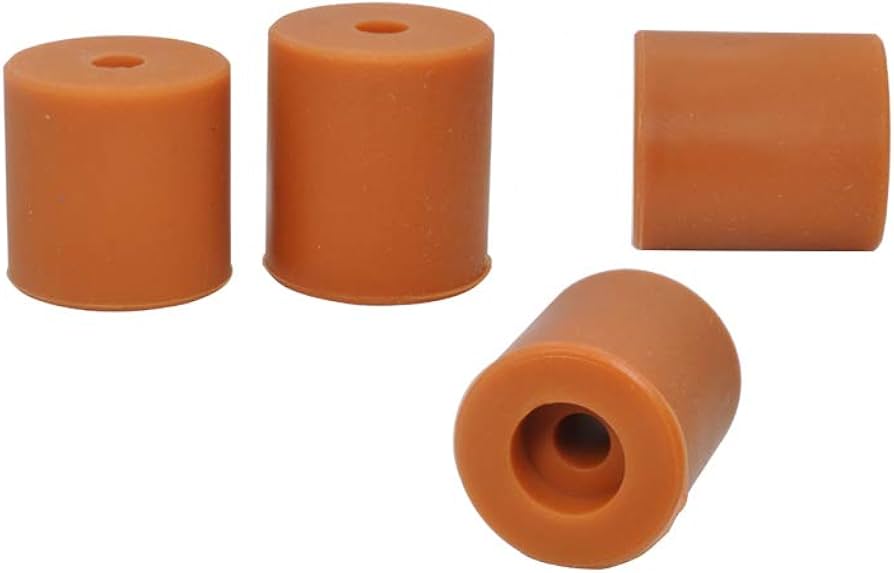
Improving bed stability on Creality printers (Ender 3, CR-10).
Creality Silicone Leveling Bushings (4-pack) Replace stock springs with silicone dampeners that hold level longer and resist temperature changes.
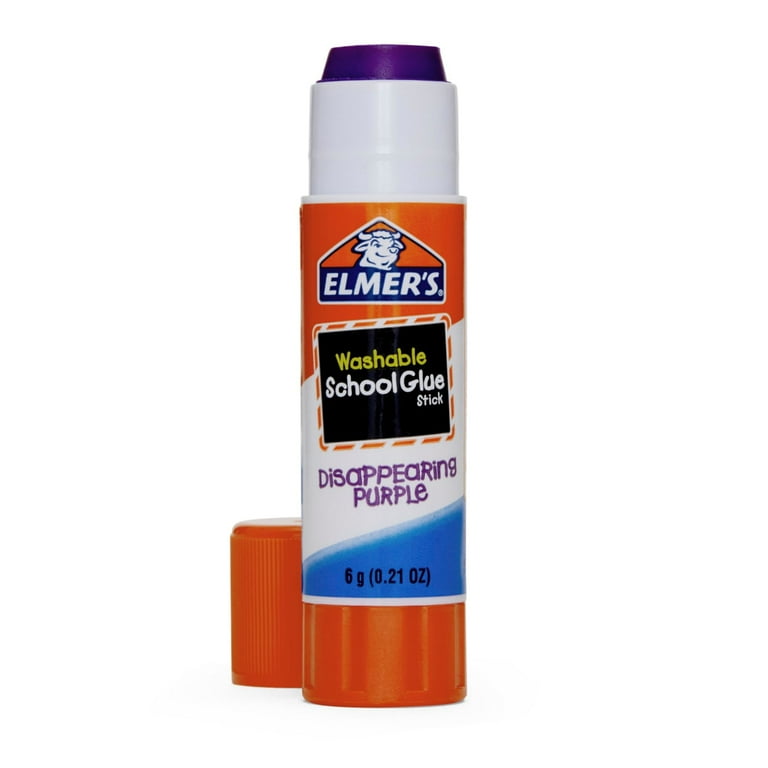
Improving first layer adhesion when leveling is perfect but print still won't stick.
Elmer's Disappearing Purple Glue Stick Affordable and effective adhesion aid for glass or PEI beds. Washes off easily.
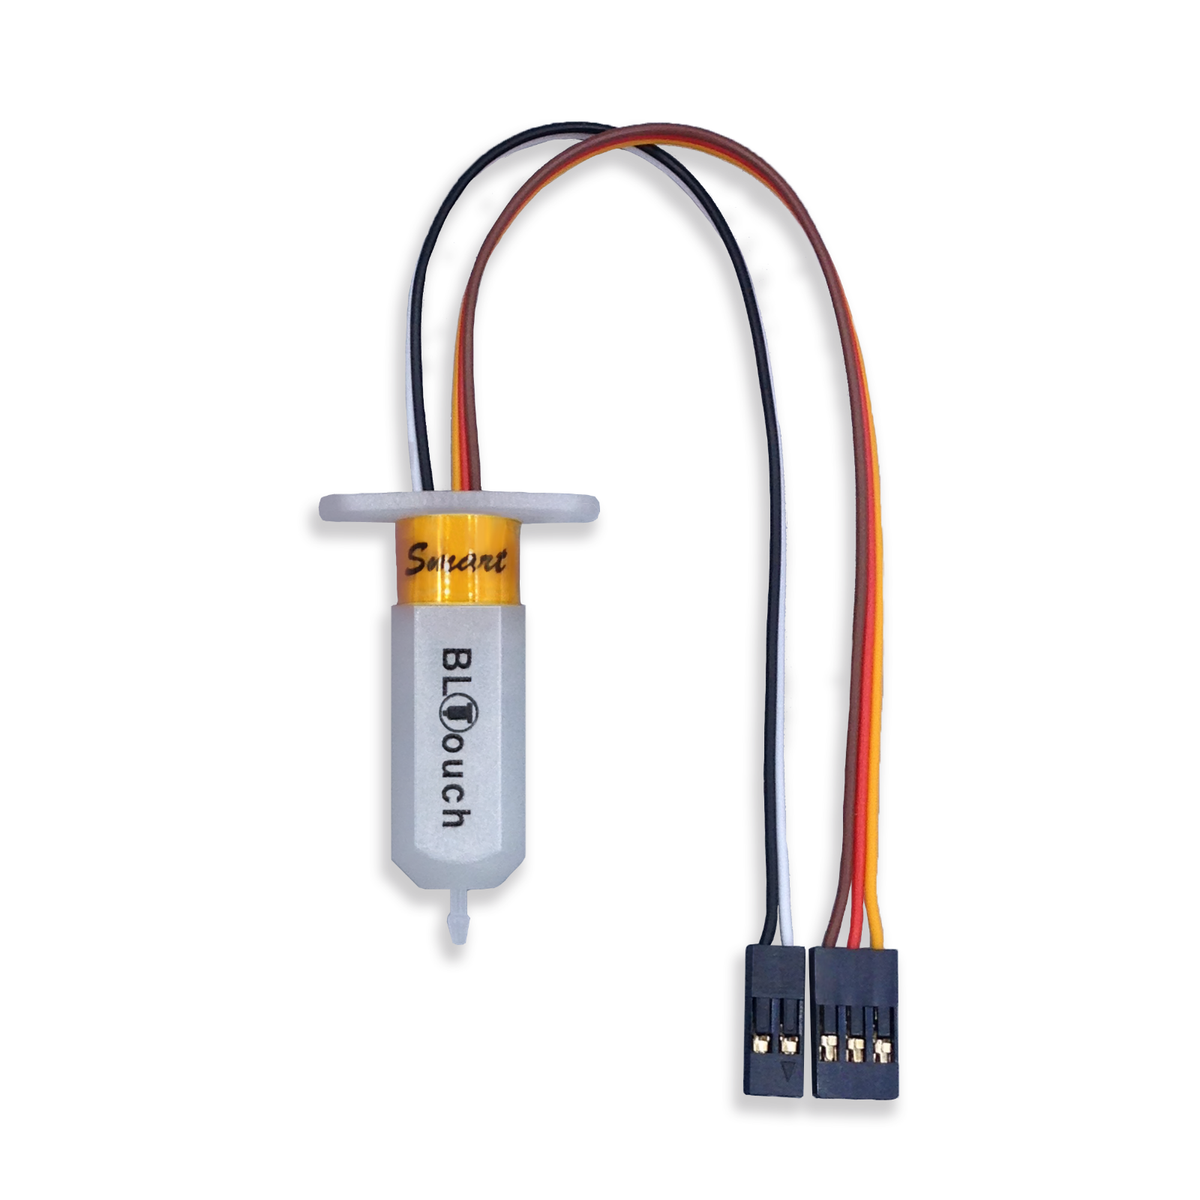
Upgrading a printer without auto-level for hands-free calibration.
BLTouch Auto Bed Leveling Sensor Automates bed mesh compensation, saving time on manual leveling. Highly recommended for warped beds.