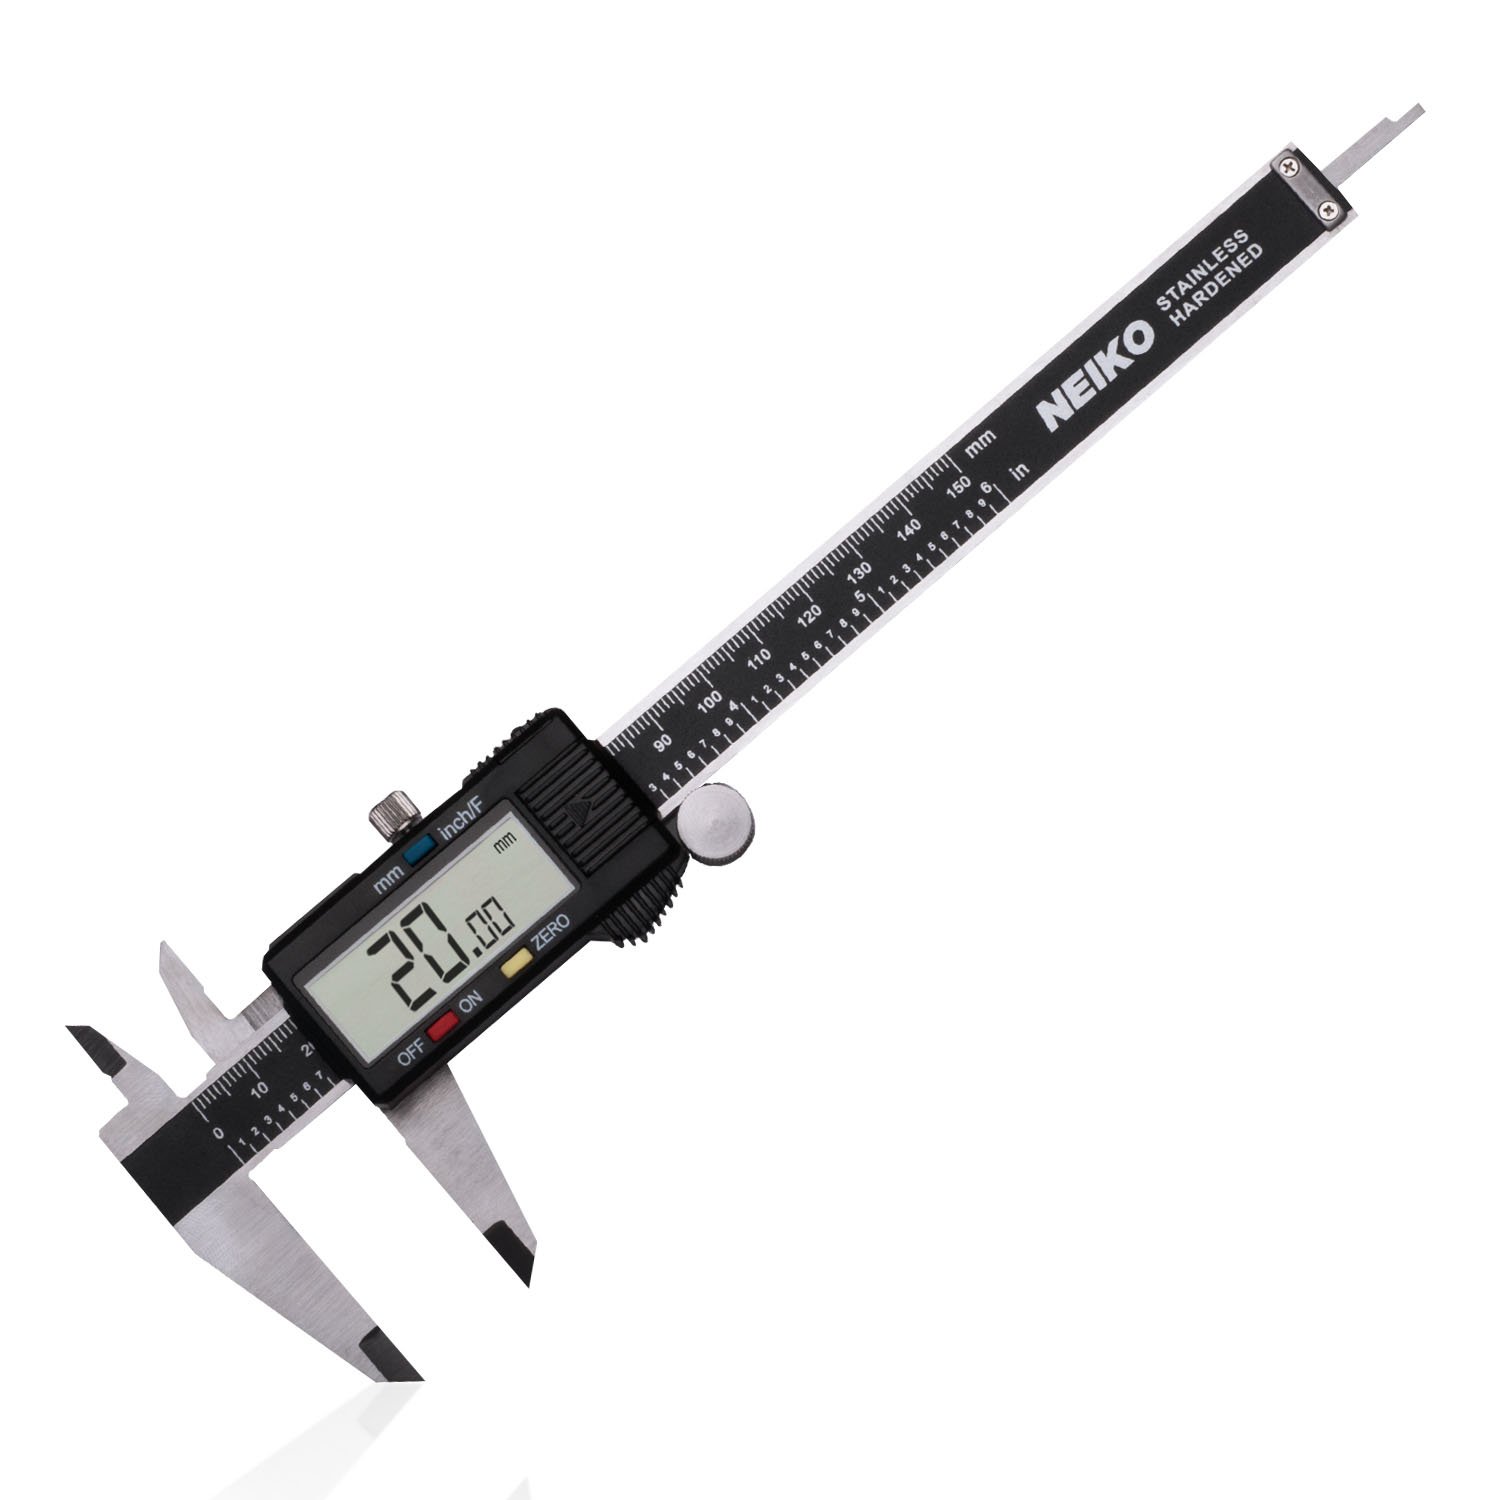
Neiko 01407A Electronic Digital Caliper
Measuring extrusion and print dimensions during steps 3,5.
$25.99
Neiko 01407A Electronic Digital Caliper 0.01mm accuracy essential for precise wall/flow measurements.
Get the App
Better experience on mobile
Achieve sub-0.1mm precision and flawless details by mastering advanced calibration steps for professional-grade 3D prints.
Struggling with blurry edges, stringing, or layer shifts on your 3D prints? High-resolution printing demands pixel-perfect calibration—poor setup leads to wasted filament and frustration, even on top-tier printers like the Bambu Lab X1 or Prusa MK4. This guide tackles the advanced tweaks that separate hobbyists from pros.
You'll learn sequential calibration techniques covering bed leveling, extruder steps, PID tuning, flow rates, pressure advance, and more. By the end, you'll print intricate models with razor-sharp details. Expect 1-2 hours total, spread over test prints—perfect for advanced users comfortable with G-code and slicer mods.
We'll use real-world best practices from Klipper, Marlin, and RepRapFirmware, ensuring compatibility across FDM printers.
Estimated Time: 1-2 hours (plus 30-60 min for test prints) Difficulty: advanced
Clear a stable, draft-free area and power on your printer. Home all axes via the menu or G28 command. Preheat bed to 60°C and hotend to 200°C (PLA defaults) to expand components for accurate measurements.
Why it matters: Thermal expansion affects tolerances; cold calibration leads to Z-offset errors. Expect 5-10 min heat-up—monitor temps stabilize within ±2°C.
Connect via USB/OctoPrint for live G-code sending.
💡 Tips:
⚠️ Warnings:
Use paper or feeler gauges (0.1mm) to set nozzle-bed gap at all corners and center. For manual: Disable steppers, move nozzle, adjust knobs. Send G-code: G1 Z0.1 and feel drag.
Success: Paper slides with slight resistance—no gapping or squishing. For ABL probes, run mesh and save.
Iterate 3-5 passes; uneven beds cause elephant's foot or poor adhesion.
💡 Tips:
⚠️ Warnings:
Mark filament 120mm above extruder, heat hotend, extrude 100mm via command (G1 E100 F100). Measure remaining length—actual extruded = 100 - remainder.
Calculate new steps/mm: (old_steps * 100) / actual_extruded. Update EEPROM (M92 E[new_value]; M500).
Success: ±0.05mm accuracy on 20mm extrusion test. Critical for volumetric flow in high-res prints.
💡 Tips:
⚠️ Warnings:
Run PID tune: M303 E0 S210 C8 (8 cycles). Copy output M301 P[I]D values, save M500. Retune after nozzle changes.
Why: Stable temps prevent blobs/underextrusion at 0.1mm layers. Expect overshoot <2°C post-tune.
💡 Tips:
⚠️ Warnings:
Print single-wall calibration cube (no top/bottom). Measure wall thickness with calipers (target 0.4mm). Flow% = (target / measured) * 100. Adjust slicer or M221 S[flow]. Fine-tune Z-offset for first layer squash.
Success: Walls ±0.02mm. Print 0.2mm cube to verify.
💡 Tips:
⚠️ Warnings:
Print retraction tower (SuperSlicer built-in). Optimal: No stringing, no gaps. For Klipper, tune pressure advance with PA tower (0.0-0.1).
Update config: Start 0.6mm/40mm/s retraction. Success: Clean travels on 0.12mm layers.
💡 Tips:
⚠️ Warnings:
Print XYZ calibration cube at increasing speeds (slicer overrides). Measure dimensional accuracy (±0.1mm target).
Marlin: M201 X5000 Y5000 accel, M205 X10 jerk. Klipper: input_shaper.
Success: Square corners, no ringing.
💡 Tips:
⚠️ Warnings:
Slice/print 0.1mm layer Benchy or detailed model. Inspect under light: Check bridges, overhangs, resolution.
Iterate steps as needed. Final success: <0.2% deviation, sharp details.
💡 Tips:
⚠️ Warnings:
Problem: Inconsistent layer heights
Solution: Re-level bed, check Z-lead screw for binding. Verify steps/mm with 100mm Z test.
Problem: Stringing persists
Solution: Increase retraction speed to 60mm/s, dry filament, lower temp 5°C.
Problem: Ringing/ghosting
Solution: Reduce accel to 3000mm/s², tighten belts, enable input shaper.
Problem: Poor first layer
Solution: Micro-adjust Z-offset -0.02mm, clean bed with IPA.
0.01mm accuracy essential for precise wall/flow measurements.
Best for: Measuring extrusion and print dimensions during steps 3,5.
Price Range: $25.99
Dual-marked blades (metric/imperial) for exact bed leveling.
Best for: Nozzle-bed gap in step 2; superior to paper.
Price Range: $9.99
Hardened steel nozzles resist wear for sustained high-res printing.
Best for: Replace stock brass for finer details (steps 1,8).
Price Range: $12.99
Consistent diameter (1.75±0.03mm) for accurate e-steps calibration.
Best for: All test prints; low warp for calibration.
Price Range: $24.99
Automates precise Z-probing for repeatable leveling.
Best for: Advanced users in step 2; saves time on large beds.
Price Range: $39.99
Measuring extrusion and print dimensions during steps 3,5.
Neiko 01407A Electronic Digital Caliper 0.01mm accuracy essential for precise wall/flow measurements.
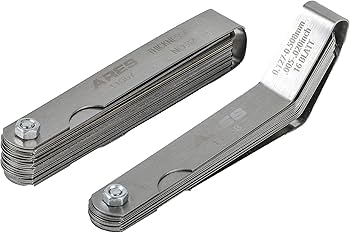
Nozzle-bed gap in step 2; superior to paper.
ARES 70017 Feeler Gauge Set Dual-marked blades (metric/imperial) for exact bed leveling.

Replace stock brass for finer details (steps 1,8).
ELEGOO 3D Printer Nozzle Kit (0.2-0.8mm) Hardened steel nozzles resist wear for sustained high-res printing.
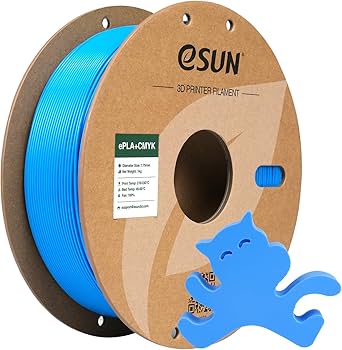
All test prints; low warp for calibration.
eSUN ePLA+ Filament 1.75mm Consistent diameter (1.75±0.03mm) for accurate e-steps calibration.
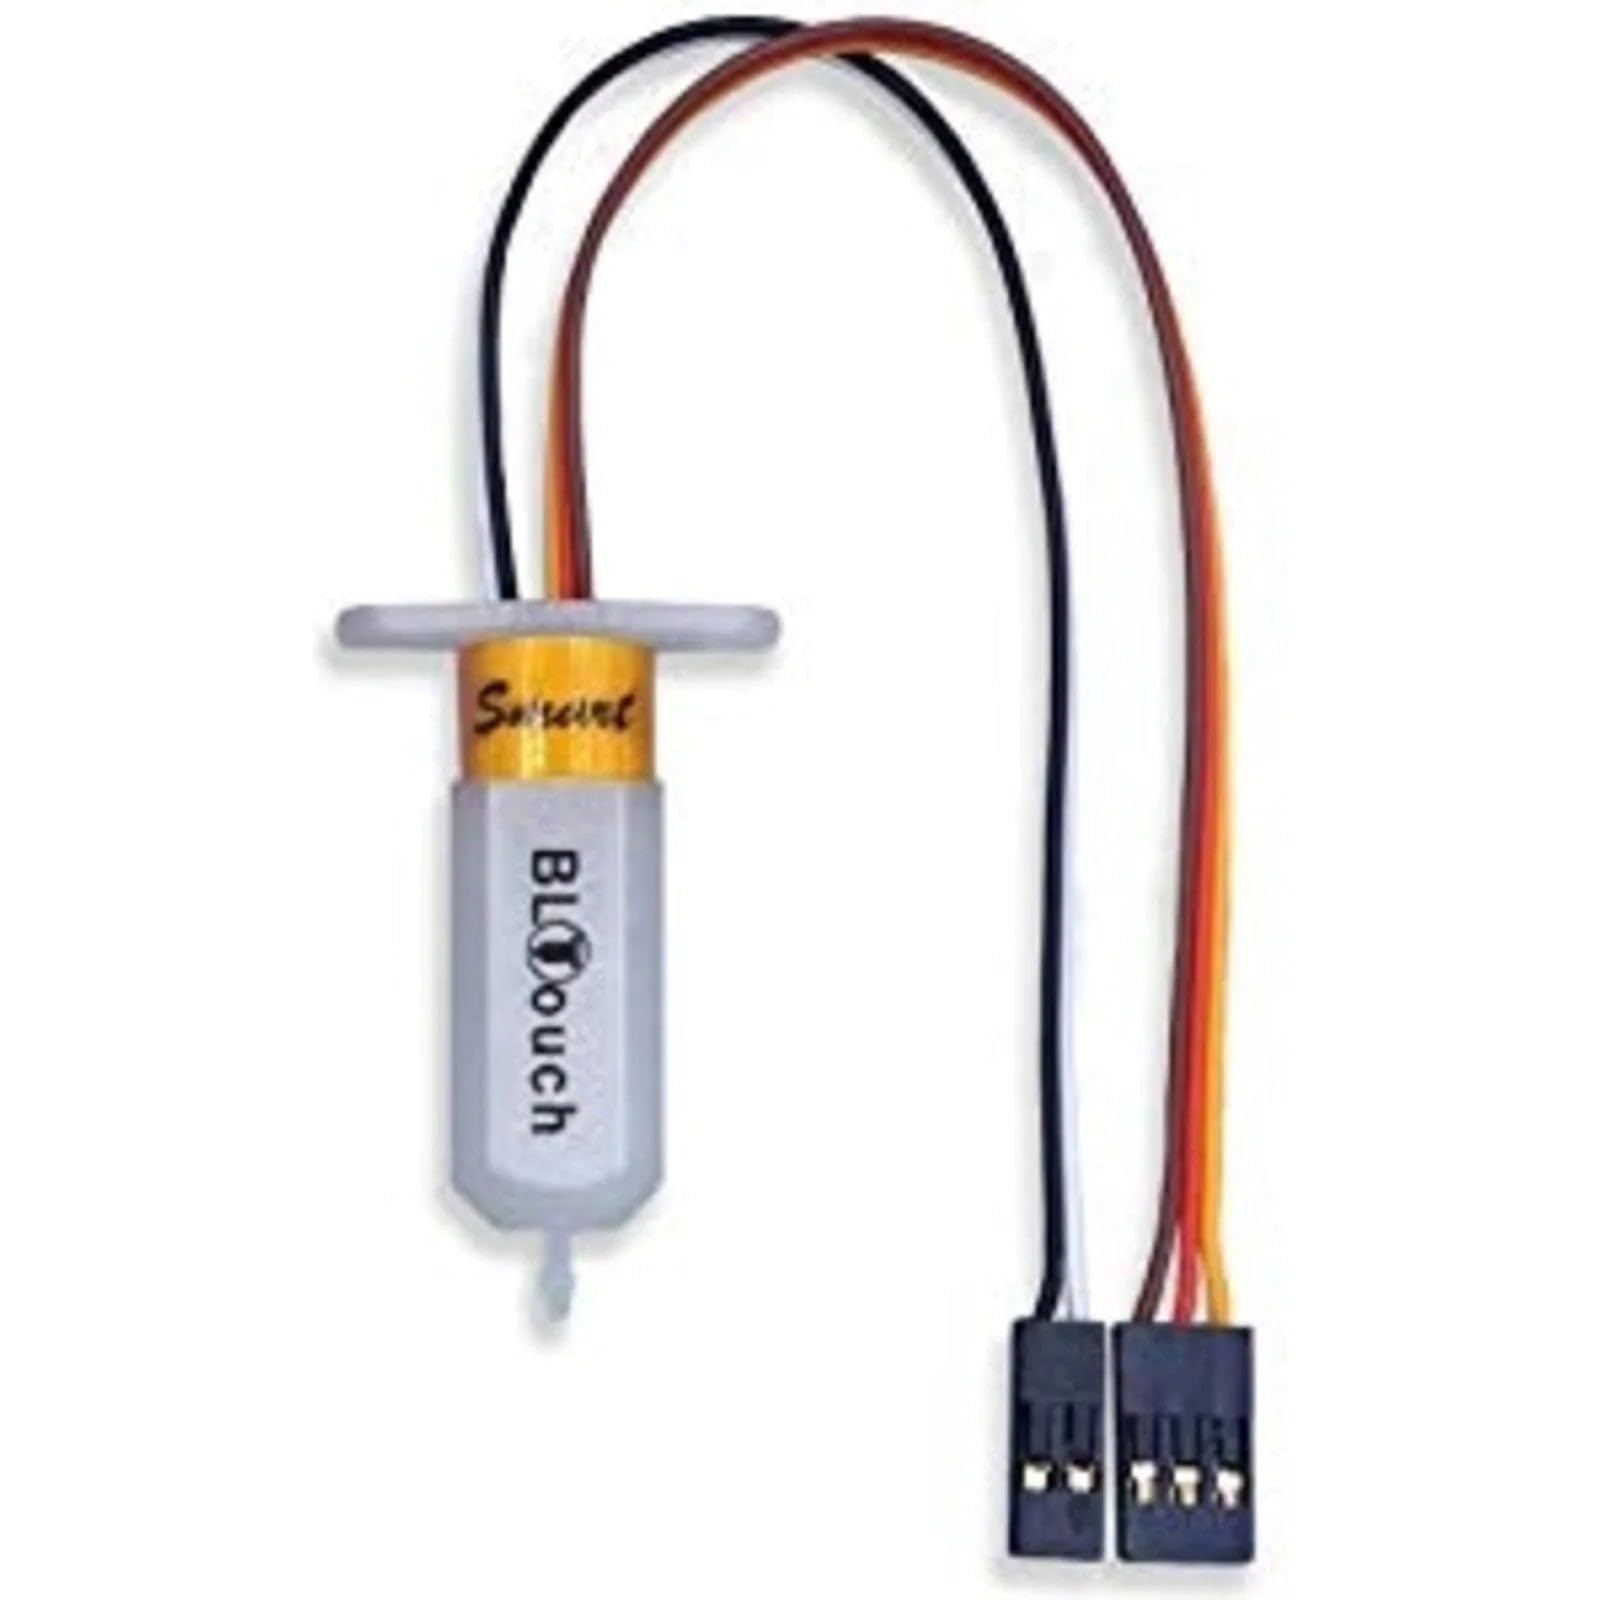
Advanced users in step 2; saves time on large beds.
Creality BLTouch Auto Bed Leveling Sensor Automates precise Z-probing for repeatable leveling.