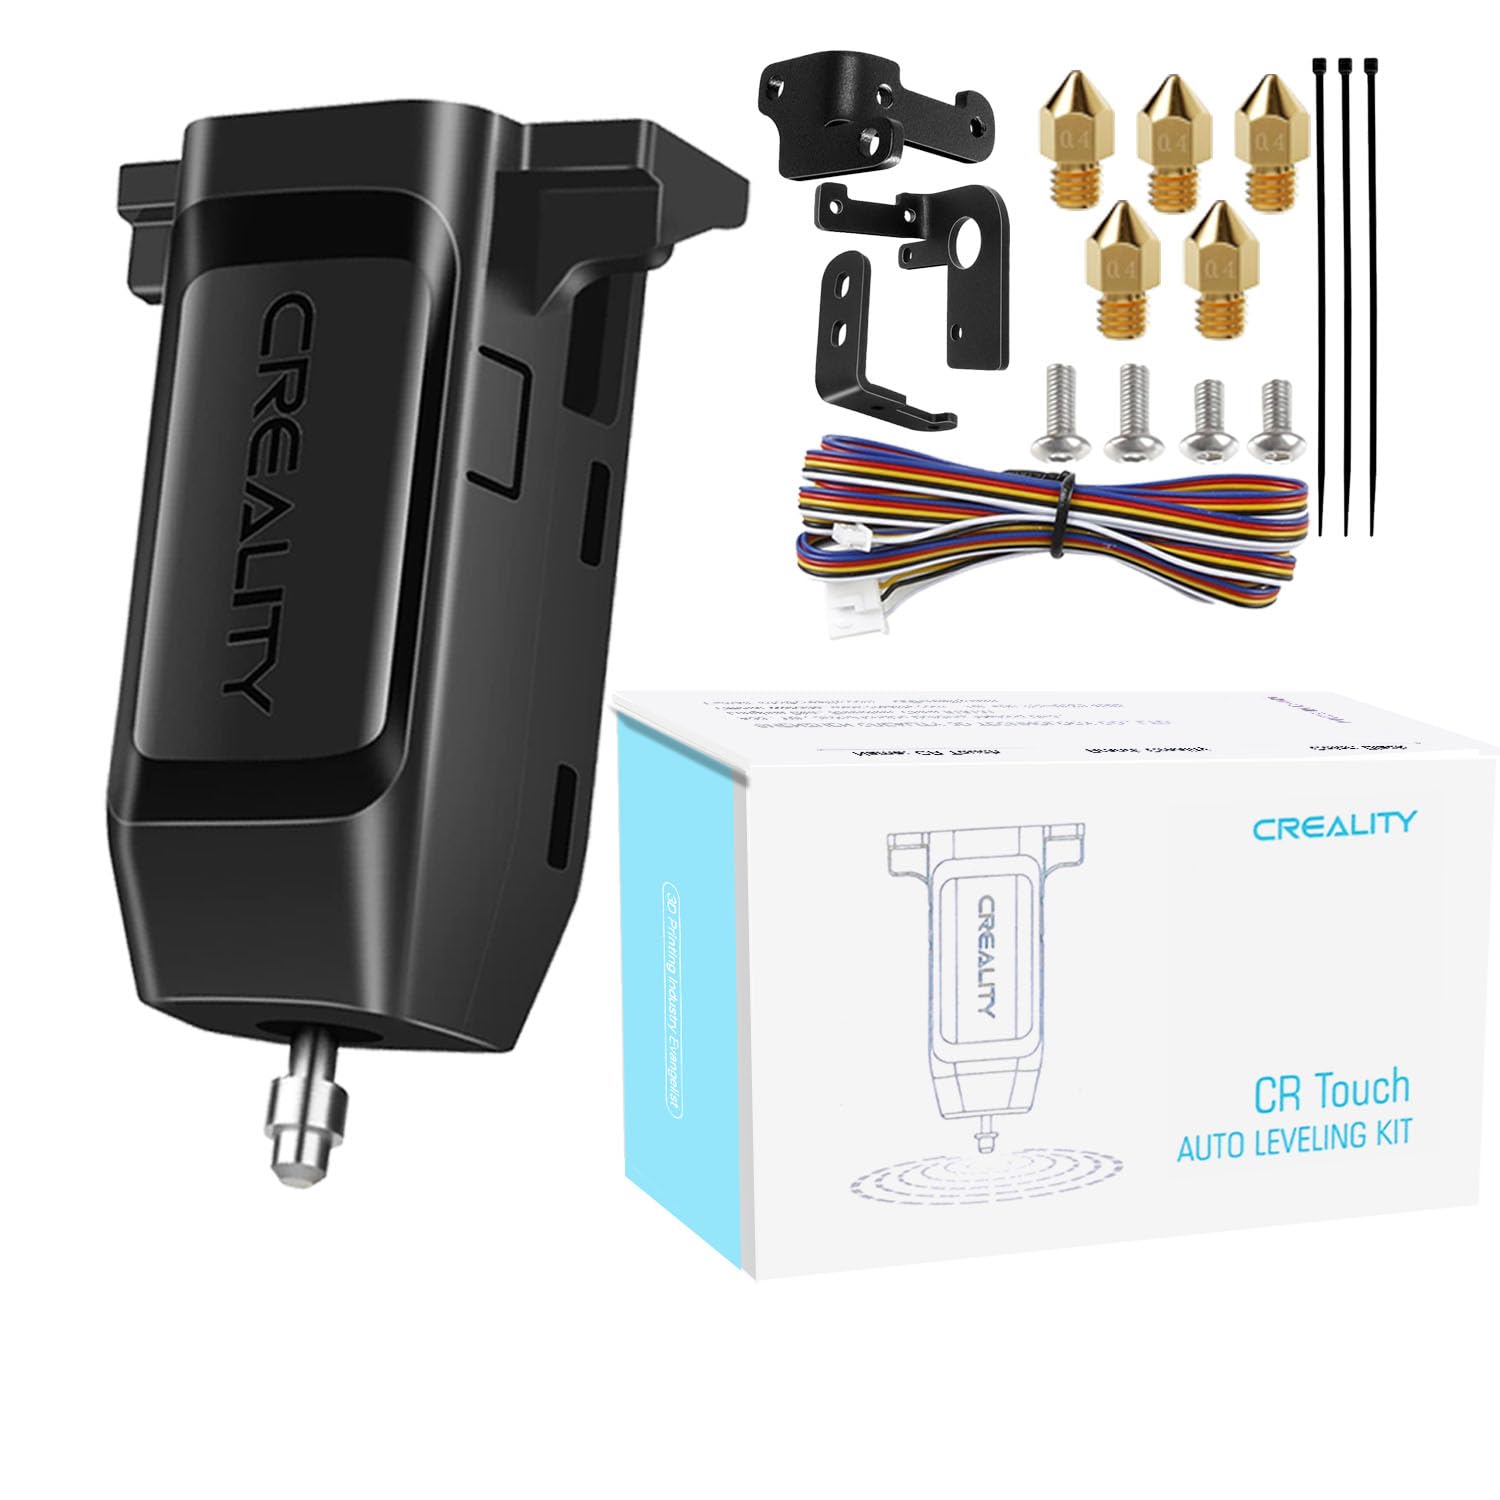
Creality CR-Touch Auto Bed Leveling Sensor Kit
Ideal for beginners adding auto-leveling to stock printers.
$39.99
Creality CR-Touch Auto Bed Leveling Sensor Kit Plug-and-play upgrade for Ender series; accurate 0.01mm precision for easy calibration.
Get the App
Better experience on mobile
Achieve flawless first layers and perfect prints by calibrating your bed leveling sensor like a pro in under 45 minutes.
Struggling with uneven first layers, adhesion failures, or ghosting in your 3D prints? The culprit is often a miscalibrated bed leveling sensor, like a BLTouch or CR-Touch. Without proper calibration, your nozzle scrapes the bed unevenly, ruining prints and wasting filament.
In this guide, you'll learn to calibrate common inductive, capacitive, or touch probe sensors step-by-step. We'll cover preparation, Z-offset tuning, mesh leveling, and testing. Expect 30-45 minutes for intermediate users familiar with basic printer maintenance—no advanced soldering required.
By the end, your printer will auto-level accurately, saving time on manual tweaks and boosting print quality.
Estimated Time: 30-45 minutes Difficulty: intermediate
Determine if your sensor is a touch probe (BLTouch/CR-Touch), inductive, or capacitive. Check your printer manual or probe housing for labels.
Why it matters: Each type has unique G-codes (e.g., G29 for mesh leveling in Marlin). Wrong commands lead to errors.
Power on your printer and inspect the probe. Success: You note the model and firmware type (e.g., Marlin 2.x).
💡 Tips:
⚠️ Warnings:
Home all axes via printer menu (Prepare > Auto Home). Heat bed to 60°C and nozzle to 200°C for accurate expansion measurement.
Why: Cold beds warp measurements; hot ones simulate printing conditions.
Send M140 S60; M190 S60; M104 S200; M109 S200 in terminal if no menu option. Success: Bed steady at temp, probe deployed.
💡 Tips:
Send M84 to disable motors, then manually move nozzle to bed center.
Why: Prevents crashes during probing.
Align probe over a clean bed spot—no debris. Success: Nozzle centered, steppers free.
⚠️ Warnings:
Send G28 (home), then sensor-specific probe command (e.g., G30 for BLTouch single point).
Why: Verifies probe triggers correctly.
Paper should slide with slight resistance at trigger point. Success: Probe beeps/LED changes, Z stops ~0.1mm above bed.
💡 Tips:
In menu (e.g., Control > Motion > Z-Offset) or send M851 Z-0.1 iteratively. Probe again, fine-tune until paper grips perfectly.
Why: Sets nozzle-bed gap for first layer.
Adjust in 0.05mm increments. Success: Consistent paper drag across bed.
⚠️ Warnings:
Send G29 (Marlin) or BED_MESH_CALIBRATE (Klipper) for full grid scan (9-16 points).
Why: Maps bed tilt/warp for compensation.
Probe moves automatically. Success: Mesh complete, saved via M500.
💡 Tips:
Store with M500, restart printer, rehome (G28), and verify with single probe.
Why: Persists calibration across power cycles.
Success: Consistent Z-height on reboot.
Slice and print a first-layer test (e.g., bed leveling print from Thingiverse).
Why: Validates in real conditions.
Ideal: Smooth, squished lines—no gaps or elephants foot. Retract and tweak offset if needed.
💡 Tips:
Problem: Probe doesn't trigger (no beep/LED)
Solution: Check wiring, swap pins if needed. Test with multimeter for continuity. Reinstall firmware.
Problem: Inconsistent Z-height across bed
Solution: Run full mesh (G29), check bed springs for even tension. Print thicker test.
Problem: First layer too high/low after calibration
Solution: Re-adjust Z-offset by 0.1mm increments, test print again.
Problem: Error 'Probe triggered during travel'
Solution: Clean bed/probe, increase Z clearance in firmware.
Plug-and-play upgrade for Ender series; accurate 0.01mm precision for easy calibration.
Best for: Ideal for beginners adding auto-leveling to stock printers.
Price Range: $39.99
Provides precise measurement over paper for pro-level Z-offset tuning.
Best for: When paper test feels inconsistent during fine adjustments.
Price Range: $12.99
Ultra-flat surface improves probe accuracy and adhesion post-calibration.
Best for: Warped stock beds causing uneven meshes.
Price Range: $19.99
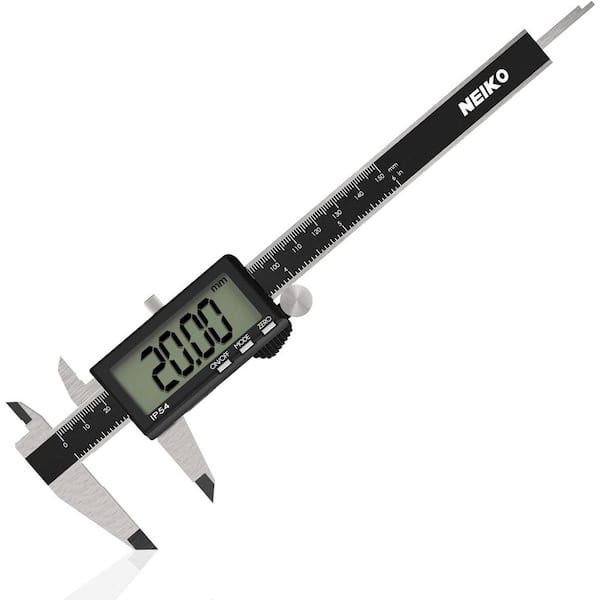
Measure offsets and gaps precisely to verify calibration.
Best for: Double-checking probe height or bed flatness.
Price Range: $25.99
Remote G-code sending and live monitoring simplifies iterative calibration.
Best for: USB-connected terminals are clunky; go wireless.
Price Range: $99-$129
Ideal for beginners adding auto-leveling to stock printers.
Creality CR-Touch Auto Bed Leveling Sensor Kit Plug-and-play upgrade for Ender series; accurate 0.01mm precision for easy calibration.
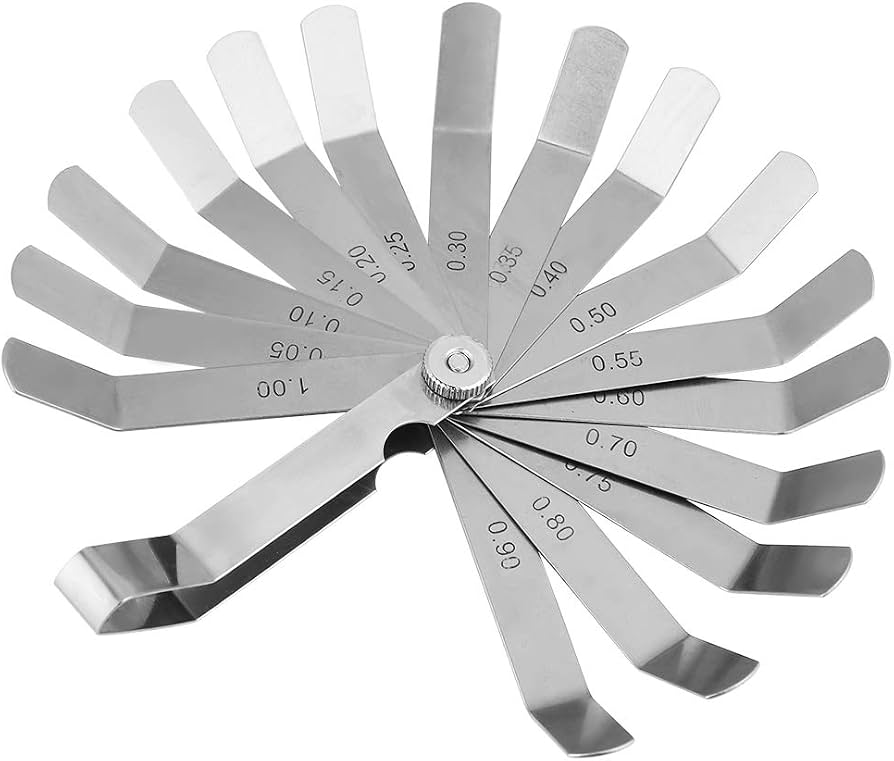
When paper test feels inconsistent during fine adjustments.
Fowler 0.1mm Feeler Gauge Set Provides precise measurement over paper for pro-level Z-offset tuning.

Warped stock beds causing uneven meshes.
FYSETC Magnetic PEI Spring Steel Bed Sheet Ultra-flat surface improves probe accuracy and adhesion post-calibration.
Double-checking probe height or bed flatness.
Neiko Digital Caliper 6" Measure offsets and gaps precisely to verify calibration.
USB-connected terminals are clunky; go wireless.
Raspberry Pi 4 OctoPrint Kit Remote G-code sending and live monitoring simplifies iterative calibration.