Struggling with prints that won't stick, warp, or fail right at the start? An uneven 3D printer bed is the #1 culprit for poor first layers, causing frustration for beginners. Proper bed calibration ensures your nozzle is the perfect distance from the bed—typically 0.1-0.2mm—for strong adhesion and smooth prints.
In this guide, you'll learn a simple manual leveling method that works on most FDM printers like Ender 3, Prusa, or Anycubic models. We'll cover cleaning, heating, and precise adjustments step-by-step. No fancy tools needed beyond a sheet of paper.
Expect 15-30 minutes total, depending on your printer. It's beginner-friendly with no prior experience required—just follow along carefully for pro results.
▸What You'll Need
- •3D printer powered on and assembled
- •Sheet of standard printer paper or business card (0.1mm thick ideal; required)
- •Isopropyl alcohol (90%+) and lint-free cloth (required for cleaning)
- •Allen keys or hex wrench set (usually included with printer; required for adjustments)
- •Optional: Digital caliper for precise measurements
- •Optional: Auto bed leveling sensor like BLTouch for future upgrades
Estimated Time: 15-30 minutes
Difficulty: beginner
▸Step-by-Step Instructions
Step 1: Power On and Home All Axes
Start your printer and let it fully boot up. Use the control menu (LCD screen) to home all axes (X, Y, Z). This moves the nozzle to the origin (0,0,0) position.
Homing calibrates the printer's position sensors, ensuring accurate movements. You'll see the bed move to the front-left corner and nozzle descend slightly.
Success looks like: Nozzle precisely at bed corner, no grinding or crashes.
💡 Tips:
- •If your printer has a 'Home' button, use it for speed.
⚠️ Warnings:
- •Never level with steppers enabled—risk of motor strain.
Step 2: Clean the Print Bed Thoroughly
Power off the printer. Wipe the bed surface with isopropyl alcohol and a lint-free cloth in circular motions. Remove any residue, fingerprints, or old filament bits.
A clean bed ensures accurate paper-drag test and better adhesion. Dirty beds cause false readings and print failures.
Success looks like: Bed shiny, streak-free, no debris under light inspection. Dry completely before proceeding.
💡 Tips:
- •Use 99% IPA for best results; avoid household cleaners.
- •For textured beds like PEI, gentle pressure only.
⚠️ Warnings:
- •Don't use acetone on PEI sheets—it damages them.
Step 3: Preheat Bed and Nozzle
Power on, go to Control > Temperature > Preheat PLA (or set bed to 60°C, nozzle 200°C). Wait 5-10 minutes for thermal equilibrium.
Heating expands the bed and frame, matching real printing conditions. Cold leveling leads to inaccurate gaps during prints.
Success looks like: Temperatures stable (±2°C), bed warm to touch but not scalding.
💡 Tips:
- •PLA settings work for most; PETG use 80°C bed.
Step 4: Disable Steppers for Free Movement
From menu: Prepare > Disable Steppers (or hold motor icon on some printers). This releases motors for manual nozzle positioning.
Free movement prevents damage while jogging nozzle to corners.
Success looks like: Nozzle moves smoothly by hand without resistance.
💡 Tips:
- •On Marlin firmware, M84 G-code via terminal does this too.
⚠️ Warnings:
- •Don't force if stuck—check for obstructions.
Step 5: Level Front-Left Corner
Manually move nozzle to front-left corner. Slide paper under nozzle. Gently turn leveling knob clockwise (tighten) or counterclockwise (loosen) until paper drags with slight resistance—can't push through easily but slides freely.
This sets ~0.1mm gap. Repeat for precision.
Success looks like: Paper 'shushes' without bunching or slipping freely.
💡 Tips:
- •Aim for same resistance at all points.
Step 6: Repeat for Other Corners
Move nozzle to front-right, back-right, then back-left corners. Adjust each knob independently to match paper drag feel.
Work systematically to avoid over-adjusting one side.
Success looks like: Consistent resistance across all four corners.
💡 Tips:
- •Level in cross-pattern: FL > BR > FR > BL.
⚠️ Warnings:
- •Small turns only (1/8 turn); big changes warp bed.
Step 7: Check Center and Fine-Tune
Move to bed center. Test paper drag—if too tight/loose, tweak nearest knobs slightly.
Center check catches bow/warp issues.
Success looks like: Uniform drag everywhere.
💡 Tips:
- •Rock bed gently to feel variations.
Step 8: Test with a Print
Re-enable steppers, home, and slice/print a bed level test STL (like single-layer square). Watch first layer squish evenly.
Confirms real-world accuracy.
Success looks like: Smooth, adhered first layer—no gaps or elephants foot.
💡 Tips:
- •Download free test from Thingiverse.
⚠️ Warnings:
- •Abort if uneven; re-level.
▸Pro Tips
- •Level hot every time—cold beds lie!
- •Use business card for consistency (standard thickness).
- •Mark knobs with sharpie before/after for tracking changes.
- •Level after every 10-20 prints or bed swaps.
- •Add washers under springs for better adjustability.
- •Record settings in a notebook for your printer model.
- •Upgrade to spring-loaded knobs for easier turns.
▸Common Mistakes to Avoid
- •Leveling cold: Causes expansion mismatch during prints—always preheat.
- •Over-tightening knobs: Crushes paper, causes nozzle crashes—feel the drag.
- •Skipping clean: Residue skews gap—wastes time re-leveling.
- •Not homing first: Nozzle starts wrong, adjustments off.
- •Ignoring center: Corners perfect but middle gaps cause warping.
▸Troubleshooting
Problem: Paper always slips or bunches unevenly
Solution: Re-clean bed, check warped surface. Replace if bowed; try glass bed.
Problem: Prints still don't stick after leveling
Solution: Increase bed temp +5°C, add glue stick or hairspray.
Problem: Knobs won't turn or bed won't adjust
Solution: Lubricate threads with WD-40; replace stripped knobs/springs.
Problem: First layer too squished/elephant's foot
Solution: Loosen all knobs 1/4 turn; re-test.
Problem: Levels perfect but shifts mid-print
Solution: Tighten frame screws; check loose belts.
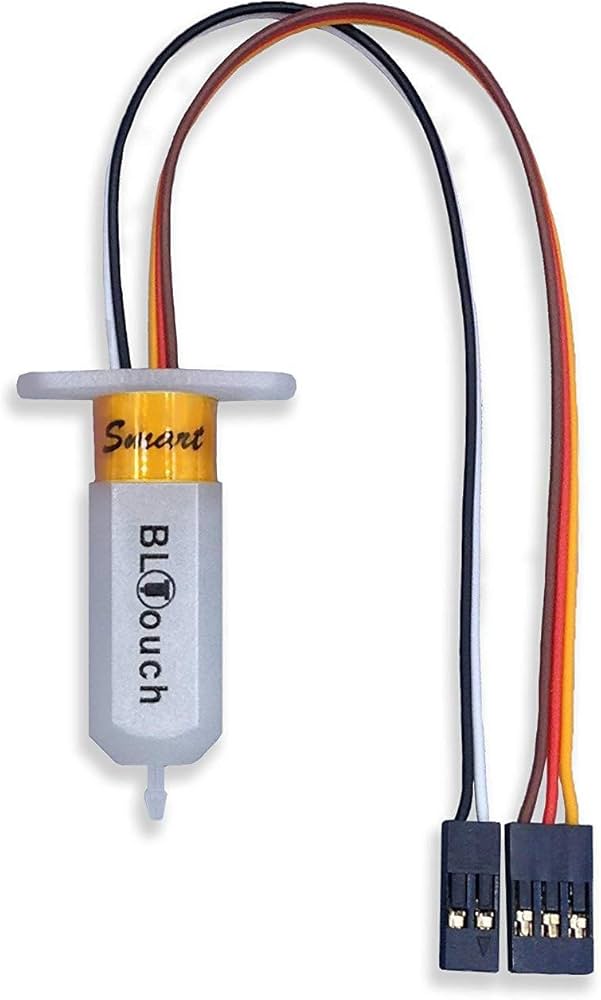
BIGTREETECH BLTouch Auto Bed Leveling Sensor Kit
Automates leveling for perfect results every time, saving manual hassle for beginners.
Best for: Upgrade after manual mastery; probes 3-5 points automatically.
Price Range: $35-$45
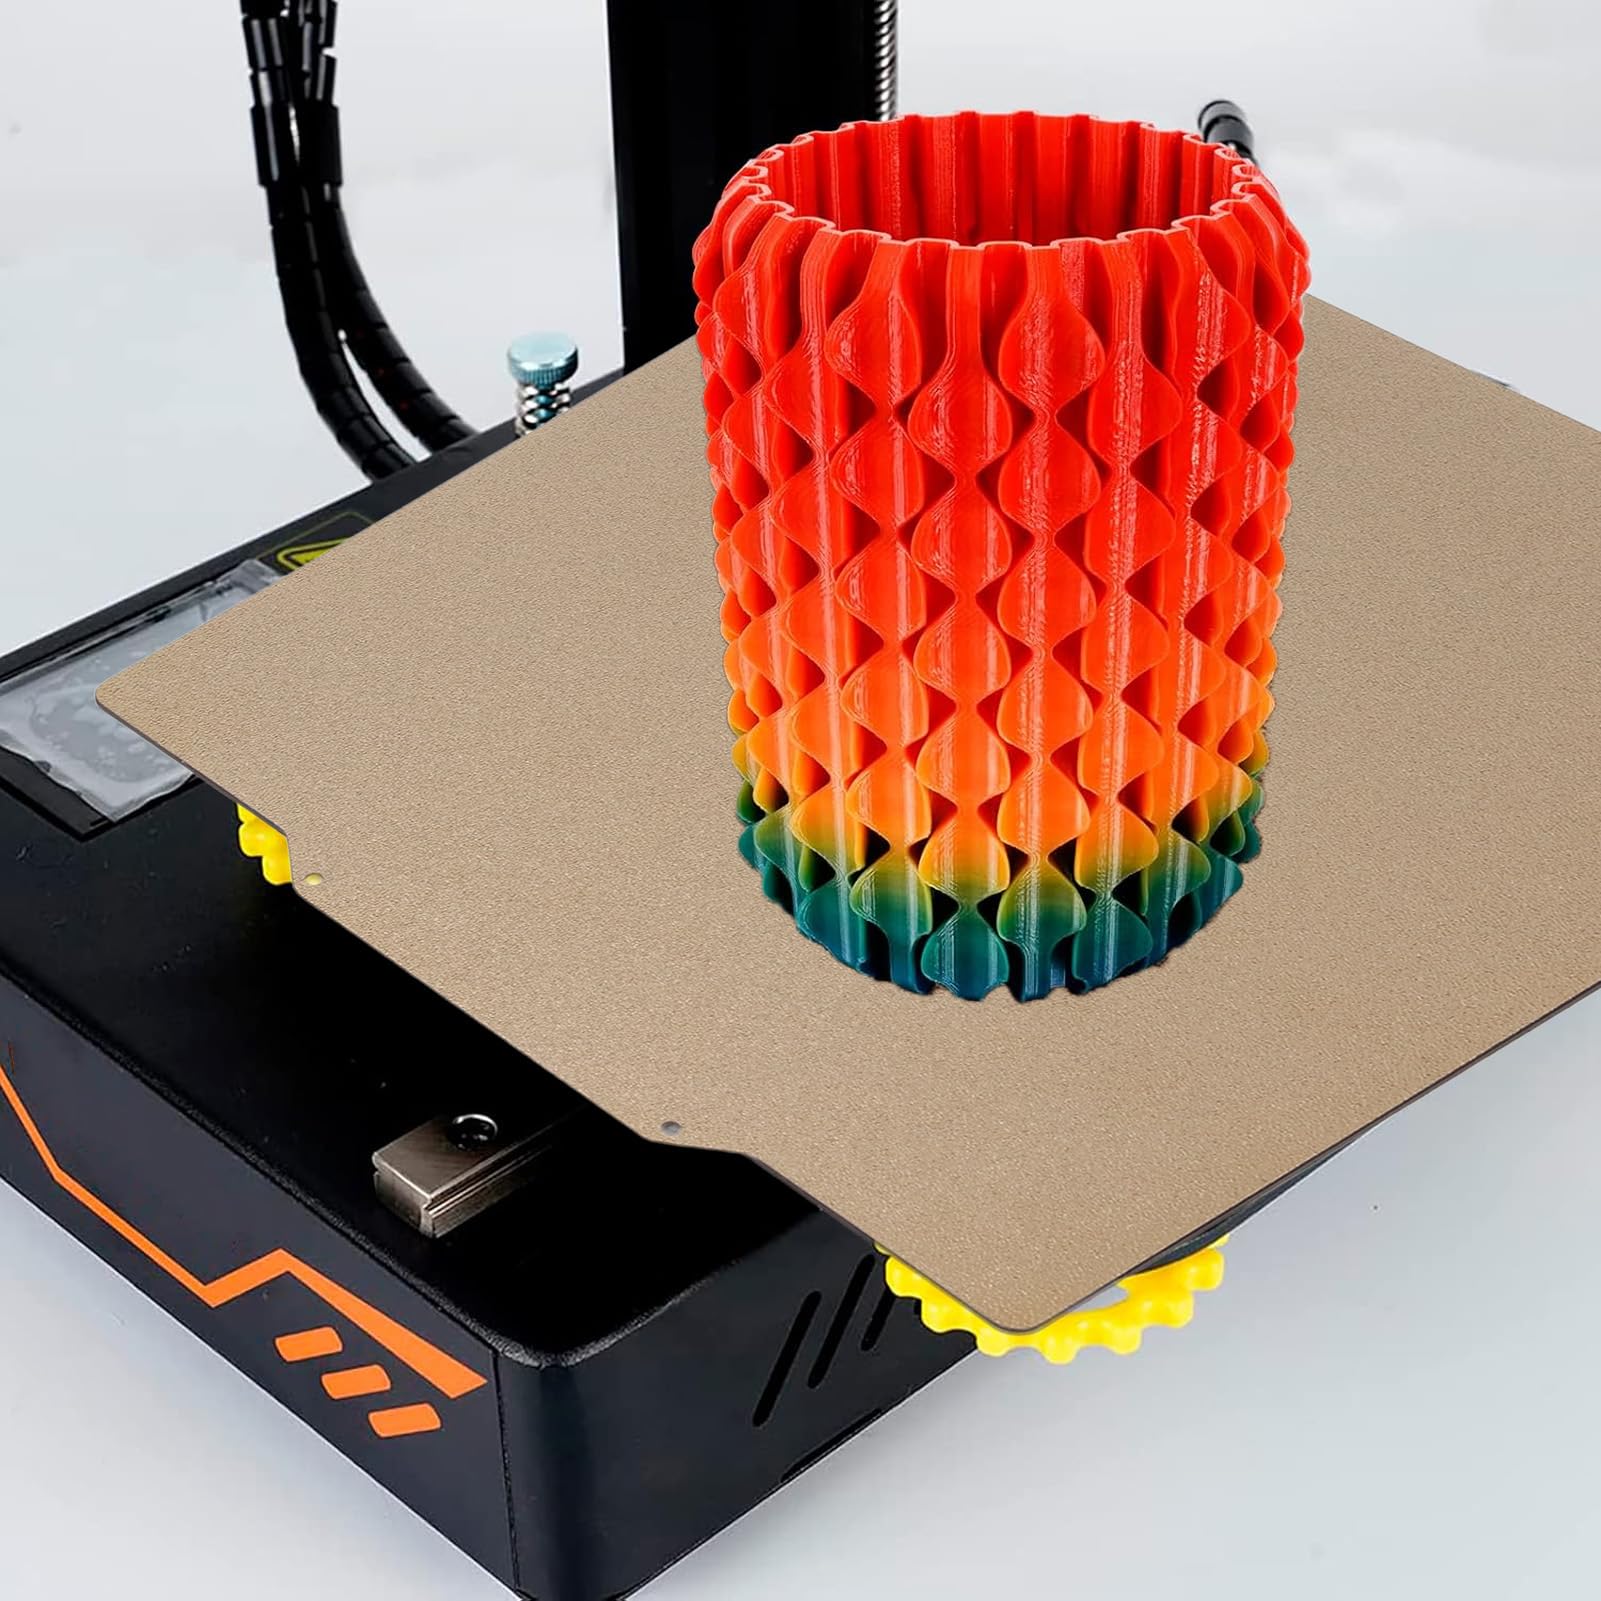
Biqu BX 235x235mm Magnetic PEI Flexible Build Plate
Magnetic surface sticks perfectly flat, easier to level and clean than stock beds.
Best for: Replace uneven stock beds on Ender 3; removes for easy print removal.
Price Range: $20-$25
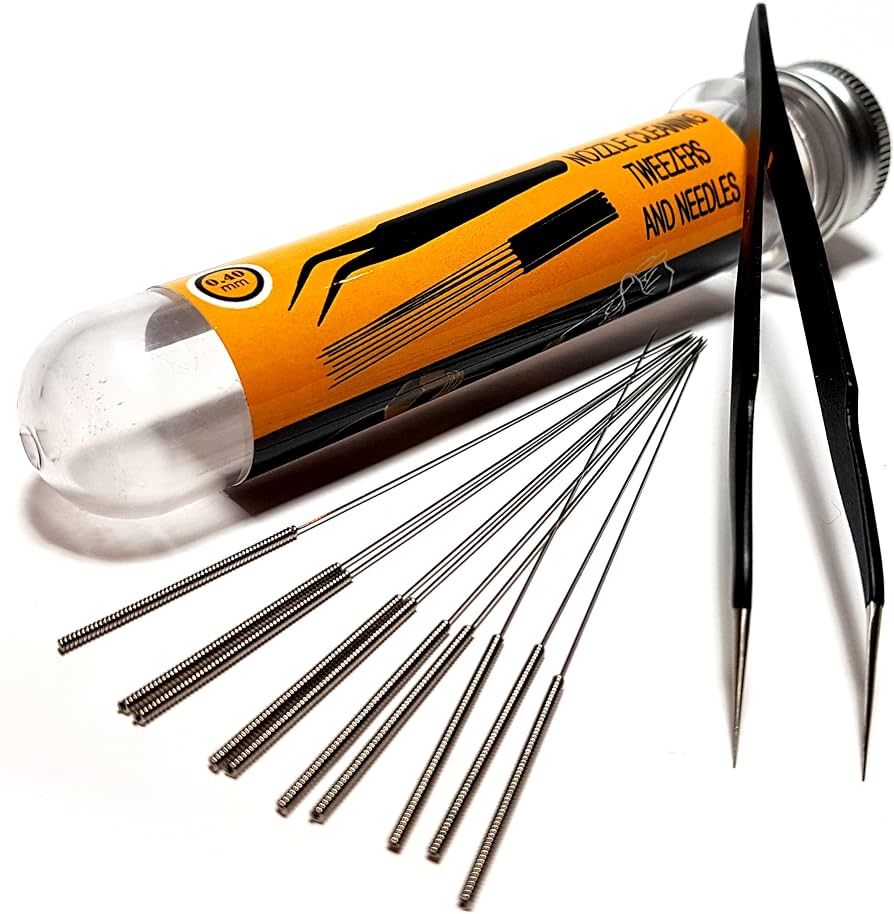
WHAMCO Q20 3D Printer Nozzle Cleaning Kit
Keeps nozzle clean during leveling to prevent clogs affecting gap tests.
Best for: Quick clean between steps if filament oozes.
Price Range: $10-$15
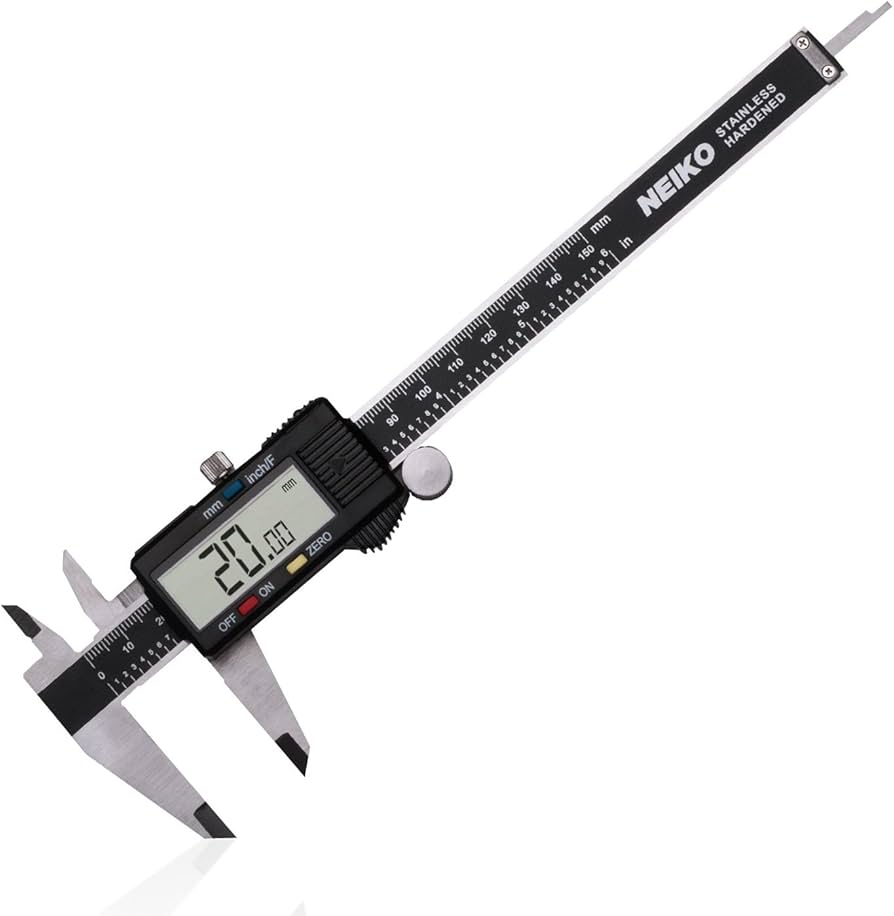
Neiko 01407A 6-Inch Digital Caliper
Precise 0.01mm measurements replace paper for pro accuracy.
Best for: Verify gaps quantitatively after paper test.
Price Range: $20-$25
Techspray Isopropyl Alcohol 99% Wipes
Pre-moistened, lint-free for streak-free bed cleaning without spills.
Best for: Fast prep before every leveling session.
Price Range: $12-$18