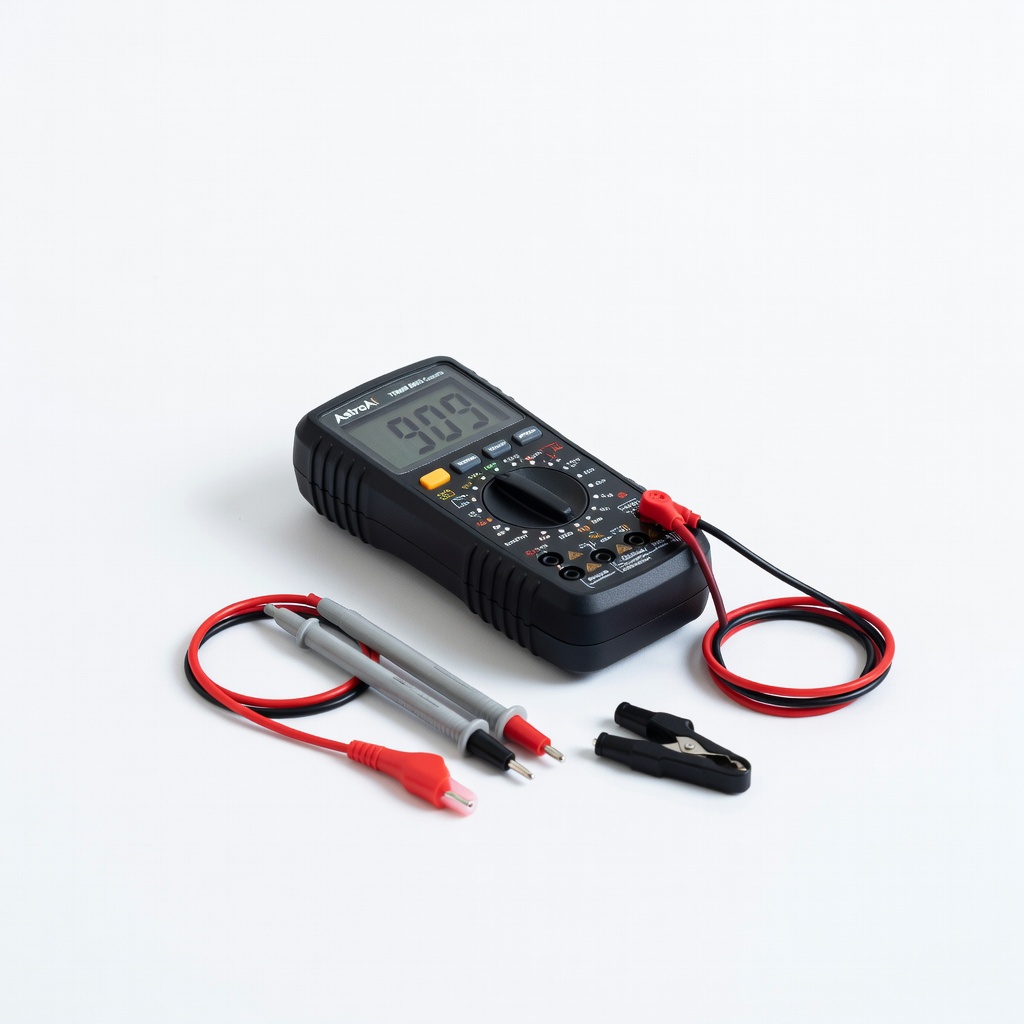
AstroAI Digital Multimeter TRMS 6000 Counts
Probing individual cells and verifying BMS readings.
$28.99
AstroAI Digital Multimeter TRMS 6000 Counts 0.01V precision essential for cell measurements; auto-ranging for safety.
Get the App
Better experience on mobile
Master precise calibration of your 12V BMS to ensure accurate voltage monitoring, prevent battery damage, and enhance safety in LiFePO4 systems.
Uncalibrated BMS units in 12V lithium batteries (like 4S LiFePO4 setups) can lead to overcharging, deep discharge, or fires due to inaccurate cell voltage readings. This is a common issue in solar, RV, and marine applications where safety is paramount.
In this guide, you'll learn to calibrate your BMS step-by-step using precise measurements, achieving balanced cells within 0.01V accuracy and verified cutoffs. Expect safer operation and extended battery life.
We'll cover safety prep, voltage measurements, calibration adjustments (via app or trimpots on advanced BMS like JK or JBD), load testing, and verification. Total process: advanced skills in electronics required; no soldering needed for most smart BMS.
Estimated Time: 45-90 minutes Difficulty: advanced
Set up in a well-ventilated, non-flammable area away from children/pets. Wear safety glasses and insulated gloves.
Power down your system completely: Disconnect the battery from all loads/chargers. Remove BMS from battery pack if wired externally. Why? Prevents shorts or accidental activation during calibration.
Success looks like: BMS fully isolated, no voltage readings on multimeter probes across terminals.
💡 Tips:
⚠️ Warnings:
Connect battery to a LiFePO4-compatible charger until full (14.4-14.6V total). Use multimeter to probe each of the 4 cells (B- to B1, B1-B2, etc.). Record voltages.
Ideal: All cells 3.60-3.65V. Discrepancies >0.05V indicate imbalance. Why? Calibration starts from a known full state for accurate baselines.
Success: Cells balanced within 0.02V; total pack voltage stable at 14.4V+.
💡 Tips:
Wire BMS to battery per manual (B-, P-, C- to cells). Pair Bluetooth app (e.g., JK BMS). Enter calibration menu—search for 'Voltage Calibration' or 'ADC Calibrate'.
Compare app-reported cell voltages to multimeter. Note offsets (e.g., app shows 3.62V, meter 3.60V = -0.02V offset).
Success: App open, real-time voltages matching within 0.01V.
⚠️ Warnings:
Use programmable PSU to slowly ramp pack voltage to 14.6V while monitoring cells. In app, adjust high-voltage cutoff (HV) to trigger at exactly 3.65V per cell (14.6V total).
Fine-tune offset until BMS cuts off charger precisely. Reset and retest 3x. Why? Prevents overcharge fires.
Success: BMS disconnects load at 14.60V ±0.02V.
💡 Tips:
Discharge via electronic load to 10V total (2.5V/cell). Adjust low-voltage cutoff (LV) in app to trigger at 2.50V/cell (10.0V total).
Test by attempting to draw current post-cutoff—no flow. Why? Protects against sulfation/deep discharge.
Success: BMS cuts off at 10.00V ±0.05V, resumes at 10.5V.
Enable active balancing in app (if available). Cycle charge/discharge 2-3 times, remeasure cells. Adjust any remaining offsets.
All cells should hold 3.60V post-balance. Why? Ensures even wear.
Success: <0.01V deviation across cells.
💡 Tips:
⚠️ Warnings:
Reconnect to system, apply 50-100% load for 10 mins. Monitor temp (<60°C), voltages via app. Stress test cutoffs.
Success: No erroneous trips, stable readings.
Secure connections, torque to spec (e.g., 5Nm). Log all values. Monitor first 24h via app.
Success: System operational, logs saved.
💡 Tips:
Problem: BMS won't enter cal mode
Solution: Check app version/firmware; power cycle 3x or reset via button.
Problem: Voltages drift post-cal
Solution: Recheck connections; recalibrate after 10 cycles.
Problem: Erratic cutoffs
Solution: Inspect sense wires for corrosion; test multimeter calibration.
Problem: Overheating during balance
Solution: Reduce balance current; improve airflow. Seek pro if >70°C.
0.01V precision essential for cell measurements; auto-ranging for safety.
Best for: Probing individual cells and verifying BMS readings.
Price Range: $28.99
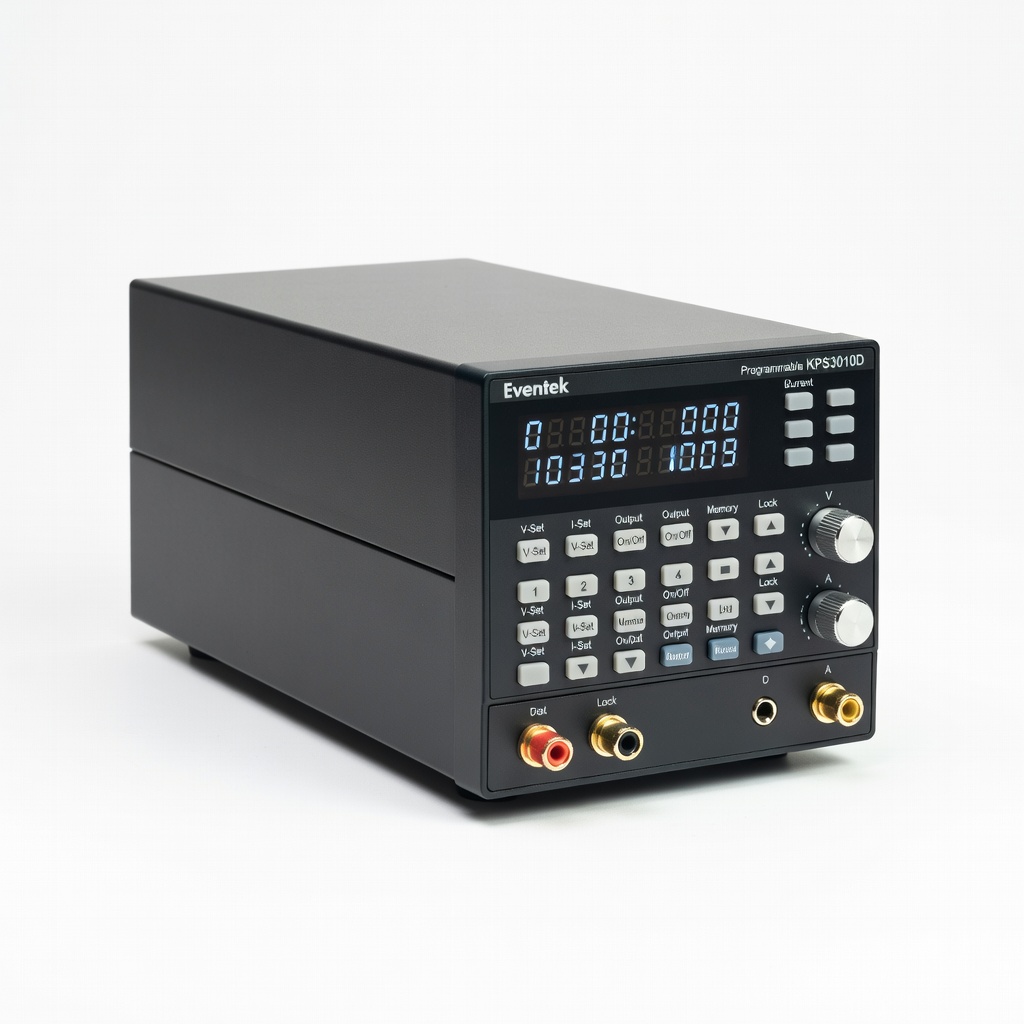
Precise 0-30V/10A control for accurate HV calibration without spikes.
Best for: Ramping voltages to test overcharge cutoffs.
Price Range: $69.99
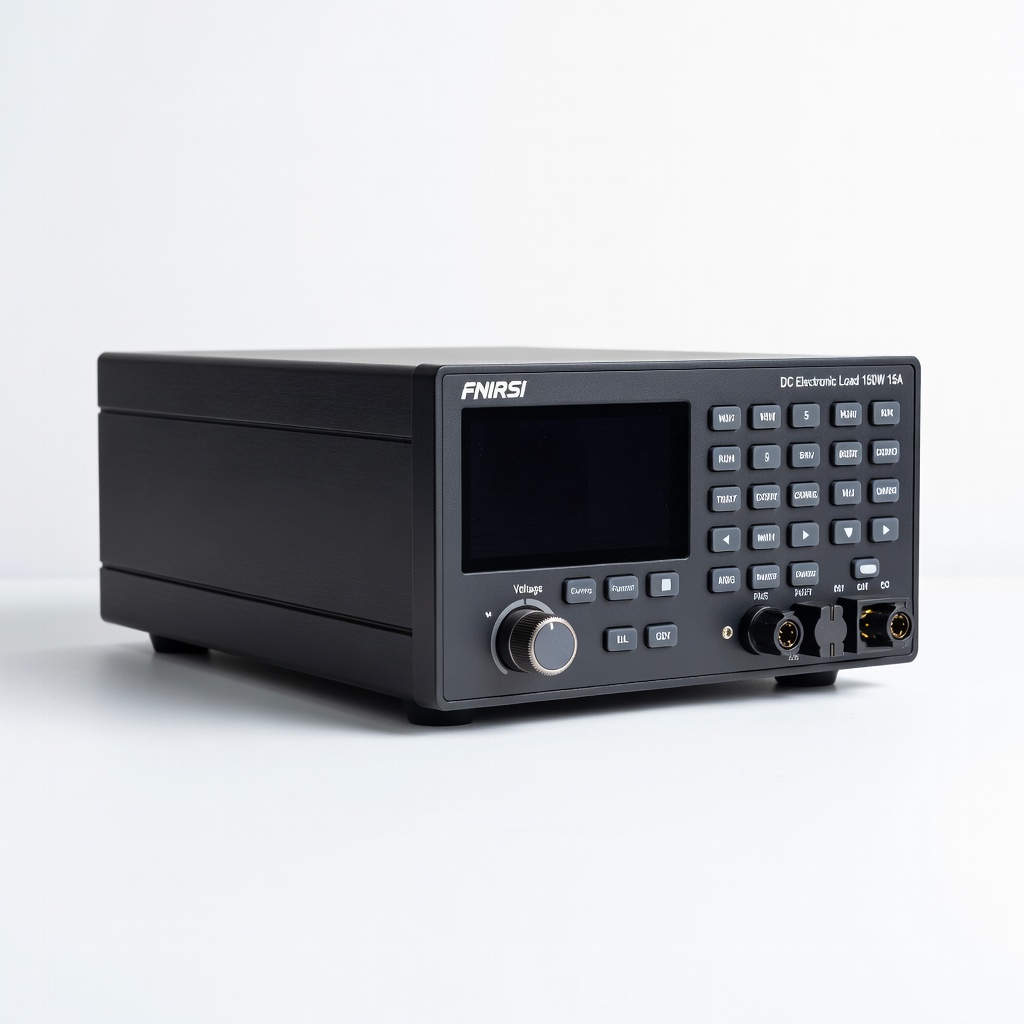
Adjustable discharge for reliable LV testing; constant current mode.
Best for: Simulating real loads to verify discharge protection.
Price Range: $89.99
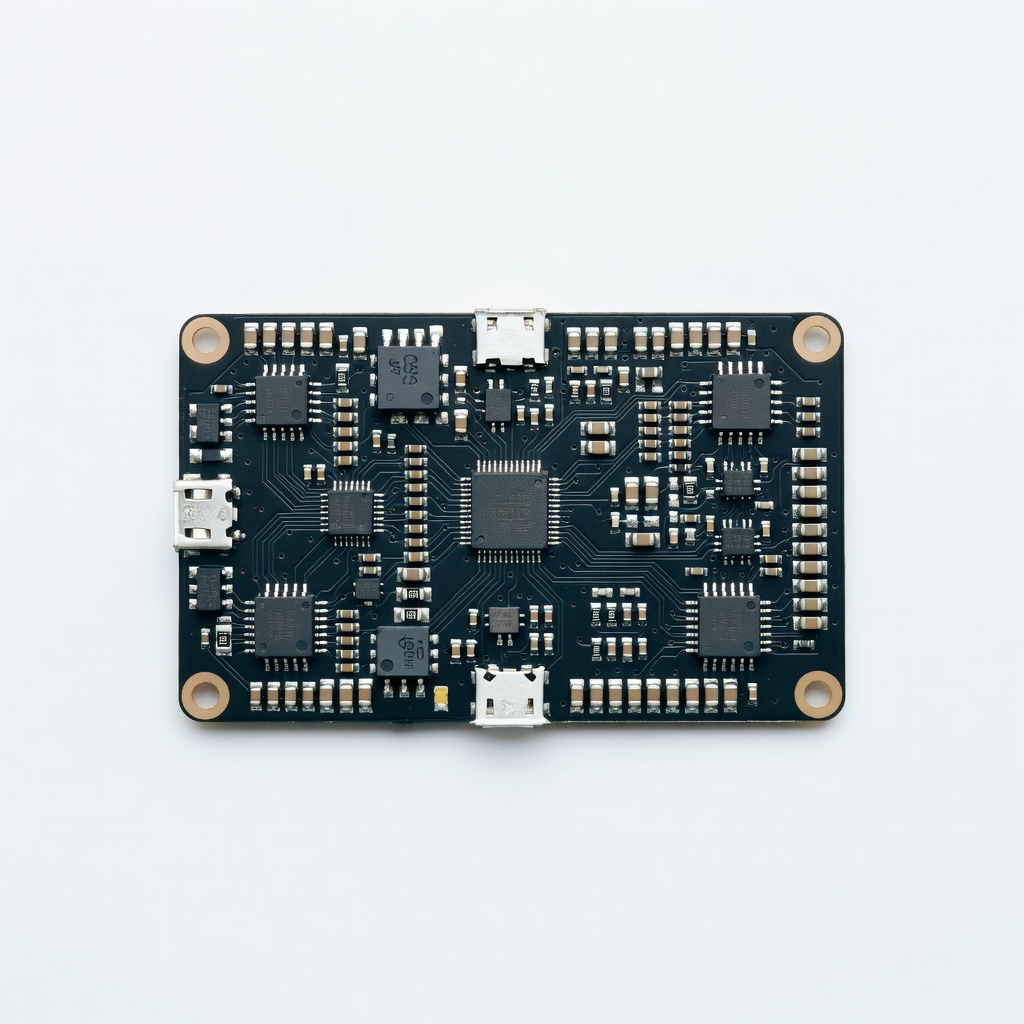
Built-in Bluetooth calibration; superior to basic BMS for advanced users.
Best for: Replacement or upgrade if yours lacks app cal.
Price Range: $45-60
Gold standard for pros; true-RMS, data logging for verification.
Best for: High-precision audits post-calibration.
Price Range: $400+
Probing individual cells and verifying BMS readings.
AstroAI Digital Multimeter TRMS 6000 Counts 0.01V precision essential for cell measurements; auto-ranging for safety.
Ramping voltages to test overcharge cutoffs.
Eventek KPS3010D Programmable DC Power Supply Precise 0-30V/10A control for accurate HV calibration without spikes.
Simulating real loads to verify discharge protection.
FNIRSI DC Electronic Load 150W 15A Adjustable discharge for reliable LV testing; constant current mode.
Replacement or upgrade if yours lacks app cal.
JK 4S 12V 100A Smart BMS Built-in Bluetooth calibration; superior to basic BMS for advanced users.

High-precision audits post-calibration.
Fluke 87V Industrial Multimeter Gold standard for pros; true-RMS, data logging for verification.