
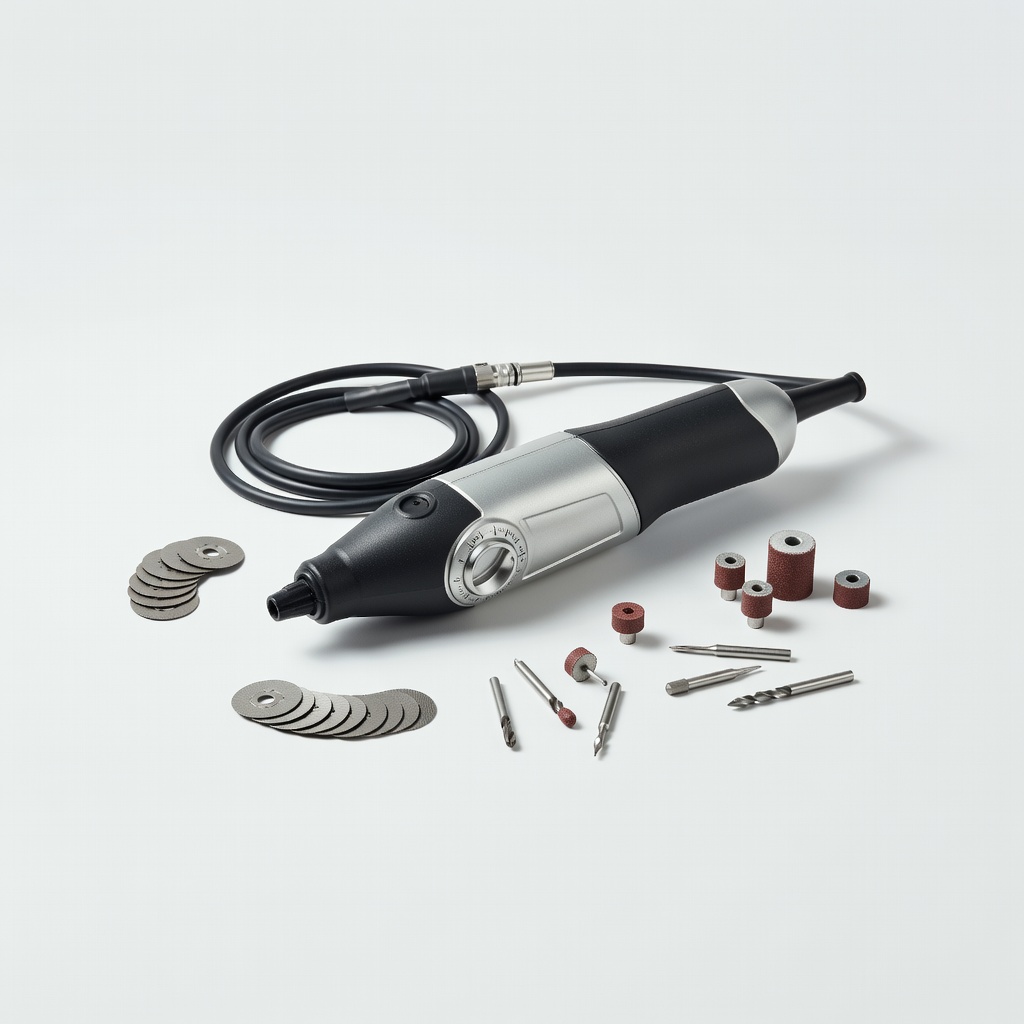
Dremel 4000 Rotary Tool Kit
Ideal if you lack a jigsaw—cuts panels quickly and cleanly.
$69.99
Dremel 4000 Rotary Tool Kit Versatile for precise cutting, drilling, and sanding plywood or acrylic without a full workshop.
Get the App
Better experience on mobile
Craft a foldable, ergonomic stand tailored to your 2-in-1 laptop for better posture, cooling, and portability in 90 minutes.
Using your 2-in-1 laptop flat on a desk or lap often leads to poor posture, overheating, and reduced productivity. A custom stand elevates the screen to eye level, improves airflow, and folds flat for travel—perfect for versatile devices like Surface Pro or Lenovo Yoga.
In this guide, you'll learn to build a simple hinged wooden or acrylic stand with adjustable angles. No advanced carpentry needed—just basic cutting, drilling, and assembly. Expect a sturdy, professional-looking result that fits your exact laptop size.
This intermediate project takes 90 minutes to 2 hours, depending on your tools and drying time. You'll end up with a personalized accessory worth $50+ off-the-shelf.
Estimated Time: 90 minutes to 2 hours Difficulty: intermediate
Determine exact dimensions. Place your 2-in-1 laptop in tent and laptop modes. Measure width (usually 10-13 inches), desired height (8-10 inches for eye-level screen), and depth for base stability (9-11 inches). Add 1-inch margins for airflow.
Sketch the panels. Draw a rectangular base (laptop width x 9 inches) and a trapezoid prop (width x 7 inches tall, angled for 45-60° viewing). The hinge connects the top of the base to the bottom of the prop. Use graph paper for precision—why it matters: Accurate measurements prevent wobbling or poor fit.
Expect two paper templates ready to trace. Success: Templates match your laptop perfectly when test-fitted.
💡 Tips:
⚠️ Warnings:
Mark the plywood. Lay the sheet flat, trace templates with pencil, leaving space between. Double-check angles on prop for smooth fold.
Cut carefully. Use hacksaw or jigsaw following lines. Clamp material to workbench for steady cuts—slow speed prevents splintering. Why: Clean cuts ensure professional finish and stability.
File rough edges lightly. Success: Two smooth panels (base ~11x9in, prop ~11x7in) that fit together flat.
💡 Tips:
⚠️ Warnings:
Align panels. Place base and prop flat, aligning hinge edge (top of base to bottom of prop). Mark screw holes from hinge template on both panels.
Drill pilot holes. Use 1/16-inch bit at low speed to avoid splitting wood. Space holes evenly—typically 1-inch apart. Why it matters: Pilot holes prevent cracking and ensure screws grip.
Test-fit hinge without tightening. Success: Hinge aligns perfectly, panels fold smoothly without binding.
💡 Tips:
Apply glue if using. Dab wood glue along hinge edges for reinforcement (optional but recommended for heavy laptops).
Secure the hinge. Place hinge over holes, insert screws, tighten gradually with drill or screwdriver. Check fold at 30°, 45°, 60° angles.
Why: Hinge allows multi-mode use (laptop, tent, tablet). Success: Stand opens/closes smoothly, holds at viewing angles.
💡 Tips:
⚠️ Warnings:
Position feet. Place two on base underside corners, two on prop bottom for non-slip when folded.
Apply adhesive. Peel backing, press firmly for 30 seconds. Let cure 1 hour. Why: Prevents sliding on desks, protects surfaces.
Success: Stand grips surfaces, doesn't rock when laptop is placed.
💡 Tips:
Sand all surfaces. Start with 120-grit to smooth edges/cuts, progress to 220-grit for silky finish. Round corners slightly for comfort.
Wipe clean. Remove dust with tack cloth. Optional: Apply wood stain, varnish, or paint for protection/custom look. Dry 30-60 min.
Why: Smooth finish prevents splinters, enhances durability. Success: Glass-smooth, attractive stand ready for use.
💡 Tips:
⚠️ Warnings:
Load test. Place laptop, check stability at angles. Adjust hinge tension if loose.
Ergonomics check. Screen at eye level? Good airflow? Fold flat for portability.
Success: Stable for 8+ hours use, fits in laptop bag.
💡 Tips:
Problem: Stand wobbles or collapses
Solution: Tighten hinge screws or add glue reinforcement; check rubber feet adhesion.
Problem: Hinge binds or doesn't fold flat
Solution: Sand hinge edges; ensure pilot holes are straight and aligned.
Problem: Laptop slips off
Solution: Add non-slip mat or rubber grips to prop ledge.
Problem: Splintered cuts
Solution: Score lines first and use sharp blade; switch to acrylic for cleaner cuts.
Versatile for precise cutting, drilling, and sanding plywood or acrylic without a full workshop.
Best for: Ideal if you lack a jigsaw—cuts panels quickly and cleanly.
Price Range: $69.99
Waterproof, extra-strong bond reinforces hinge joints for long-term durability.
Best for: Apply along edges before screwing hinge for wobble-free assembly.
Price Range: $9.99
Lightweight, smooth hardwood perfect for stands—easy to cut and finish.
Best for: Primary material for base and prop; food-safe and stainable.
Price Range: $12.99
Heavy-duty, rust-resistant for smooth folding under laptop weight.
Best for: Core folding mechanism; includes screws for immediate use.
Price Range: $14.99
Strong adhesive bumpers prevent slipping and protect desks.
Best for: Attach to underside for instant stability on any surface.
Price Range: $7.99
Ideal if you lack a jigsaw—cuts panels quickly and cleanly.
Dremel 4000 Rotary Tool Kit Versatile for precise cutting, drilling, and sanding plywood or acrylic without a full workshop.
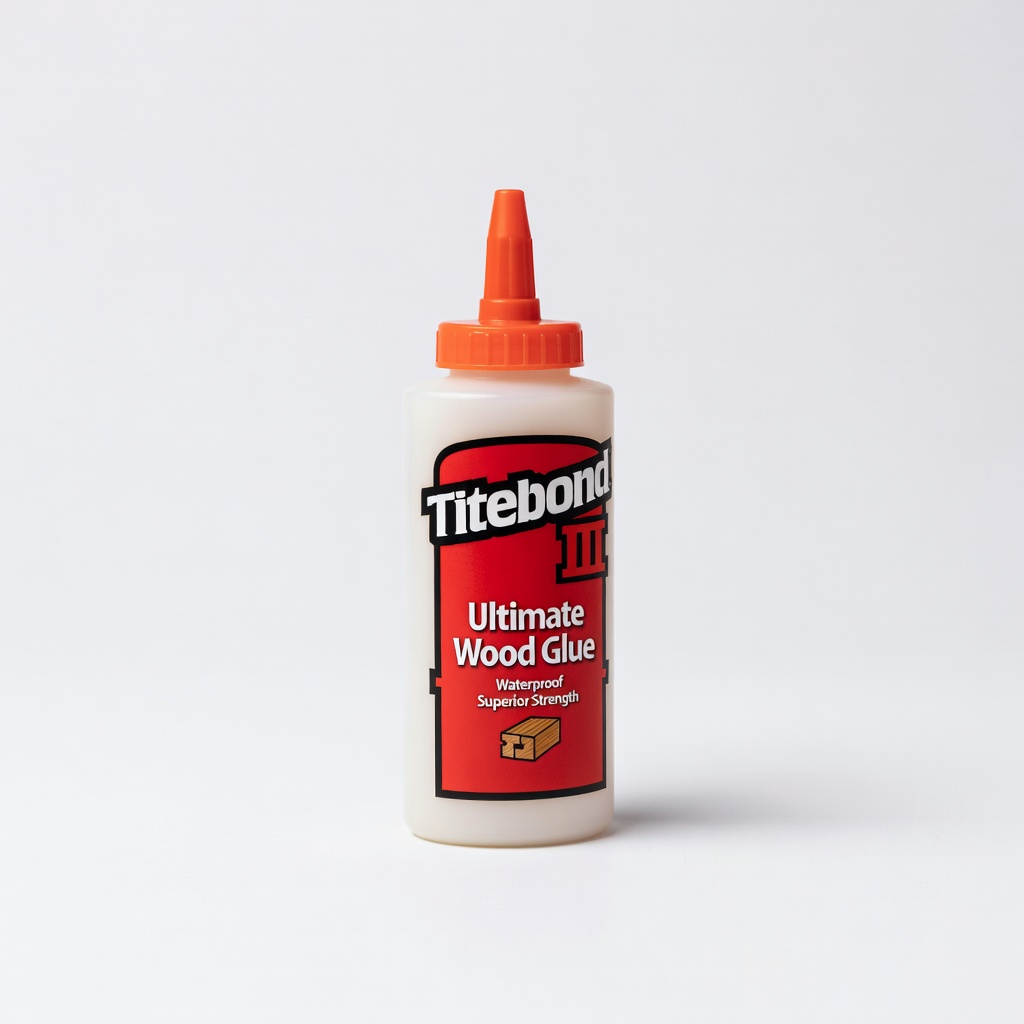
Apply along edges before screwing hinge for wobble-free assembly.
Titebond III Ultimate Wood Glue Waterproof, extra-strong bond reinforces hinge joints for long-term durability.
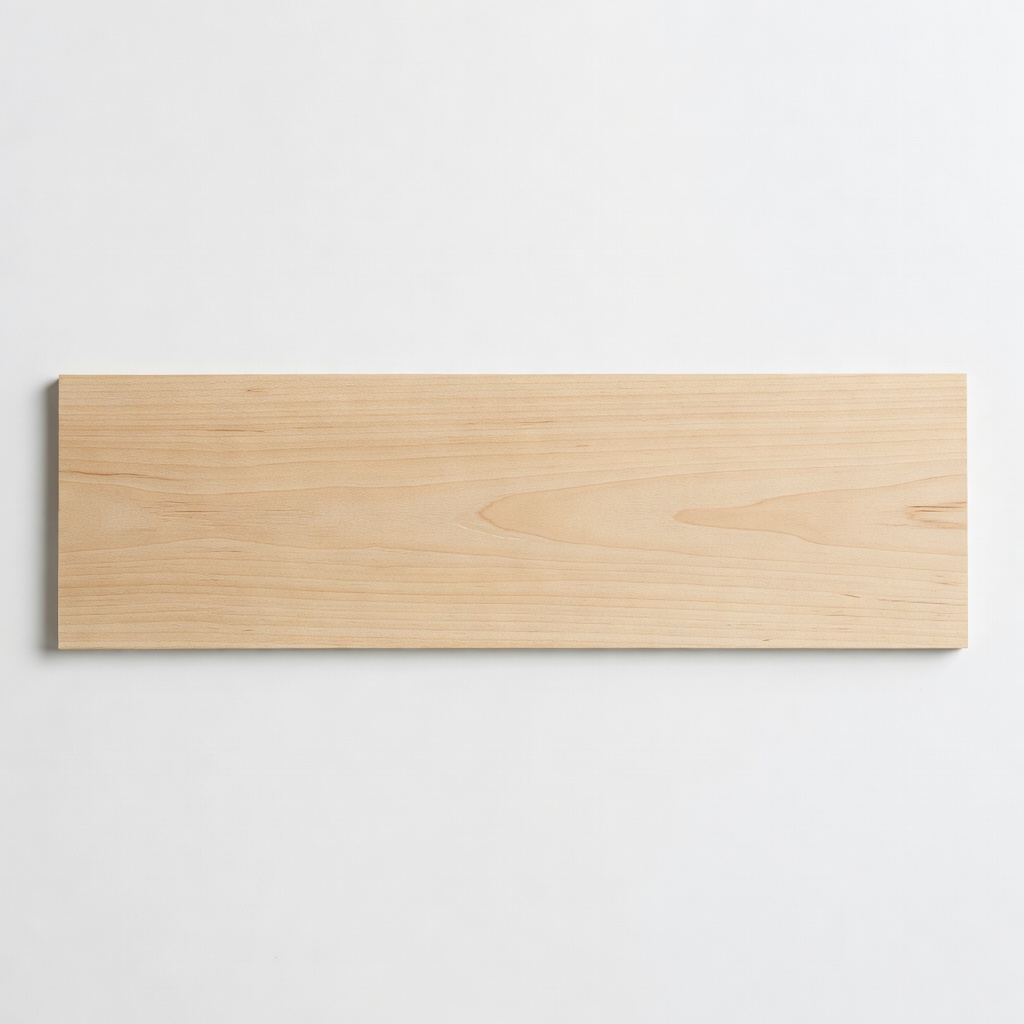
Primary material for base and prop; food-safe and stainable.
Midwest Products Basswood Sheet 1/4 x 12 x 24 inch Lightweight, smooth hardwood perfect for stands—easy to cut and finish.
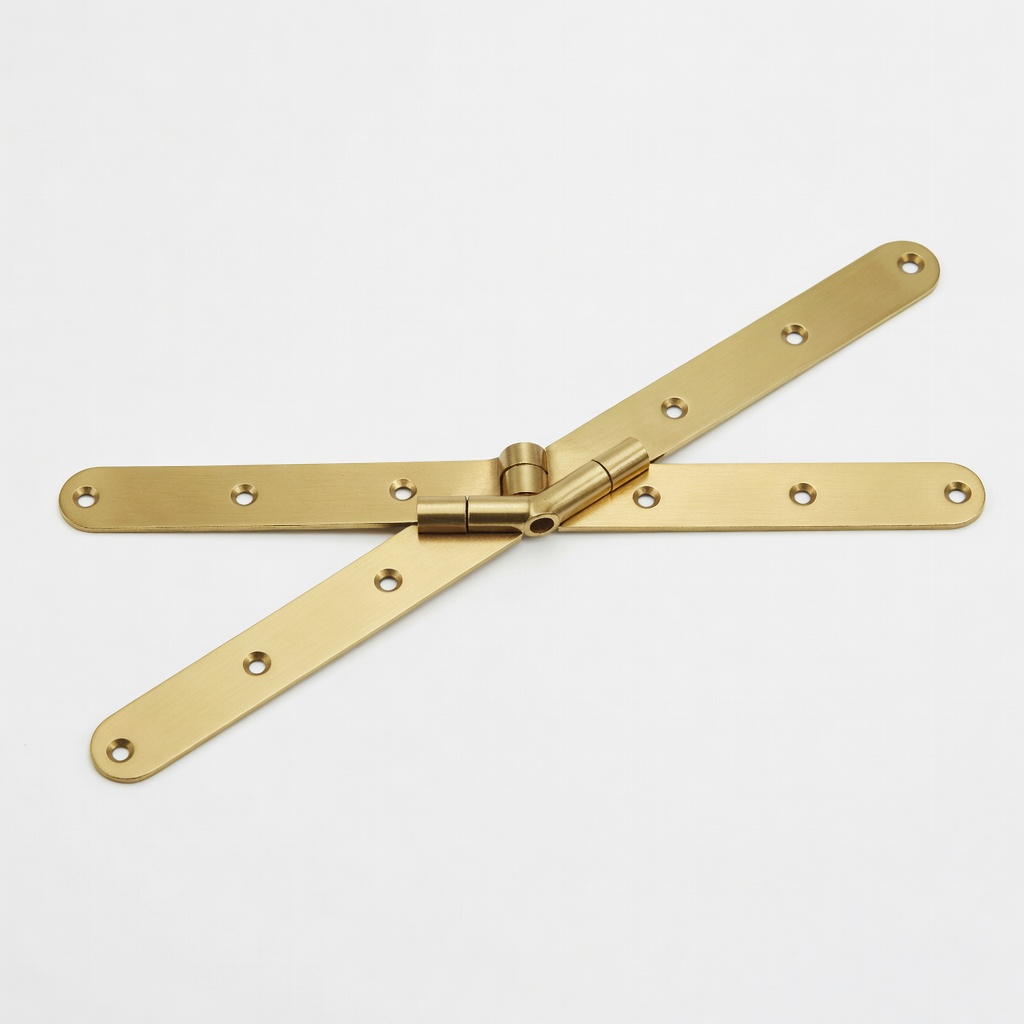
Core folding mechanism; includes screws for immediate use.
National Hardware N351-656 Piano Hinge 12 inch Brass Heavy-duty, rust-resistant for smooth folding under laptop weight.
Attach to underside for instant stability on any surface.
WEMATE 128 Pcs Furniture Rubber Feet Strong adhesive bumpers prevent slipping and protect desks.