
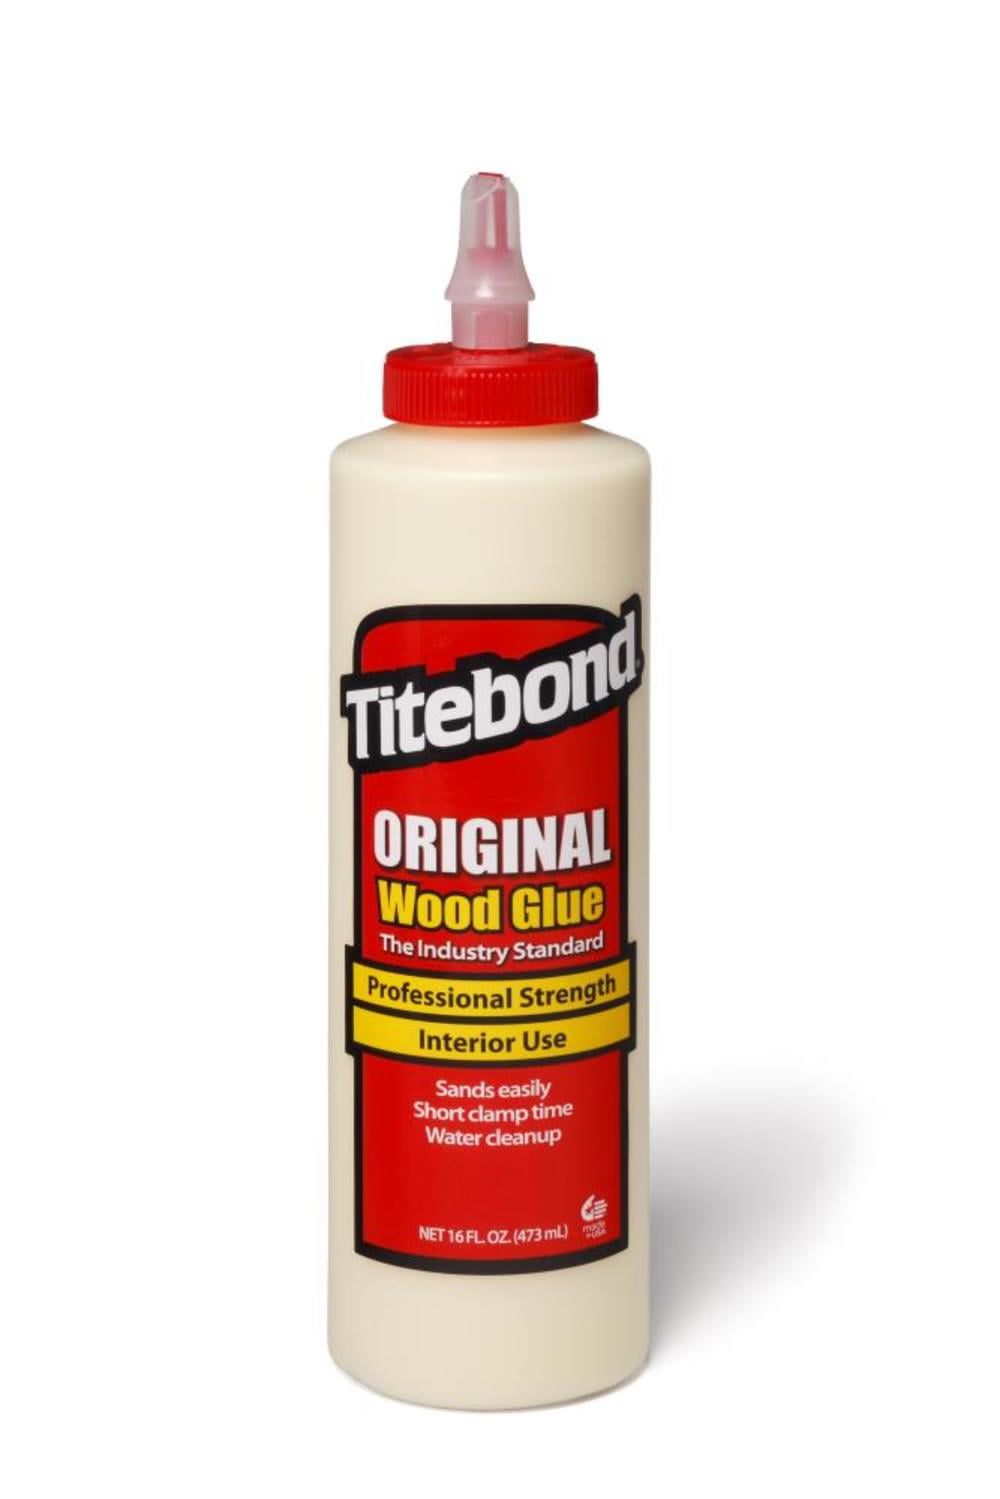
Titebond Original Wood Glue (16 oz)
Gluing braces, top/back, headplate, bridge, neck joint.
$10–15
Titebond Original Wood Glue (16 oz) Go-to glue for guitar building: long open time, strong bond, dries clear, and easy to clean with water.
Get the App
Better experience on mobile
Learn the complete process from unboxing to playing your first notes, with expert tips for beginners.
Building your own acoustic guitar from a kit is one of the most rewarding projects you can undertake. It combines woodworking, craftsmanship, and music into a single, tangible achievement. Whether you're a luthier-in-the-making or simply want a deeper connection to your instrument, a guitar kit provides all the pre-shaped parts you need, so you can focus on assembly, finishing, and setup rather than starting from scratch. This guide will walk you through every stage—from preparing the wood to stringing up your finished guitar—with clear instructions, time estimates, and professional advice to ensure your first build is a success. Expect to invest 40–60 hours over several weeks, but the result will be a custom instrument that sounds as good as it looks.
Estimated Time: 40–60 hours spread over 2–4 weeks Difficulty: intermediate
Carefully open your guitar kit and lay out all parts. Most kits include pre-cut and shaped top, back, sides, neck, fretboard, bridge, braces, linings, and binding. Verify that all pieces are present and free of cracks. Check the neck joint for a snug fit into the body. This is also the time to review the instructions that came with your kit. Familiarize yourself with the terminology: rosette, soundhole, kerfed lining, etc. Take photos of everything before you start—this helps later if you need to reference part orientation.
💡 Tips:
⚠️ Warnings:
If your kit comes with pre-bent sides, skip to the next step. Otherwise, you'll need to bend the sides using a bending iron or a hot pipe. Soak the wood for 10–15 minutes to make it pliable. Heat the bending iron to medium-high. Slowly work the side around the iron, moving from the waist to the bouts, applying gentle pressure. The wood should steam and curve without scorching. Bend both sides to match the mold shape. Let them cool and dry completely before proceeding.
💡 Tips:
⚠️ Warnings:
Most kits require the headplate to be glued onto the peghead. Apply a thin, even layer of Titebond to the headstock face and press the headplate into position. Clamp with cauls to distribute pressure evenly. Wipe away excess glue with a damp cloth. For the rosette (decoration around the soundhole), carefully inlay it before gluing the top braces. Use a rosette cutter or careful chisel work to create a channel, then glue and tape the rosette in place. Let both cure for at least 24 hours.
💡 Tips:
⚠️ Warnings:
The top and back panels need braces glued to their inside surfaces. Place the top (or back) in the radius dish or on a flat surface. Lay out the braces following the kit's pattern (often fan bracing for the top). Apply glue to the brace bottom and clamp using go-bars or spool clamps. Ensure the braces are perpendicular to the center seam. Use a right-angle clamp to hold vertical alignment. Let the glue cure overnight. Afterward, trim excess brace ends flush with the body shape.
💡 Tips:
⚠️ Warnings:
Kerfed linings are thin strips with slots that bend easily to follow the side contour. Apply glue along the inside edge of each side and press the lining into place. Use spring clamps or a lining clamp set to hold it against the side. The lining provides a gluing surface for the top and back. Check that the lining is flush with the side edge (not protruding). Repeat for both sides. Let dry completely.
💡 Tips:
⚠️ Warnings:
Now it's time to assemble the guitar body. Start by gluing the top to the sides. Apply glue to the kerfed lining and the top rim. Place the top onto the sides, aligning the centerline. Use a waist clamp or spool clamps around the perimeter. Ensure the body is in a flat mold or on a workboard to keep alignment. After 24 hours, remove clamps and repeat the process for the back panel. Check for gaps; fill with thin glue if necessary.
💡 Tips:
⚠️ Warnings:
After the body is closed, use a router with a laminate trim bit and bearing to cut channels for the top and back bindings. Set the depth to match the binding thickness. Run the router along the rim, keeping the bearing flush against the side. Test on scrap first. Once channels are cut, dry-fit the plastic or wood binding strips. Use a heat gun to soften plastic binding, then press it into the channel. Tape with binding tape in small sections, working around the curves. Let set for a few hours. Remove tape and carefully level with sandpaper.
💡 Tips:
⚠️ Warnings:
The neck usually comes pre-shaped but may need final carving. Use a spoke shave or rasps to shape the neck profile to your comfort (e.g., C or V shape). Sand smooth. For the neck joint, test fit the tenon into the body's mortise. It should be snug. Apply glue to the joint and clamp using a deep-throat clamp or use the fretboard as a lever. Check alignment with a straightedge: the neck must be centered and the fretboard plane should intersect the bridge area. Wipe excess glue and let cure.
💡 Tips:
⚠️ Warnings:
If your fretboard is not pre-slotted, you'll need to cut slots with a fret saw. Most kits come pre-slotted. Apply glue to the fretboard's back and press it onto the neck. Clamp with cauls from fret to fret, ensuring even pressure. Let dry. Then, press or hammer the frets into the slots. Use a fret press or a hammer with a brass hammer head. Cut off excess fret wire with flush cutters and file the ends rounded. Dress the fret tops with a leveling file and crown with a fret file.
💡 Tips:
⚠️ Warnings:
Position the bridge exactly where the scale length dictates (usually 25.4” from the nut). Use a straightedge from nut to saddle location. Mark the position and rout a shallow recess (if required). Glue the bridge with Titebond and clamp. After curing, drill pin holes. Install the bridge pins, saddle, and nut (pre-slotted or cut to height). String up loosely to check action. Now install tuning machines, pickguard (if desired), and strap buttons. Finish by stringing the guitar gently.
💡 Tips:
⚠️ Warnings:
Before finishing, sand the entire body and neck to 220 grit. Optionally apply pore filler (for more gloss). Finish options include spray lacquer, French polish (shellac), or tru-oil. Spray several thin coats of lacquer, sanding between each with 400 grit. For oil, wipe on thin coats and let cure. French polish requires practice but yields a beautiful shine. Allow final drying for at least a week before polishing. Level sand with 600–1200 grit and buff with rubbing compound for high gloss.
💡 Tips:
⚠️ Warnings:
Once finish is fully cured, adjust the truss rod (if any) for slight relief. File the nut slots to correct depth using nut files. Set the saddle height so action at the 12th fret is about 2–3 mm (0.079-0.118”). Use a ruler. Intonate by adjusting saddle compensation: check with tuner, adjust if sharp/flat. Finally, play open chords, check for fret buzz, and enjoy your handmade guitar!
💡 Tips:
⚠️ Warnings:
Problem: The sides cracked during bending.
Solution: Stop bending immediately. Apply wood glue into the crack and clamp with a caul. If the crack is severe, you may need to patch with a piece of similar wood. Let dry and continue bending more carefully at a lower temperature.
Problem: The neck joint is loose or misaligned.
Solution: If the tenon is loose, you can shim it with a piece of veneer. If alignment is off after gluing, you may need to saw the joint apart (use a thin saw) and re-glue with proper alignment. In extreme cases, a new neck block might be needed.
Problem: Fret buzz after setup.
Solution: Check the neck relief (use a feeler gauge). If too much relief, adjust truss rod (tighten). If not enough relief, loosen truss rod. Also check for high frets; a fret rocker will identify them, then file down.
Problem: Finish blushed (cloudy) due to humidity.
Solution: Stop spraying. Let the finish dry, then lightly sand with 400 grit and respray in a lower humidity environment (below 50%). You can also use a blush retarded additive in lacquer.
Go-to glue for guitar building: long open time, strong bond, dries clear, and easy to clean with water.
Best for: Gluing braces, top/back, headplate, bridge, neck joint.
Price Range: $10–15
Includes spool clamps, go-bars, and cam clamps designed specifically for instrument building. They apply even pressure without damaging wood.
Best for: Clamping braces, side linings, top and back during assembly.
Price Range: $50–100
Professional-grade bending iron with even heat distribution, essential for shaping sides without scorching.
Best for: Bending sides and bindings.
Price Range: $150–200
Provides consistent grit for sanding contours, and the sponges conform to curved surfaces like the guitar body.
Best for: Sanding the body, neck, and finish between coats.
Price Range: $10–15
Precision files for leveling and crowning frets, ensuring smooth playability and no buzz.
Best for: Fret dressing after installation.
Price Range: $60–80
Gluing braces, top/back, headplate, bridge, neck joint.
Titebond Original Wood Glue (16 oz) Go-to glue for guitar building: long open time, strong bond, dries clear, and easy to clean with water.
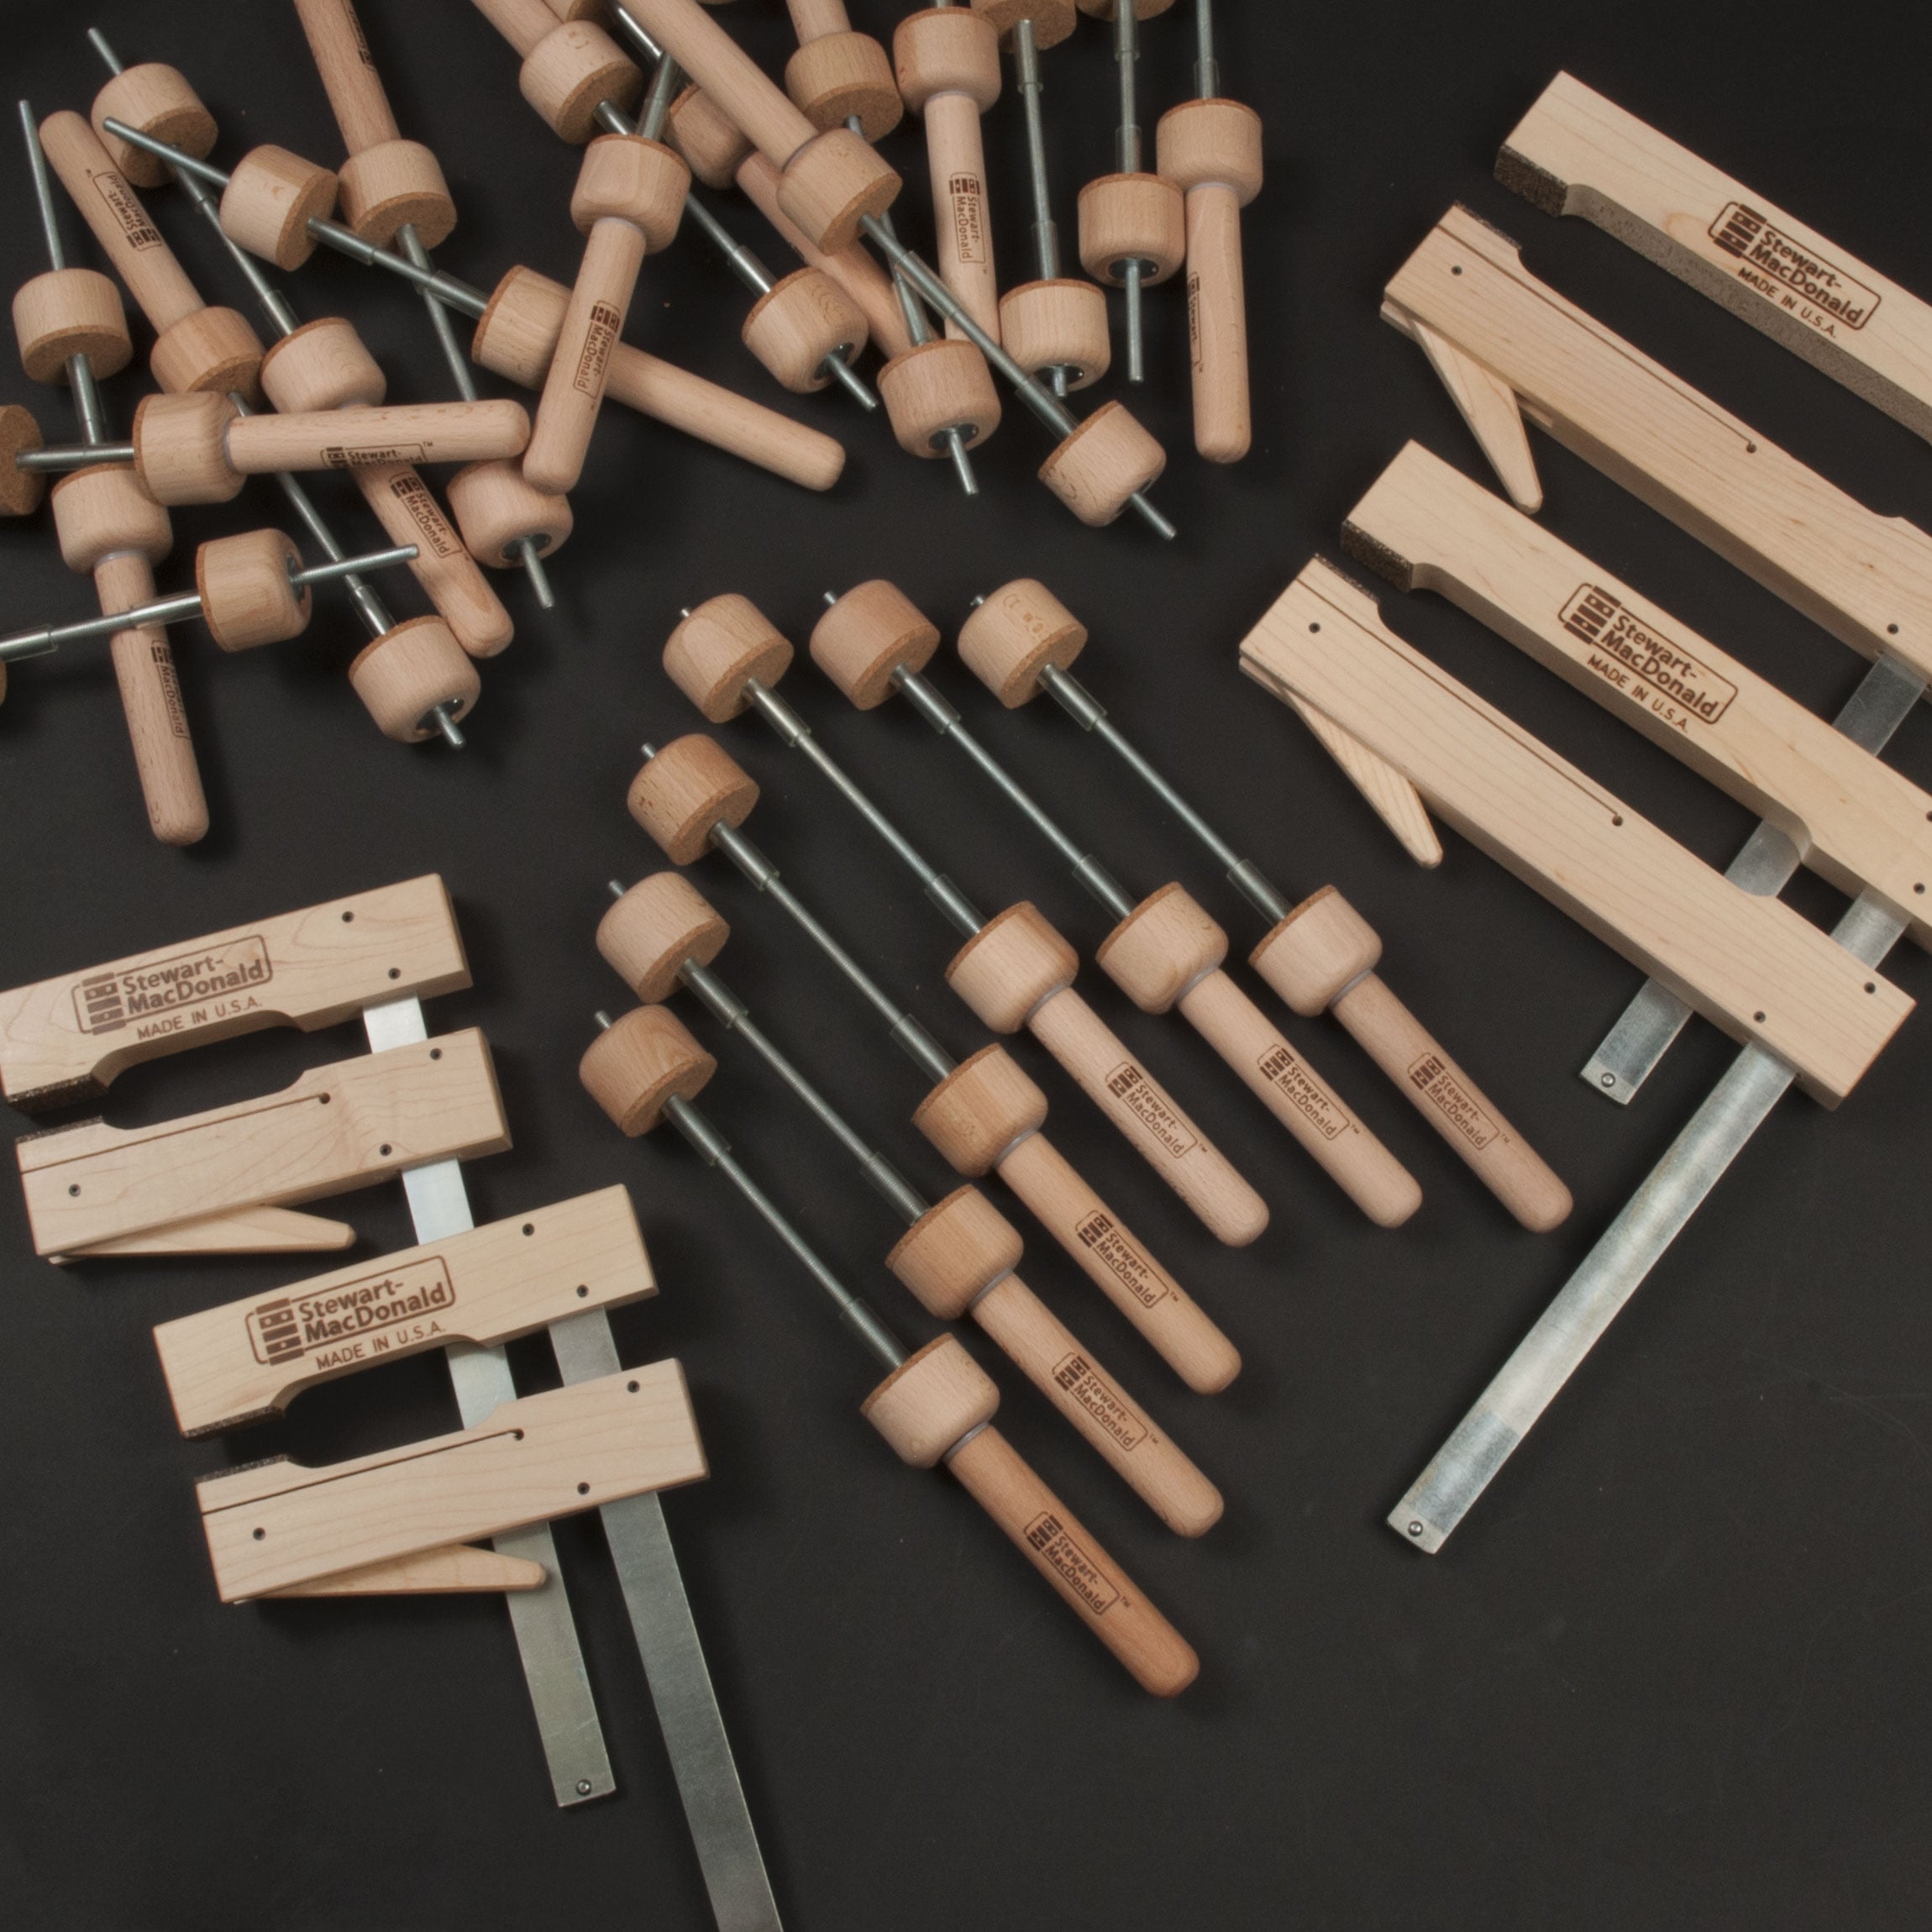
Clamping braces, side linings, top and back during assembly.
StewMac Guitar Clamp Set Includes spool clamps, go-bars, and cam clamps designed specifically for instrument building. They apply even pressure without damaging wood.
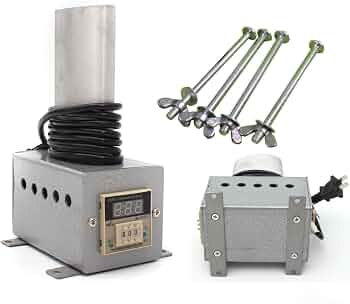
Bending sides and bindings.
LMI Guitar Bending Iron Professional-grade bending iron with even heat distribution, essential for shaping sides without scorching.
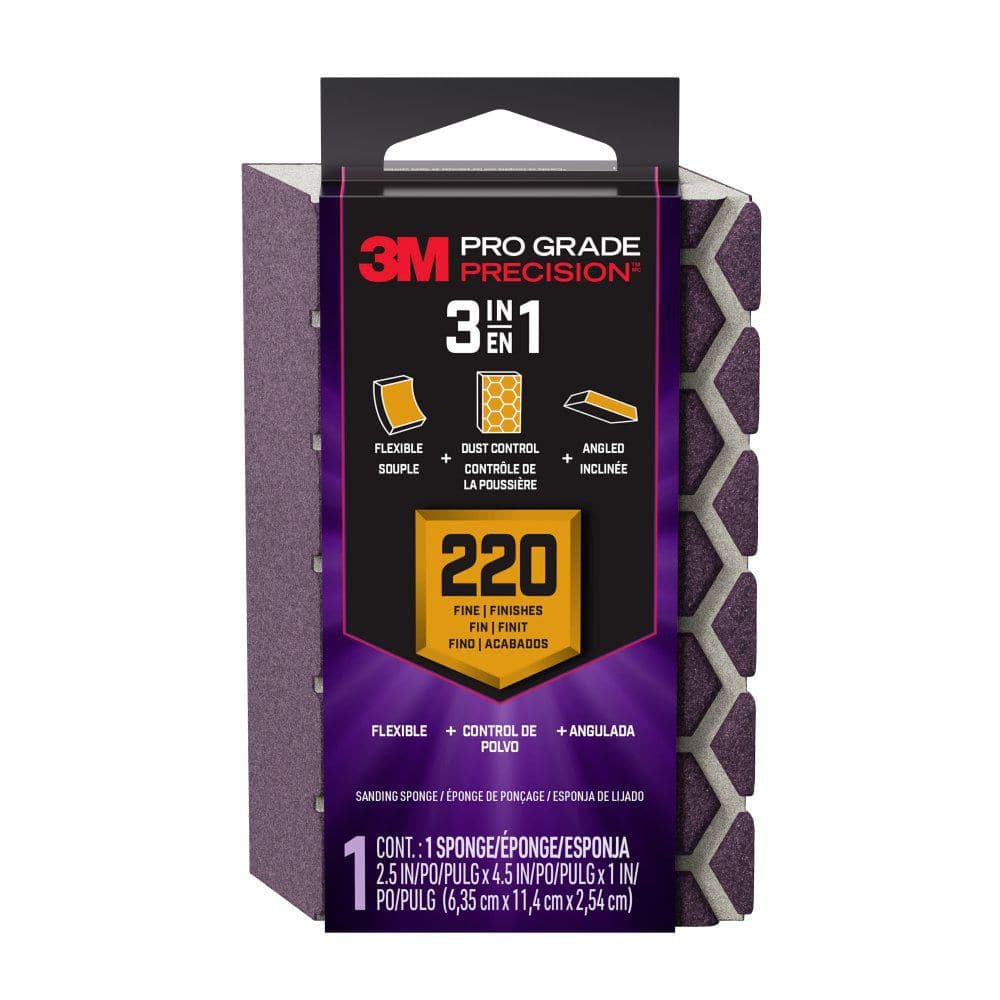
Sanding the body, neck, and finish between coats.
3M Sanding Sponge Assortment Provides consistent grit for sanding contours, and the sponges conform to curved surfaces like the guitar body.
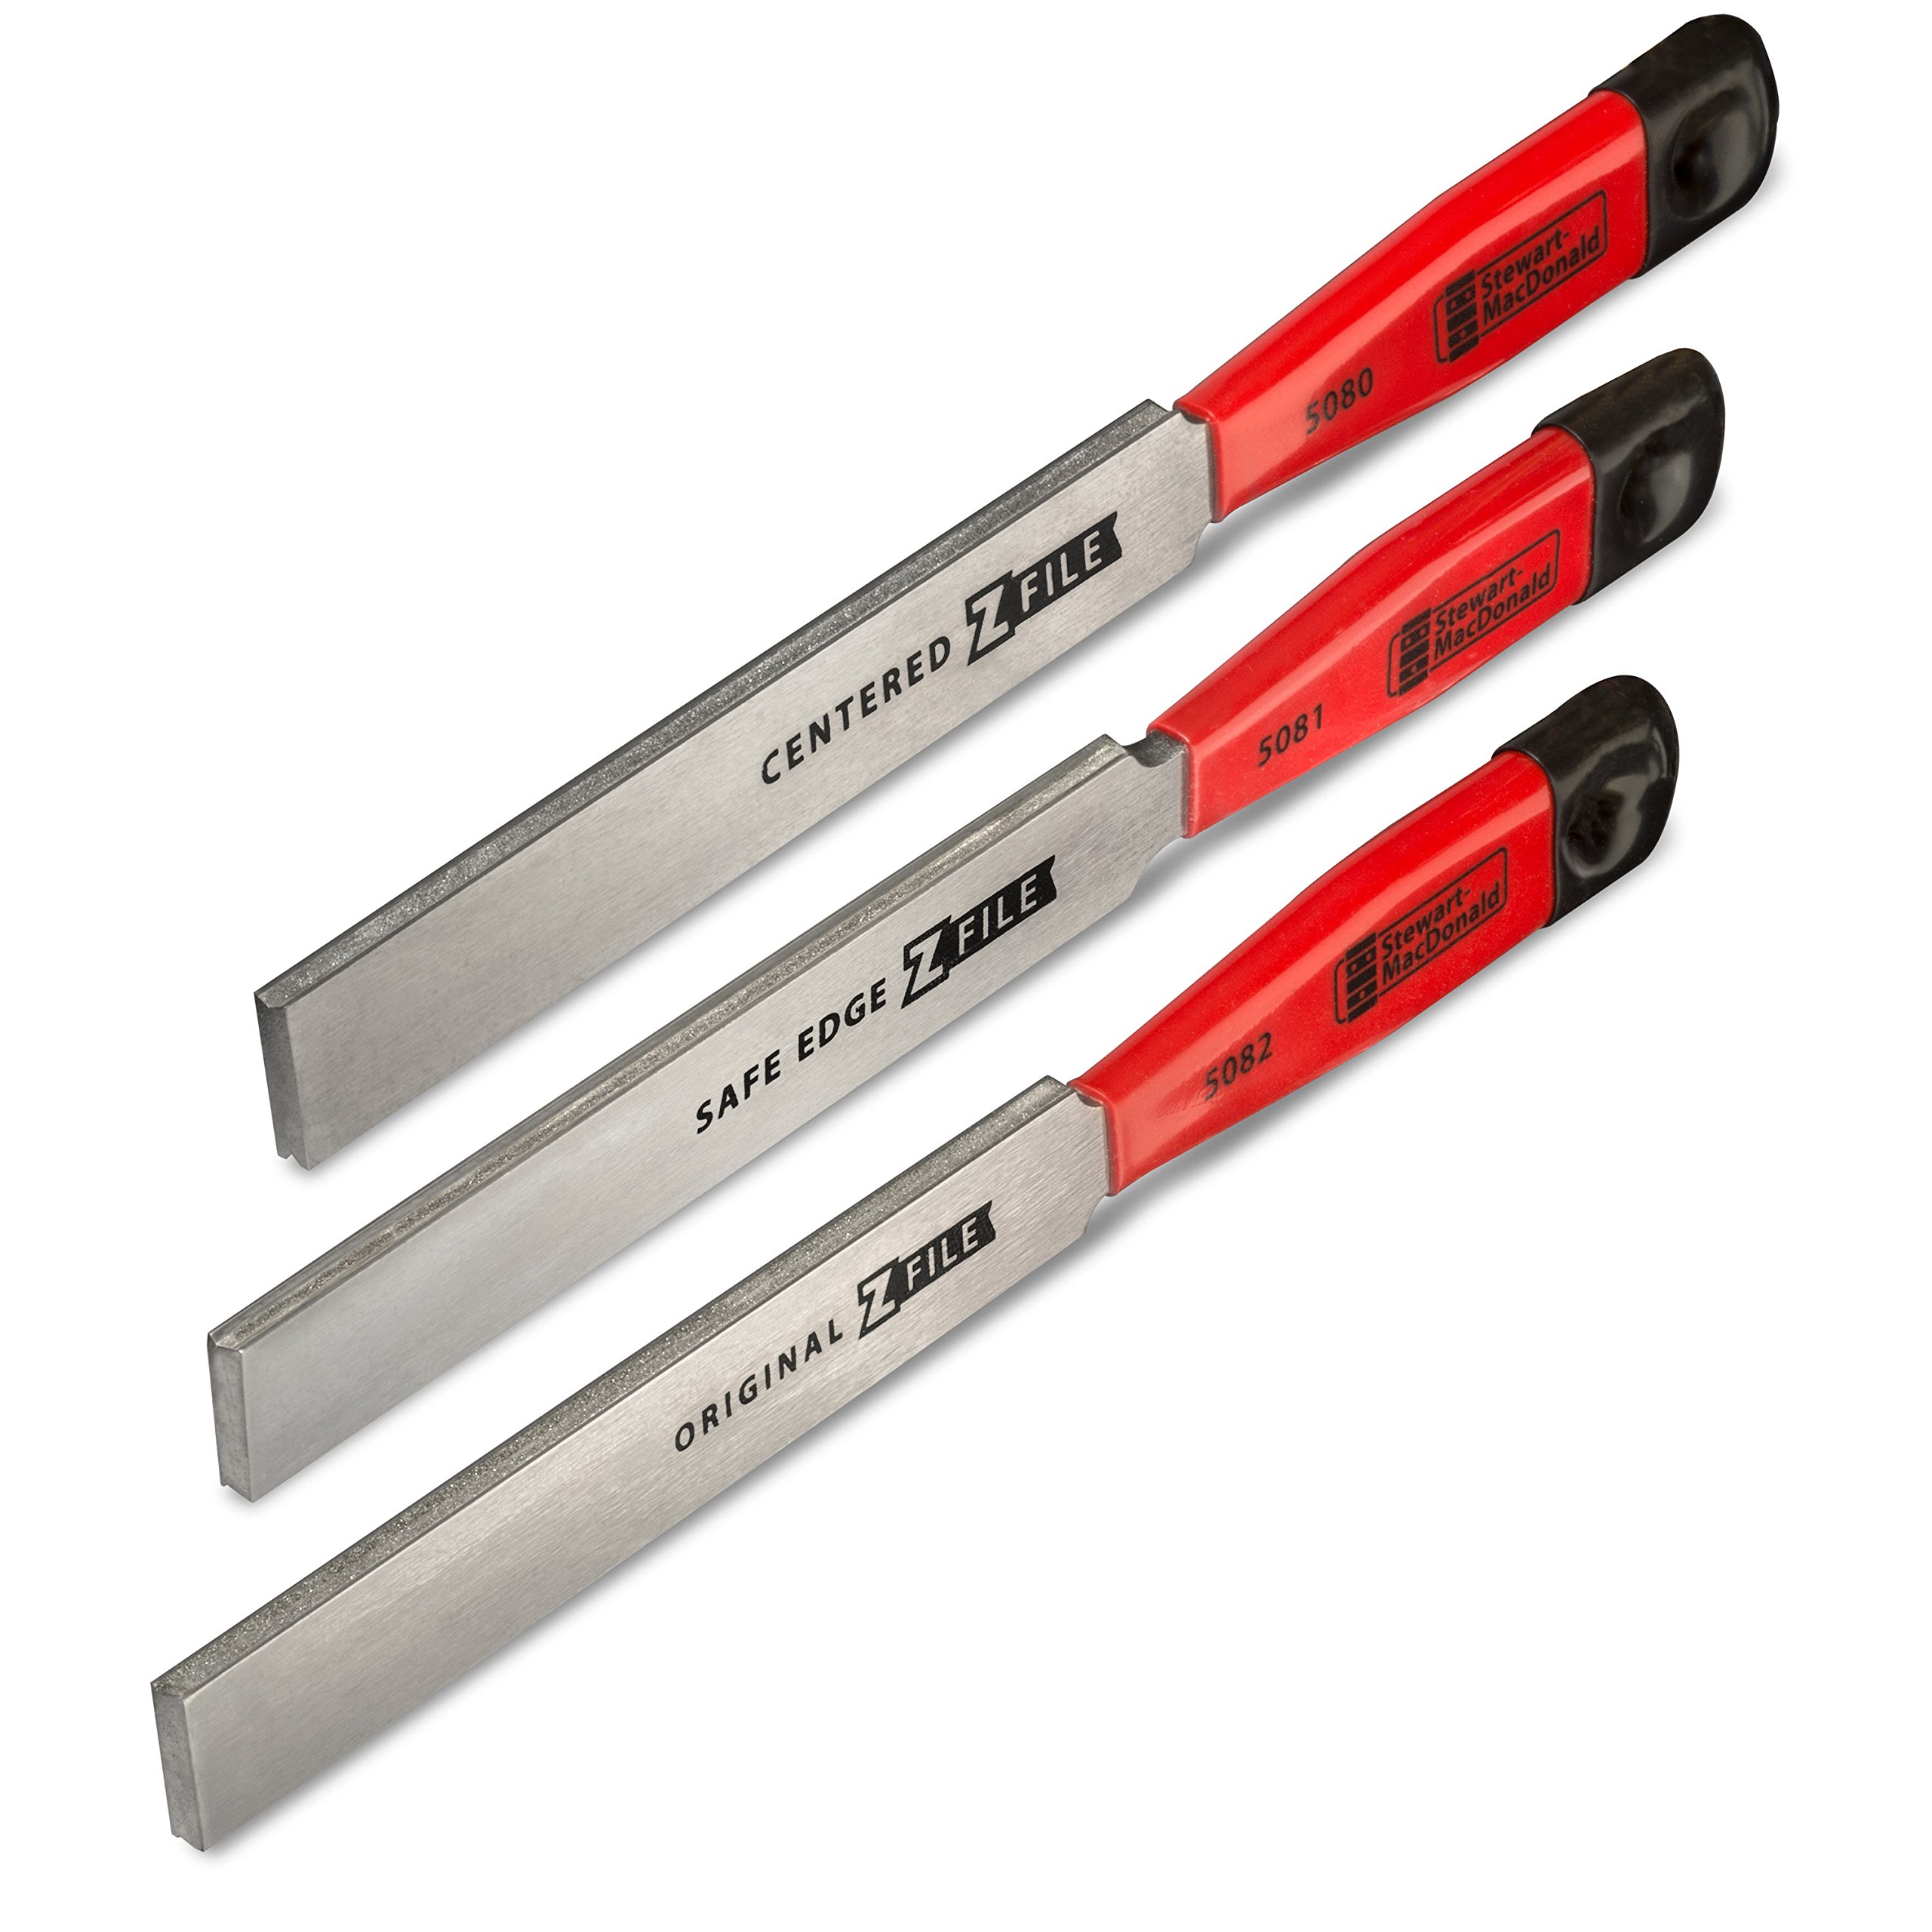
Fret dressing after installation.
StewMac Fret File Set Precision files for leveling and crowning frets, ensuring smooth playability and no buzz.