
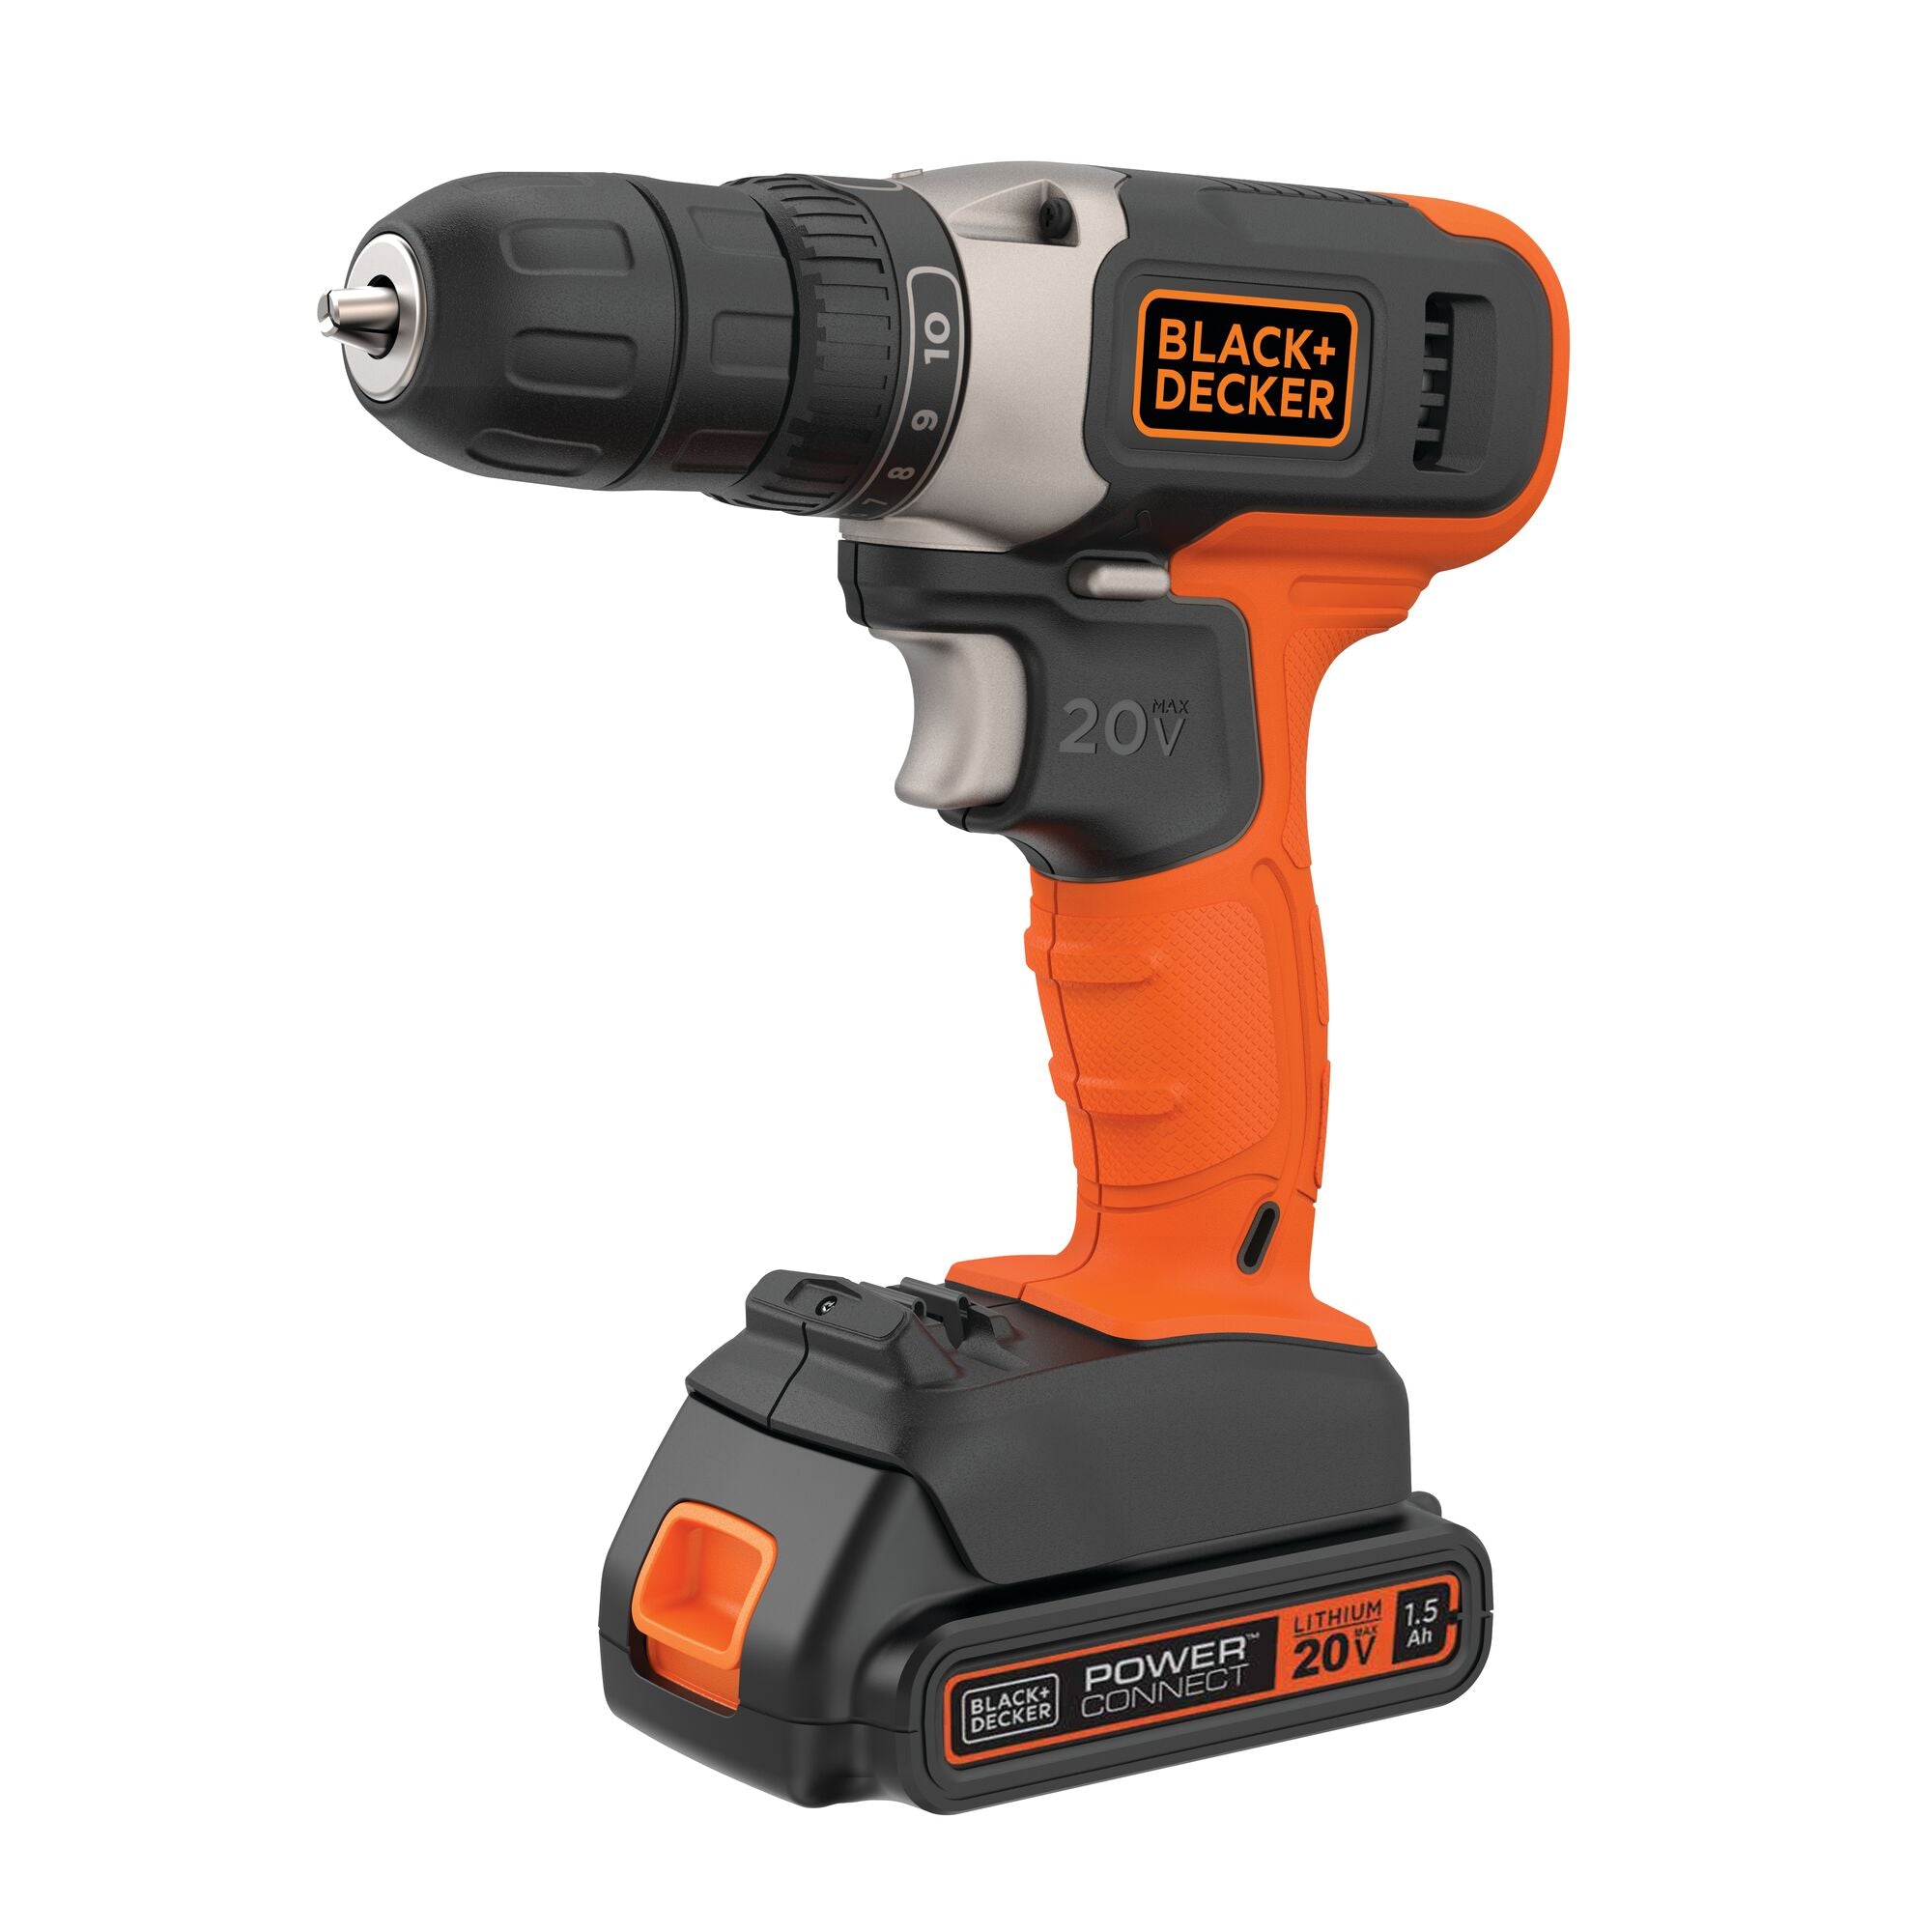
BLACK+DECKER 20V MAX Cordless Drill/Driver Kit
Drilling pilot holes and assembling frame/panels.
$49-$59
BLACK+DECKER 20V MAX Cordless Drill/Driver Kit Powerful yet lightweight for precise screwing in tight panel spaces.
Get the App
Better experience on mobile
Create custom, safe play centers that stimulate development and entertain toddlers for hours with advanced woodworking techniques.
Toddlers crave constant stimulation, but store-bought activity centers often lack customization or break quickly under rough play. Building your own allows tailoring to your child's interests, ensuring durability and safety while saving money long-term. As an advanced DIYer, you'll craft a multifunctional hub boosting motor skills, cognition, and creativity.
This guide walks you through designing and constructing a modular activity center with features like bead mazes, shape sorters, and sensory panels. Expect to invest 4-6 hours over a weekend, using power tools and precise cuts—perfect for those with woodworking experience.
By the end, you'll have a sturdy, toddler-proof center ready for play, complete with tips for expansions and maintenance.
Estimated Time: 4-6 hours (plus drying time) Difficulty: advanced
Start by measuring your space and toddler's height (aim for 18-24 inches tabletop). Sketch a modular design: a base frame with interchangeable panels for activities like spinning gears, bead mazes, shape sorters, and mirror panels. Use graph paper or free software like SketchUp for precise dimensions (e.g., 4x4 ft base, 3 ft tall).
Why it matters: A good plan prevents rework and ensures scalability—add panels later. Success looks like a blueprint with labeled parts, cut lists, and activity zones.
Pro tip: Incorporate Montessori principles: low shelves for independence, varied textures for sensory play.
💡 Tips:
⚠️ Warnings:
Mark and cut 2x4s into legs (4 pieces at 30 inches) and frame rails (8 pieces at 48 inches for 4x4 ft base). Use circular saw for straight cuts; clamp wood securely. Cut plywood into panels (4 sides at 48x30 inches, top at 48x48 inches).
Expect clean, square edges—measure twice, cut once. This forms the sturdy skeleton supporting 100+ lbs of toddler activity.
Sand rough edges immediately to avoid splinters.
💡 Tips:
⚠️ Warnings:
Apply wood glue to joints, then screw legs to frame rails using 2-1/2 inch screws (2 per joint). Pre-drill holes to prevent splitting. Attach plywood panels to frame with 1-1/4 inch screws every 6 inches.
Why: Glue+screws create rock-solid joints for rough play. Success: Level, wobble-free frame standing tall.
Add diagonal braces if needed for extra stability.
💡 Tips:
⚠️ Warnings:
Cutouts in plywood panels: jigsaw circles for shape sorter (various shapes), holes for abacus (dowels threaded with beads), slots for paracord mazes. Drill for knobs/gears. Attach hinges for flip-up panels.
This step sparks engagement—variety prevents boredom. Expect irregular edges initially; sand smooth.
Test fit: Ensure pieces move freely without pinching.
💡 Tips:
⚠️ Warnings:
Mount mirrors (acrylic safety type), fabric pockets for sorting, spinning wheels from cabinet hardware. String paracord mazes with large wooden beads. Add sound elements like bells if desired.
Why: Multi-sensory input aids development. Success: Interactive elements that click, spin, slide smoothly.
Secure everything with nuts/bolts—no loose parts.
💡 Tips:
⚠️ Warnings:
Sand entire structure progressively (120 to 220 grit) for silky finish. Apply 2-3 coats non-toxic paint, drying 2 hours between. Seal edges with polyurethane for easy wipe-down.
Prevents splinters, eases cleaning. Expect vibrant, professional look.
Ventilate area during painting.
💡 Tips:
⚠️ Warnings:
Attach foam mats to bottom/sides with adhesive. Install top panel with hinges for storage underneath. Add anti-tip straps for wall mounting.
Enhances safety, adds comfort. Final product: Fully functional center ready for play.
Inspect: No protrusions, stable on floor.
💡 Tips:
⚠️ Warnings:
Shake vigorously, supervise first plays. Check for pinch points, stability. Rotate activities weekly.
Ensures longevity. Success: Happy, engaged toddler exploring safely.
💡 Tips:
⚠️ Warnings:
Problem: Frame wobbles after assembly
Solution: Add diagonal 1x4 braces or shim legs; re-square frame.
Problem: Panels don't fit activities
Solution: Enlarge holes slightly with rasp; test with actual pieces before final attach.
Problem: Paint peels during cleaning
Solution: Apply sealant topcoat; use mild soap only.
Problem: Beads stick in maze
Solution: Wax cord lightly or use larger beads with smooth holes.
Powerful yet lightweight for precise screwing in tight panel spaces.
Best for: Drilling pilot holes and assembling frame/panels.
Price Range: $49-$59
Interlocking, waterproof padding perfect for safe, cushioned base.
Best for: Floor protection and soft landing under activity center.
Price Range: $25-$35
Non-toxic, washable colors ideal for toddler-safe finishing.
Best for: Painting panels in bright, engaging hues.
Price Range: $10-$15
Waterproof bond for durable joints under wet wipes/spills.
Best for: Securing frame and panels.
Price Range: $8-$12
Magnetic tiles for attachable building play on center sides.
Best for: Enhance entertainment with STEM play.
Price Range: $45-$55
Drilling pilot holes and assembling frame/panels.
BLACK+DECKER 20V MAX Cordless Drill/Driver Kit Powerful yet lightweight for precise screwing in tight panel spaces.
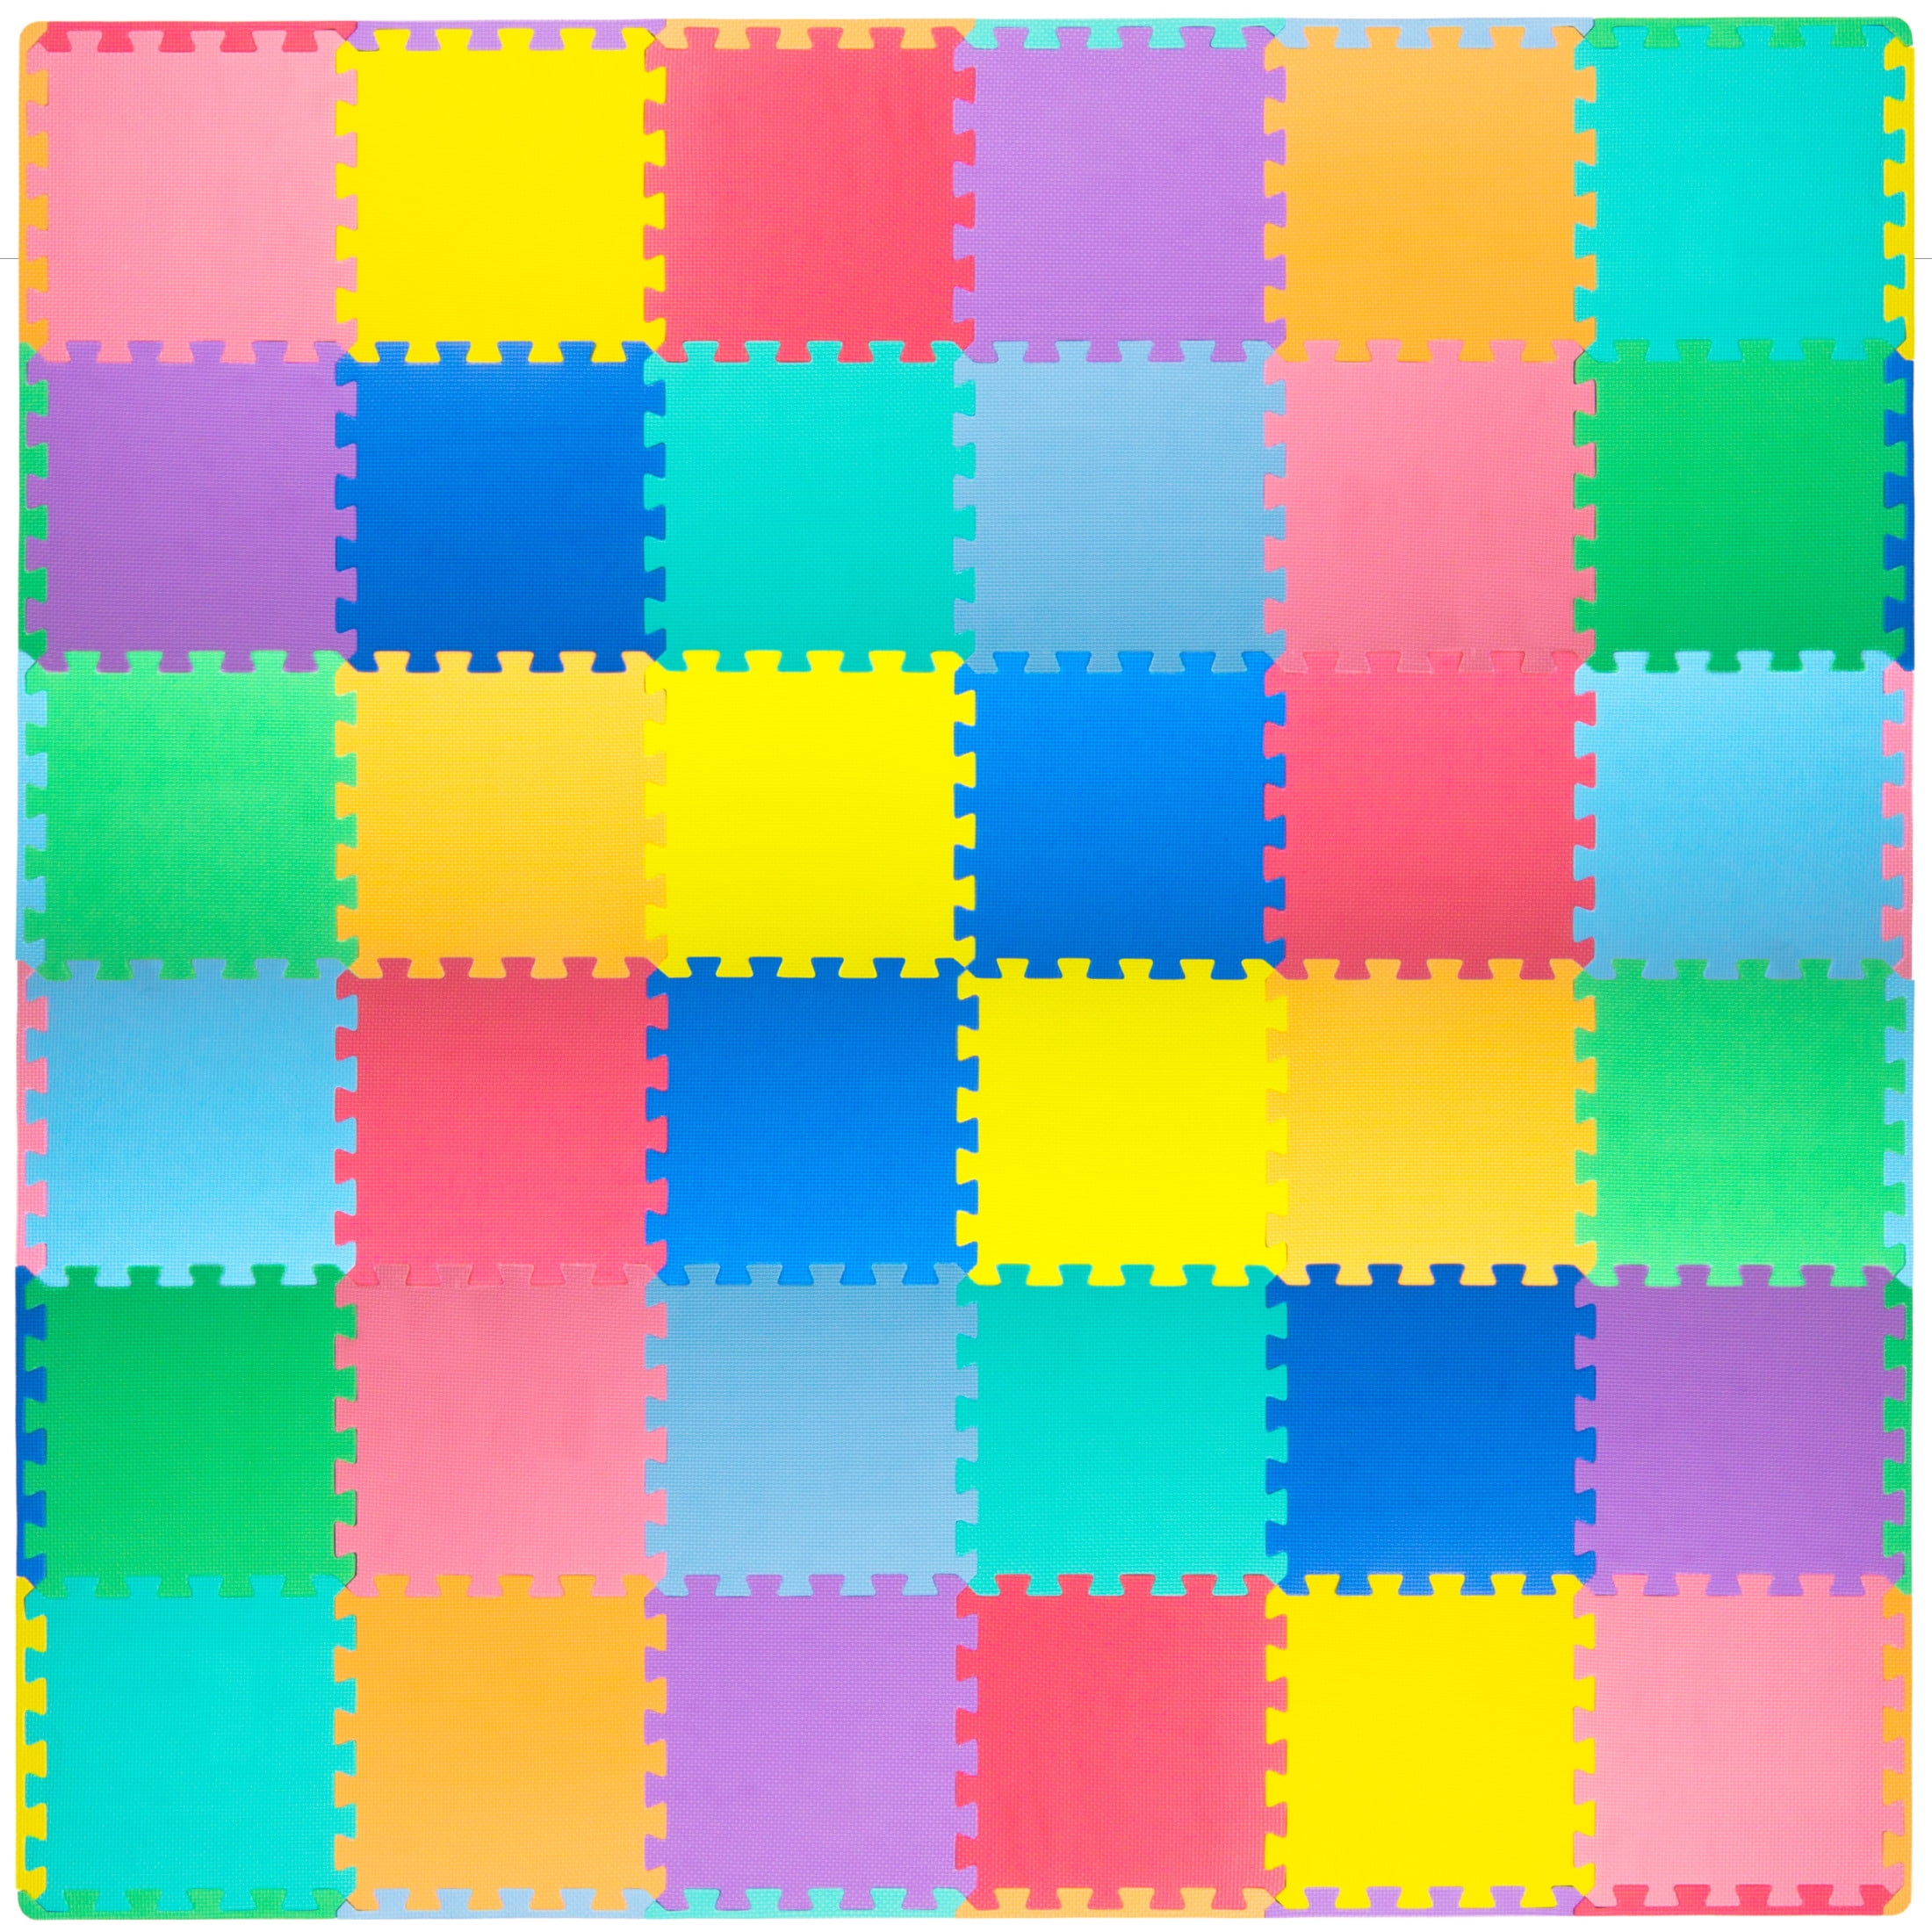
Floor protection and soft landing under activity center.
ProSource Kids Super Soft Non-Toxic Foam Play Mats Interlocking, waterproof padding perfect for safe, cushioned base.
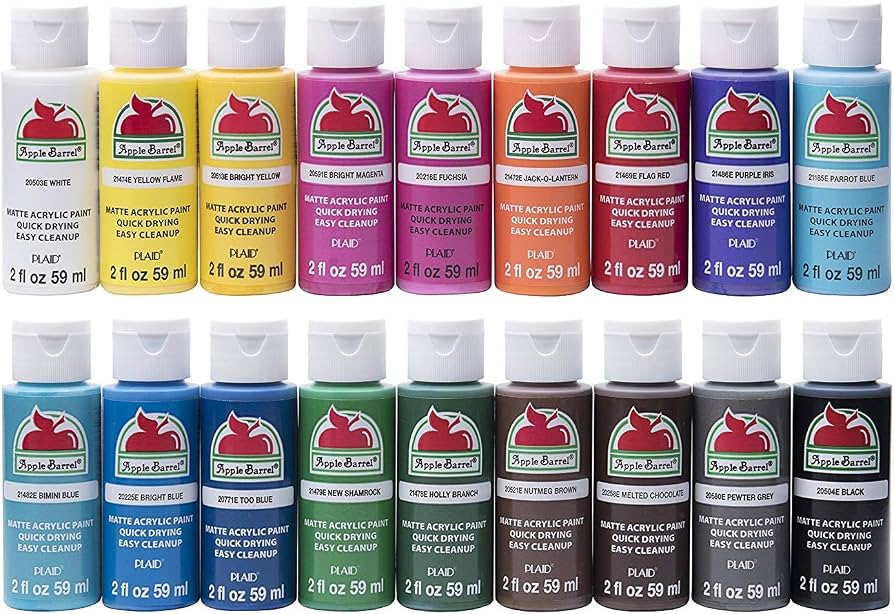
Painting panels in bright, engaging hues.
Apple Barrel Acrylic Paint Set, 18 Colors Non-toxic, washable colors ideal for toddler-safe finishing.
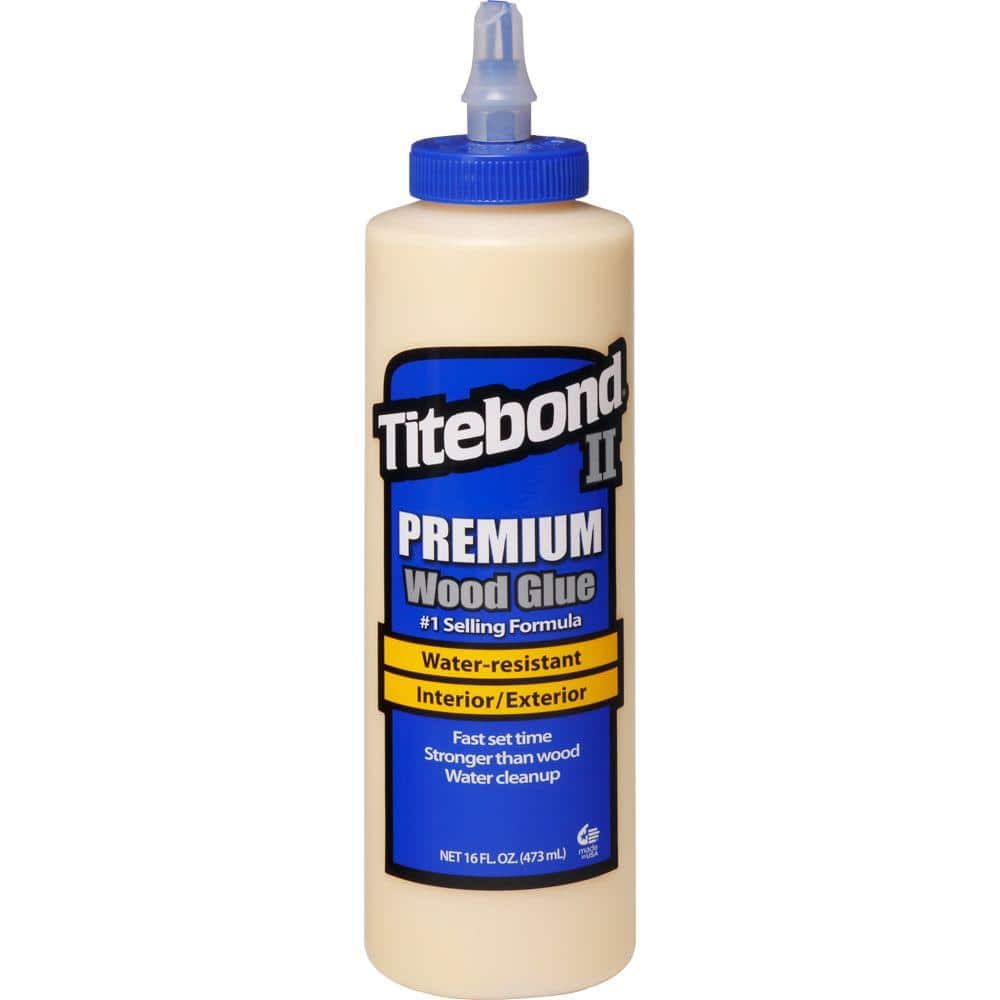
Securing frame and panels.
Titebond II Premium Wood Glue Waterproof bond for durable joints under wet wipes/spills.
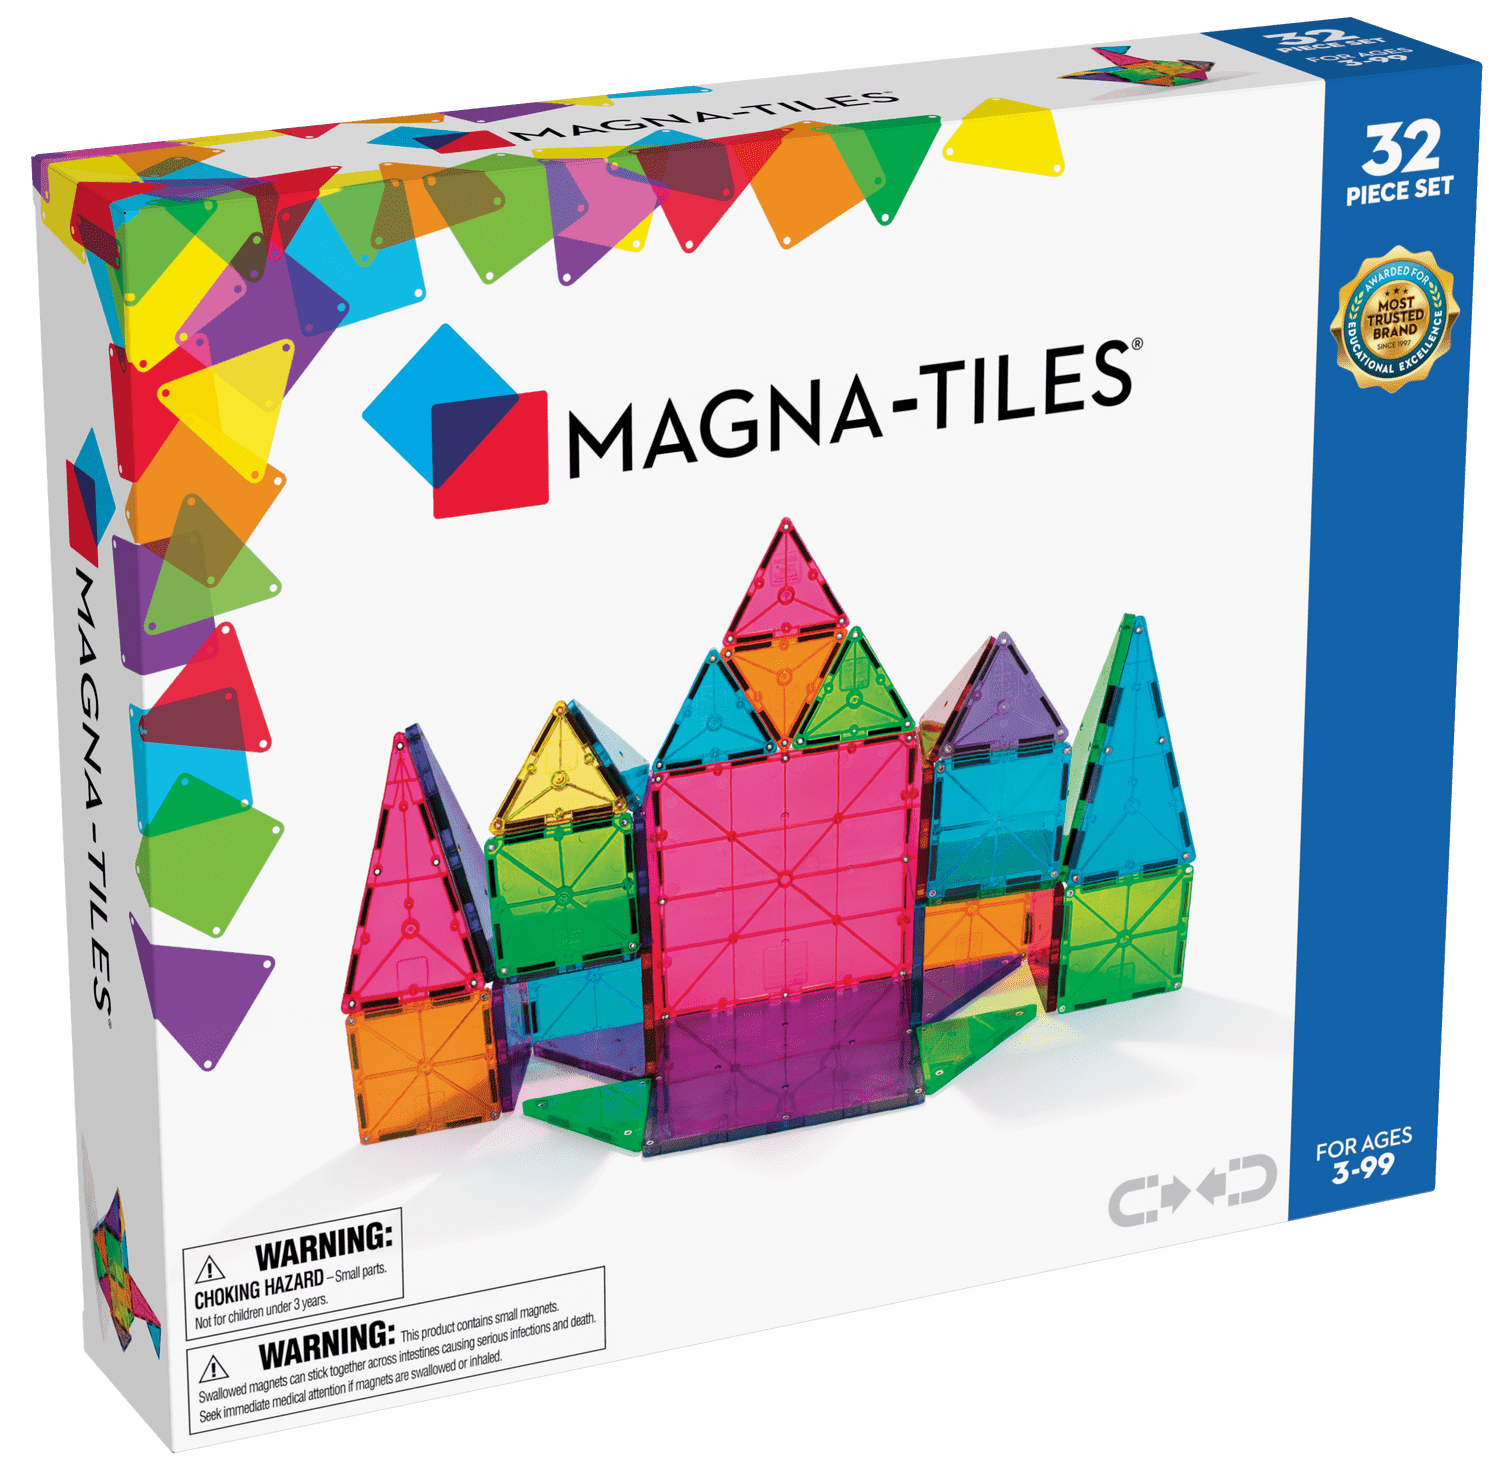
Enhance entertainment with STEM play.
Magna-Tiles 32-Piece Clear Colors Set Magnetic tiles for attachable building play on center sides.