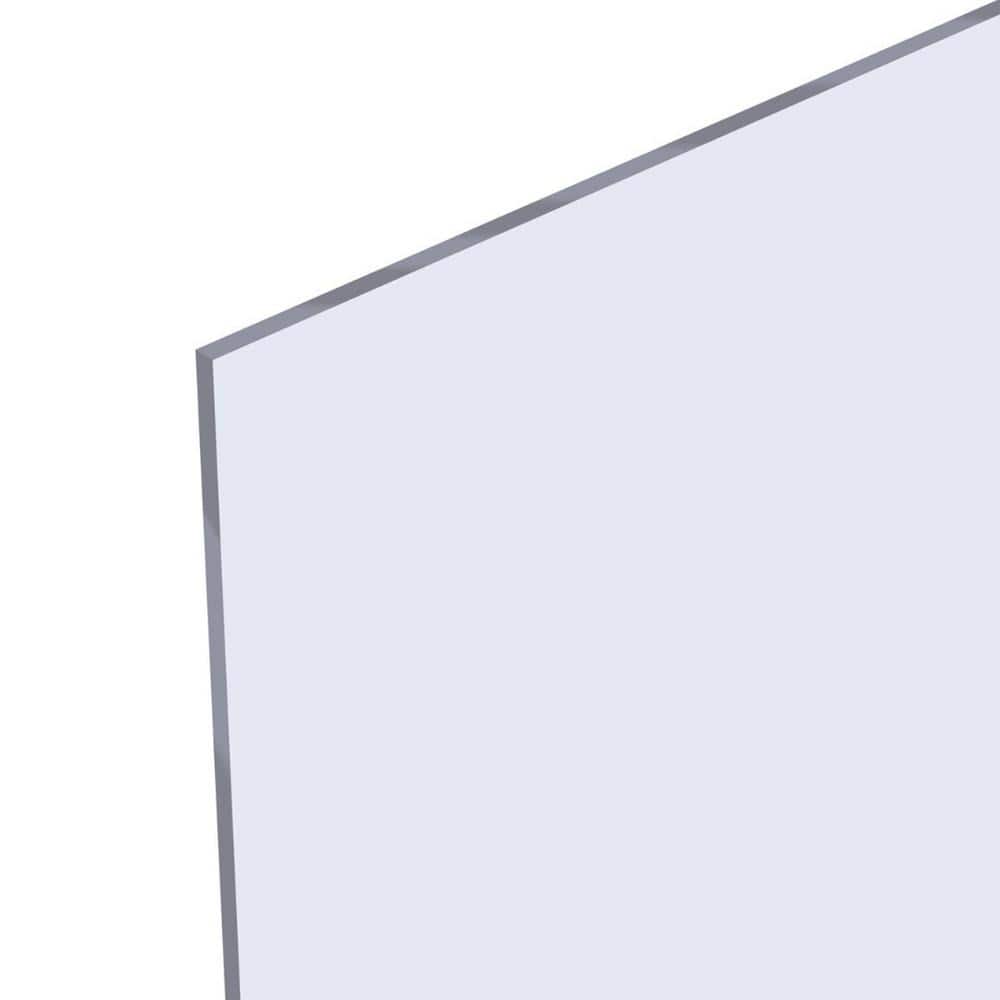
Optix 0.118" x 24" x 36" Clear Acrylic Sheet
Front, top, and back panels in any size case.
$25-$35
Optix 0.118" x 24" x 36" Clear Acrylic Sheet Perfect thickness for durability without weight; easy to cut and crystal clear for viewing figures.
Get the App
Better experience on mobile
Create custom, dust-proof display cases for your action figures using wood and acrylic in 2-4 hours with intermediate woodworking skills.
Action figure collectors often face the frustration of dust accumulation, limited space, and flimsy store-bought cases that don't fit unique collections. Building your own DIY display cases solves this by letting you customize size, lighting, and shelving to showcase your favorites perfectly.
In this guide, you'll learn to construct a sturdy, wall-mounted or freestanding case with a hinged door using affordable materials like pine wood and acrylic sheets. The process involves precise measuring, cutting, assembly, and sealing for a professional finish that protects your figures from dust and damage.
Expect 2-4 hours total, depending on your tools and case size. This intermediate project requires basic woodworking knowledge, but we'll cover every step with tips to ensure success.
Estimated Time: 2-4 hours Difficulty: intermediate
Start by deciding on dimensions based on your tallest action figure (add 2 inches clearance). Sketch a simple box frame: width x height x depth (e.g., 24"W x 18"H x 12"D). Use a measuring tape and pencil to mark cut lists for wood and acrylic.
Why it matters: Accurate measurements prevent costly re-cuts and ensure figures fit perfectly. Cut list example: 4 side pieces (12"D), 2 top/bottom (24"W x 12"D), 2 verticals (18"H), acrylic panels to match.
Expect a blueprint on paper; success looks like precise, labeled measurements.
💡 Tips:
⚠️ Warnings:
Set up your miter saw at 90 degrees and cut pine 1x2s to length per your plan. Use a miter box for straight edges if no power saw. Sand all cuts smooth immediately.
This forms the rigid backbone. Pine is lightweight yet strong for shelves up to 20 lbs. Expect clean, square ends; test-fit dry (no glue) for squareness using a carpenter's square.
💡 Tips:
⚠️ Warnings:
Score acrylic sheets deeply with a utility knife or acrylic cutter along straight edges, then snap over a table edge. For curves or thicker sheets, use a fine-tooth blade on a circular saw with masking tape to prevent chipping.
Acrylic provides crystal-clear viewing and UV protection. Panels should fit snugly (1/16" tolerance). Success: Smooth, chip-free edges ready for sealing.
💡 Tips:
⚠️ Warnings:
Apply wood glue to joints, clamp the base, sides, and verticals into a box shape. Pre-drill and screw for strength. Check for square every step.
This creates the structural box. Let glue dry 30 mins. Expect a solid, wobble-free frame.
💡 Tips:
Cut 1x2 supports to depth, glue and screw horizontally at desired heights (e.g., every 4-6"). Add shelf brackets if needed for heavy loads.
Custom shelving maximizes display space. Test with figures; adjust for pose variety.
💡 Tips:
⚠️ Warnings:
Apply silicone sealant around frame edges, press acrylic in place, and tape to secure while curing (24 hrs). Trim excess sealant.
This seals against dust. Back panel optional for wall-mount. Expect airtight fit.
💡 Tips:
Assemble door frame like sides, attach acrylic front with silicone. Pre-drill and screw hinges to one side. Add magnetic latch opposite.
Hinged access prevents knocking figures. Align for smooth open/close.
💡 Tips:
Sand entire case, apply polycrylic finish (2 coats). Mount via screws into studs or use brackets.
Protects wood and enhances shine. Hang securely; success: Pro-looking, dust-free display.
💡 Tips:
Problem: Frame not square
Solution: Disassemble, re-clamp with square, add diagonal braces if needed.
Problem: Acrylic cracks during cut
Solution: Switch to finer tool or professional cut; sand edges gently.
Problem: Door doesn't close flush
Solution: Shim hinges or plane frame edge; check for warp.
Problem: Dust still enters
Solution: Reapply silicone; test with smoke or flour.
Perfect thickness for durability without weight; easy to cut and crystal clear for viewing figures.
Best for: Front, top, and back panels in any size case.
Price Range: $25-$35
Precise cuts on wood with laser guide; ideal for clean frame joints.
Best for: Cutting lumber accurately for multiple cases.
Price Range: $200-$250
Strong bond for wood and acrylic; waterproof and clear finish.
Best for: Securing joints and panels without visible mess.
Price Range: $8-$12
Self-closing, durable for frequent access; soft close prevents slams.
Best for: Door mechanism on mid-sized cases.
Price Range: $10-$15
Quick-dry, non-yellowing coat protects wood from humidity and fingerprints.
Best for: Final finish for long-lasting beauty.
Price Range: $12-$18
Front, top, and back panels in any size case.
Optix 0.118" x 24" x 36" Clear Acrylic Sheet Perfect thickness for durability without weight; easy to cut and crystal clear for viewing figures.
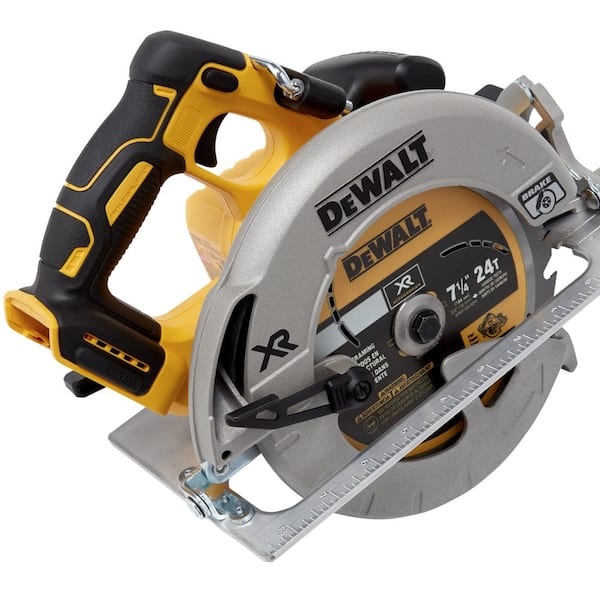
Cutting lumber accurately for multiple cases.
DEWALT DWS713 10-Inch Sliding Compound Miter Saw Precise cuts on wood with laser guide; ideal for clean frame joints.
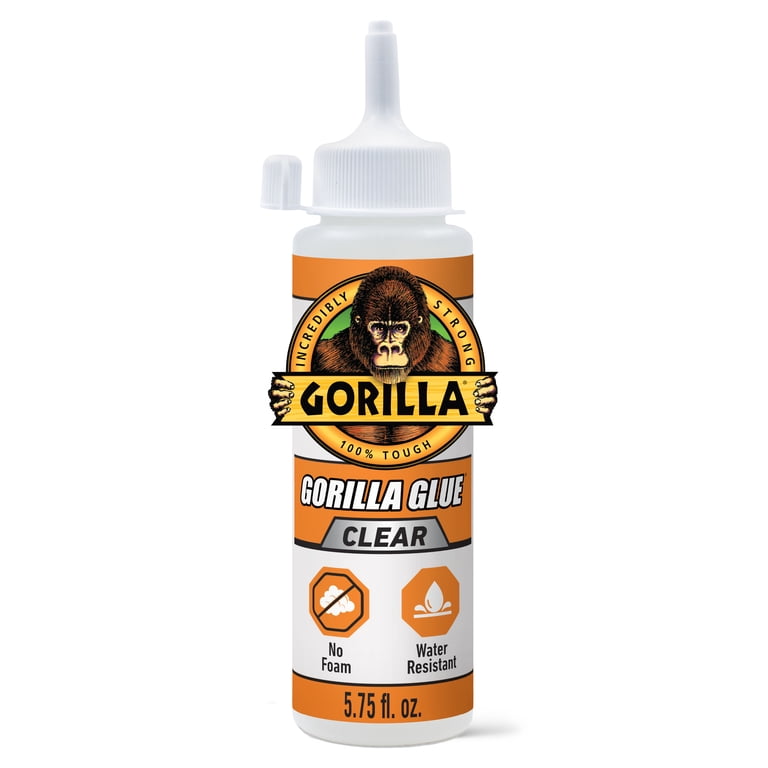
Securing joints and panels without visible mess.
Gorilla Clear Glue, 5.75 oz Strong bond for wood and acrylic; waterproof and clear finish.
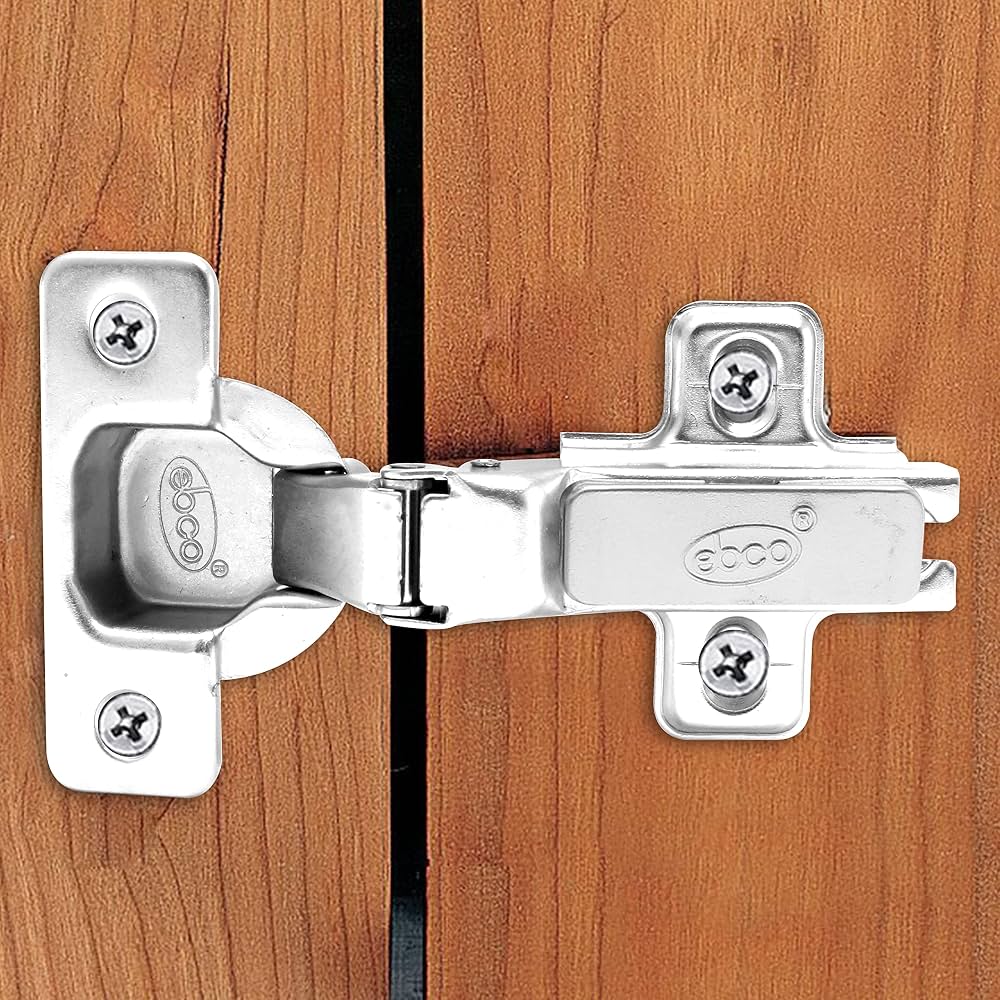
Door mechanism on mid-sized cases.
EBCO 3" Overlay Cabinet Hinges (Pair) Self-closing, durable for frequent access; soft close prevents slams.
Final finish for long-lasting beauty.
Minwax Polycrylic Protective Finish, Clear Satin Quick-dry, non-yellowing coat protects wood from humidity and fingerprints.