Action figure collectors often struggle to make their displays stand out beyond simple shelves. A custom diorama with an LED base transforms static poses into dynamic, cinematic scenes that glow with atmosphere—perfect for battles, cityscapes, or sci-fi worlds.
In this intermediate guide, you'll learn step-by-step how to plan, build, and light a diorama from scratch. We'll cover base construction, LED integration, terrain sculpting, and figure posing. Expect to invest 3-5 hours total, depending on complexity; basic crafting skills like cutting and gluing are assumed.
By the end, you'll have a lit-up masterpiece ready for your shelf, impressing fellow collectors and elevating your collection.
▸What You'll Need
- •Action figures (1-5, scaled to your scene)
- •Foam board or XPS foam (20x30 inch sheets, 1-2 sheets)
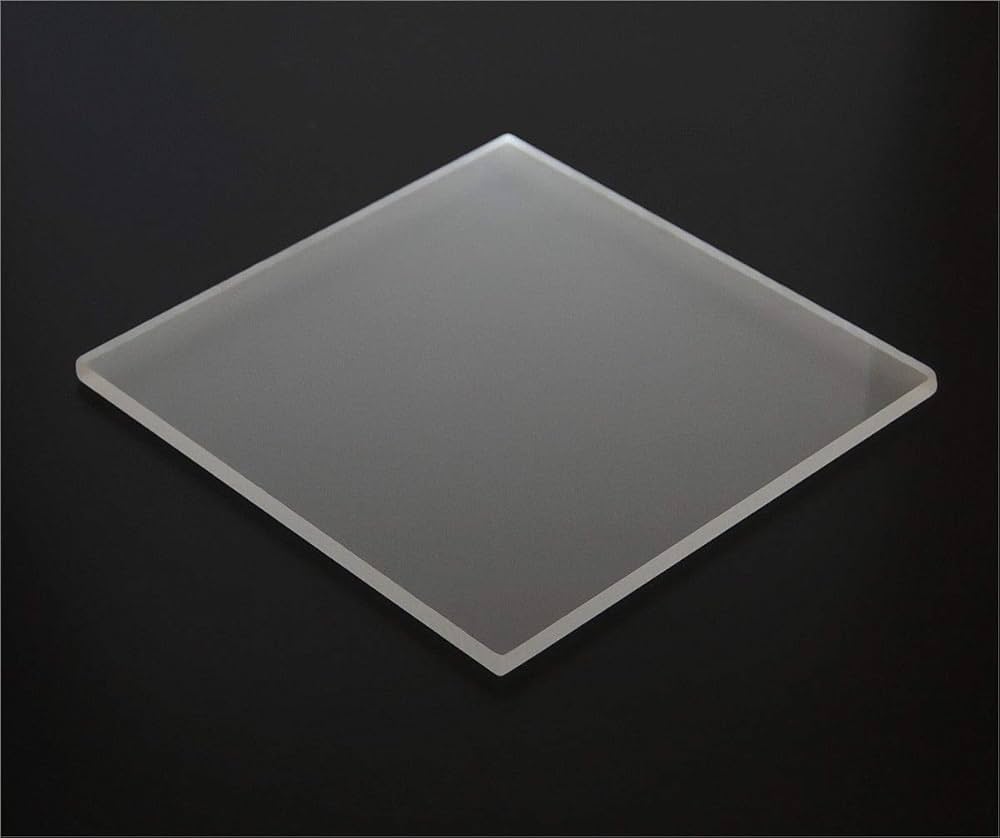
- •Acrylic sheet or plexiglass (12x12 inch, 1/8-inch thick for base)
- •LED strip lights (5-10 meters, RGB or white, waterproof optional)
- •Battery pack or 5V/12V power supply (matching LED voltage)
- •Hot glue gun and glue sticks
- •X-Acto knife or craft knife
- •Paints (acrylics: black, grays, earth tones) and brushes
- •Modeling clay or putty for terrain
- •Wire cutters, soldering iron (optional for custom wiring)
- •Sandpaper (various grits)
- •Clear coat spray (matte finish)
- •Optional: Diffuser material (frosted plastic), Arduino Nano for programmable LEDs
Estimated Time: 3-5 hours (plus drying time)
Difficulty: intermediate
▸Step-by-Step Instructions
Step 1: Plan Your Diorama Scene
Sketch your diorama on paper. Decide on theme (e.g., urban battle, alien landscape), scale (match figure height, usually 1:12 or 6-inch), dimensions (e.g., 12x12x8 inches), and LED placement for dramatic glow (under base, edges, or accents).
Why it matters: A solid plan prevents rework. Expect a rough layout showing figure positions, terrain heights, and light sources. Success: A blueprint that fits your shelf space.
Image description: Hand-drawn sketch of a city ruin diorama with Batman figure, LED glow zones marked in blue.
💡 Tips:
- •Reference real photos or movie stills for authenticity.
- •Scale everything to your tallest figure.
⚠️ Warnings:
- •Don't overcrowd—leave room for lighting cables.
Step 2: Cut and Assemble the Base
Trace and cut the acrylic sheet to size using an X-Acto knife and straightedge. Sand edges smooth. Build side walls from foam board (cut to height, glue to base edges with hot glue). Add internal supports if needed for stability.
This forms the lit platform. Expect a sturdy, light-proof box (paint inside black later). Success: A flat, level base that holds weight without wobbling.
Image description: Clear acrylic base with foam walls glued on, ready for next steps.
💡 Tips:
- •Score acrylic multiple times before snapping for clean cuts.
- •Use painter's tape to prevent glue squeeze-out.
⚠️ Warnings:
- •Avoid thin foam—it warps under glue heat.
Step 3: Install the LED Strips
Measure and cut LED strips to fit inside base perimeter (every 2-3 inches for even glow). Peel adhesive backing, stick to underside or edges. Connect to power source: solder wires if needed, or use connectors. Add diffuser sheet over LEDs for soft light.
Why: LEDs create the wow factor—white for realism, RGB for moods. Test now: Plug in, expect uniform glow without hotspots. Success: Lights work, no flickering.
Image description: LED strips adhered inside base, wires connected to battery pack.
💡 Tips:
- •Use frosted plastic as diffuser for pro diffusion.
- •Go waterproof for humid rooms.
⚠️ Warnings:
- •Match voltage—5V LEDs with 5V supply to avoid burnout.
Step 4: Build Terrain Layers
Layer foam scraps for hills/structures, carve with knife for details. Sculpt clay over for rocks/ground. Glue down securely. Create negative space for figure bases.
This adds depth. Expect textured, uneven surface ready for paint. Success: Terrain supports figures stably, hides LED edges.
Image description: Foam terrain sculpted on base, pre-paint.
💡 Tips:
- •Dry-fit figures first to ensure stable poses.
- •Use toothpicks for reinforcement.
⚠️ Warnings:
- •Over-gluing blocks light—keep base clear.
Step 5: Paint and Detail the Base
Prime with black gesso inside base for light block. Base-coat terrain (drybrush grays/browns for realism). Add weathering: washes, drybrushing highlights. Seal with matte clear coat.
Why: Paint unifies and ages elements. Expect battle-worn look. Success: Vibrant under LED light, no shiny spots.
Image description: Painted diorama base with detailed rocky terrain.
💡 Tips:
- •Drybrush technique: Light strokes for natural texture.
- •LEDs enhance glow-through effects on translucent paints.
⚠️ Warnings:
- •Test paints don't block light on diffuser areas.
Step 6: Pose and Customize Figures
Heat figures gently (hairdryer) to adjust joints for dynamic poses. Add custom details: sculpted accessories, paint chips. Drill/glue into terrain bases for permanence.
Matches scene. Expect heroic stances. Success: Figures look interactive, not stiff.
Image description: Action figures in dynamic poses, customized.
💡 Tips:
- •Reference pose guides online.
- •Silicone molds for repeating details.
⚠️ Warnings:
- •Don't overheat plastic—melts joints.
Step 7: Assemble the Full Diorama
Position figures on terrain, secure with glue/PBL (plastic cement). Route wires neatly, add battery holder discreetly. Test full lighting.
Brings it together. Expect immersive scene. Success: Stable, glowing display.
Image description: Complete diorama assembled with lights on.
💡 Tips:
- •Use Velcro for removable figures.
- •Hide batteries under lift-off panel.
⚠️ Warnings:
- •Ensure ventilation—LEDs get warm.
Step 8: Add Final Touches and Display
Dust lightly, add vignettes (debris, effects powder). Prop on shelf with risers if needed. Cycle LEDs for effects.
Polish: Expect shelf-ready art. Success: Collector envy.
Image description: Diorama on display shelf, lit dramatically.
💡 Tips:
- •Remote control LEDs for modes.
- •Photograph in low light to showcase.
⚠️ Warnings:
- •Avoid direct sun—fades paint.
▸Pro Tips
- •Start small: 8x8 inch base for first project.
- •Use programmable LEDs (Arduino) for pulsing battle effects.
- •Frosted vinyl wraps diffuse harsh spots perfectly.
- •Batch-paint multiples for efficiency.
- •Magnetic figure bases allow swapping scenes.
- •LED color temperature: 3000K warm for realism.
- •Test fit everything dry before gluing.
▸Common Mistakes to Avoid
- •Skipping planning—leads to unstable or mismatched scales; always sketch first.
- •Poor LED wiring—causes shorts; double-check polarity.
- •Overloading base with heavy terrain—use supports to prevent sagging.
- •Ignoring heat: Glue/LEDs melt foam; work in layers.
- •Rushing paint—chipping occurs; seal everything.
▸Troubleshooting
Problem: LEDs flicker or won't light
Solution: Check connections, battery charge, voltage match. Resolder loose joints.
Problem: Base warps or unstable
Solution: Reinforce with basswood strips inside. Ensure even glue application.
Problem: Light too harsh/hotspots
Solution: Add thicker diffuser layer. Reposition strips evenly.
Problem: Figures won't stay posed
Solution: Pin with wire to bases. Use figure stands temporarily.
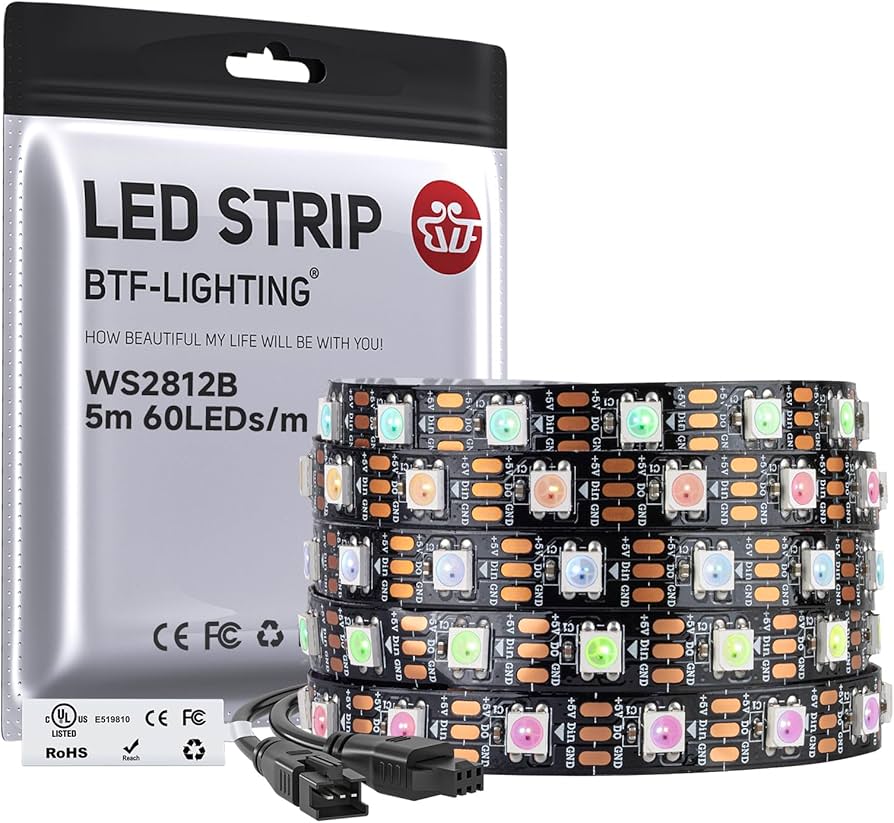
BTF-Lighting WS2812B Addressable LED Strip (5M)
Individually addressable for custom glow effects like explosions or scans, perfect for dynamic dioramas.
Best for: Edge/base lighting in sci-fi or battle scenes.
Price Range: $15.99
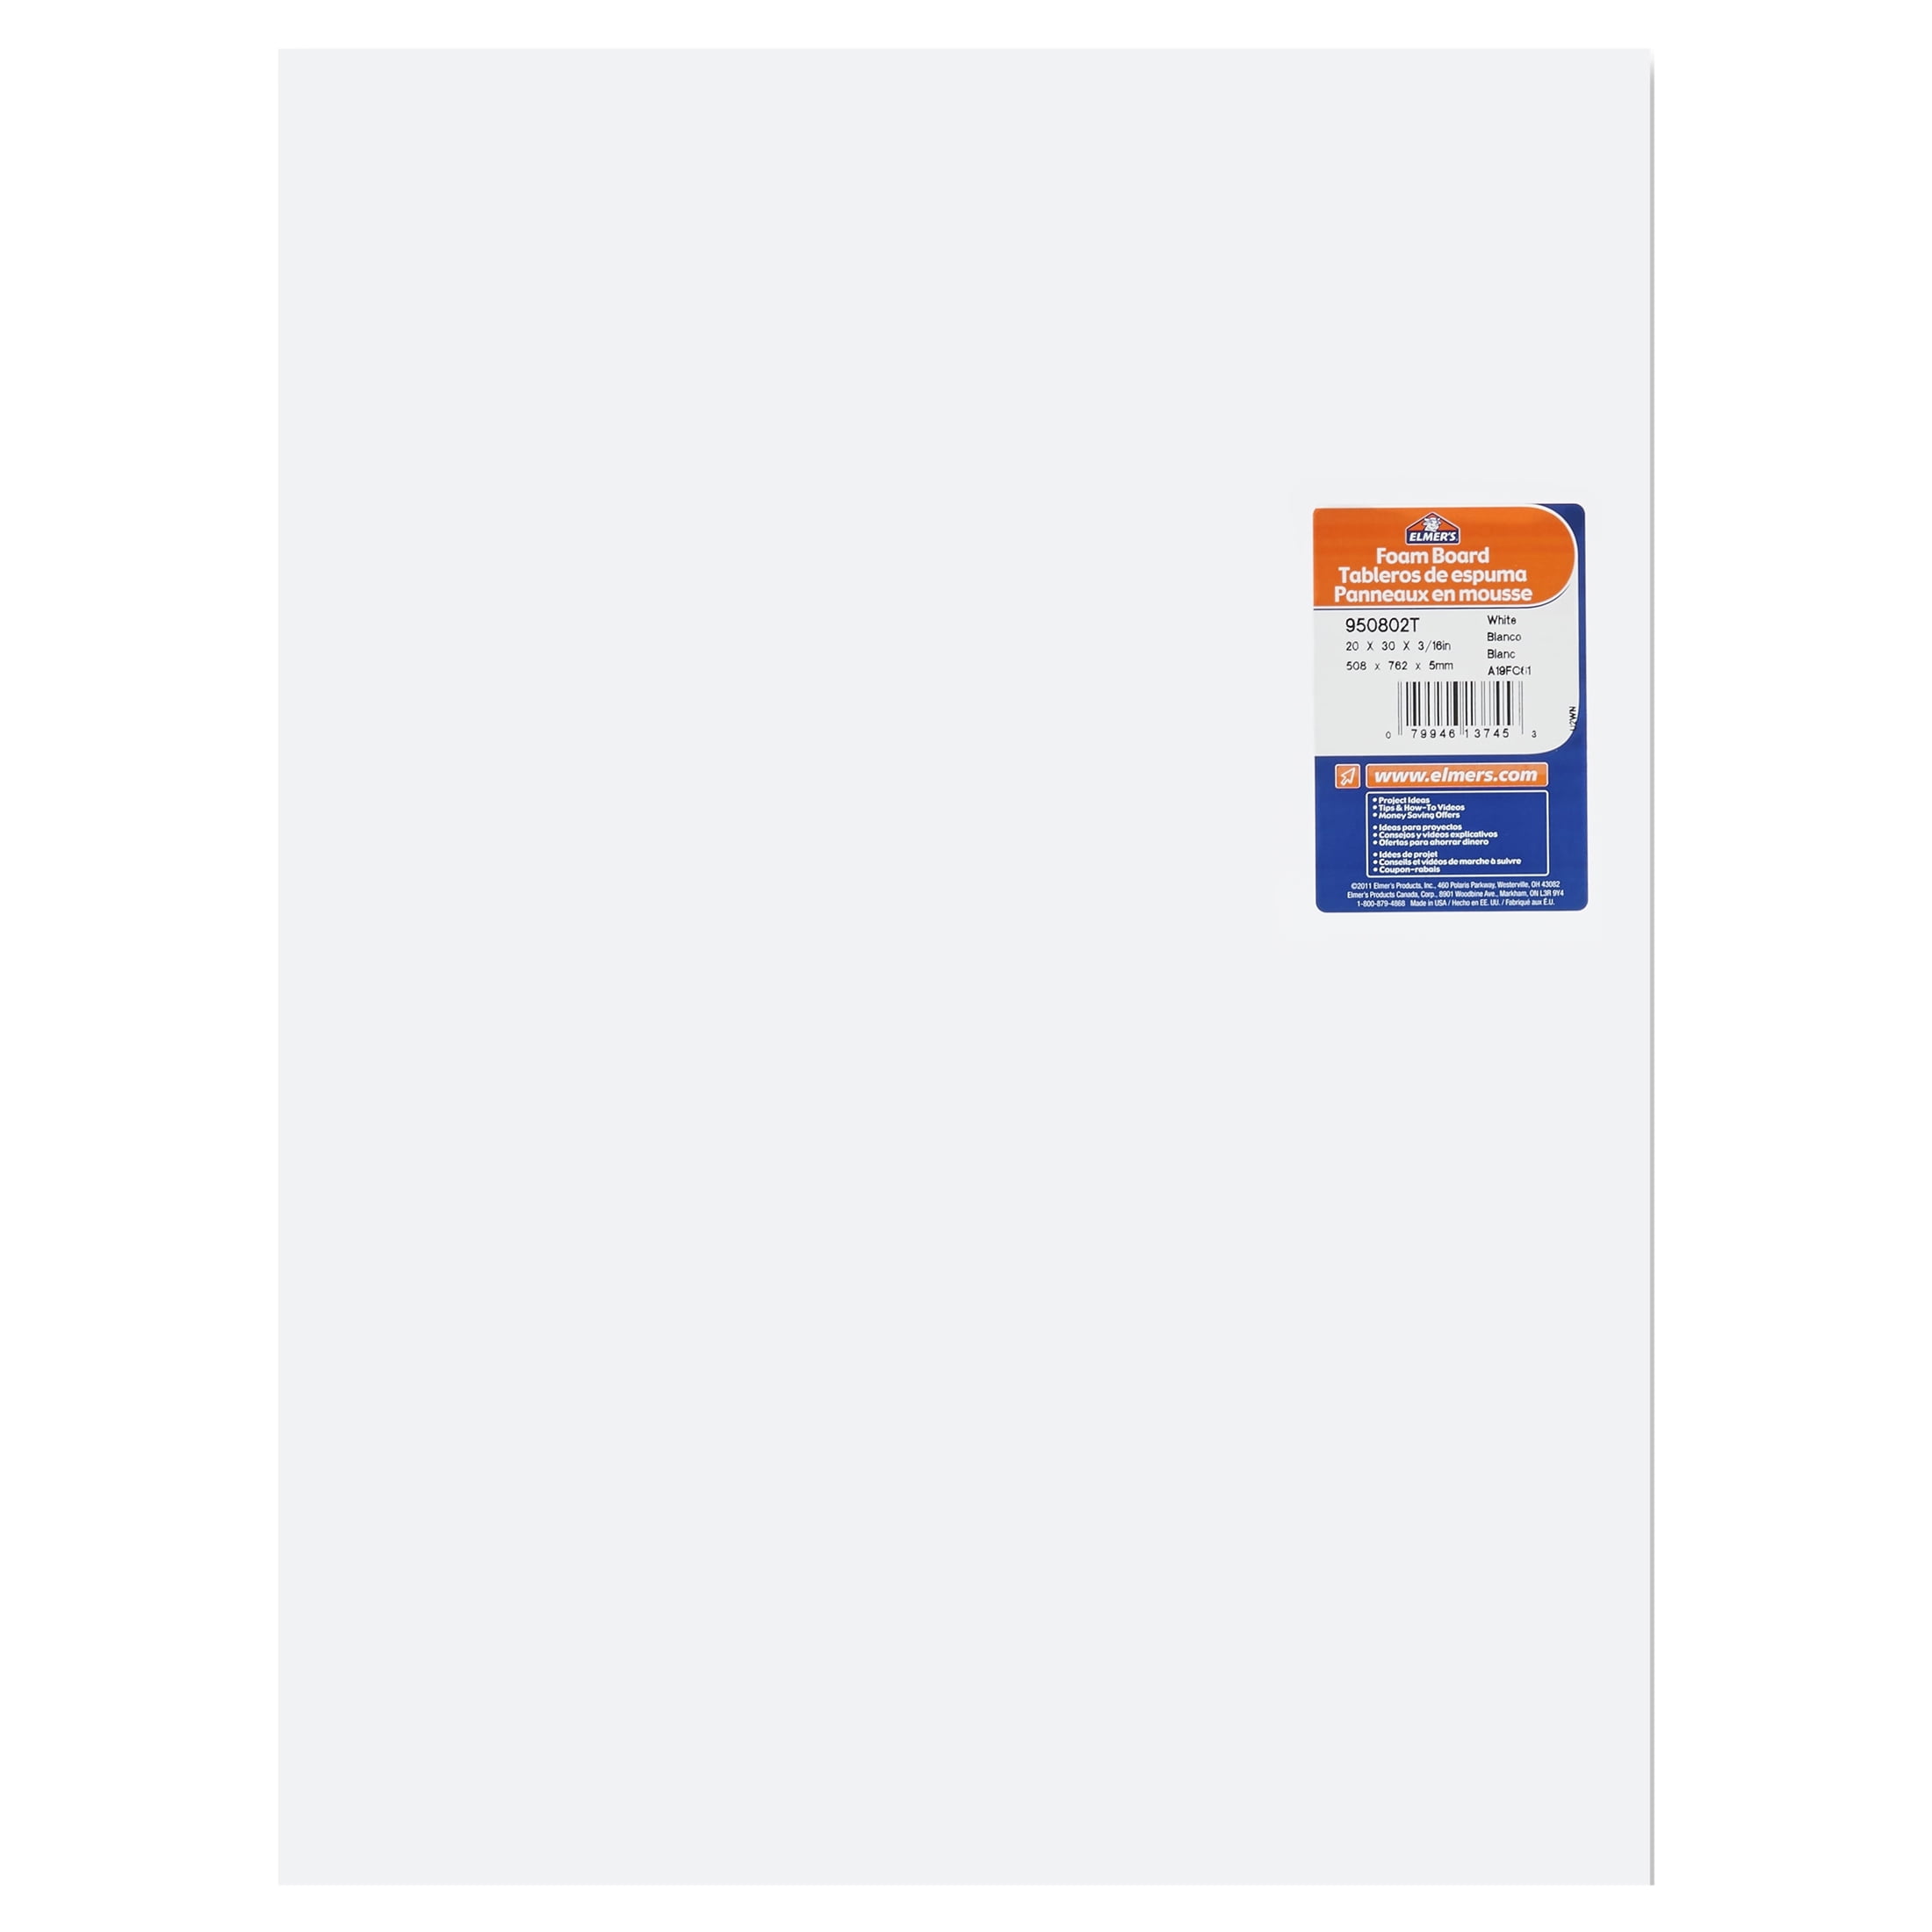
Elmer's Foam Board White 20x30 Inch
Lightweight, easy to cut/shape for terrain—core material for intermediates.
Best for: Walls, hills, structures without sagging.
Price Range: $5.99
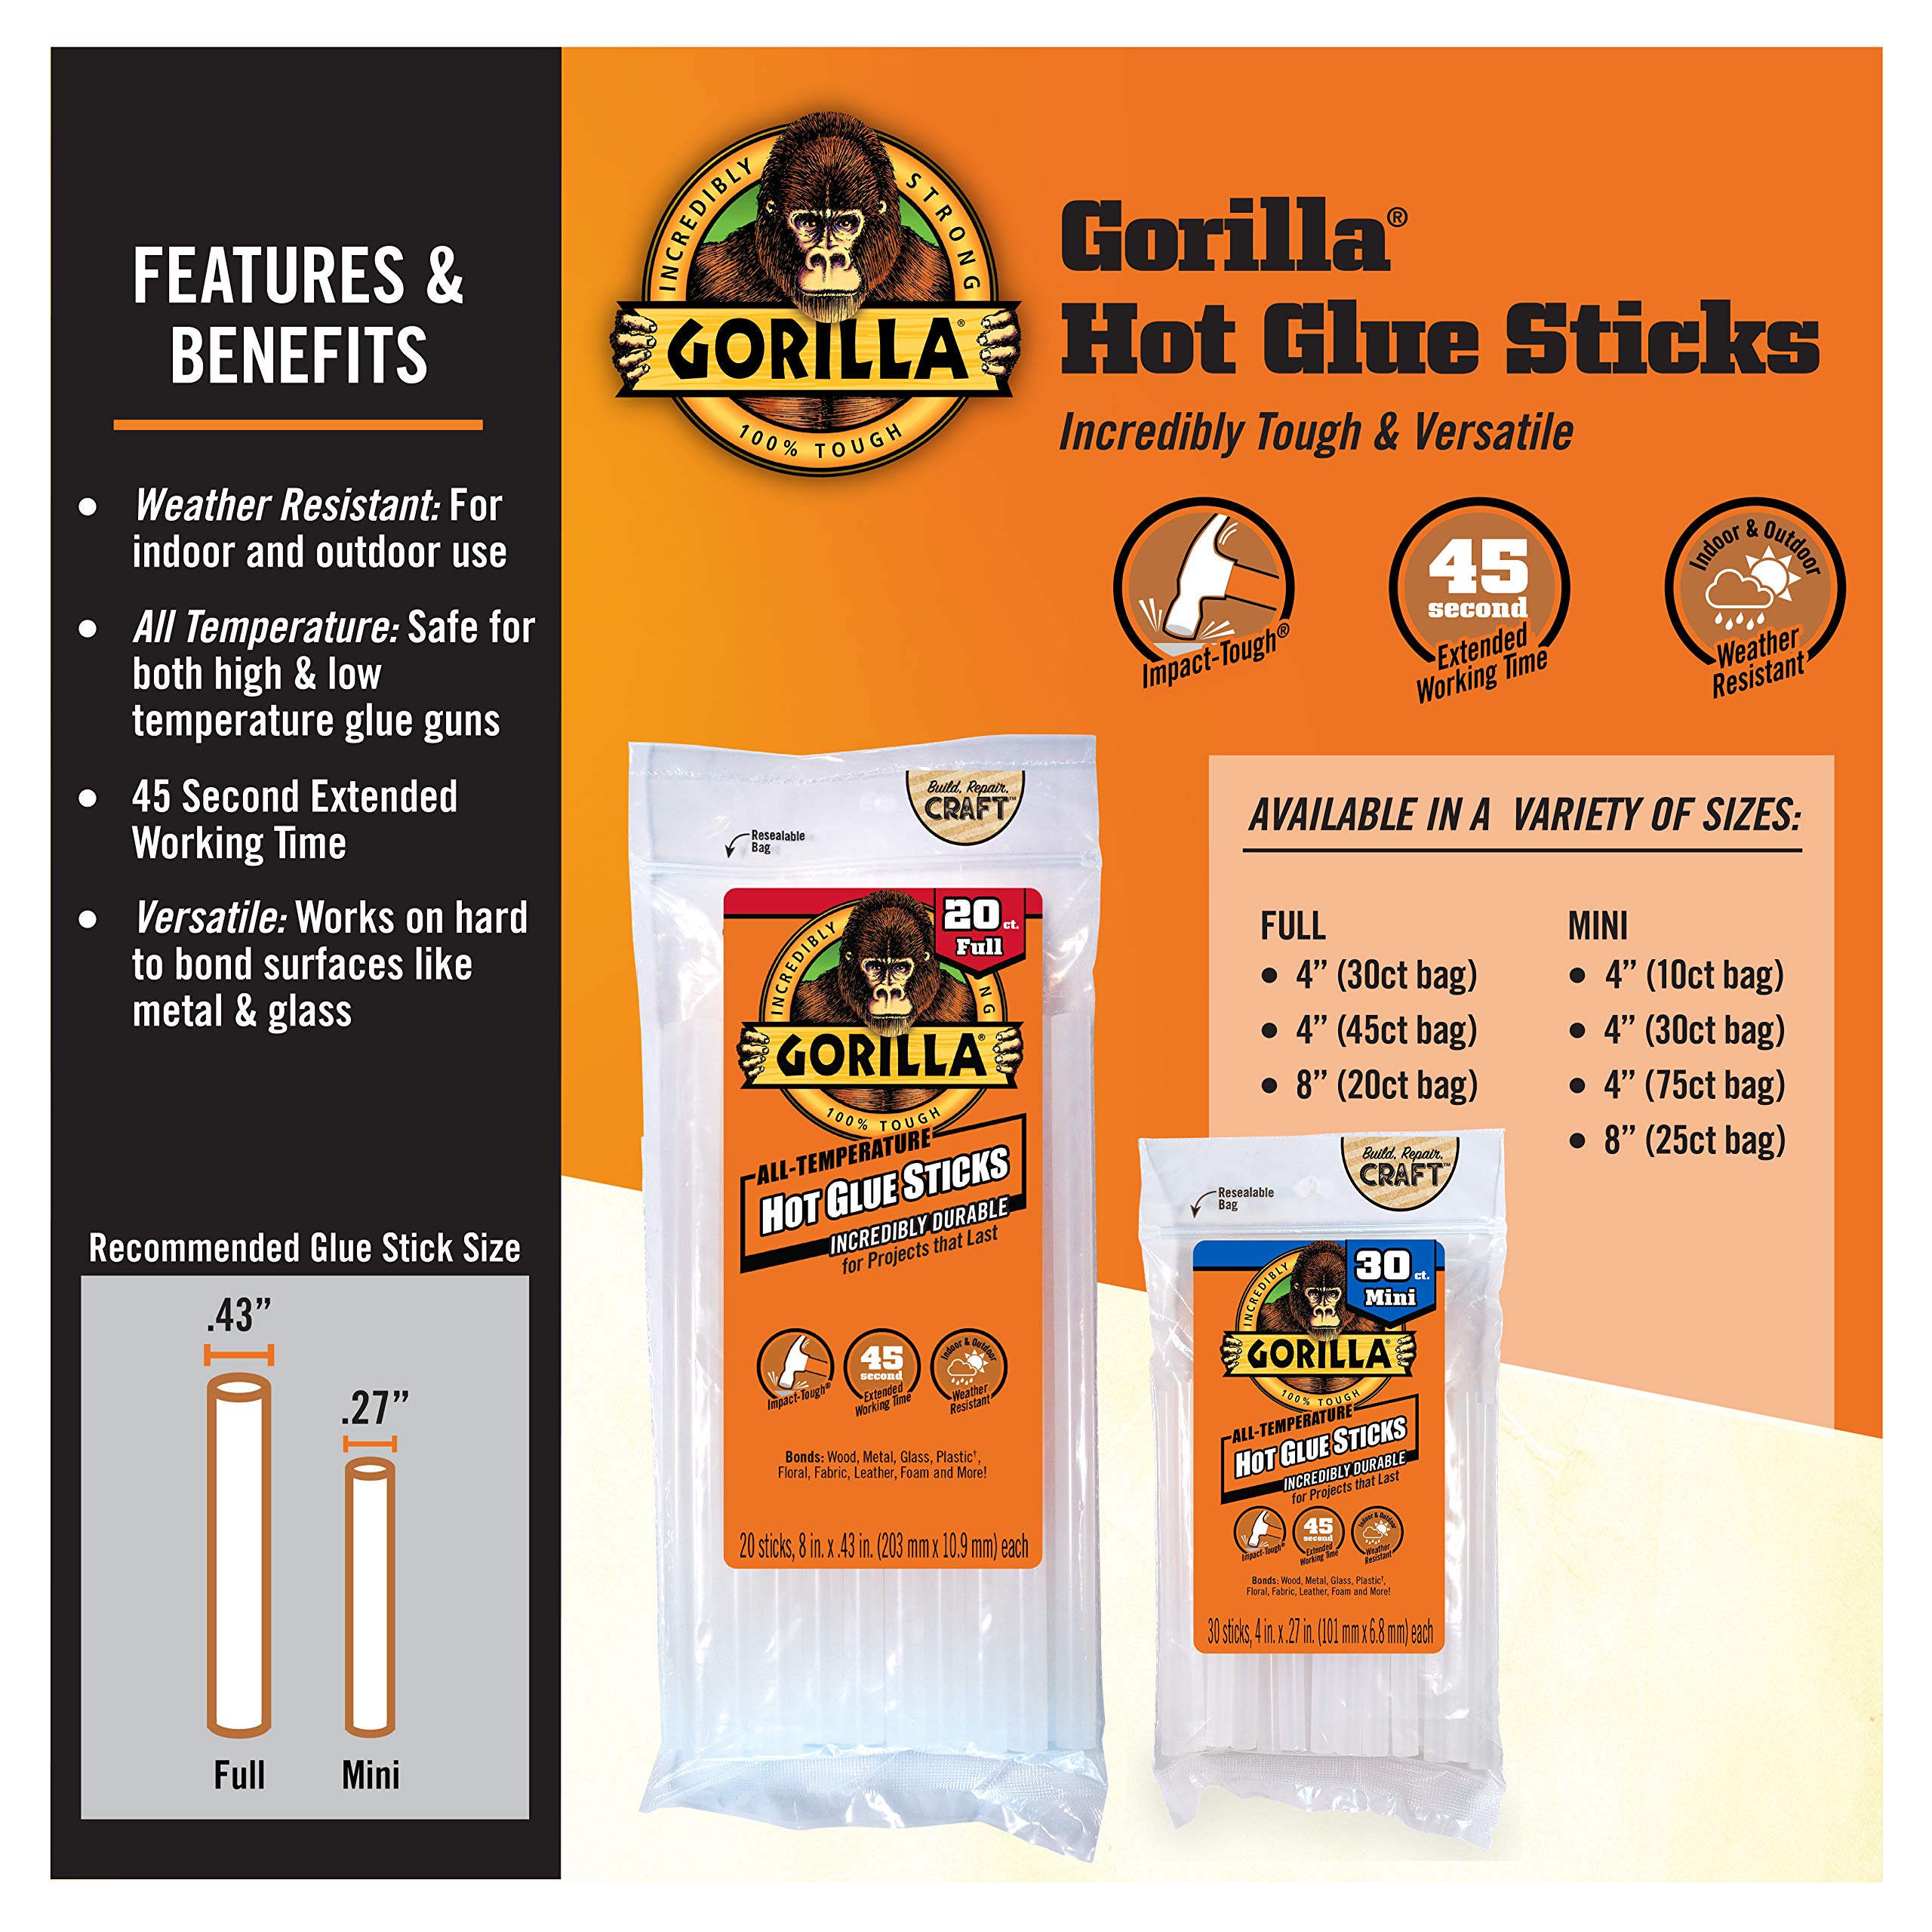
Gorilla Hot Glue Sticks 4-Inch 20 Pack
Strong bond on foam/plastic without melting, quick set for assembly.
Best for: Securing all elements securely.
Price Range: $9.99
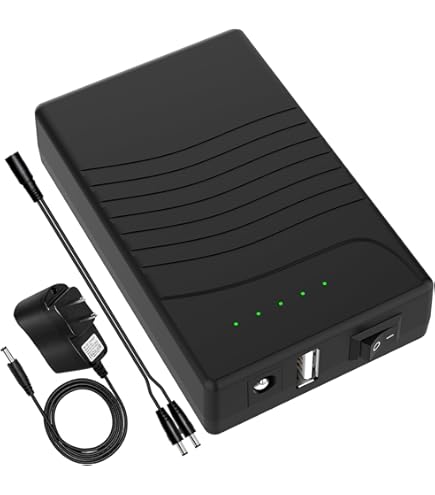
TalentCell 12V 6000mAh Rechargeable Battery Pack
Portable power for wireless displays, long runtime for shows.
Best for: Powering LEDs without cords.
Price Range: $29.99
US Acrylic Frosted Acrylic Sheet 12x12 Inch
Ideal diffuser for even LED spread, crystal clear for bases.
Best for: Top layer over lights.
Price Range: $14.99