Climbing vines like clematis, roses, or peas can quickly overwhelm your garden space if left unsupported, leading to tangled messes and reduced yields. Building a trellis provides the structure these plants need to thrive, maximizing sunlight exposure and adding aesthetic appeal to fences, walls, or open areas. Whether you're a novice gardener or looking to upgrade your setup, this guide will walk you through the process.
In this tutorial, you'll learn how to construct a basic A-frame or wall-mounted trellis using affordable materials like wood and wire. We'll cover planning, assembly, and installation, ensuring your structure is durable against wind and weather. By the end, you'll have a functional trellis ready for planting.
Expect a beginner-friendly project that takes 2-4 hours, depending on your site's size and soil type. No advanced carpentry skills are required—just basic tools and a bit of elbow grease.
▸What You'll Need
- •4 pressure-treated 4x4 wooden posts (8 feet long, for an A-frame; required)
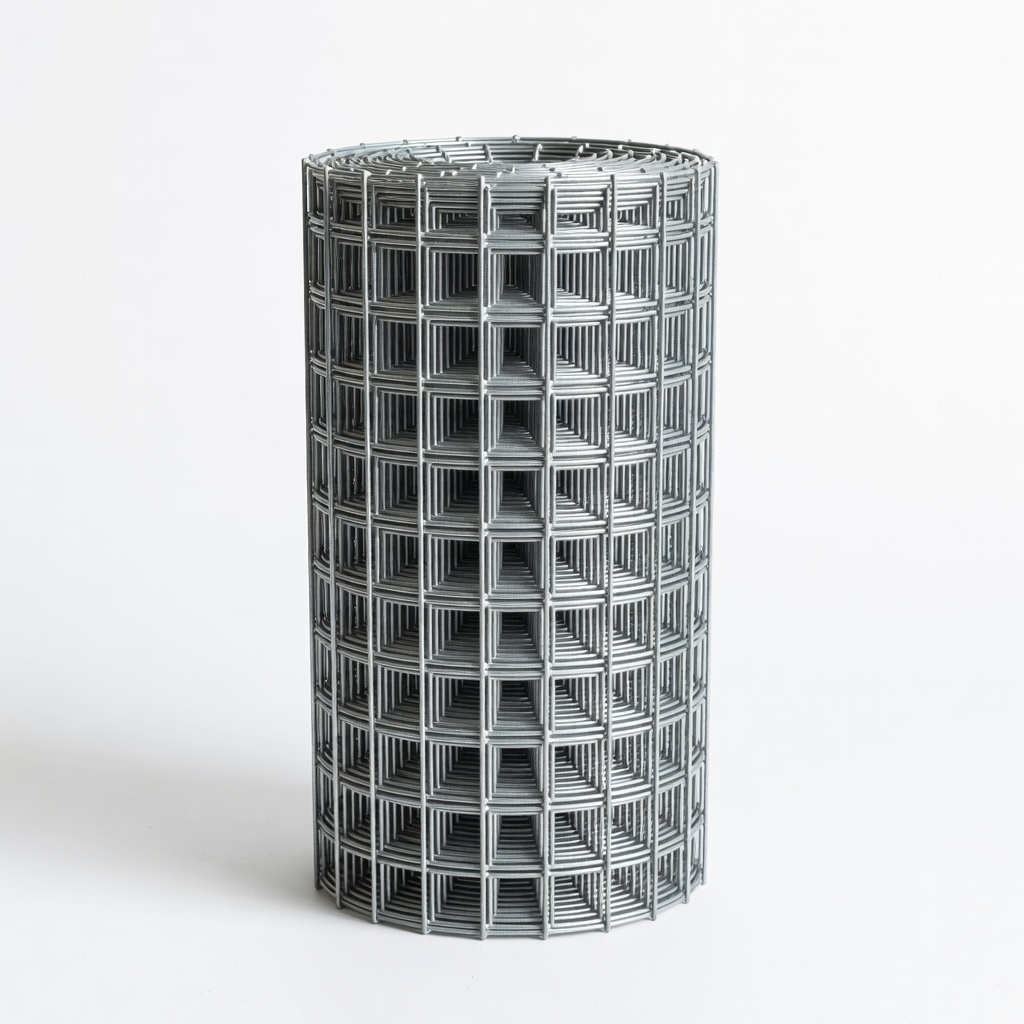
- •Galvanized wire mesh or lattice panels (3 ft. x 8 ft., required for vine support)
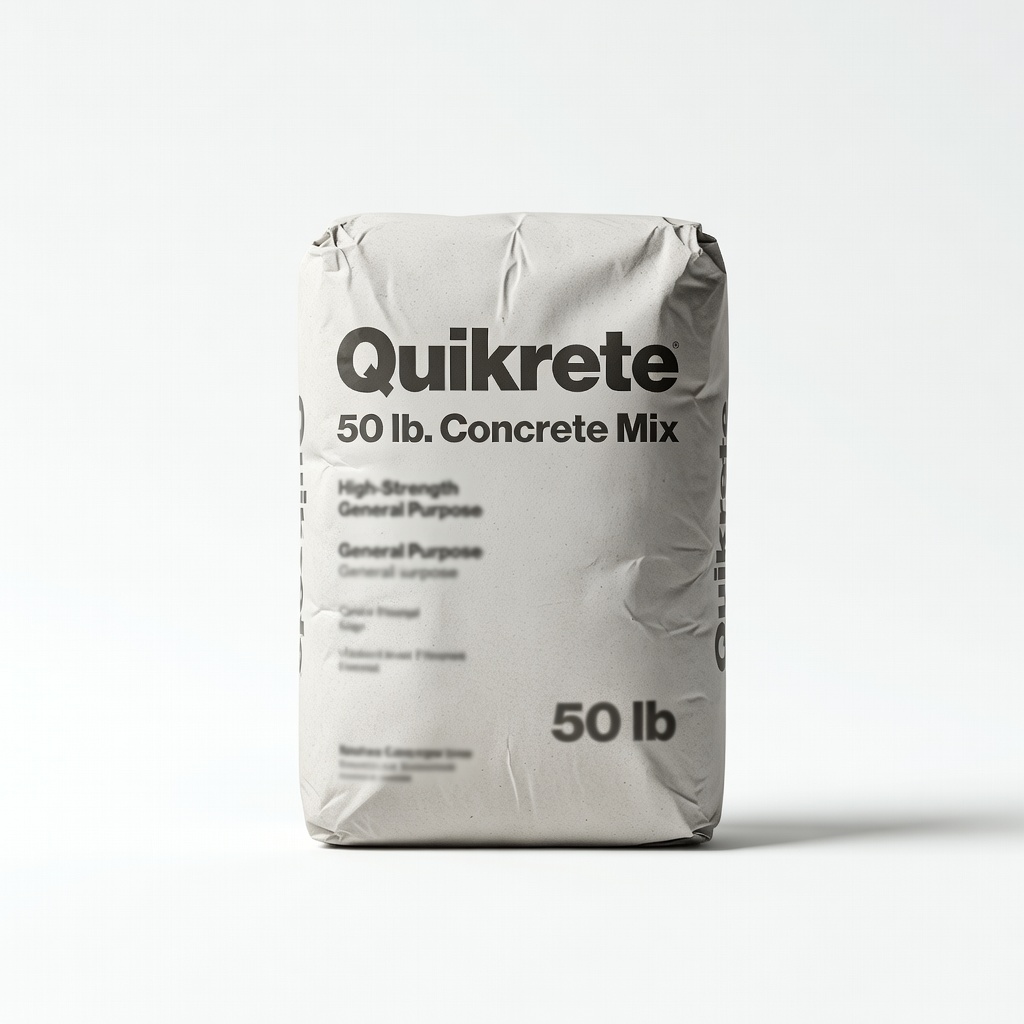
- •Concrete mix (2-4 bags, 50 lbs each; required for securing posts)
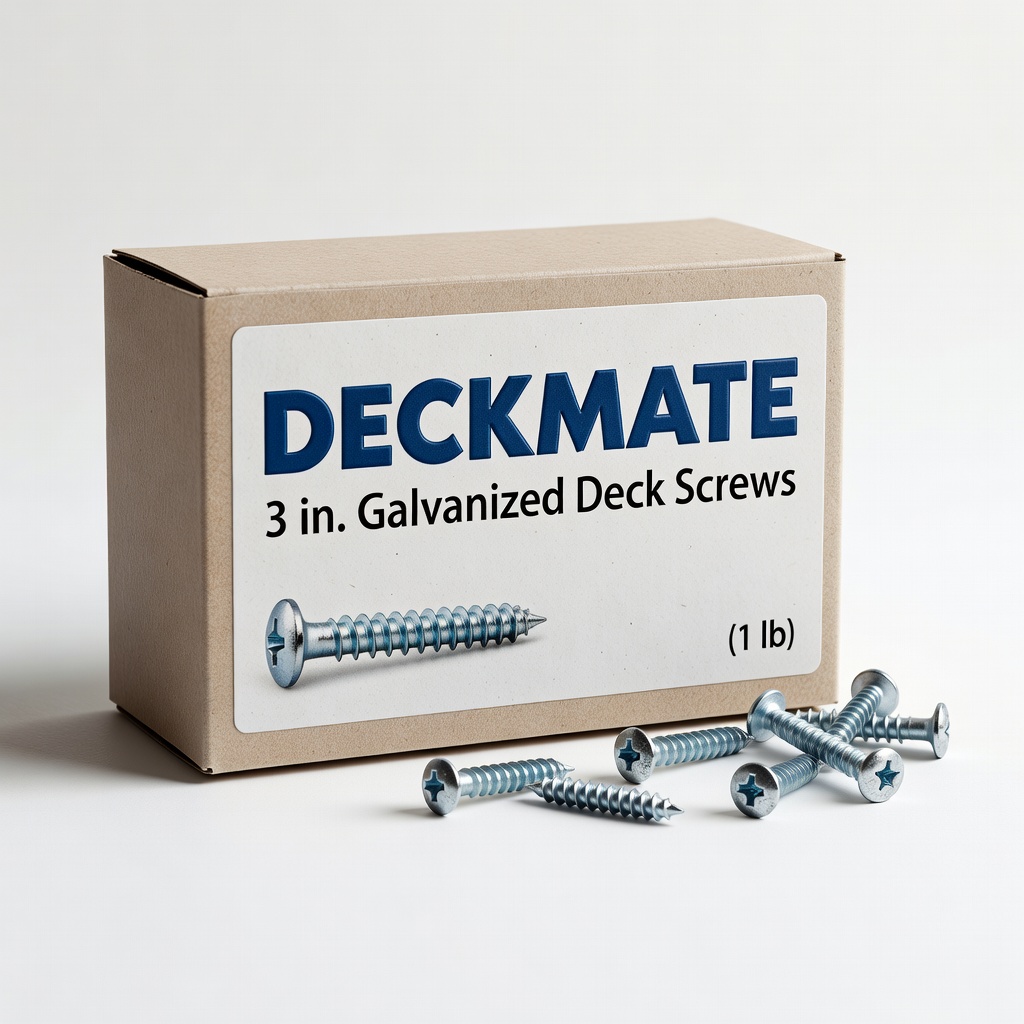
- •Deck screws (3-inch galvanized, 1 lb box; required)
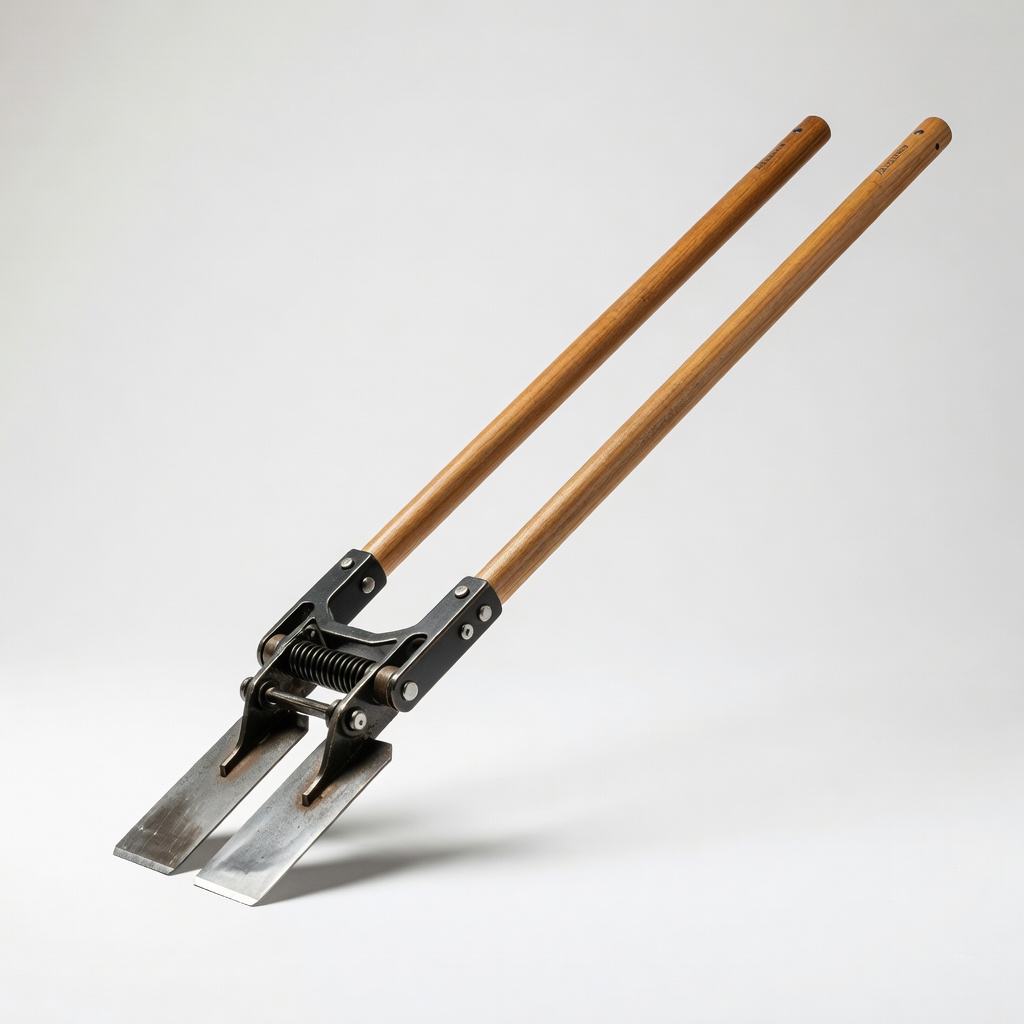
- •Post hole digger or shovel (required)
- •Level and tape measure (required)
- •Saw (hand or circular; optional for cutting posts to size)
- •Work gloves and safety glasses (required for protection)
- •String line or stakes (optional for marking straight lines)
Estimated Time: 2-4 hours
Difficulty: beginner
▸Step-by-Step Instructions
Step 1: Plan Your Trellis Location and Size
Start by selecting a sunny spot in your garden where your climbing vines will get at least 6 hours of sunlight daily. Measure the area—aim for a 6-8 foot wide trellis to support multiple vines without overcrowding. Sketch a simple design: for an A-frame, two sets of angled posts forming a peak; for wall-mounted, horizontal supports against a fence.
Why this matters: Proper placement ensures vines thrive and the structure integrates with your landscape. Expect to spend 15-20 minutes here, marking boundaries with stakes and string to visualize the footprint.
Tip: Consider wind exposure; place it in a sheltered area to prevent tipping.
💡 Tips:
- •Choose a location near a water source for easy vine maintenance.
- •If space is limited, opt for a vertical wall trellis to save ground area.
⚠️ Warnings:
- •Avoid low-lying areas prone to flooding, as wet soil can weaken post foundations.
Step 2: Gather and Prepare Materials
Collect all listed materials and lay them out in your work area. Cut the 4x4 posts if needed: for an A-frame, trim two posts to 7 feet for the sides and two to 6 feet for cross-bracing. Sand any rough edges for safety.
This preparation ensures smooth assembly and prevents interruptions. You'll have everything ready, making the build efficient—about 20 minutes total.
Use pressure-treated wood to resist rot; it's essential for outdoor durability.
💡 Tips:
- •Pre-measure twice to avoid cutting errors.
- •Label cut pieces to keep track during assembly.
⚠️ Warnings:
- •Don't skip treating cut ends with wood preservative to extend lifespan.
Step 3: Dig Post Holes
Using a post hole digger or shovel, excavate holes 2-3 feet deep and 8-12 inches wide at each corner of your marked area. Space them 6-8 feet apart for stability. For an A-frame, dig two pairs about 4 feet apart.
Deep holes provide a strong base against wind and vine weight. Expect loose soil removal; this step takes 30-45 minutes depending on soil hardness.
Pro tip: If soil is rocky, wet the ground first to ease digging.
💡 Tips:
- •Dig slightly deeper than needed for easy concrete pouring.
- •Keep excavated dirt nearby for backfilling.
⚠️ Warnings:
- •Call 811 before digging to check for underground utilities.
Step 4: Set the Posts in Place
Place the 4x4 posts into the holes, using a level to ensure they're plumb (straight up and down). For an A-frame, angle the side posts inward to meet at the top. Brace them temporarily with stakes if needed.
Level posts create a sturdy frame; uneven ones lead to wobbly structures. This alignment step should take 20-30 minutes, with a helper making it easier.
Pour a small amount of gravel at the base for drainage before proceeding.
💡 Tips:
- •Use a 4-foot level for accuracy across multiple posts.
- •Check plumb in two directions: north-south and east-west.
⚠️ Warnings:
- •Avoid forcing posts if soil resists; readjust holes instead.
Step 5: Pour Concrete and Secure Posts
Mix concrete according to package instructions and pour it around each post, filling holes to ground level. Tamp down to remove air pockets, then slope the top away from posts for water runoff. Let it cure for 24-48 hours.
Concrete anchors the trellis firmly, preventing shifts from vine growth or weather. Expect a solid set after curing; don't rush this for safety.
Cover with plastic if rain is forecast to control curing.
💡 Tips:
- •Mix in a wheelbarrow for easy transport.
- •Add rebar vertically in holes for extra strength in windy areas.
⚠️ Warnings:
- •Wear gloves when mixing; concrete is caustic to skin.
Step 6: Attach Crossbars and Supports
Once concrete sets, screw horizontal 2x4 crossbars (cut to width) between posts at 2-foot intervals using deck screws. For A-frame, add diagonal braces from peak to base.
These add rigidity, distributing vine weight evenly. Drilling pilot holes prevents wood splitting; this assembly takes 30-45 minutes.
Visual check: The frame should stand firm without wobbling.
💡 Tips:
- •Pre-drill all holes for smoother screwing.
- •Use at least two screws per joint for security.
⚠️ Warnings:
- •Over-tightening screws can strip wood; hand-tighten final turns.
Step 7: Install Wire Mesh or Lattice
Unroll the galvanized wire mesh or attach lattice panels to the frame using galvanized staples or ties. Stretch it taut from bottom to top, securing every 6 inches.
This provides grippy surfaces for vines to climb. Expect full coverage for optimal support; 20-30 minutes to complete.
Trim excess with wire cutters for a clean finish.
💡 Tips:
- •Wear gloves—wire edges are sharp.
- •Overlap seams by 6 inches for seamless climbing.
⚠️ Warnings:
- •Don't use untreated wire; it rusts quickly outdoors.
Step 8: Plant and Train Vines
Dig planting holes 1 foot from the trellis base and plant your climbing vines at the recommended depth. Gently tie young shoots to the mesh with soft twine to guide growth.
This integrates plants immediately, encouraging upward climbing. Water thoroughly; success looks like vines starting to latch on within weeks.
Monitor for the first month to train properly.
💡 Tips:
- •Choose vines suited to your climate, like hardy kiwi for zones 4-8.
- •Mulch around bases to retain moisture.
⚠️ Warnings:
- •Avoid planting too deep; it can suffocate roots.
▸Pro Tips
- •Paint or stain the wood after assembly for added UV protection and color.
- •Incorporate drip irrigation along the top bar for easy vine watering.
- •Build modular sections for easy expansion as your garden grows.
- •Test stability by shaking the frame before planting—add guy wires if needed.
- •Harvest vines seasonally to prevent overloading the structure.
- •Use recycled materials like old fence panels for an eco-friendly twist.
- •Position near pollinator plants to boost vine fruiting.
▸Common Mistakes to Avoid
- •Skipping concrete: Posts shift over time, causing collapse—always secure foundations.
- •Poor leveling: Uneven posts lead to sagging mesh—double-check with a level.
- •Using untreated wood: It rots quickly in moist soil—opt for pressure-treated lumber.
- •Overcrowding vines: Too many plants compete for space—limit to 3-5 per trellis.
- •Ignoring wind: Freestanding designs tip easily—brace or anchor in exposed areas.
▸Troubleshooting
Problem: Posts leaning after installation
Solution: Add diagonal braces or pour additional concrete to straighten; for minor leans, use tension wires from top to stakes.
Problem: Vines not climbing the trellis
Solution: Train shoots manually with ties every 1-2 weeks; ensure the variety is a true climber, not a spreader.
Problem: Mesh rusting prematurely
Solution: Replace with heavier-gauge galvanized or vinyl-coated wire; apply rust inhibitor spray annually.
Problem: undefined
Solution: undefined
Ames True Temper Post Hole Digger
This sturdy steel digger makes excavating holes faster and easier for beginners, reducing physical strain.
Best for: Essential for digging post holes in various soil types during Step 3.
Price Range: $25-$35
Garden Zone Galvanized Welded Wire Fence
Durable and rust-resistant, this mesh provides reliable support for vines without sagging over time.
Best for: Ideal for attaching to the frame in Step 7 to create climbing surfaces.
Price Range: $15-$25
Quikrete 50 lb. Concrete Mix
Quick-setting formula ensures stable post foundations with minimal mixing effort.
Best for: Use in Step 5 to anchor posts securely for long-term durability.
Price Range: $5-$8 per bag
DECKMATE 3 in. Galvanized Deck Screws (1 lb)
Corrosion-resistant screws hold wood joints tight without rusting in outdoor conditions.
Best for: Perfect for assembling crossbars and braces in Steps 6 and 7.
Price Range: $10-$15
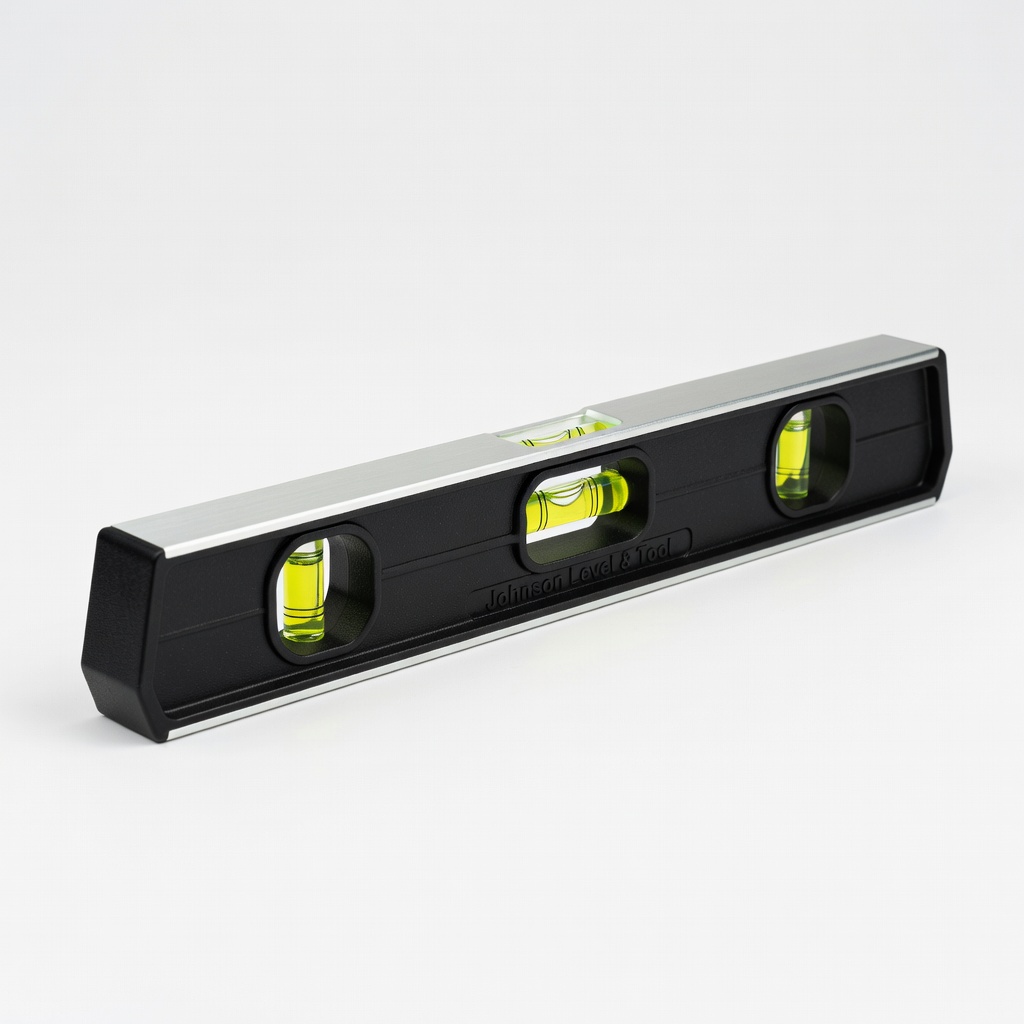
Johnson Level & Tool 9 in. Torpedo Level
Compact and accurate for ensuring posts are plumb, preventing uneven structures.
Best for: Critical in Step 4 for leveling posts during installation.
Price Range: $10-$20