In an era of rising food costs and a desire for sustainable living, more homeowners are turning to backyard chickens for fresh eggs and pest control. However, without a proper coop, your flock is vulnerable to predators, weather, and disease. Building your own simple chicken coop solves this by providing a customized, predator-proof shelter that fits your space and budget.
This guide will teach you how to construct a basic 4x6-foot coop suitable for 4-6 hens. You'll learn everything from planning the layout to adding finishing touches like nesting boxes and ventilation. The process emphasizes durability, ease of cleaning, and chicken comfort, using common materials you can source from hardware stores.
Expect an intermediate-level project requiring basic carpentry skills. With proper preparation, you can complete it over a weekend (8-12 hours total), resulting in a functional coop that boosts your backyard farm setup.
▸What You'll Need
- •2x4 lumber (pressure-treated): 20 pieces, 8 ft. long (for frame and supports)
- •Plywood sheets (1/2-inch thick): 6 sheets, 4x8 ft. (for walls, floor, and roof)
- •Galvanized chicken wire or hardware cloth (1/2-inch mesh): 50 ft. roll, 36 inches wide (for run enclosure)
- •Corrugated metal roofing sheets: 3 sheets, 2x8 ft. (for weatherproof roof)
- •Hinge for door: 1 heavy-duty gate hinge
- •Screws and nails: 5 lbs. galvanized deck screws (2-3 inches) and 2 lbs. 16d nails
- •Staples or fencing staples: 1 box for securing wire
- •Paint or sealant: Exterior-grade, 1 gallon (for weather protection)
- •Required tools: Circular saw, drill, hammer, measuring tape, level, wire cutters
- •Optional: Concrete blocks (4-6 for foundation elevation), nesting box kits, roosting bars (2x4 scraps)
Estimated Time: 8-12 hours over 1-2 weekends
Difficulty: intermediate
▸Step-by-Step Instructions
Step 1: Plan and Prepare Your Site
Start by selecting a level spot in your backyard, ideally 10x10 feet to accommodate the coop and a small run. Measure and mark the 4x6-foot footprint for the coop using stakes and string. This ensures stability and prevents water pooling.
Why it matters: A well-chosen site reduces predator access and makes maintenance easier. Clear any grass or debris, and consider elevating the coop 12-18 inches off the ground to deter burrowing animals and improve ventilation.
Expect a flat, prepared area ready for building. Sketch a simple diagram labeling the frame, walls, roof, door, and run.
💡 Tips:
- •Choose a shaded area to keep the coop cool in summer.
- •Check local zoning laws for chicken coops before starting.
⚠️ Warnings:
- •Avoid low-lying areas prone to flooding.
Step 2: Build the Foundation and Floor
Cut four 2x4s to 4 feet and four to 6 feet for the base frame. Assemble into a rectangle using screws, ensuring it's square by measuring diagonals (they should match). Place on concrete blocks for elevation.
Attach plywood to the top of the frame for the floor, securing with nails every 6 inches. This creates a solid, easy-to-clean base.
Success looks like a sturdy, level platform that doesn't wobble. The elevation protects against moisture and predators.
💡 Tips:
- •Use a level frequently to ensure evenness.
- •Apply wood preservative to the frame for longevity.
⚠️ Warnings:
- •Don't skip the blocks; direct ground contact leads to rot.
Step 3: Construct the Frame Walls
Cut 2x4s for vertical studs (every 24 inches) and horizontal braces. Build two 4-foot end walls and two 6-foot side walls, each 4 feet high for the back and 3 feet for the front (to allow for a sloped roof).
Assemble on the ground using screws, then lift and attach to the base. Why it matters: A strong frame supports the structure and encloses the space securely.
Expect rigid walls that stand firmly when connected.
💡 Tips:
- •Pre-drill holes to avoid splitting wood.
- •Incorporate a door frame in one side wall now.
⚠️ Warnings:
- •Over-tighten screws; they can strip the wood.
Step 4: Add Walls and Ventilation
Cut plywood panels to fit the frames, leaving openings for windows (1x1 foot) and the door (2x3 feet). Attach panels with nails, then cover window openings with hardware cloth stapled securely.
Install the door on hinges. Ventilation prevents ammonia buildup from droppings, keeping chickens healthy.
Success: Enclosed walls with screened vents for airflow but no gaps for predators.
💡 Tips:
- •Use 1/2-inch hardware cloth over chicken wire for better predator resistance.
- •Add a ramp for easy chicken access.
⚠️ Warnings:
- •Ensure vents are high up to avoid drafts at roost level.
Step 5: Install Roof and Run
Frame the roof with 2x4 rafters at a slight pitch for drainage. Cover with plywood, then overlay corrugated metal sheets secured with screws.
Extend the run: Attach 2x4 posts and enclose with chicken wire, burying the bottom 6 inches to prevent digging predators.
Why it matters: A waterproof roof and secure run provide outdoor space. Expect a complete, sheltered structure ready for interior fittings.
💡 Tips:
- •Seal roof edges with caulk to prevent leaks.
- •Make the run at least 10 sq ft per chicken.
⚠️ Warnings:
- •Unsecured wire invites raccoon attacks.
Step 6: Add Interior Features and Finish
Install roosting bars (2x4s, 8-12 inches off floor) and nesting boxes (one per 3-4 hens, lined with straw). Paint or seal all wood exteriors.
This finalizes a comfortable, low-maintenance coop. Chickens will use it immediately for laying and sleeping.
Success: A fully functional coop with easy-clean features.
💡 Tips:
- •Position nesting boxes in a dark corner for privacy.
- •Add droppings tray under roosts for quick cleanup.
⚠️ Warnings:
- •Avoid sharp edges that could injure birds.
▸Pro Tips
- •Measure twice, cut once to minimize waste and errors.
- •Use treated lumber in humid areas to prevent rot.
- •Incorporate predator-proof latches on doors from the start.
- •Build modular sections for easier transport if your site is far.
- •Test for level at every stage to avoid structural issues.
- •Add solar-powered lights for winter egg production.
- •Customize size based on flock; scale up for more birds.
▸Common Mistakes to Avoid
- •Poor ventilation leading to respiratory issues in chickens – ensure at least 1 sq ft of vent space per bird and avoid blocking airflow.
- •Inadequate predator protection, like using only chicken wire – opt for hardware cloth and bury fencing to stop digging.
- •Skipping elevation, causing dampness and disease – always raise the floor 12+ inches.
- •Overlooking cleaning access, making maintenance hard – include removable trays and wide doors.
- •Incorrect sizing, overcrowding birds – provide 4 sq ft per chicken inside, 10 sq ft in run.
▸Troubleshooting
Problem: Coop leaks during rain
Solution: Inspect and reseal roof seams with silicone caulk; add overhangs if needed. Replace damaged metal sheets.
Problem: Predators entering the run
Solution: Reinforce with hardware cloth and add electric fencing. Check for gaps daily and bury wire deeper.
Problem: Wood warping or rotting
Solution: Apply fresh sealant annually. If severe, replace affected sections. Seek pro help for structural instability.
Problem: Chickens not using nesting boxes
Solution: Ensure boxes are dark, low (18-24 inches high), and filled with soft bedding. Add curtains for privacy.
YARDGARD 48 in. x 50 ft. 20-Gauge Galvanized Steel Poultry Netting
Provides durable, rust-resistant enclosure for the run, preventing predator entry while allowing ventilation.
Best for: Use for fencing the outdoor run area during Step 5 to keep chickens safe.
Price Range: $40-$50
DEWALT 20V MAX Cordless Circular Saw (DCS570B)
Powerful and portable for precise cuts on lumber and plywood, speeding up frame and wall construction.
Best for: Essential for cutting materials in Steps 2-4; battery-powered for outdoor sites without outlets.
Price Range: $150-$170
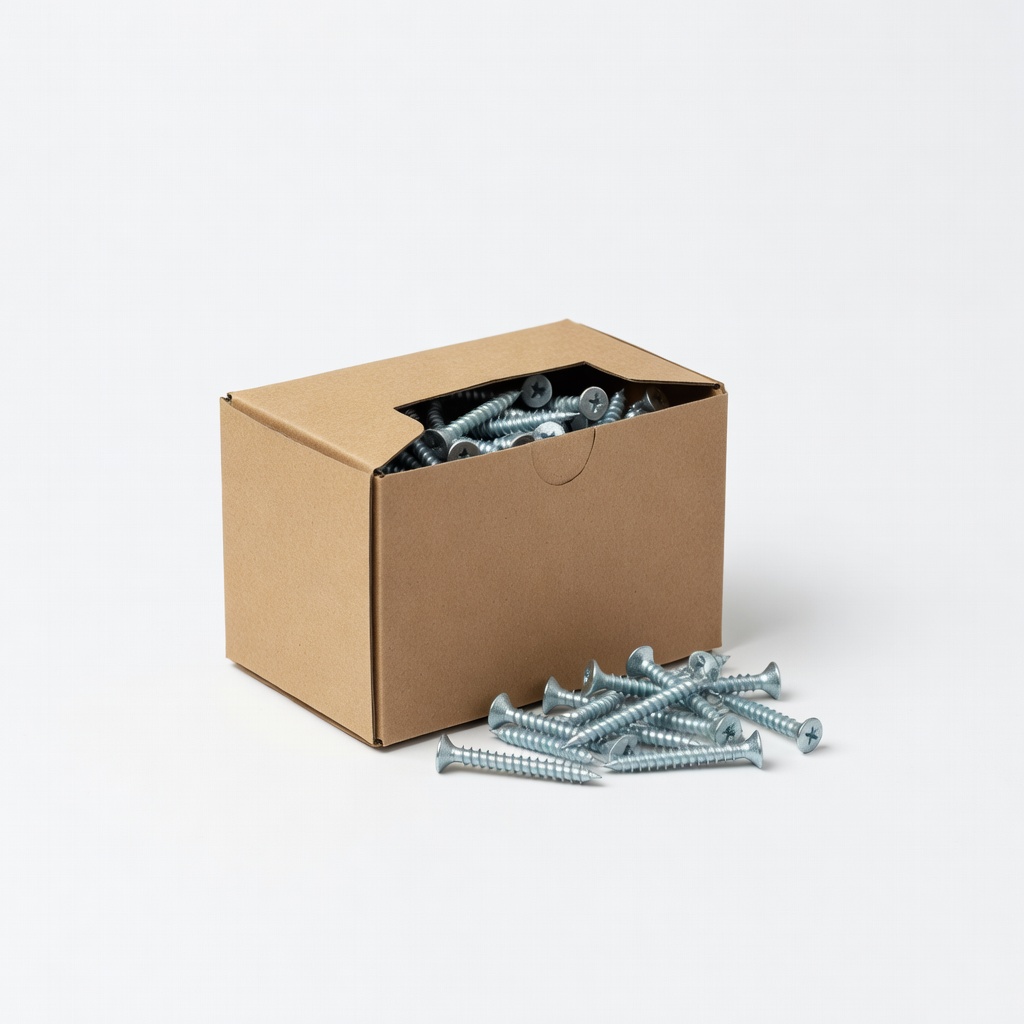
#8 x 2-1/2 in. Galvanized Deck Screws (1 lb. box)
Corrosion-resistant fasteners that hold the frame securely without rusting in outdoor conditions.
Best for: Secure all joints and panels throughout the build, especially in Steps 2 and 3.
Price Range: $10-$15
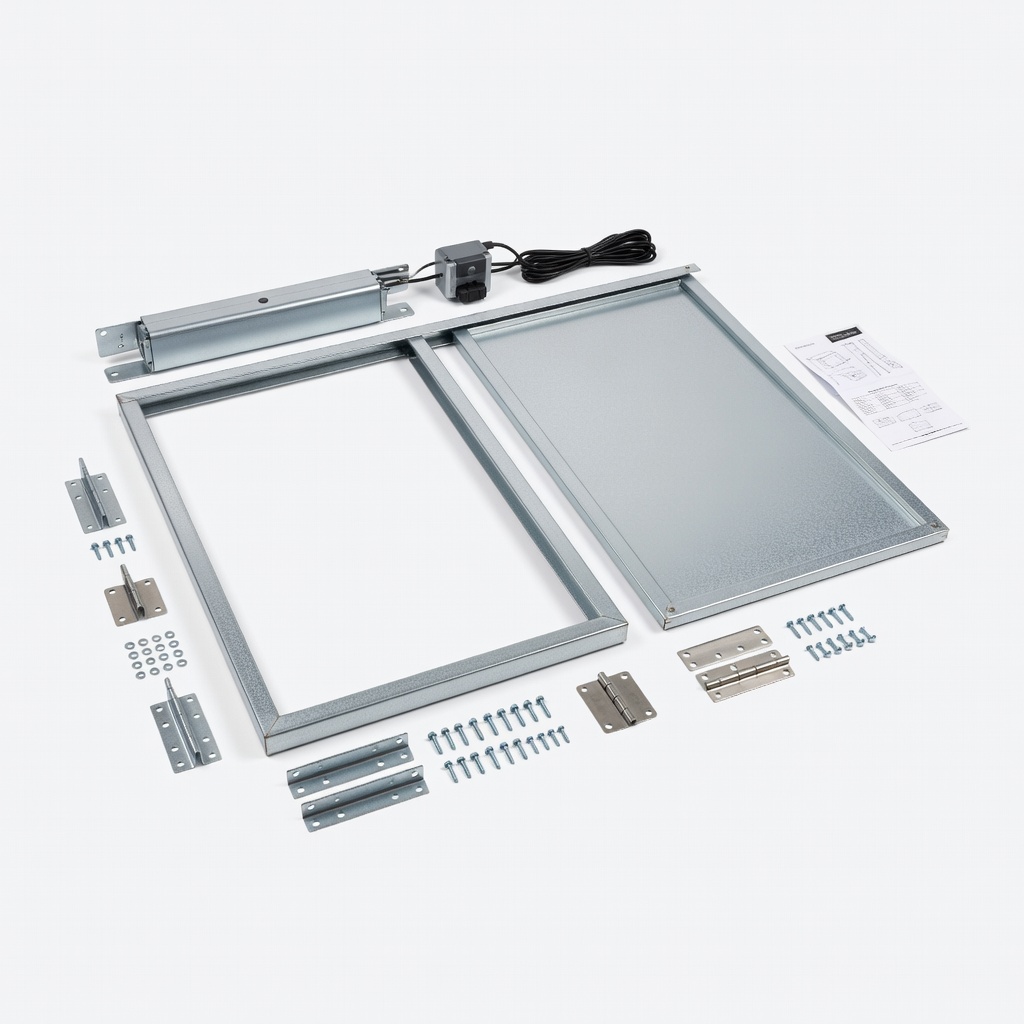
Omnia 36 in. x 84 in. Galvanized Steel Chicken Coop Door Kit
Pre-assembled door with latch for easy predator-proof access, saving time on custom building.
Best for: Install in Step 4 for secure entry; optional but simplifies the door assembly.
Price Range: $50-$60
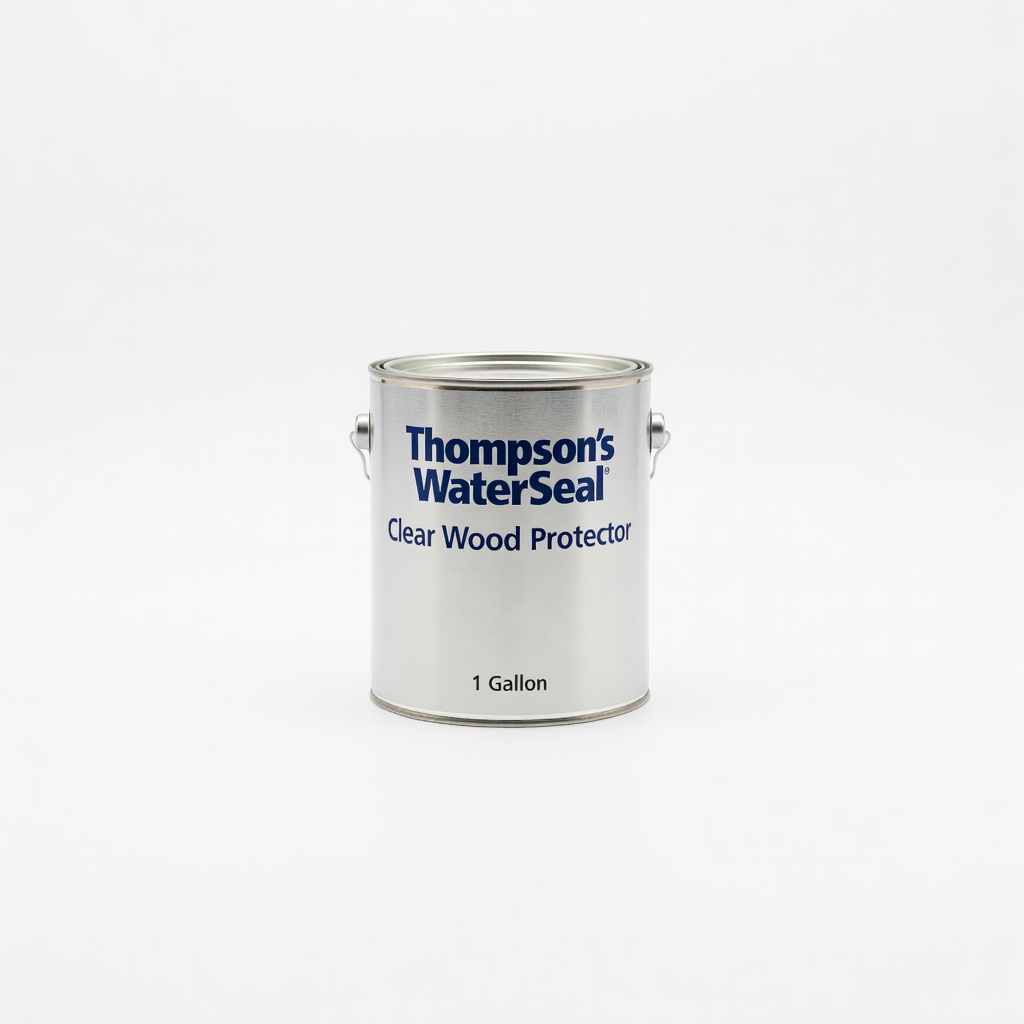
Thompson's WaterSeal Clear Wood Protector (1 Gallon)
Protects wood from moisture and UV damage, extending the coop's lifespan in varying weather.
Best for: Apply to all exterior surfaces in Step 6 for weatherproofing.
Price Range: $20-$25