Building your own gaming PC can be intimidating, but it's a rewarding way to get exactly the hardware you want without paying premiums for pre-assembled systems. Many gamers start with store-bought rigs only to realize they could have customized better specs for less. This guide empowers you to take control, troubleshoot like a pro, and end up with a machine tailored to your favorite titles like Cyberpunk 2077 or Fortnite.
You'll learn everything from selecting compatible parts to final assembly and testing, ensuring your build runs smoothly. The process involves planning your components, installing them carefully, and booting up for the first time. As an intermediate builder, you'll handle some technical steps like applying thermal paste, but we'll break it down simply.
Expect to spend 4-6 hours on assembly, plus time for part selection and OS installation. No prior experience is assumed beyond basic computer knowledge, and you'll avoid common pitfalls like incompatible parts.
▸What You'll Need
- •CPU (e.g., AMD Ryzen 5 7600)
- •Motherboard compatible with CPU (e.g., AM5 socket)
- •RAM (at least 16GB DDR5, 2x8GB kit)
- •Graphics Card (GPU, e.g., NVIDIA RTX 4070)
- •Storage (1TB NVMe SSD)
- •Power Supply Unit (PSU, 650W 80+ Gold rated)
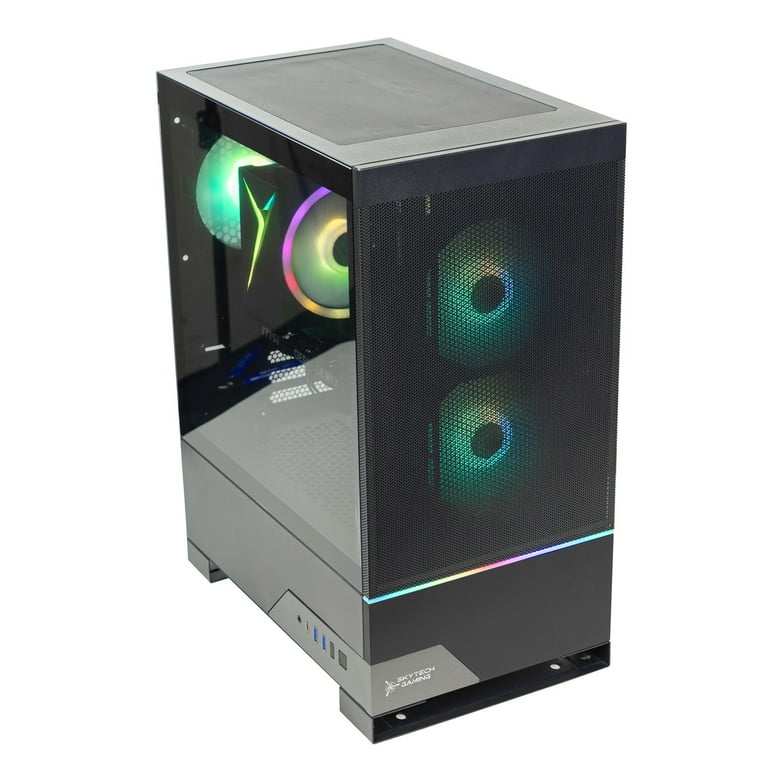
- •PC Case (mid-tower with good airflow)
- •CPU Cooler (air or liquid, compatible with CPU)
- •Thermal paste (pre-applied or tube)
- •Tools: Phillips screwdriver, anti-static wrist strap (optional but recommended), zip ties for cable management
- •Optional: Thermal pads for M.2 SSD, extra case fans
Estimated Time: 4-6 hours for assembly, plus 1-2 hours for part selection and OS setup
Difficulty: intermediate
▸Step-by-Step Instructions
Step 1: Plan and Purchase Compatible Components
Start by deciding your budget and performance goals, like 1080p vs. 4K gaming. Use tools like PCPartPicker to ensure compatibility—check socket type (e.g., AM5 for Ryzen 7000 series), RAM speed, and PSU wattage (aim for 650W+ for mid-range builds).
List your parts: CPU, motherboard, 16GB+ RAM, a strong GPU for gaming, fast SSD storage, reliable PSU, and a case with airflow. Why it matters: Incompatible parts lead to boot failures or suboptimal performance. Expect to spend $800-1500 for a solid 1440p setup.
Once selected, order from reputable sites like Amazon or Newegg. Success looks like all parts arriving with no damage, verified compatible via PCPartPicker's warnings.
💡 Tips:
- •Use PCPartPicker's build guides for inspiration.
- •Prioritize GPU for gaming; CPU can be mid-range.
⚠️ Warnings:
- •Avoid mixing Intel and AMD parts—they won't fit.
Step 2: Prepare Your Workspace
Clear a clean, well-lit table or desk—avoid carpet to prevent static. Unbox all components carefully, keeping manuals handy. Ground yourself with an anti-static wrist strap or by touching a grounded metal object.
Why it matters: Static electricity can fry sensitive parts like the CPU or RAM. Lay out parts organized by type (e.g., motherboard accessories separate). Expect a clutter-free space ready for assembly, with tools like a screwdriver within reach.
Success: All parts laid out, no scratches or bends on delicate items like the CPU pins.
💡 Tips:
- •Work in a humidity-controlled room if possible.
- •Take photos of unboxing for warranty claims.
⚠️ Warnings:
- •Never plug in power without double-checking connections—risk of shorts.
Step 3: Install the CPU on the Motherboard
Open the CPU socket on the motherboard (lift the lever). Align the CPU's triangle marker with the socket's, gently drop it in without force—pins face down for AMD.
Apply a pea-sized dot of thermal paste to the CPU center if not pre-applied. Install the cooler: Secure the brackets, attach the fan/heatsink, and connect its power cable to the motherboard header. Why it matters: Proper seating prevents overheating and crashes during gaming sessions.
Expect the CPU to sit flush; success is a secure cooler with no wobble, ready for the case.
💡 Tips:
- •Clean excess paste with isopropyl alcohol if needed.
- •For AMD, watch orientation to avoid bending pins.
⚠️ Warnings:
- •Don't touch CPU pins; oils from fingers cause failures.
Step 4: Install RAM and Storage
Push down the RAM slot clips on the motherboard, align the notch on the RAM stick, and firmly press until clips snap. Use dual-channel slots (e.g., A2 and B2) for best performance—16GB minimum for gaming.
For storage, insert the M.2 SSD at a 30-degree angle into the slot, secure with the screw. Why it matters: Correct RAM installation boosts frame rates; SSD ensures fast load times in games.
Success: RAM modules fully seated (even with the board), SSD flush and screwed in, no gaps.
💡 Tips:
- •Test RAM outside the case first if possible.
- •Add a heatsink to SSD for sustained speeds.
⚠️ Warnings:
- •Force-fitting RAM can crack the PCB—align first.
Step 5: Mount the Motherboard in the PC Case
Install standoffs in the case matching motherboard holes (usually pre-installed). Place the I/O shield in the case rear, then lower the motherboard onto standoffs and screw it in (don't overtighten).
Why it matters: Secure mounting prevents vibrations and shorts during intense gaming. Route any front-panel cables (power, USB) through case grommets now.
Expect 6-9 screws; success is a level board with all ports accessible, no bending.
💡 Tips:
- •Use a screwdriver extension for tight spaces.
- •Label cables for easier reconnection.
⚠️ Warnings:
- •Missing standoffs can short the board on the case metal.
Step 6: Install the Power Supply and GPU
Mount the PSU in the case bottom or top, secure with screws, and don't connect cables yet. For the GPU, remove PCIe slot covers, insert into the top slot (clicks in), and secure with screw. If large, support with a bracket.
Why it matters: PSU powers everything reliably; GPU handles graphics rendering for smooth gameplay. Use modular cables for tidiness.
Success: GPU fully seated (fans unobstructed), PSU vents clear for airflow.
💡 Tips:
- •Choose a PSU with the right connectors (e.g., 8-pin for GPU).
- •Install GPU last to avoid case conflicts.
⚠️ Warnings:
- •Undersized PSU causes instability—calculate wattage needs.
Step 7: Connect Cables and Manage Wiring
Connect PSU cables: 24-pin to motherboard, 8-pin CPU power, SATA for storage, and PCIe for GPU. Attach case front-panel (power/reset/LEDs) to motherboard headers—consult manual for pinout.
Use zip ties to bundle cables behind the motherboard tray for airflow. Why it matters: Clean wiring prevents overheating and improves cooling efficiency in long gaming sessions.
Success: All essential connections made, no loose wires touching fans; power up outside case first to test.
💡 Tips:
- •Follow motherboard manual diagrams exactly.
- •Leave space for future upgrades.
⚠️ Warnings:
- •Wrong polarity on front-panel can brick headers—double-check.
Step 8: Test Boot and Install OS
Connect monitor to GPU (not motherboard), plug in power, and press the case power button. Enter BIOS (Del/F2) to verify CPU/RAM detection. If POSTs, shut down and close the case.
Boot from USB with Windows installer (create via Microsoft's tool). Install OS, drivers from manufacturer sites. Why it matters: Early testing catches issues before full assembly.
Success: BIOS screen appears, OS installs without errors, benchmarks show expected FPS in games.
💡 Tips:
- •Update BIOS if needed for new CPU.
- •Run stress tests like Prime95 post-build.
⚠️ Warnings:
- •No display? Check GPU seating and cables first.
▸Pro Tips
- •Budget for RGB if aesthetics matter, but prioritize performance.
- •Buy from sellers with good return policies for DOA parts.
- •Airflow is key—add intake/exhaust fans for cooler temps during gaming.
- •Use thermal paste sparingly; too much hinders heat transfer.
- •Test components in 'breadboard' mode (outside case) to isolate issues.
- •Overclock later once stable; start with stock settings.
- •Document your build with photos for future reference.
▸Common Mistakes to Avoid
- •Forgetting to update BIOS, causing CPU incompatibility—always check motherboard site pre-build.
- •Overtightening screws, which warps the motherboard—use hand pressure only.
- •Poor cable management leading to airflow blocks and thermal throttling in games.
- •Skipping static protection, risking component damage—touch metal often.
- •Underspeccing PSU, resulting in crashes—use online calculators.
▸Troubleshooting
Problem: No power or POST
Solution: Check PSU switch and connections; reseat RAM/CPU. Test with minimal components (CPU, RAM, GPU only).
Problem: Overheating during gaming
Solution: Reapply thermal paste; improve case fans. Monitor temps with HWMonitor—aim under 80°C.
Problem: Blue screen or crashes
Solution: Run MemTest86 for RAM issues; update drivers. Ensure PSU wattage suffices.
Problem: No display output
Solution: Connect to GPU, not mobo; try different cable/port. Seek pro help if hardware suspected faulty.
AMD Ryzen 5 7600 Processor
Excellent mid-range CPU for gaming with 6 cores, handling modern titles at high frame rates without breaking the bank.
Best for: Core of your build for multitasking and gaming; pairs well with RTX GPUs.
Price Range: $200-$230
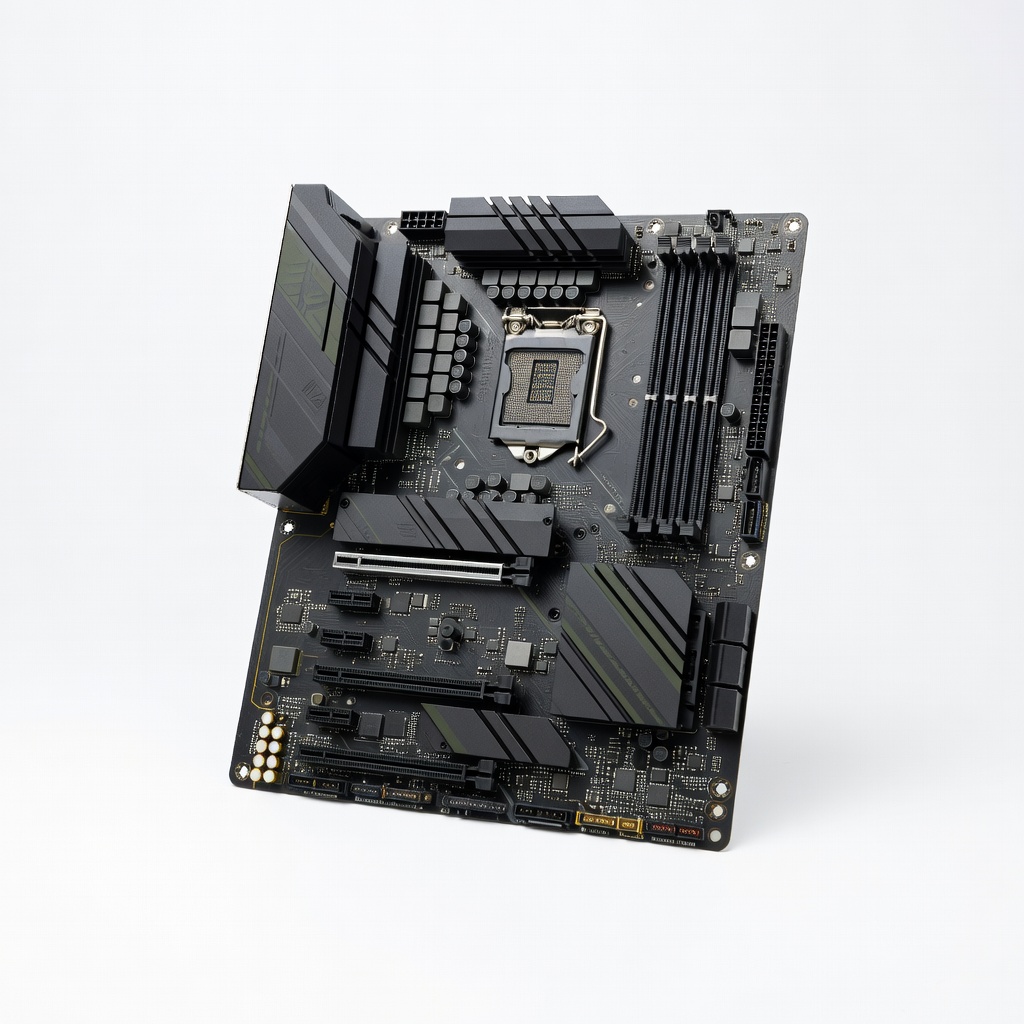
ASUS TUF Gaming B650-Plus WiFi Motherboard
Reliable AM5 board with strong VRM for overclocking and multiple M.2 slots for fast storage.
Best for: Base for Ryzen builds; includes WiFi for easy setup without extra adapters.
Price Range: $180-$220
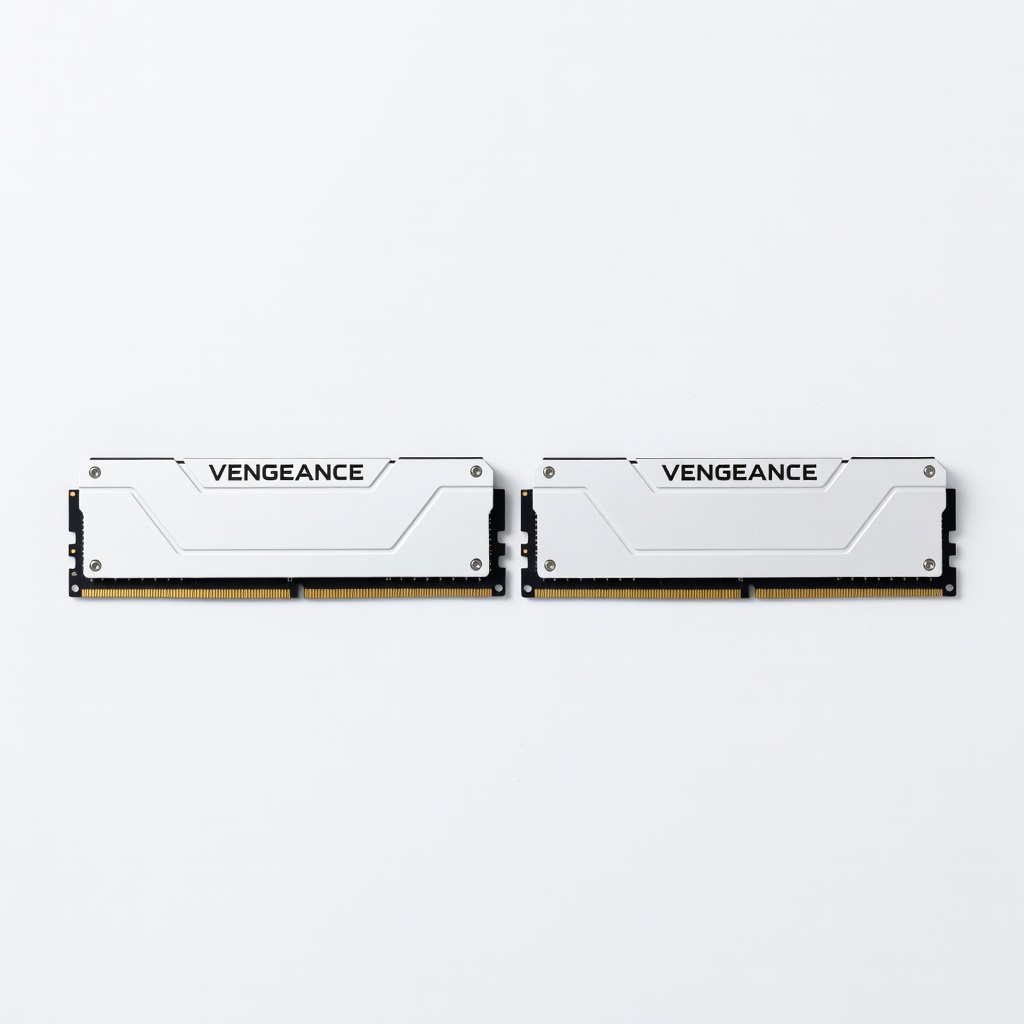
Corsair Vengeance 32GB (2x16GB) DDR5 RAM
High-speed DDR5 kit for future-proofing, ensuring smooth gameplay in memory-intensive games like Flight Simulator.
Best for: Essential for 1440p gaming; dual-channel setup doubles bandwidth.
Price Range: $100-$120
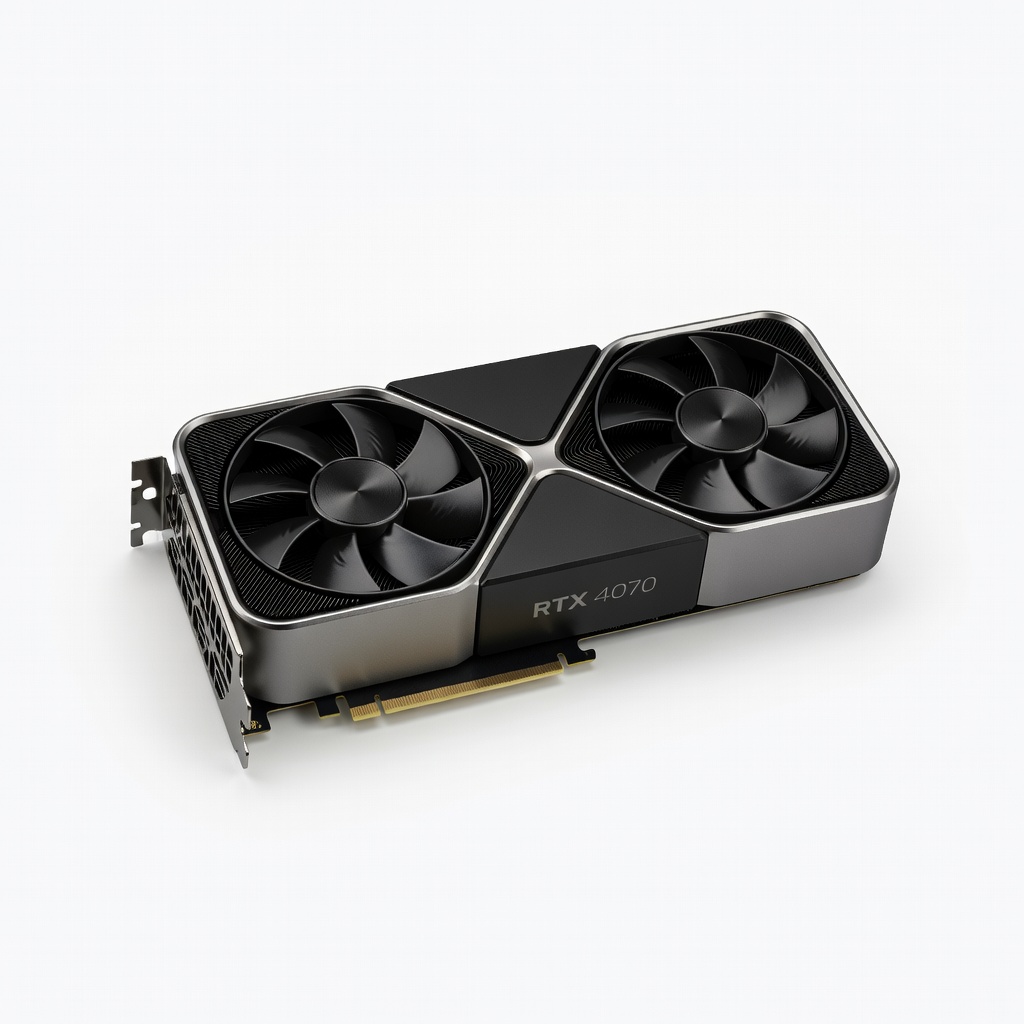
NVIDIA GeForce RTX 4070 Founders Edition
Powerful GPU with ray tracing and DLSS for stunning visuals in games like Elden Ring at 1440p.
Best for: Graphics powerhouse; ideal for mid-to-high end builds needing 60+ FPS.
Price Range: $500-$600
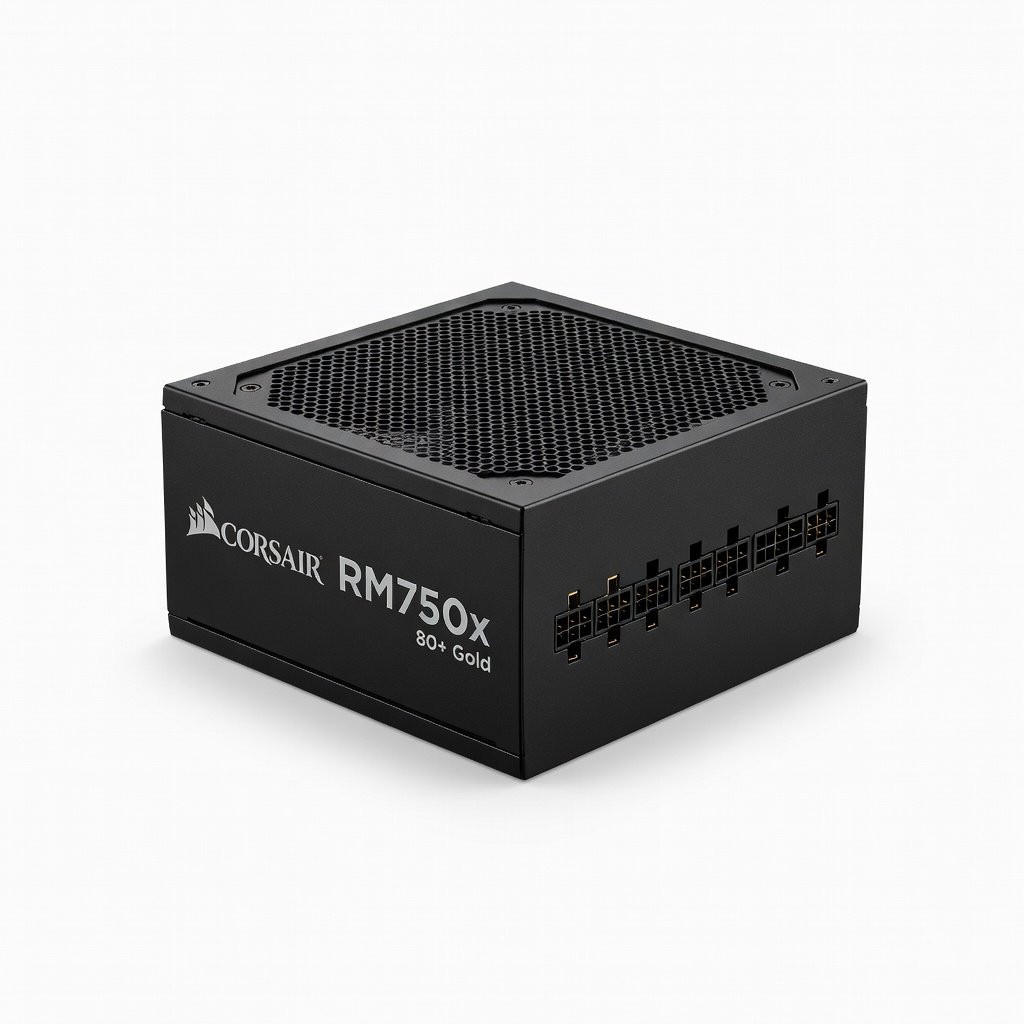
Corsair RM750x 750W 80+ Gold PSU
Modular, efficient power supply with headroom for upgrades, ensuring stable delivery to GPU and CPU.
Best for: Powers demanding gaming setups reliably; Gold rating saves on electricity.
Price Range: $110-$130