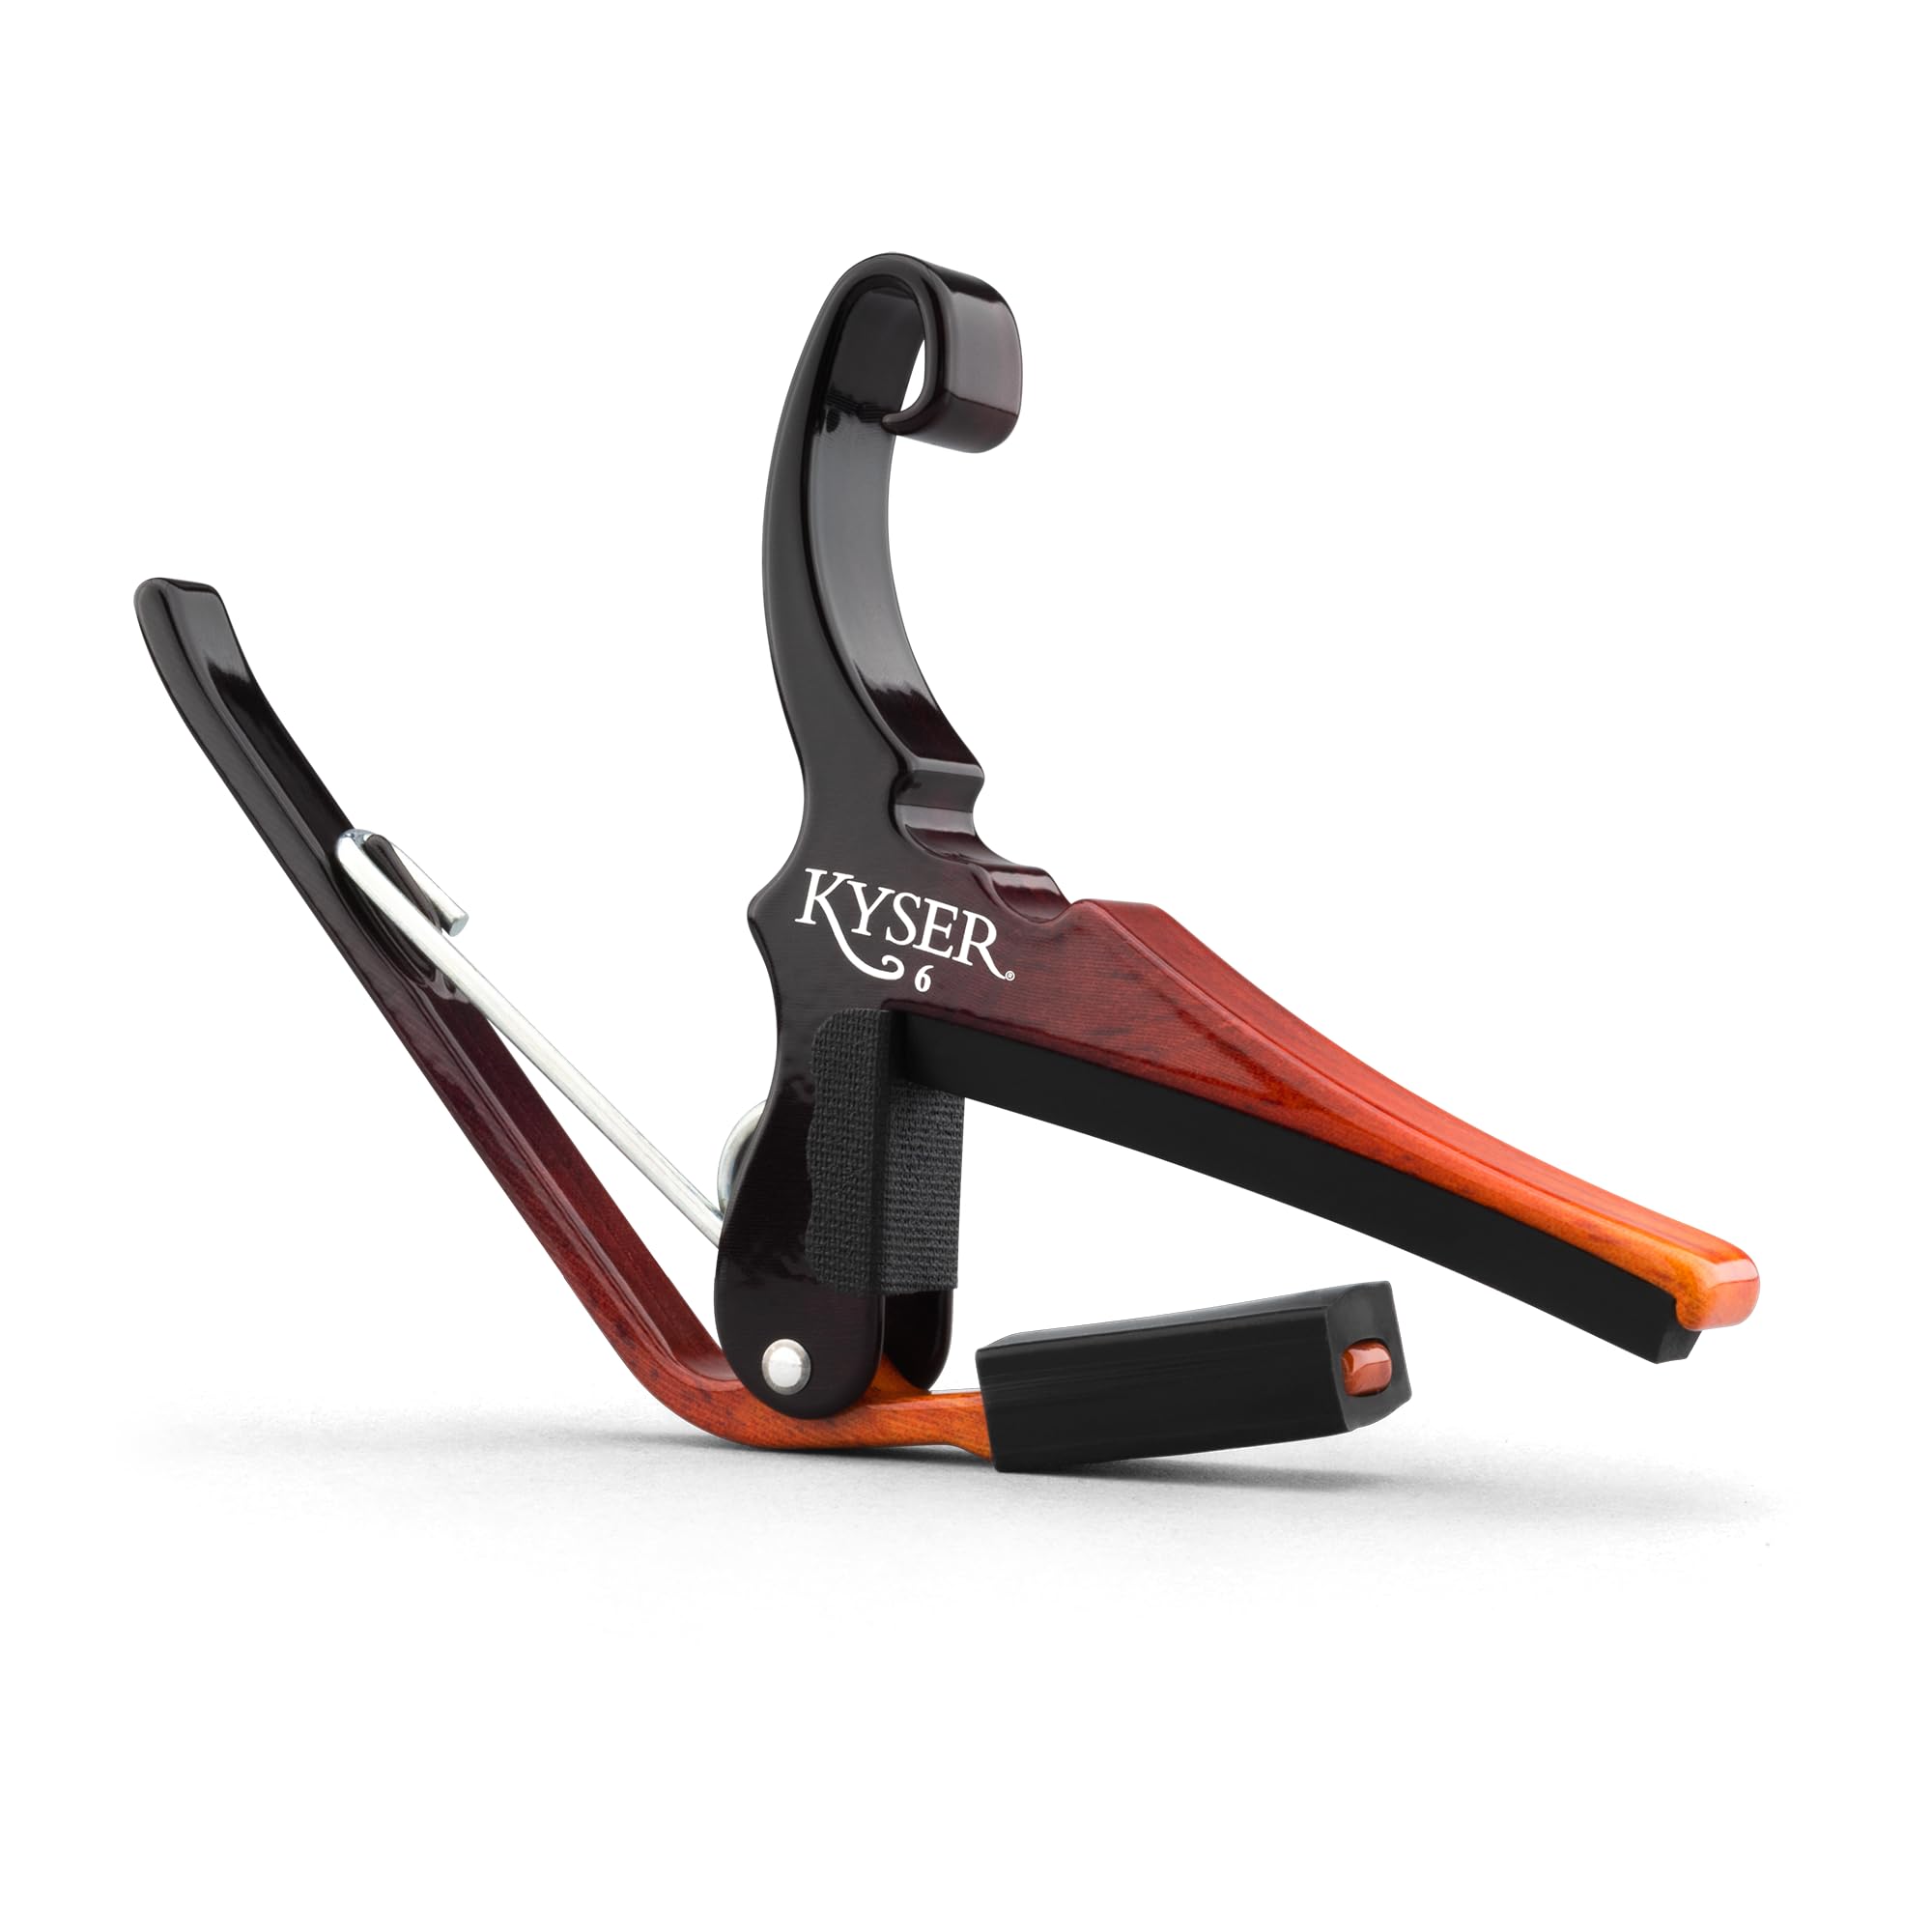
Kyser Quick-Change Capo (Acoustic)
Gigging or frequent key changes—quick apply/remove without tuning tweaks.
$20-25
Kyser Quick-Change Capo (Acoustic) Spring-loaded for instant on/off, far superior to DIY for daily use with perfect tension.
Get the App
Better experience on mobile
Craft a simple, effective capo using pencils and rubber bands to transpose keys on your acoustic guitar in under 10 minutes—no tools required.
Forgetting your capo mid-jam session is a beginner's nightmare, especially when you're excited to play songs in higher keys on your acoustic guitar. Store-bought capos cost money and aren't always handy, but you can build a reliable one from everyday household items. This DIY solution provides even pressure across the strings, mimicking professional capos without damaging your guitar neck.
In this guide, you'll learn a foolproof method using two pencils and rubber bands to create a clamp-style capo. It's adjustable, reusable, and perfect for impromptu practice. The whole process takes just 5-10 minutes and requires zero prior crafting skills.
Expect a functional capo that lets you capo up to the 5th fret easily. It's not as polished as pro models but great for emergencies or budget-conscious beginners.
Estimated Time: 5-10 minutes Difficulty: beginner
Collect your two pencils and rubber bands. Choose pencils of the same size and shape—hexagonal ones grip better and distribute pressure evenly. Test the rubber bands by stretching them; they should be strong but not brittle to avoid snapping during use.
Inspect the pencils for splinters or rough edges, which could scratch your guitar. This prep ensures safety and smooth clamping. Success looks like clean, uniform materials ready on a table next to your guitar.
Why it matters: Matching items prevent uneven tension, which causes buzzing strings.
💡 Tips:
⚠️ Warnings:
Lightly sand or shave any rough spots on the pencils using sandpaper or a knife. Focus on the flat sides that will contact the strings and neck—these areas need to be smooth to avoid dents or marks.
Wipe away dust with a cloth. This step takes 1-2 minutes but prevents long-term guitar damage. Your pencils should now feel glassy smooth to the touch.
Pro tip: Hexagonal flats provide natural padding; no need for extra rubber unless pencils are round.
💡 Tips:
⚠️ Warnings:
Hold your acoustic guitar neck comfortably. Place the first pencil parallel to a fret (start with the 2nd or 3rd for testing), behind the neck, about 1/4 inch from the nut side. It should rest flat against the wood, not touching the headstock.
This pencil acts as the anchor. Ensure it's straight—use your eye or a straightedge if needed. Success: Pencil stays put when you let go briefly.
💡 Tips:
Lay the second pencil over the strings directly in front of the back pencil, aligned parallel at the same fret position. Press lightly—it should barre all strings evenly without gaps.
The distance between pencils should match your neck's width (about 1.5-2 inches). This setup forms the clamp jaws. Check for straight alignment by sighting down the neck.
💡 Tips:
⚠️ Warnings:
Take two rubber bands. Loop one around both pencils at one end (near the high E string side), stretching it firmly so pencils squeeze together. Repeat with the second band right next to it for double strength.
Move to the other end (low E side) and repeat with two more bands. Stretch evenly—capo should clamp snugly but adjustable. Success: Strings are fretted cleanly; capo doesn't slide when strummed lightly.
Why even bands matter: Prevents twisting and ensures intonation stays accurate.
💡 Tips:
⚠️ Warnings:
Strum open chords (E, A, D). Listen for clear notes—no buzz or dead strings. Capo should hold position. If loose, add a band or shorten distance; if too tight, remove one or loosen.
Retune the guitar (capoing raises pitch by 1-2 semitones per fret). Play a song in G— it should sound like A with capo on 2nd fret. Success: Buzz-free play across all strings.
Your DIY capo is ready! Remove by cutting bands if needed, or slide off.
💡 Tips:
⚠️ Warnings:
Problem: Capo slips down the neck
Solution: Add an extra rubber band per side or use thicker bands. Ensure pencils are perpendicular to neck.
Problem: Buzzing or dead strings
Solution: Loosen slightly and realign for even pressure. Check pencil smoothness.
Problem: Rubber bands snap
Solution: Replace with fresh #32 postal bands. Avoid extreme stretching.
Problem: Intonation off (notes sharp/flat)
Solution: Move capo closer to bridge or retune after capoing. Test with tuner.
Spring-loaded for instant on/off, far superior to DIY for daily use with perfect tension.
Best for: Gigging or frequent key changes—quick apply/remove without tuning tweaks.
Price Range: $20-25
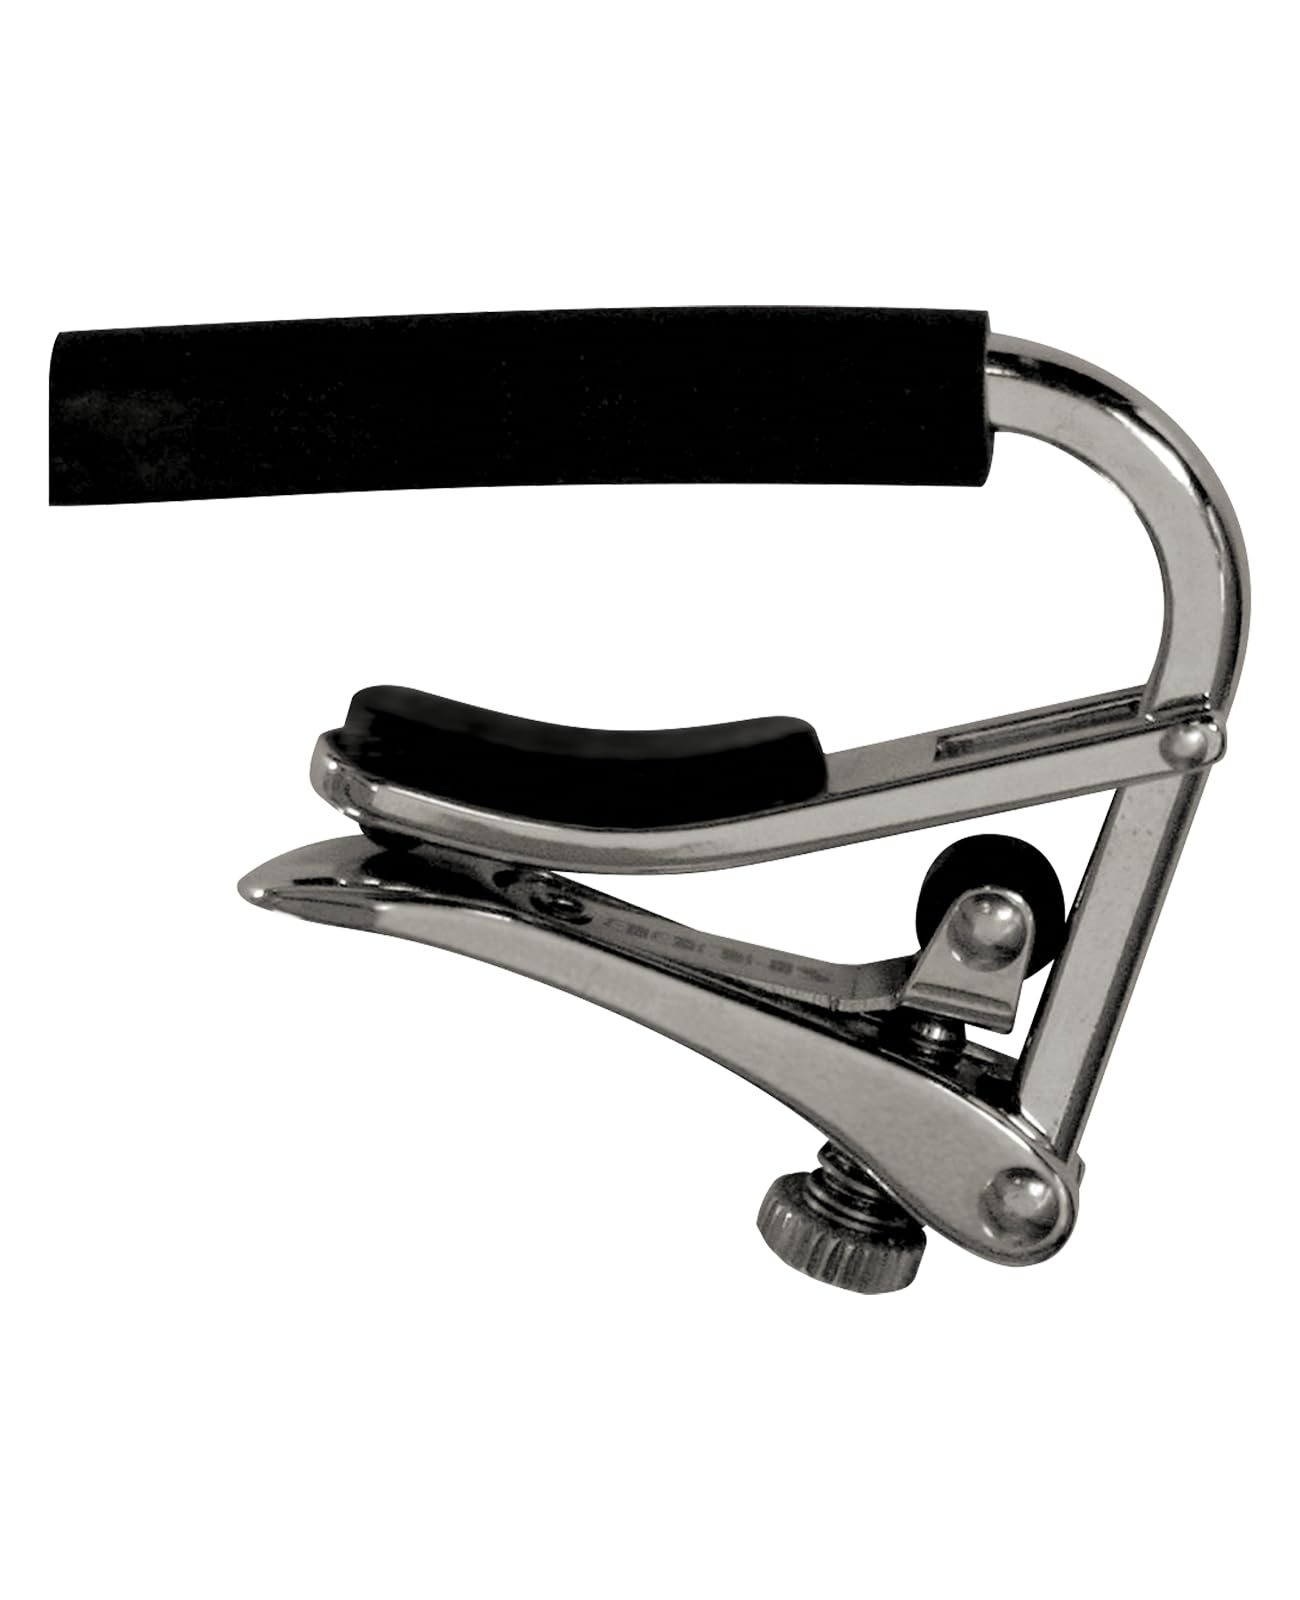
Adjustable tension screw ensures buzz-free barring; rubber pad protects finish—pro standard.
Best for: Studio recording or precise transposing on acoustic guitars.
Price Range: $18-22
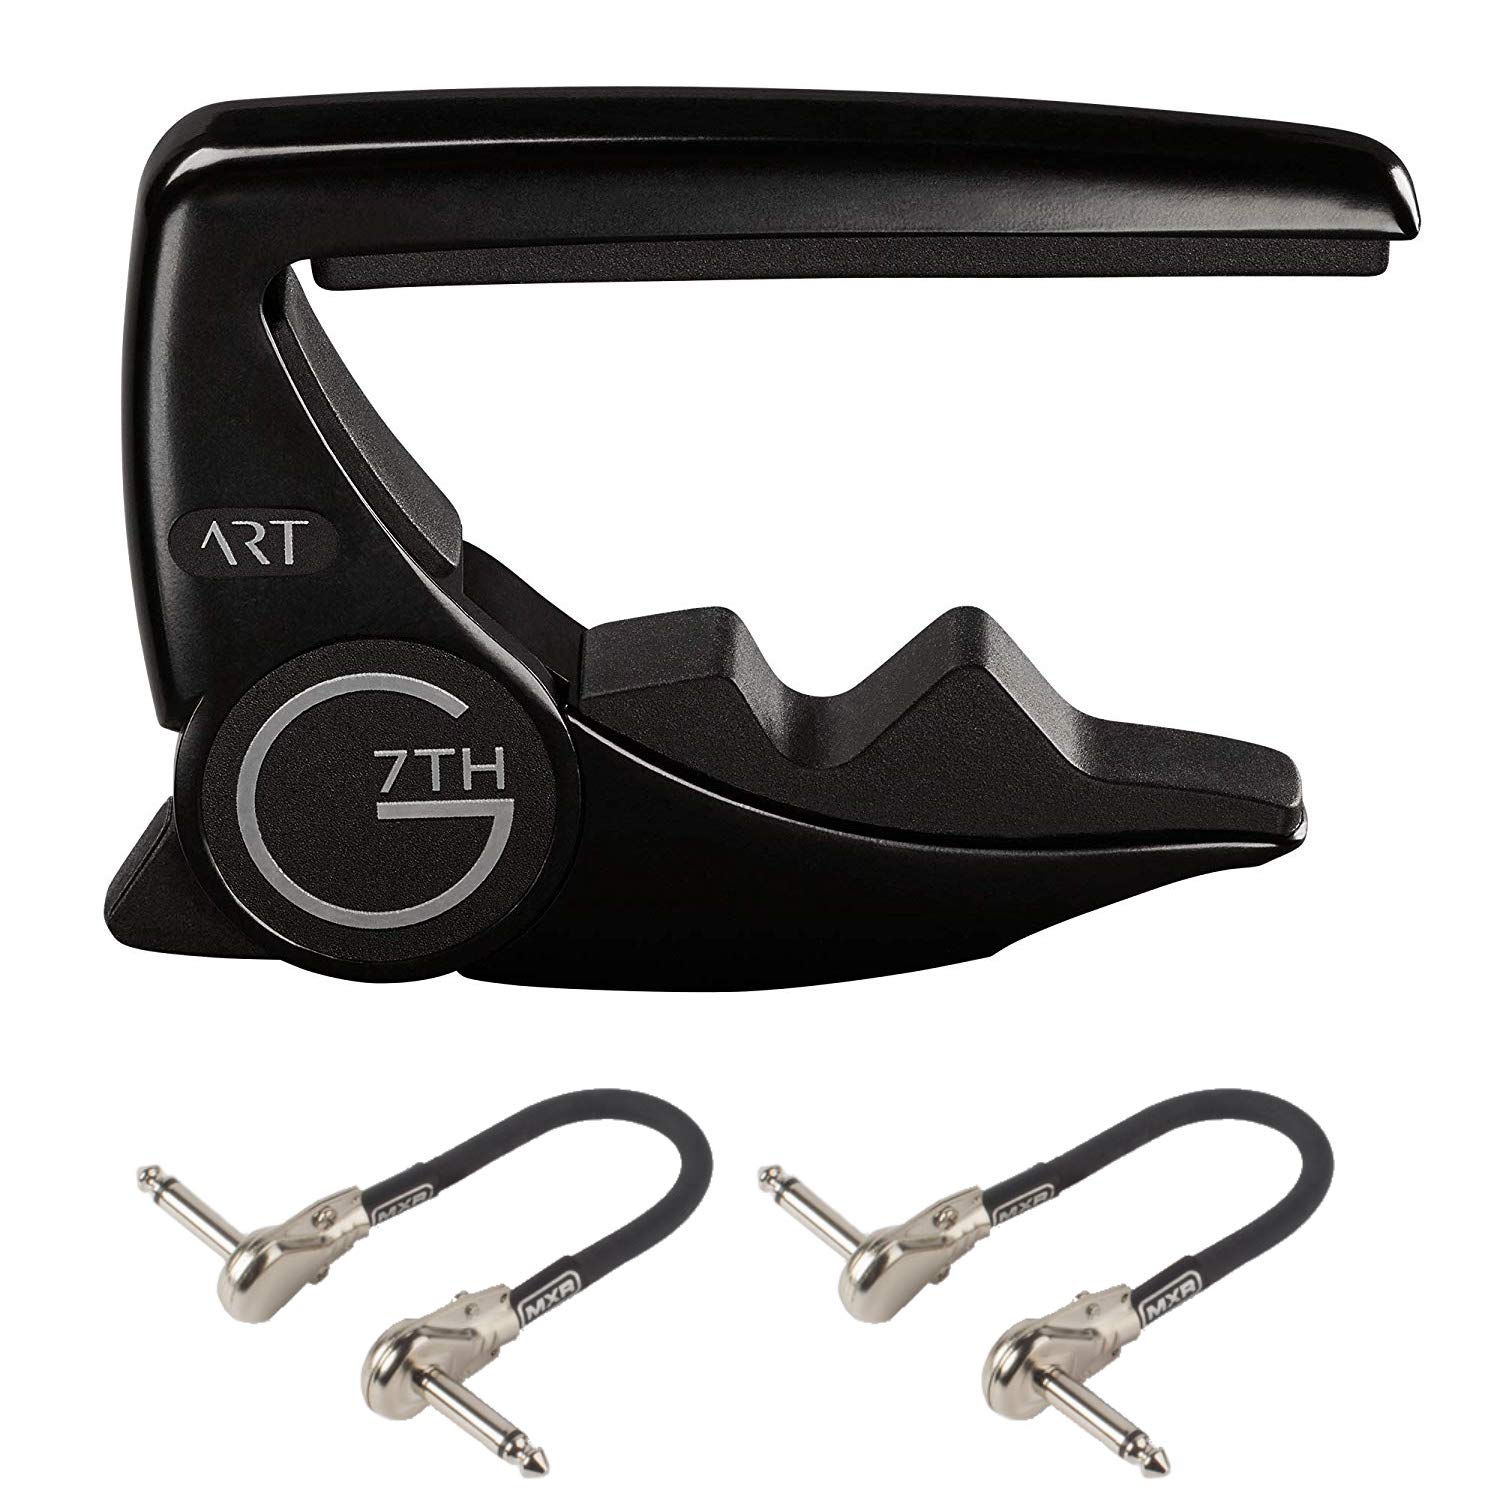
Adaptive radius technology fits any neck perfectly; lightweight aluminum build.
Best for: Players with multiple guitars needing one versatile capo.
Price Range: $45-55
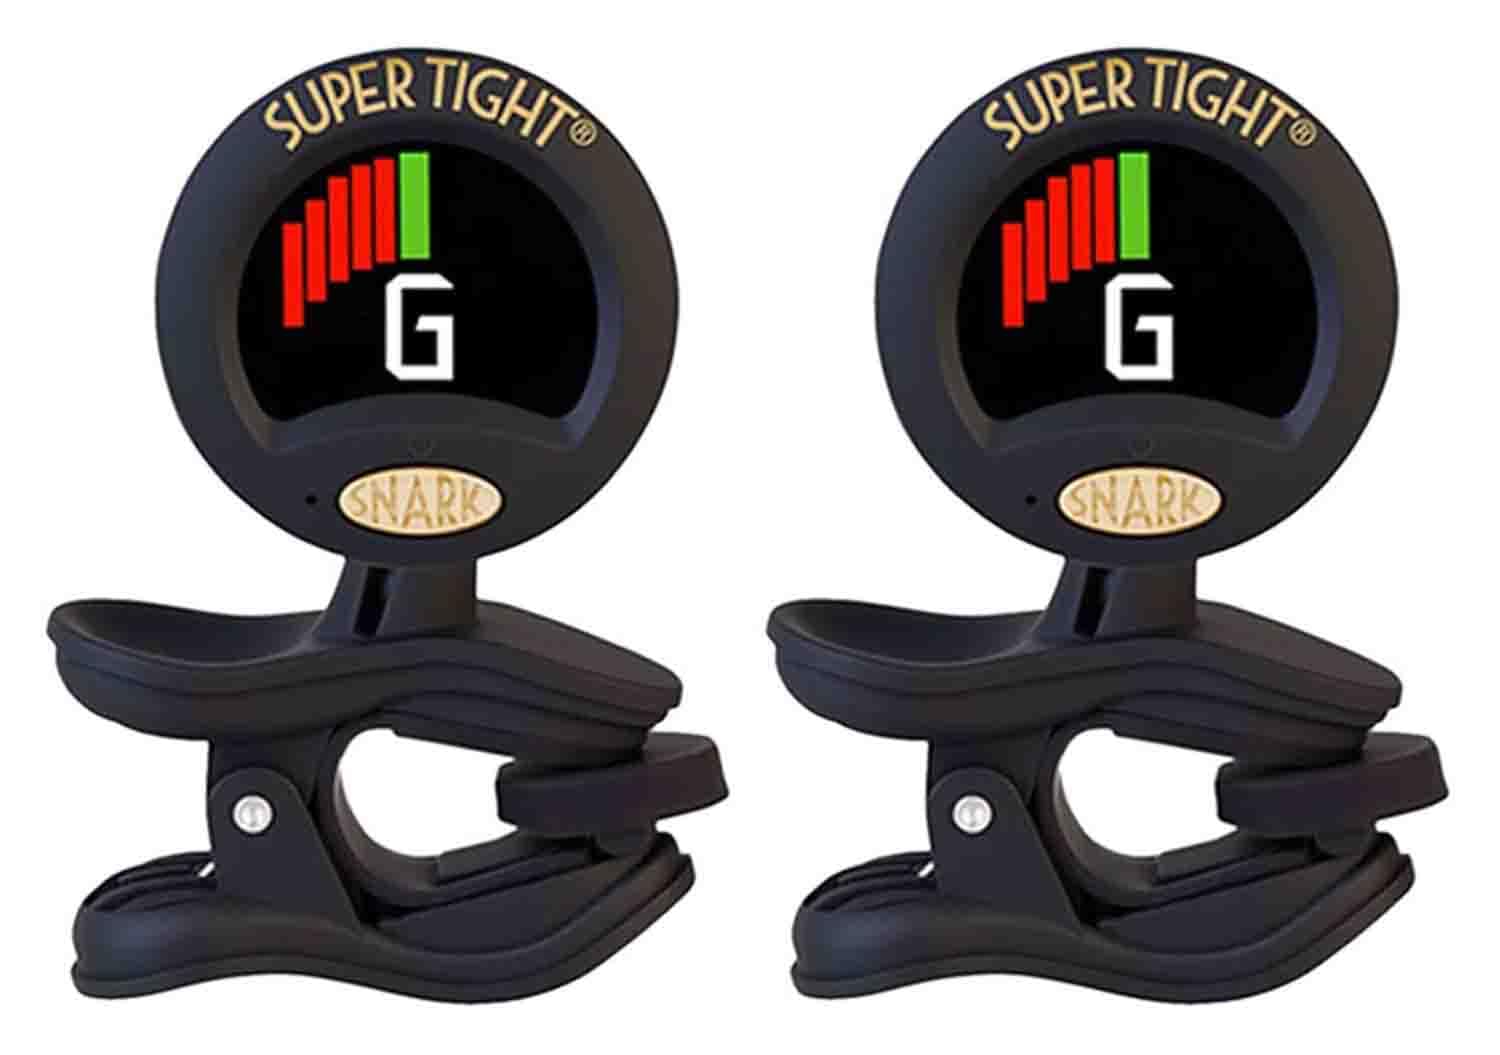
Essential companion for retuning after capoing; accurate and vibration-based.
Best for: Quick tuning checks post-DIY or pro capo use.
Price Range: $12-16
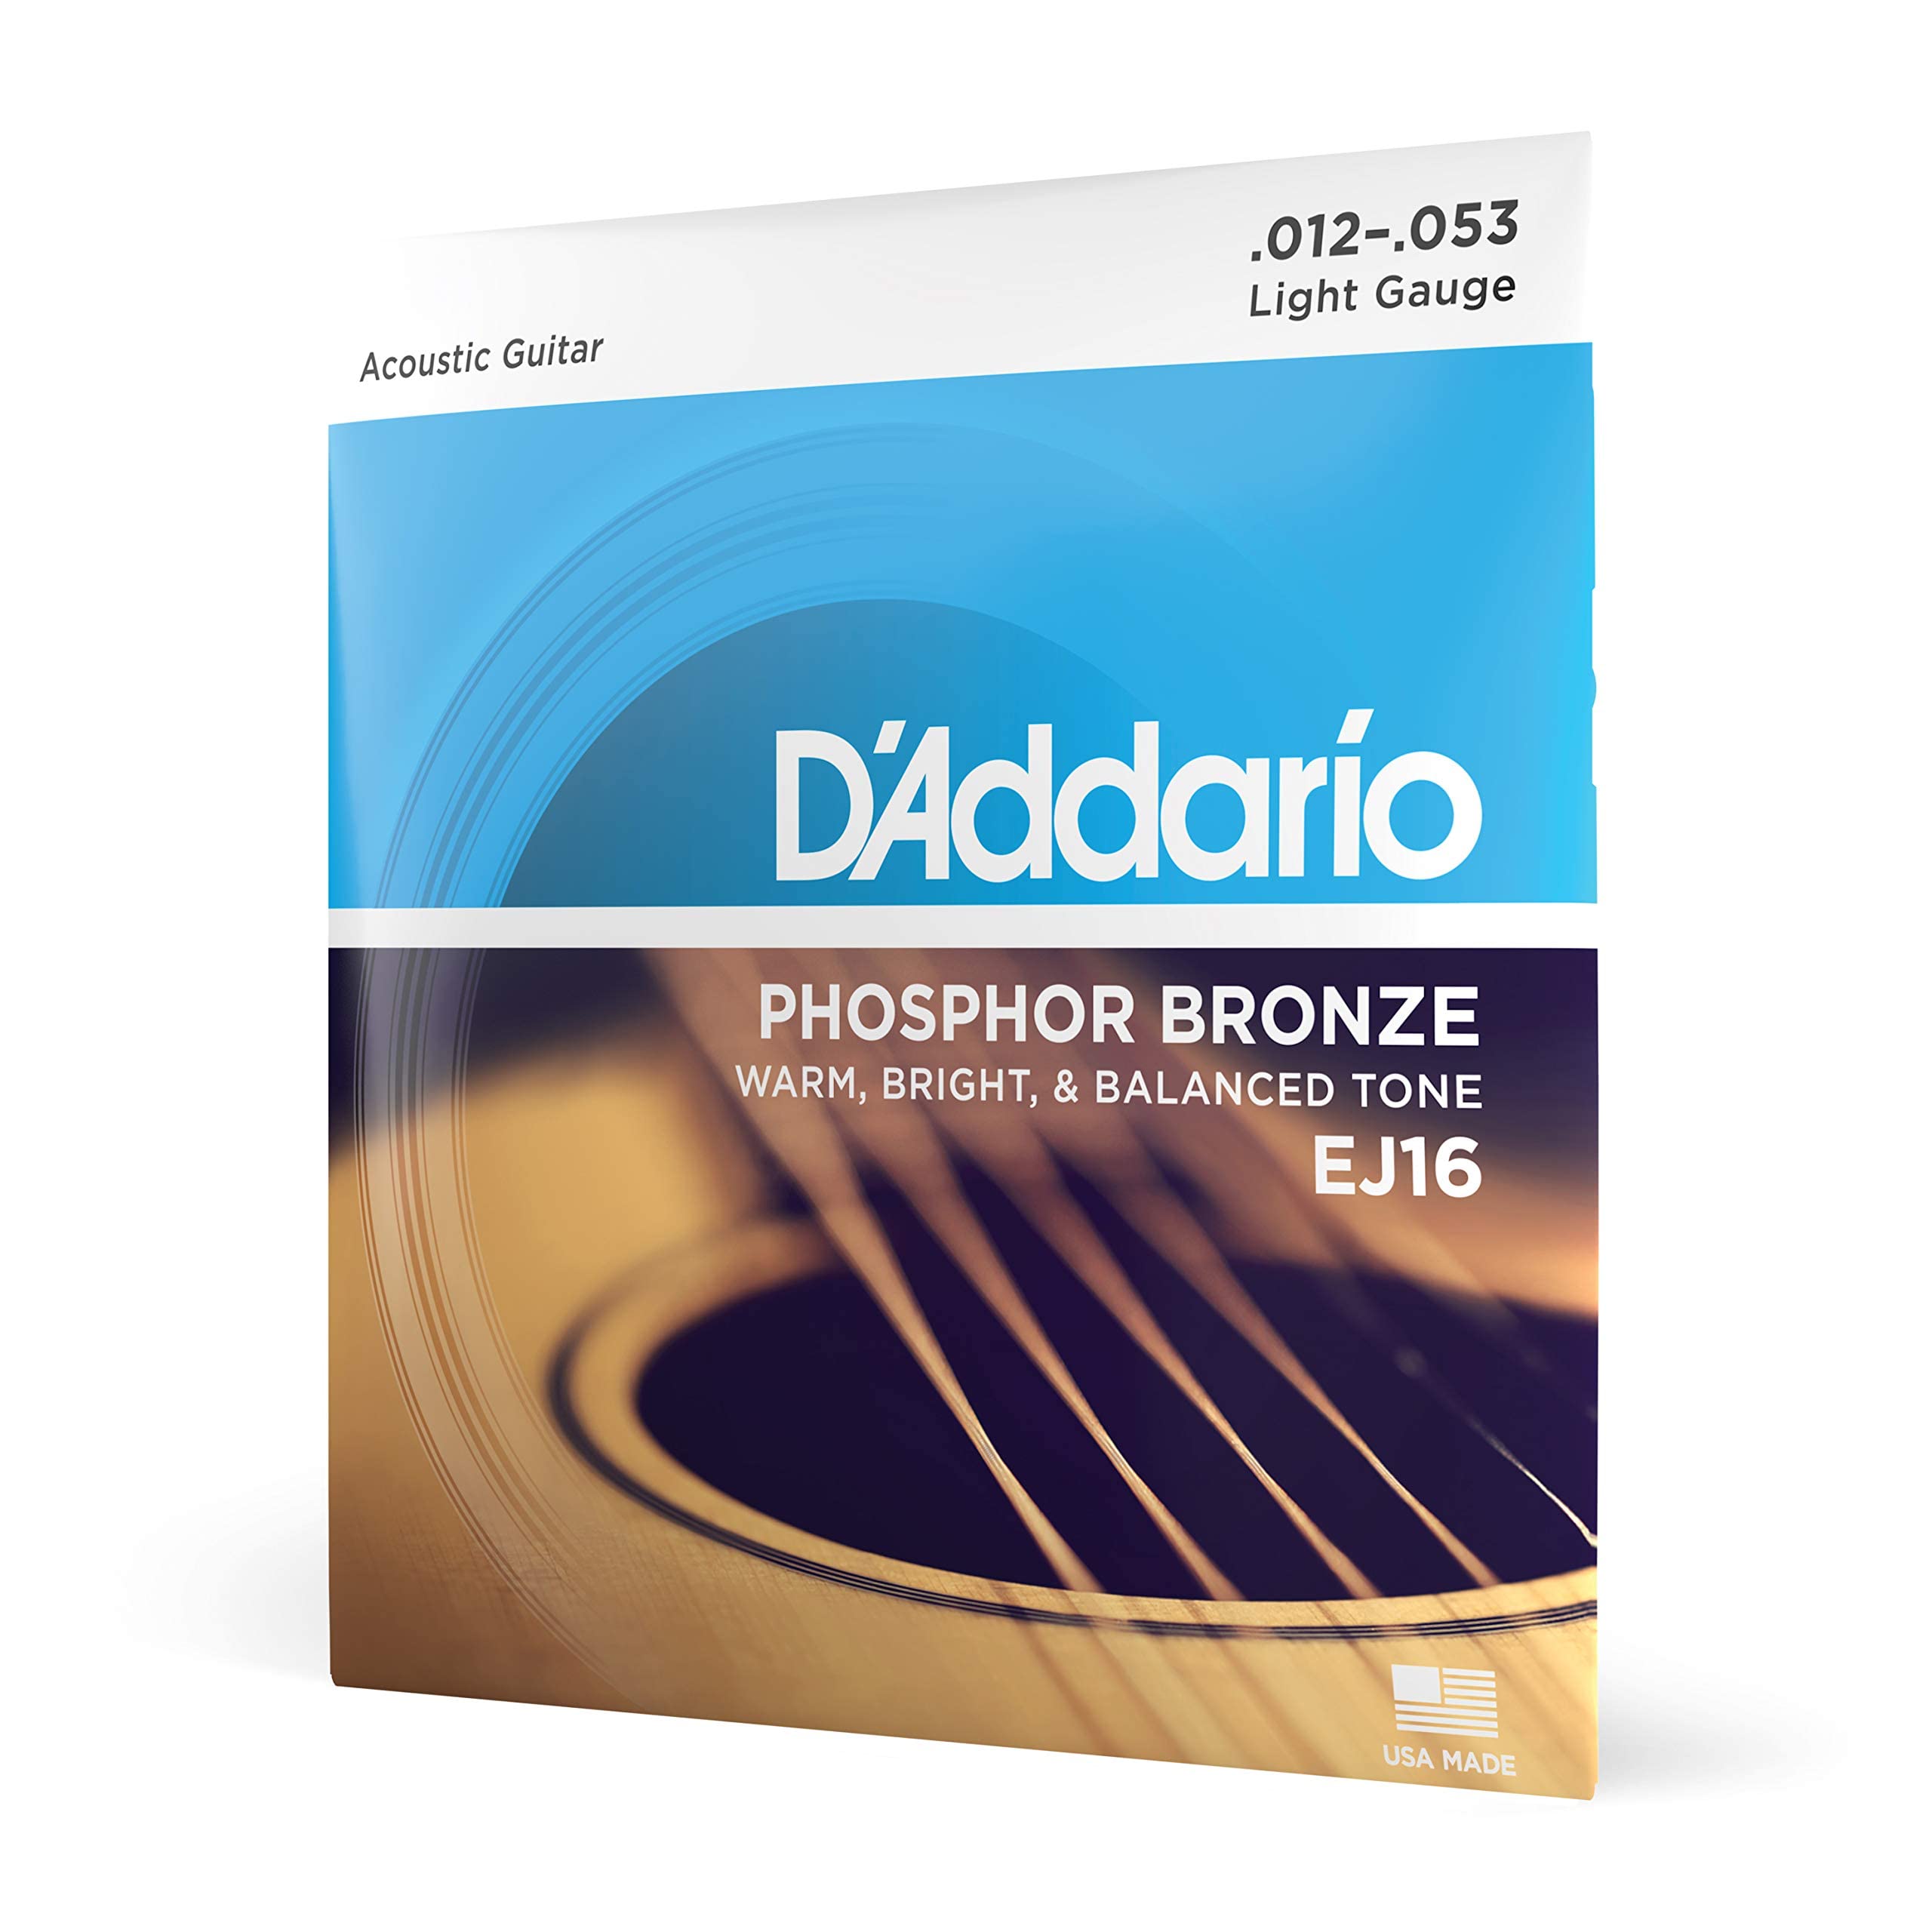
Fresh strings pair perfectly with capos for bright tone; light gauge for easy bending.
Best for: Upgrade setup after building DIY tools.
Price Range: $8-12
Gigging or frequent key changes—quick apply/remove without tuning tweaks.
Kyser Quick-Change Capo (Acoustic) Spring-loaded for instant on/off, far superior to DIY for daily use with perfect tension.
Studio recording or precise transposing on acoustic guitars.
Shubb C1 Original Capo Adjustable tension screw ensures buzz-free barring; rubber pad protects finish—pro standard.
Players with multiple guitars needing one versatile capo.
G7th Performance 3 Capo ART Adaptive radius technology fits any neck perfectly; lightweight aluminum build.
Quick tuning checks post-DIY or pro capo use.
Snark ST-8HZ Clip-On Tuner Essential companion for retuning after capoing; accurate and vibration-based.
Upgrade setup after building DIY tools.
D'Addario EJ16 Phosphor Bronze Acoustic Strings Fresh strings pair perfectly with capos for bright tone; light gauge for easy bending.