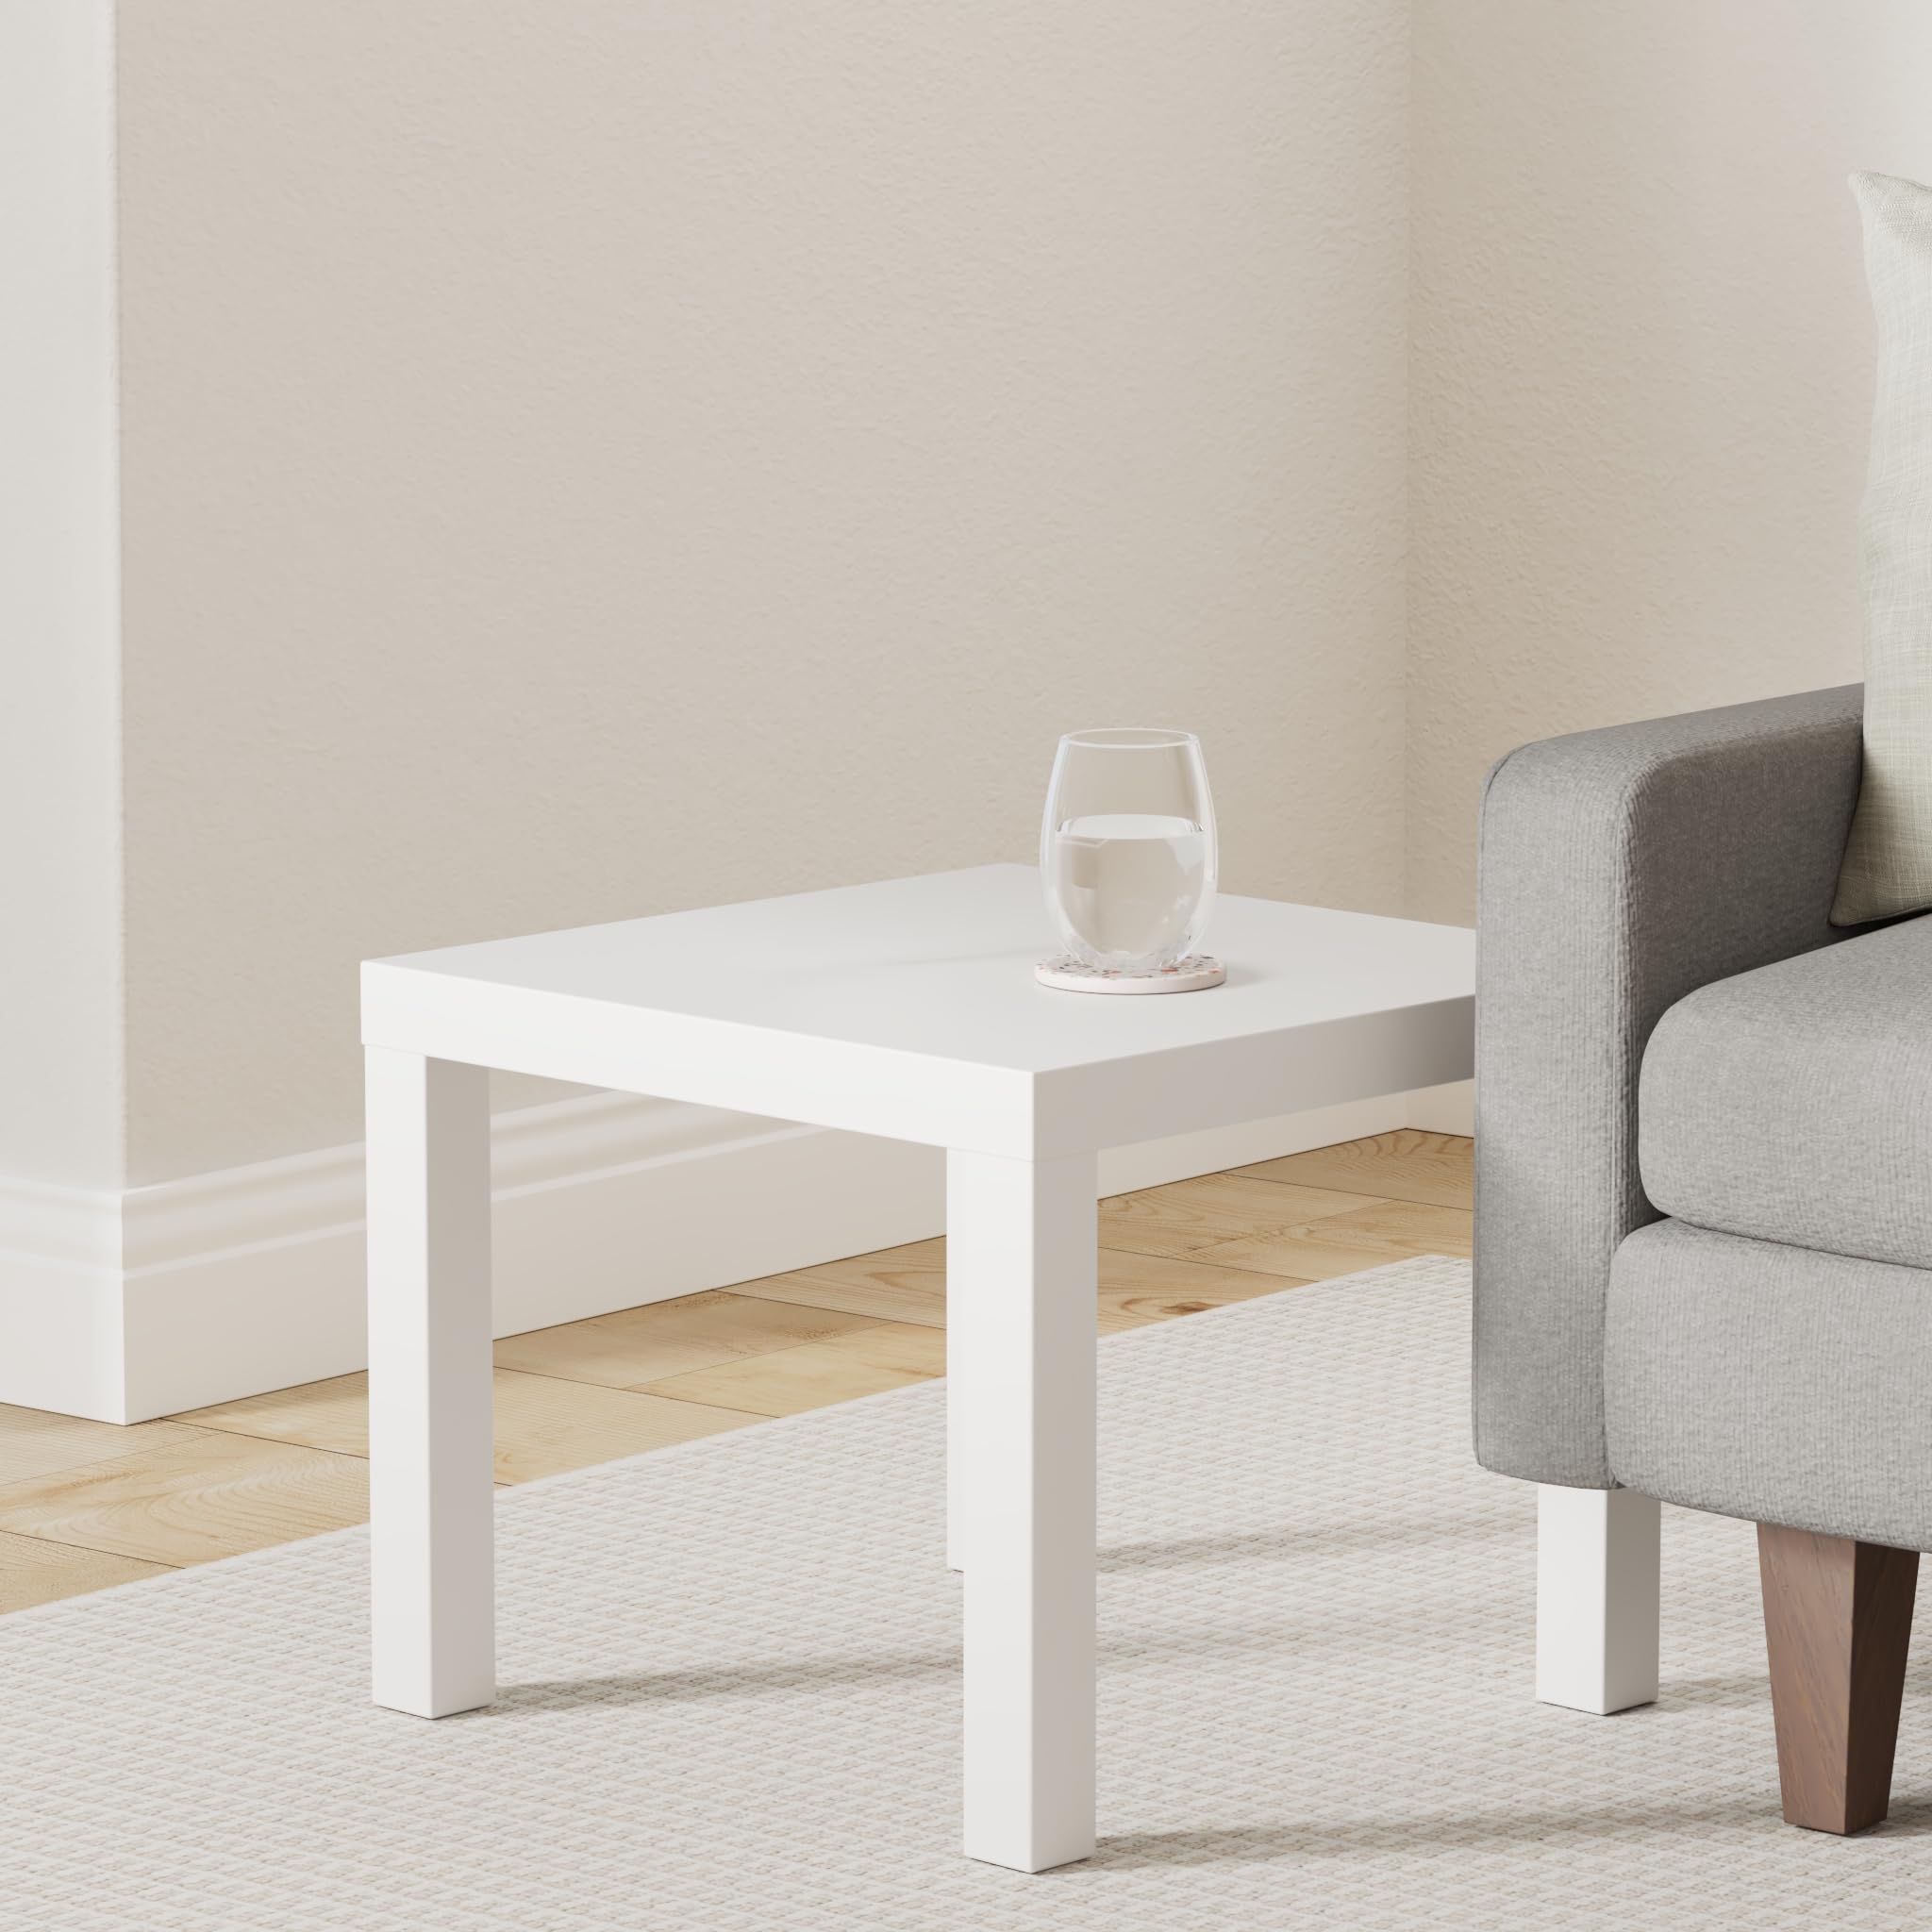
IKEA LACK Side Table, White
Buy 2 for base and lid; trim to fit your printer.
$12.99
IKEA LACK Side Table, White Perfect cheap, rigid base/top panels for enclosure frame – honeycomb design is lightweight yet strong.
Get the App
Better experience on mobile
Create a safe, noise-reducing enclosure for your 3D printer using IKEA hacks for under $50 in 2-3 hours – perfect for beginners.
Struggling with noisy 3D prints, warping from drafts, or safety concerns like hot parts? A proper enclosure stabilizes temperatures, muffles sound, and protects your space. This budget DIY guide uses affordable IKEA parts to build one that fits most printers like Ender 3.
You'll learn step-by-step to assemble a sturdy acrylic enclosure with ventilation. No advanced skills needed – just basic tools. Expect a ventilated box improving print quality by 30-50%.
Total build time: 2-3 hours. Cost: $30-50. Difficulty: Beginner-friendly with tips to avoid pitfalls.
Estimated Time: 2-3 hours Difficulty: beginner
Start by measuring your 3D printer's dimensions (width, depth, height with extruder raised). Add 2-4 inches clearance on all sides for airflow and access. Typical Ender 3 needs ~24"x24"x24" enclosure.
Sketch a simple box: base and top from LACK tables (18x18" after trimming), sides/back from acrylic. Why? Ensures fit and ventilation. Success: Diagram with exact cuts listed.
💡 Tips:
⚠️ Warnings:
Unpack two IKEA LACK tables. Flip one upside down for base – drill 4-8 holes in corners for mounting brackets. Trim edges if needed with jigsaw for custom fit.
Second table becomes top: Cut a 5-6" hole centered for fan duct. Sand edges smooth. Why LACK? Cheap, rigid honeycomb core. Success: Flat panels ready for assembly.
💡 Tips:
Mark and cut acrylic: two sides (18"H x 22"W), one back (18"H x 18"W), one door (18"H x 18"W). Score with utility knife and snap, or use jigsaw with fine blade.
Why acrylic? Transparent, heat-resistant to 200°F. Test fit on base. Success: Clean-edged panels that slot perfectly.
⚠️ Warnings:
Attach corner brackets to base edges using screws. Stand sides and back vertically, secure with brackets to form U-shape. Ensure 90° angles with square tool.
Why brackets? Provides rigidity without welding. Success: Stable frame holding shape without wobble.
💡 Tips:
Screw or silicone side/back panels into brackets. Leave small gap at bottom for cables. Add weatherstripping to edges for light seal.
Why seal? Retains heat/humidity. Success: Panels secure, no rattles when shaken.
Attach piano hinges to one front edge of frame and door panel. Align for smooth open/close. Add magnetic latch opposite.
Test swing – should open 90-120°. Success: Easy-access door that latches securely.
⚠️ Warnings:
Mount 120mm fan to top hole (intake/exhaust based on printer). Wire to printer's fan port or external 12V supply. Add duct if needed.
Why ventilate? Removes fumes/heat buildup. Success: Fan spins quietly, good airflow.
💡 Tips:
Apply silicone to all seams. Optional: Line interior with foam. Place printer inside, secure with straps. Power on for test print.
Success: Enclosure warms evenly, no drafts, quiet operation.
⚠️ Warnings:
Problem: Door doesn't close properly
Solution: Adjust hinges or plane edges; add shims to frame.
Problem: Excessive noise or vibration
Solution: Add rubber feet to base; secure printer firmly.
Problem: Poor temperature stability
Solution: Improve seals and insulation; monitor with thermometer.
Problem: Fan not working
Solution: Check polarity and voltage; use separate PSU if needed.
Perfect cheap, rigid base/top panels for enclosure frame – honeycomb design is lightweight yet strong.
Best for: Buy 2 for base and lid; trim to fit your printer.
Price Range: $12.99
Quiet, high-CFM fan ideal for safe fume extraction without noise.
Best for: Mount on top for exhaust; connects to most 3D printer controllers.
Price Range: $8.99
Durable, transparent, and heat-resistant alternative to acrylic.
Best for: Cut for sides/door; scratches less than plexiglass.
Price Range: $19.99
Heavy-duty for repeated door use without sagging.
Best for: Attaches door smoothly to frame.
Price Range: $9.99
Secure door closure without drilling extras.
Best for: Keeps enclosure sealed during prints.
Price Range: $6.99
Buy 2 for base and lid; trim to fit your printer.
IKEA LACK Side Table, White Perfect cheap, rigid base/top panels for enclosure frame – honeycomb design is lightweight yet strong.
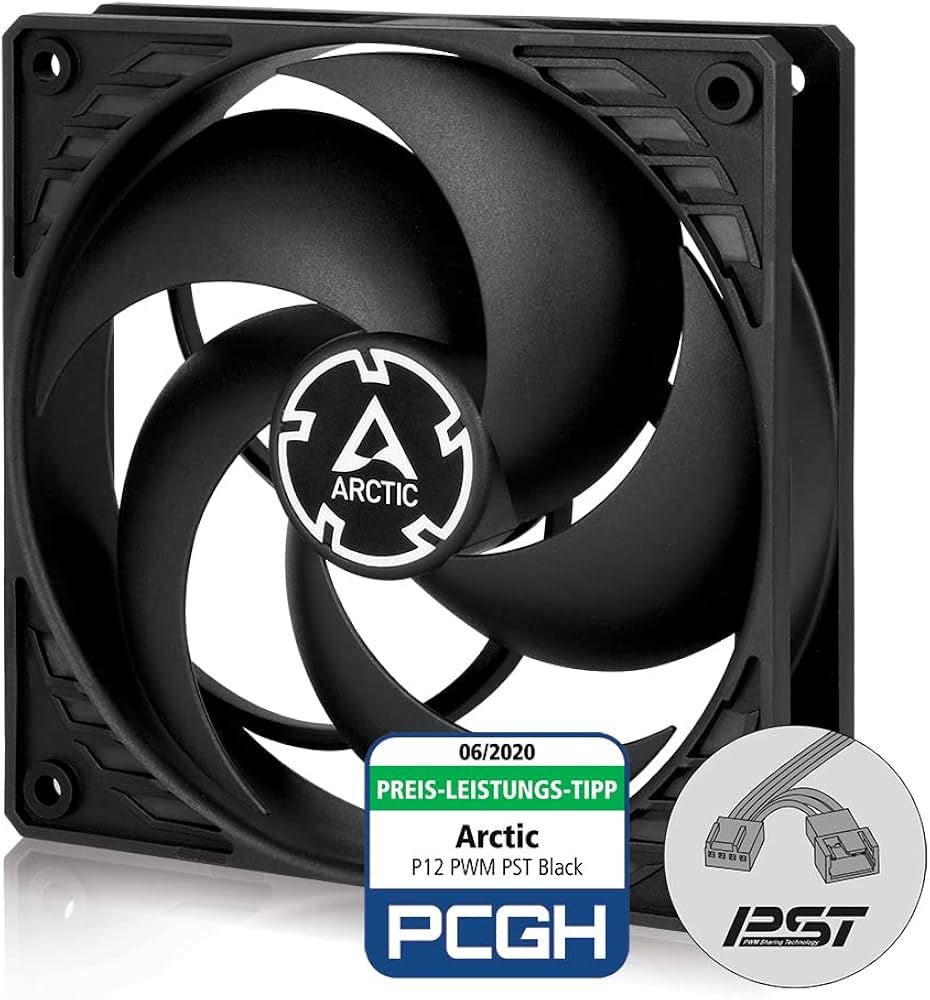
Mount on top for exhaust; connects to most 3D printer controllers.
ARCTIC P12 PWM PST 120mm Fan Quiet, high-CFM fan ideal for safe fume extraction without noise.
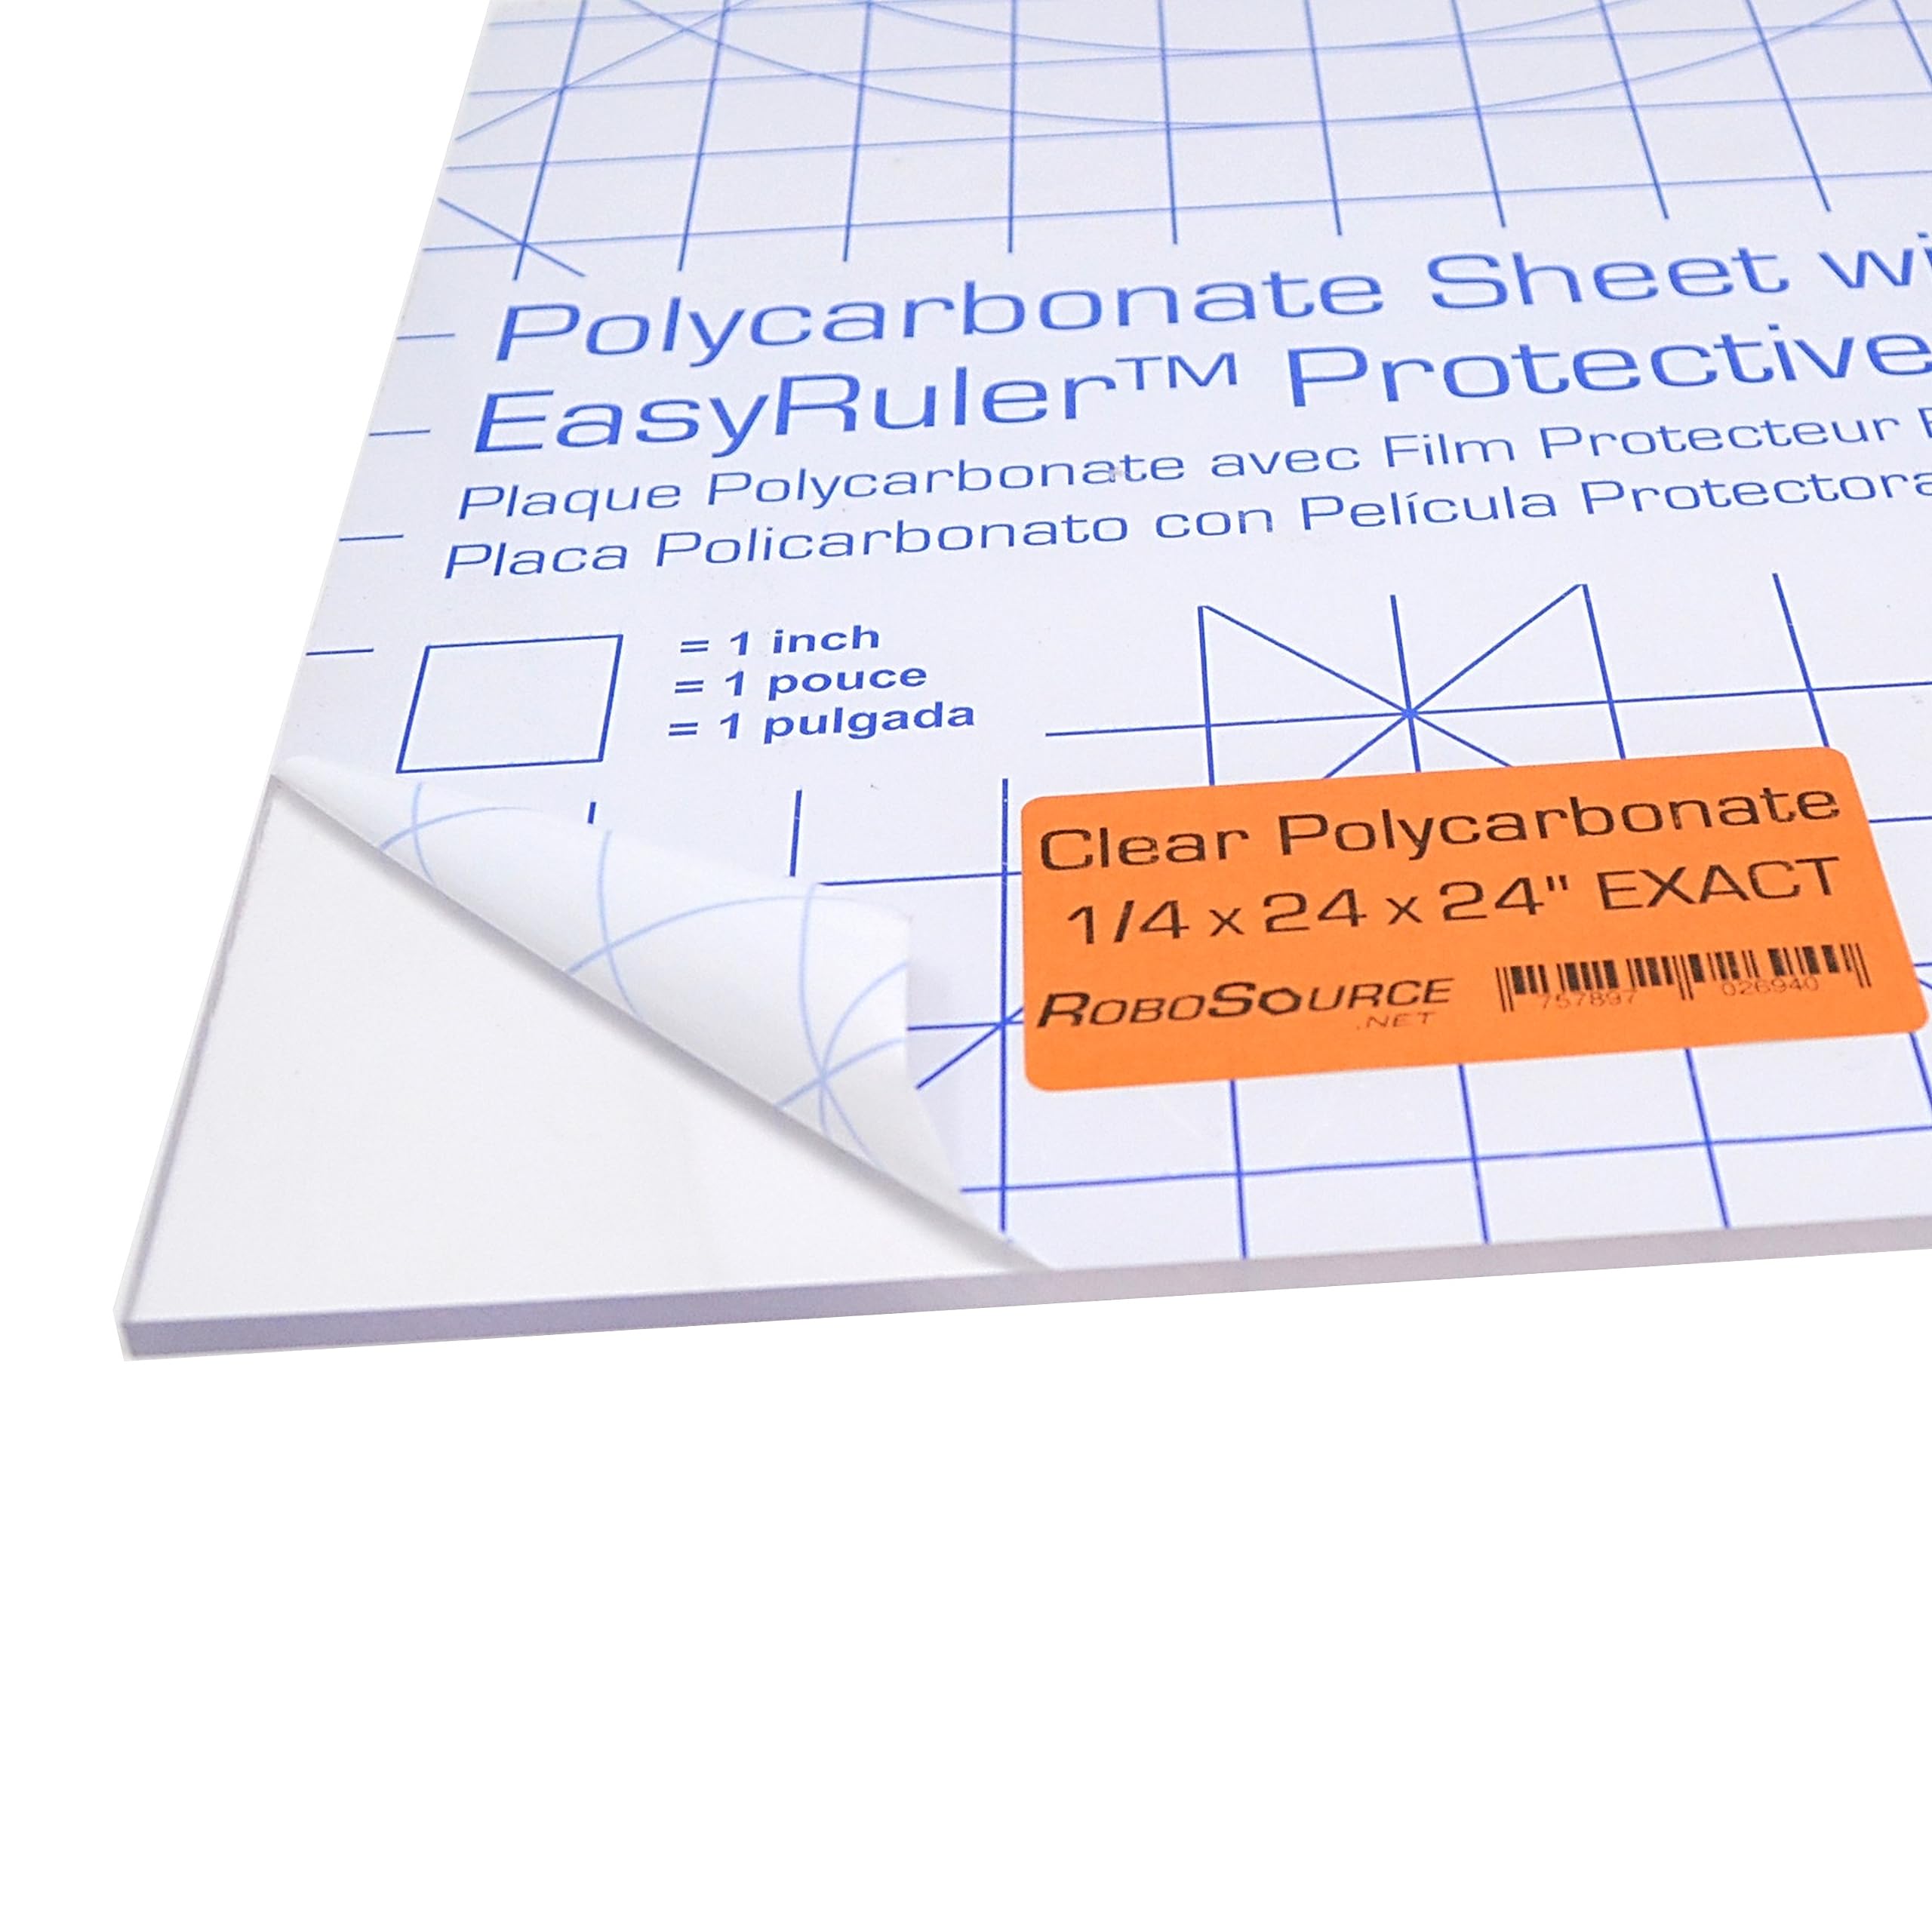
Cut for sides/door; scratches less than plexiglass.
uxcell 24x24 inch Polycarbonate Sheet 4mm Durable, transparent, and heat-resistant alternative to acrylic.
Attaches door smoothly to frame.
24-Inch Piano Hinge Zinc Plated Heavy-duty for repeated door use without sagging.

Keeps enclosure sealed during prints.
Magnetic Cabinet Latch Secure door closure without drilling extras.