
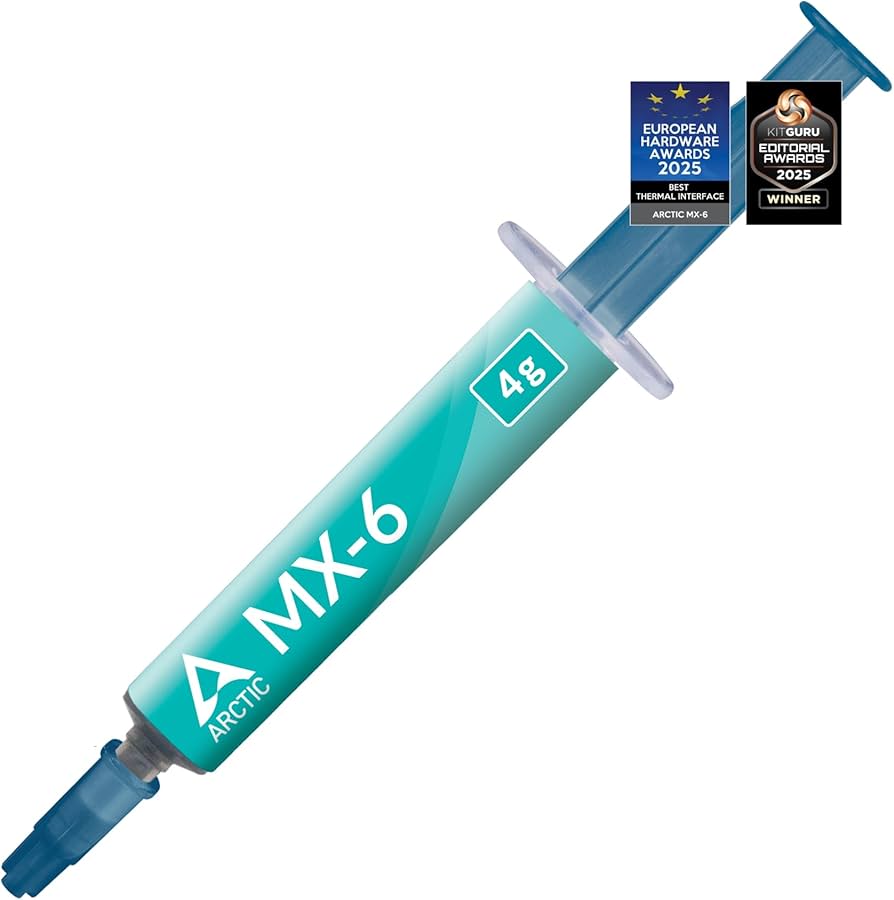
Arctic MX-6 Thermal Paste
Replacing pre-applied paste or applying fresh paste on aftermarket coolers.
$8-$12
Arctic MX-6 Thermal Paste High-performance, non-conductive thermal paste that provides excellent heat transfer and long-term stability.
Get the App
Better experience on mobile
Learn to select components and assemble your own high-performance desktop computer with clear, actionable instructions.
Building your own custom PC offers unmatched flexibility, better performance per dollar, and the satisfaction of creating something unique. Whether you're a gamer, content creator, or just want a powerful workstation, assembling your own system lets you choose every part to match your needs and budget. This step-by-step guide will walk you through the entire process, from planning and component selection to final assembly and first boot. Expect to spend 3-4 hours if it's your first time, but the result is a computer tailored exactly to you. No prior building experience is required, but a basic understanding of computer parts will help.
Estimated Time: 3-4 hours (first build); 1-2 hours for experienced builders Difficulty: intermediate
Before touching any hardware, finalize your component list. Use PC part picker websites to check compatibility: ensure the CPU socket matches the motherboard, RAM generation (DDR4/DDR5) is supported, PSU wattage meets your GPU and CPU demands, and the case accommodates your motherboard form factor and GPU length. Make sure you have all necessary cables (SATA, power, etc.) and tools. Success looks like a complete, verified parts list and a clean workspace with good lighting.
💡 Tips:
⚠️ Warnings:
Clear a large table or desk. Place the motherboard box on the table – you'll use the foam inside as a work surface when installing CPU, RAM, and cooler. Unpack all components but leave them in anti-static bags until needed. Attach an anti-static wrist strap to your wrist and clip it to a grounded metal part of the case (or touch the case periodically). If you don't have a strap, touch a metal tap or the case before handling any sensitive parts.
💡 Tips:
⚠️ Warnings:
Place the motherboard on its foam box. Open the CPU socket lever. Align the golden triangle on the corner of the CPU with the triangle on the socket. Gently place the CPU straight down without sliding. Close the lever to lock it in place. For Ryzen AM5, the pins are on the motherboard; for Intel LGA1700, pins are on the CPU – in both cases, handle only by edges. Success: an evenly seated CPU with the lever fully closed.
💡 Tips:
⚠️ Warnings:
Locate the RAM slots on the motherboard. For dual-channel memory, install sticks in alternating slots (usually slots 2 and 4, starting from CPU). Open the clips at each end of the slot. Align the notch on the RAM stick with the slot key and press down firmly until the clips snap into place. You should hear a click. Success: both sides of the clip are locked, and the RAM is evenly inserted.
💡 Tips:
⚠️ Warnings:
If using a stock cooler, it usually has pre-applied thermal paste (or a pad). For aftermarket coolers, you'll need to apply a pea-sized amount of thermal paste at the center of the CPU. For air coolers, mount the backplate and bracket per manual, then place the cooler on the CPU and screw it down in a cross pattern. For AIOs, mount the radiator to the case first (often top or front), then attach the pump block to the CPU. Connect the cooler's fan/pump cable to the CPU_FAN header on the motherboard. Success: cooler firmly attached with even pressure, and the fan spins when powered.
💡 Tips:
⚠️ Warnings:
For M.2 NVMe SSDs: locate the M.2 slot(s) on the motherboard. Insert the SSD at a 30-degree angle, then press down and secure with the tiny screw (may be pre-mounted). For 2.5-inch or 3.5-inch drives: mount them in the case's drive bays (tool-less or with screws), then connect a SATA data cable from the drive to the motherboard and a SATA power cable from the PSU. Success: drive is physically secured and connected.
💡 Tips:
⚠️ Warnings:
First, install the I/O shield (metal plate) into the case's rear opening from the inside – push until it clicks. Then, carefully lower the motherboard into the case, aligning the rear ports with the I/O shield and the mounting holes with the standoffs (pre-installed or added). Screw the motherboard into place using the provided screws (usually Phillips). Do not overtighten. Success: motherboard is fixed and stable, with all ports accessible through the I/O shield.
💡 Tips:
⚠️ Warnings:
Place the PSU in the case's designated location (usually bottom or top). If modular, decide which cables you need (24-pin motherboard, 8-pin CPU, PCIe for GPU, SATA for drives) and plug them into the PSU. Orient the fan facing downwards if the case has a bottom vent, or upwards if the PSU is at the top. Secure the PSU with four screws from the outside. Route the cables through the nearest cutouts to the back panel. Success: PSU is securely mounted and cables are partially routed.
💡 Tips:
⚠️ Warnings:
Remove the PCIe slot covers from the case at the rear (two slots for most GPUs). Align the gold edge of the GPU with the PCIe x16 slot on the motherboard and push down until you hear a click. Secure the GPU's bracket to the case with screws. Connect the required PCIe power cables from the PSU to the GPU (often 6+2 pin connectors). For other cards (Wi-Fi, capture), install similarly in available PCIe slots. Success: GPU is seated evenly, powered, and secured.
💡 Tips:
⚠️ Warnings:
Connect all remaining cables: 24-pin ATX power to motherboard, 8-pin CPU power to the top-left connector, SATA data cables from drives to motherboard, front panel connectors (power switch, reset, LED, USB, audio) to the motherboard headers. Double-check each connection. Close the side panels, plug in monitor, keyboard, mouse, and power cable. Press the power button. If everything is correct, you'll see fans spin, lights turn on, and a BIOS screen appear. Success: a working system that boots to BIOS.
💡 Tips:
⚠️ Warnings:
Problem: PC won't turn on (no power).
Solution: Check PSU switch is on, power cable is connected, and front panel power button header is on the correct pins. Try jumping the power switch pins with a screwdriver.
Problem: No display on monitor.
Solution: Ensure monitor cable is plugged into the GPU (not motherboard). Reseat the GPU and check power cables. Try a different display output.
Problem: PC turns on but boots into a loop.
Solution: This often indicates RAM issues. Reseat the RAM sticks, try one at a time, and check they are in the correct slots. Clear CMOS by removing the battery for a minute.
Problem: High CPU or GPU temperatures at idle.
Solution: Check thermal paste application, cooler mounting pressure, and fan curves. Ensure the CPU cooler fan is plugged into the CPU_FAN header. Reapply thermal paste if necessary.
High-performance, non-conductive thermal paste that provides excellent heat transfer and long-term stability.
Best for: Replacing pre-applied paste or applying fresh paste on aftermarket coolers.
Price Range: $8-$12
Comprehensive set of precision tools including magnetic screwdrivers, spudgers, and an anti-static wrist strap – perfect for PC building.
Best for: All-in-one tool kit for building and maintaining PCs.
Price Range: $60-$70
Includes cable combs, zip ties, and Velcro straps to achieve a clean, professional-looking build.
Best for: Organizing and managing cables inside the PC case for better airflow and aesthetics.
Price Range: $15-$25
Prevents GPU sag and reduces strain on the PCIe slot, especially for large graphics cards.
Best for: Supporting heavy GPUs in vertical or horizontal orientation.
Price Range: $10-$20
Best-in-class thermal conductivity for extreme overclocking, but requires careful handling and is electrically conductive.
Best for: Advanced users looking to maximize CPU cooling performance.
Price Range: $12-$18
Replacing pre-applied paste or applying fresh paste on aftermarket coolers.
Arctic MX-6 Thermal Paste High-performance, non-conductive thermal paste that provides excellent heat transfer and long-term stability.
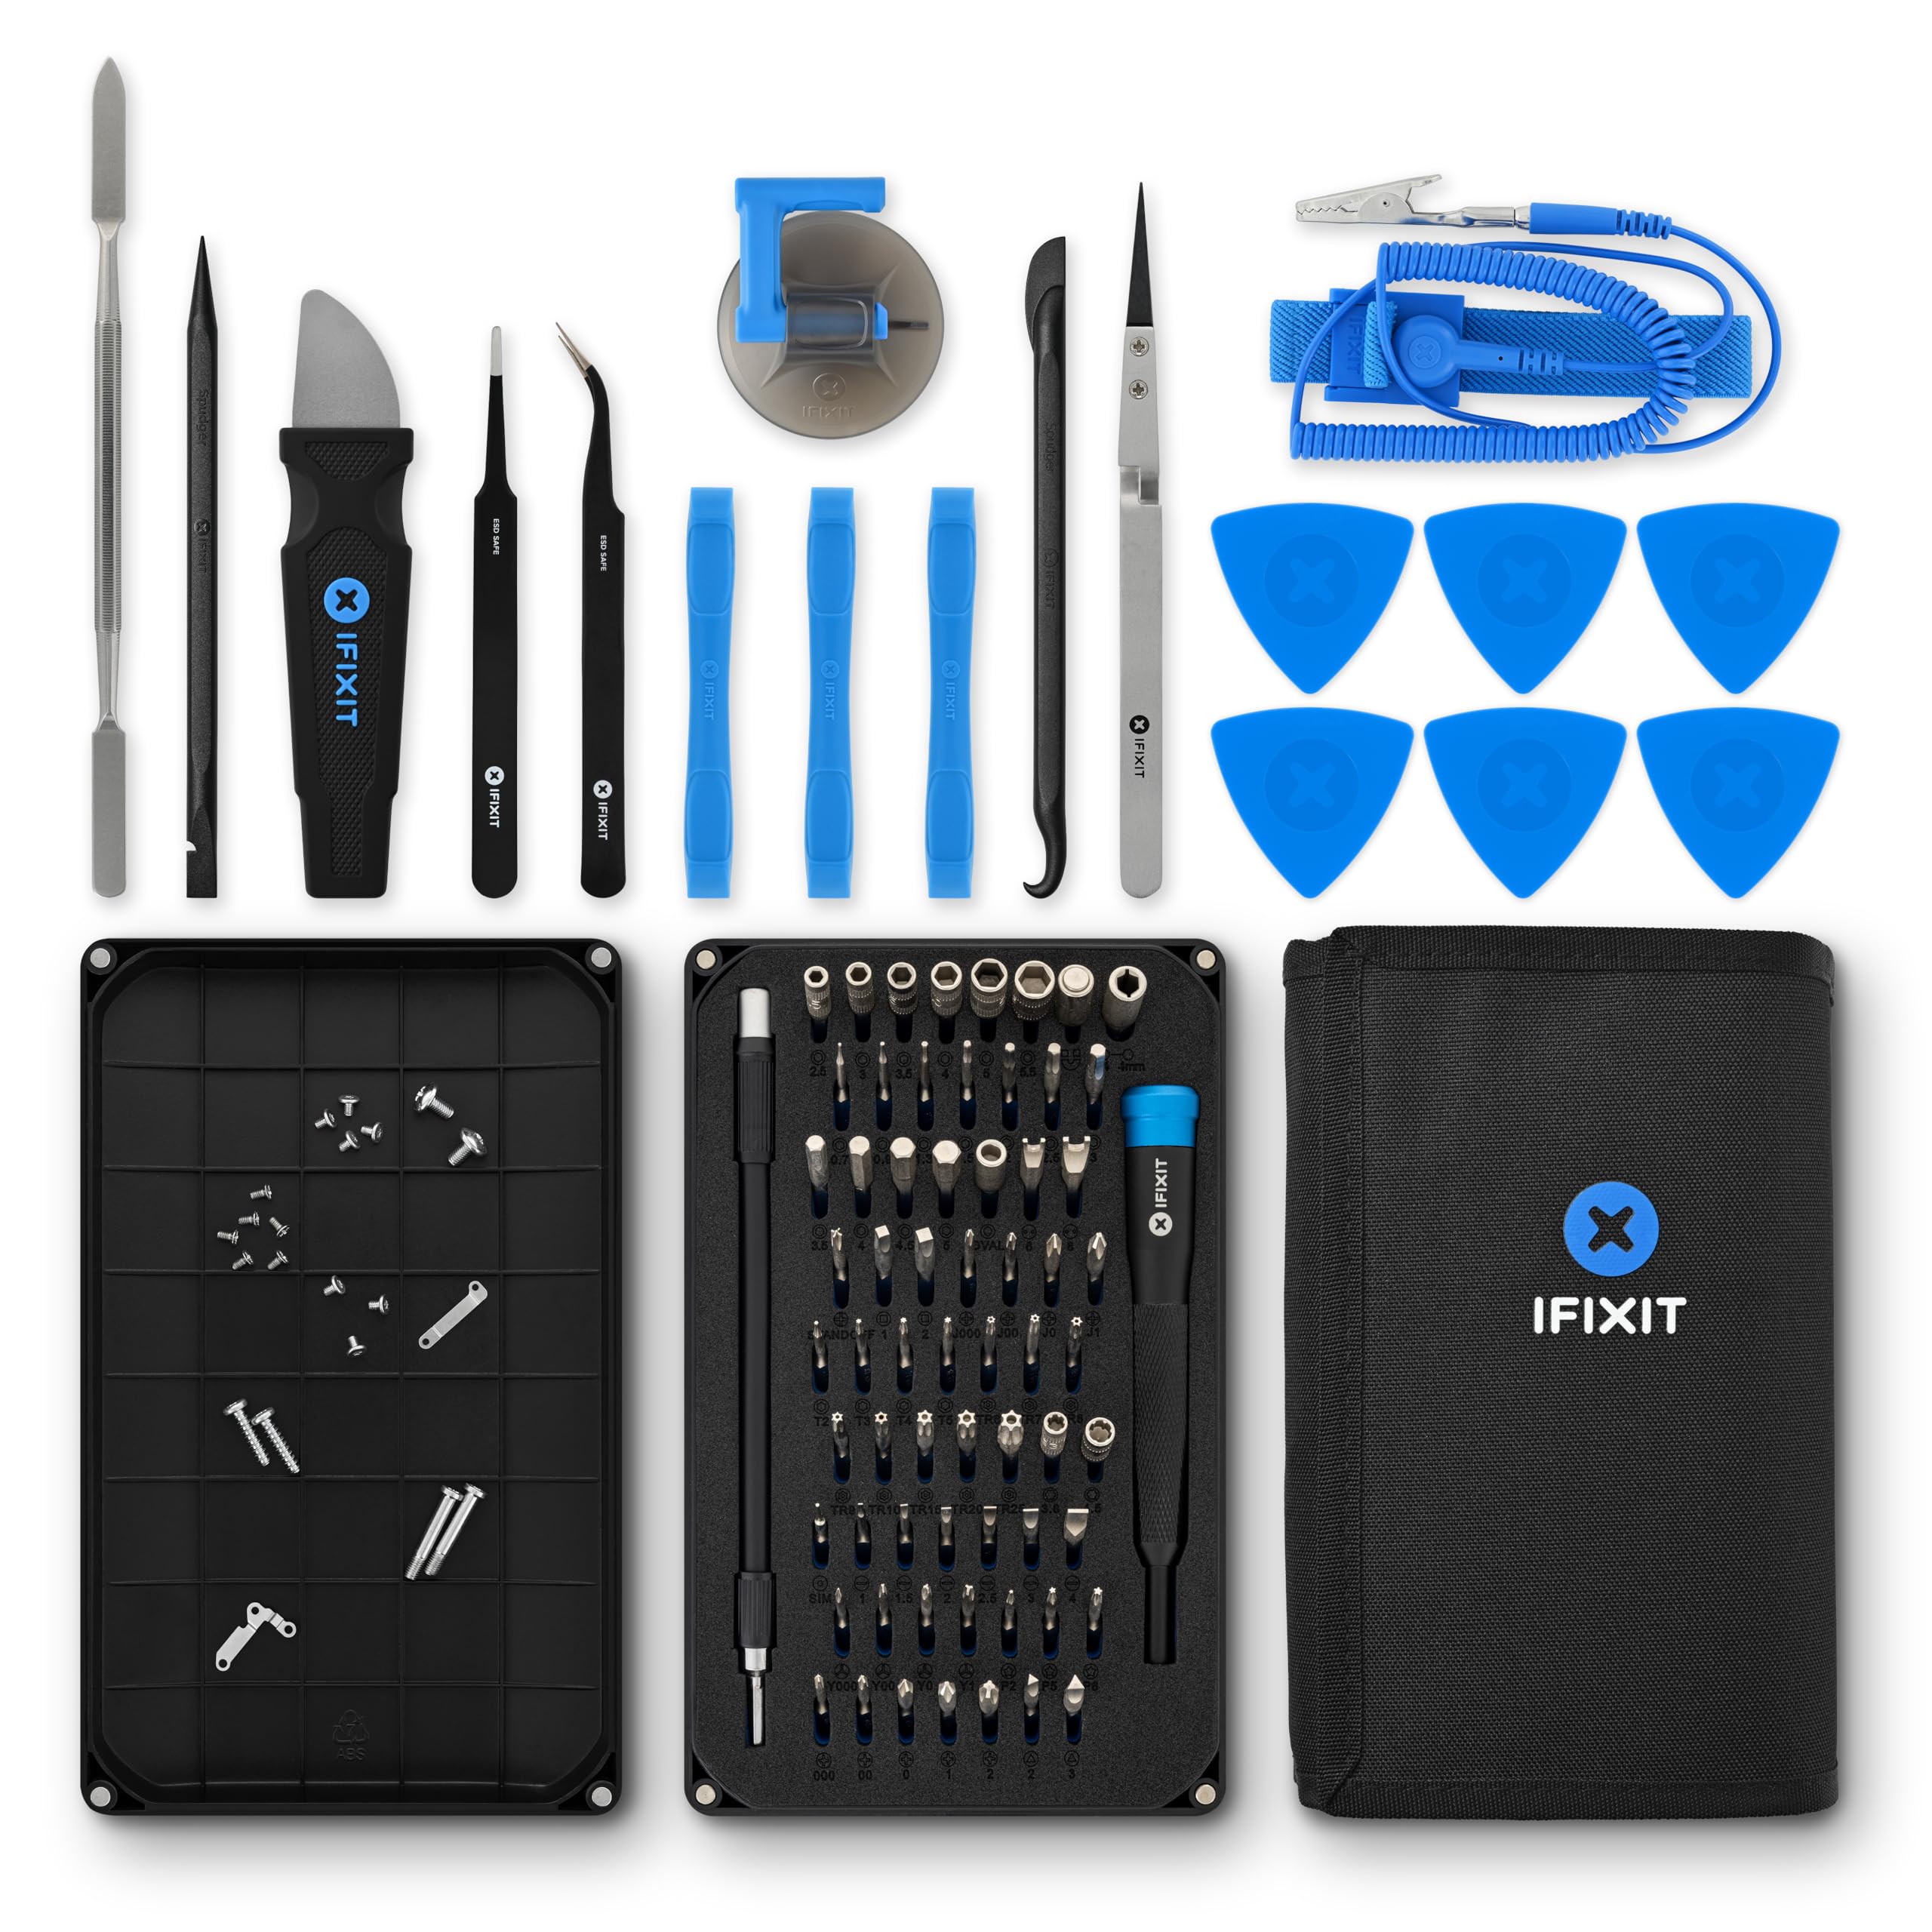
All-in-one tool kit for building and maintaining PCs.
iFixit Pro Tech Toolkit Comprehensive set of precision tools including magnetic screwdrivers, spudgers, and an anti-static wrist strap – perfect for PC building.
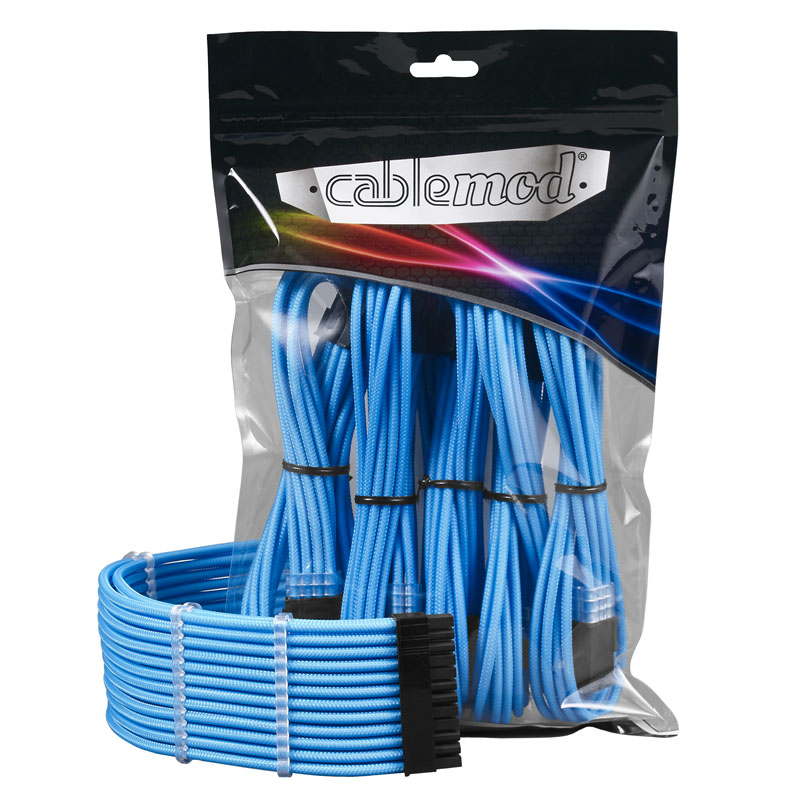
Organizing and managing cables inside the PC case for better airflow and aesthetics.
CableMod Pro Cable Management Kit Includes cable combs, zip ties, and Velcro straps to achieve a clean, professional-looking build.
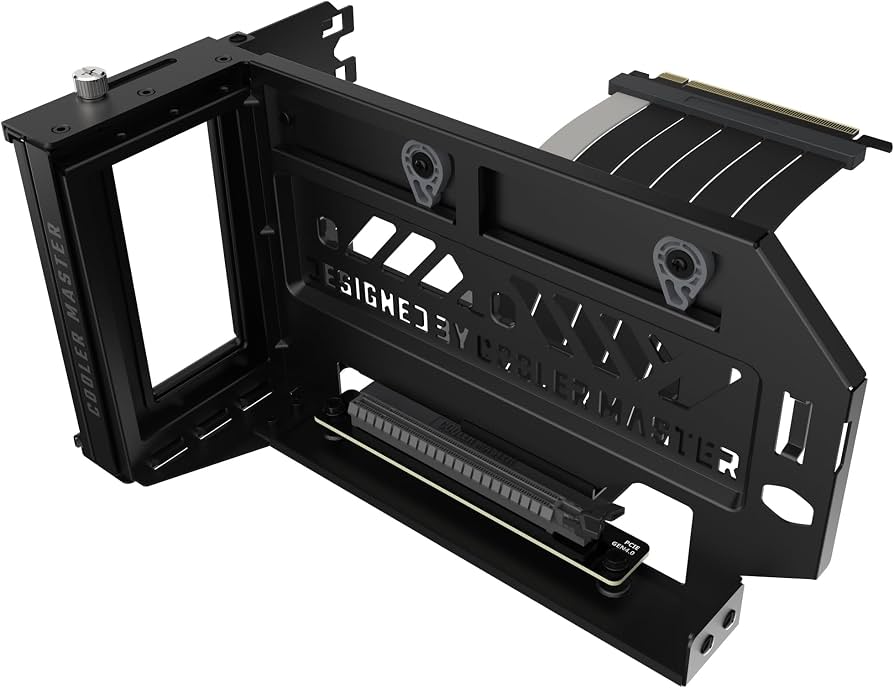
Supporting heavy GPUs in vertical or horizontal orientation.
Cooler Master GPU Support Bracket Prevents GPU sag and reduces strain on the PCIe slot, especially for large graphics cards.
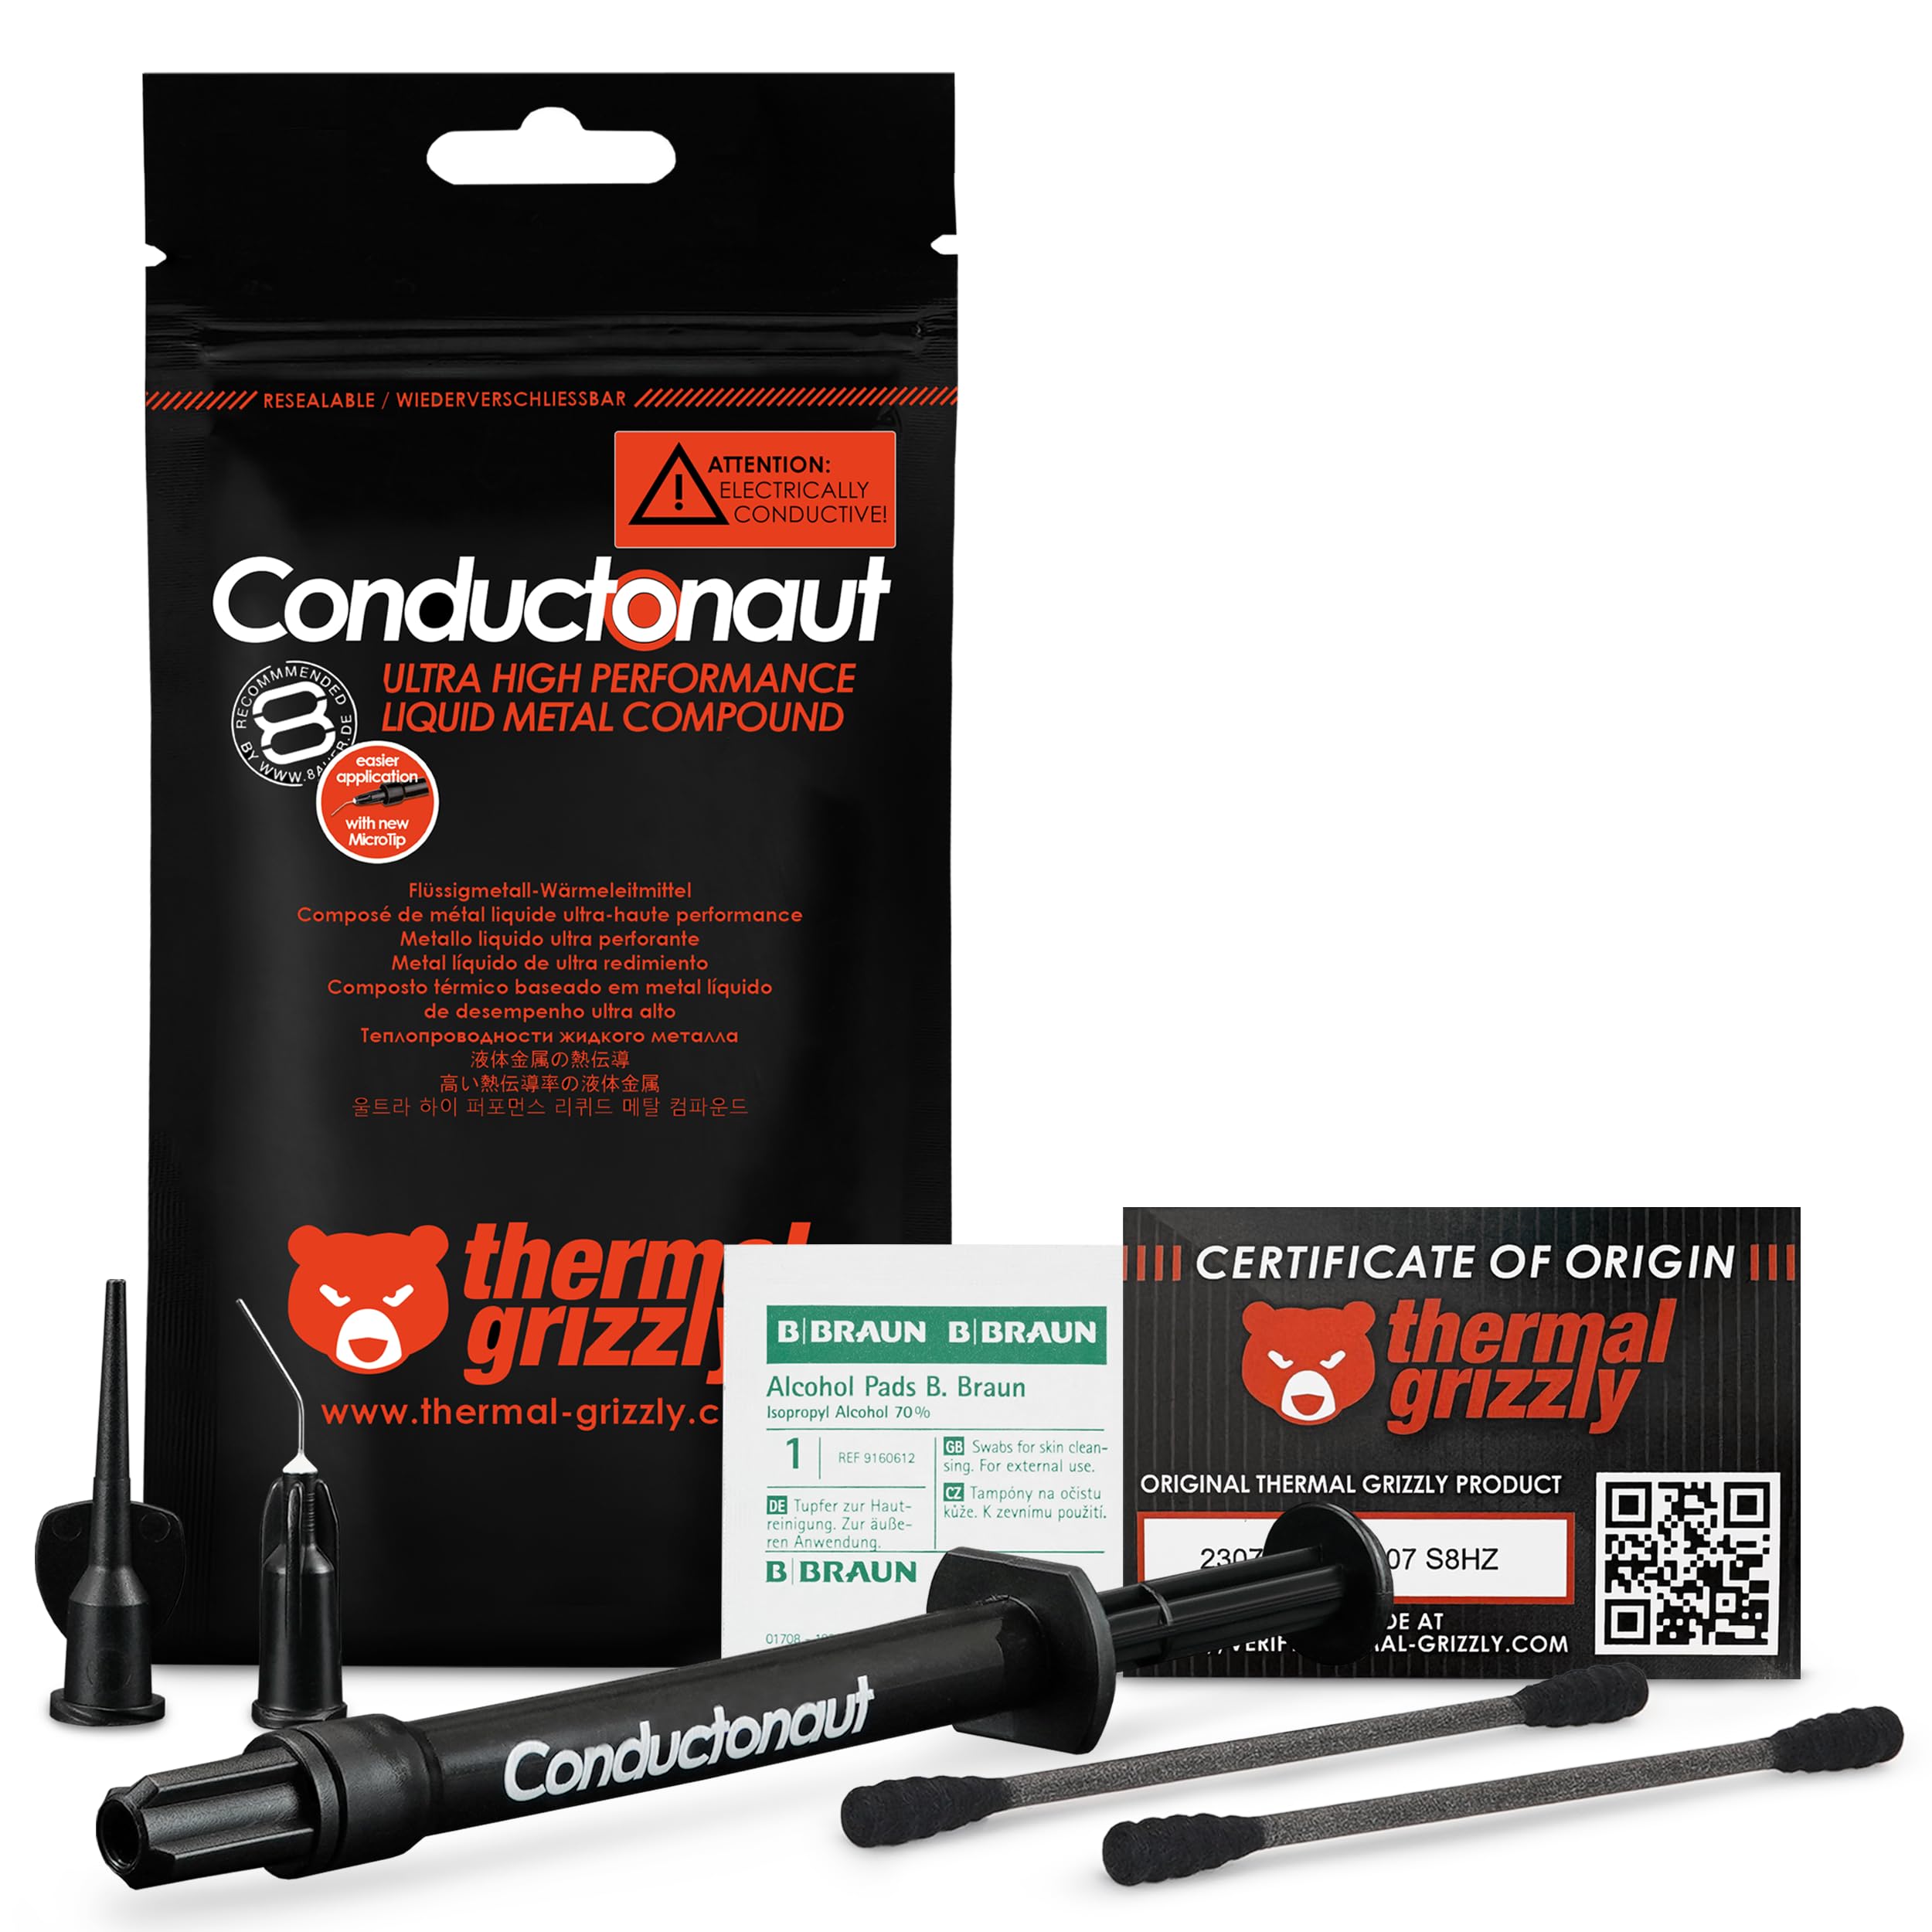
Advanced users looking to maximize CPU cooling performance.
Thermal Grizzly Conductonaut (for liquid metal enthusiasts) Best-in-class thermal conductivity for extreme overclocking, but requires careful handling and is electrically conductive.