
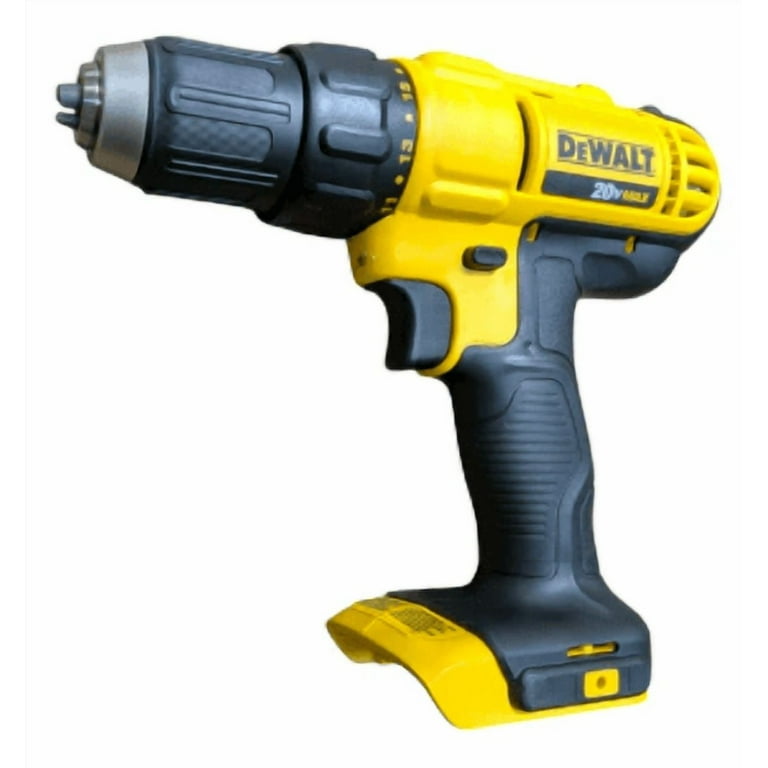
DeWalt 20V MAX Cordless Drill/Driver Kit (DCD771C2)
Pre-drilling and securing pallets securely.
$99
DeWalt 20V MAX Cordless Drill/Driver Kit (DCD771C2) Powerful yet lightweight for driving screws without fatigue; essential for quick assembly.
Get the App
Better experience on mobile
Create a sturdy, eco-friendly compost bin using free recycled pallets in under 4 hours – perfect for beginners turning yard waste into rich soil.
Composting at home reduces landfill waste, saves money on fertilizer, and enriches your garden soil naturally. But buying a compost bin can cost $100+, while pallets are often free from warehouses or Craigslist. This guide shows you how to build one yourself, saving cash and gaining satisfaction from a DIY project.
You'll learn to assemble a 3- or 4-sided bin that's ventilated, rodent-resistant, and easy to turn. The process uses basic tools and no advanced skills – ideal for beginners. Expect a functional bin ready for your kitchen scraps and leaves in 2-4 hours.
No prior woodworking needed; we'll cover everything step-by-step with tips to avoid pitfalls.
Estimated Time: 2-4 hours Difficulty: beginner
Source 4 intact wooden pallets from local businesses, Craigslist, or pallet recycling yards – they're free and abundant. Look for 'HT' stamps (heat-treated, pest-free) and avoid chemically treated ones (no 'MB' stamp).
Inspect for damage: Splits or rot weaken the structure. Clean off dirt with a brush. Success looks like four sturdy, clean pallets ready to assemble.
Why it matters: Quality pallets ensure durability for 2-5 years outdoors.
💡 Tips:
⚠️ Warnings:
Choose a level, shaded garden spot (3x3 feet min) away from your house to avoid pests. Lay down cardboard or gravel for drainage.
Set up tools nearby. Test drill on scrap wood. Expect a clean workspace that prevents accidents.
This step ensures safety and efficiency.
💡 Tips:
⚠️ Warnings:
Place two pallets side-by-side flat on the ground, slats facing up, forming a 4x4-foot square (trim if needed with saw). Screw or wire them together at corners using 4-6 fasteners per joint.
Add hardware cloth over the top, stapled or wired down, to keep rodents out while allowing drainage.
Success: A stable, square base that doesn't wobble.
💡 Tips:
⚠️ Warnings:
Stand one pallet vertically at the back of the base, slats horizontal for airflow. Secure to base with 8-10 screws per side, driving through base slats into pallet stringers.
Check for plumb with a level. This creates the rear wall.
Why: Provides structure and wind protection.
💡 Tips:
Attach one pallet to each side, mirroring the back. Fasten to base and adjacent panels (10-12 screws each). Pallets should overlap corners slightly for strength.
Your bin now forms a U-shape. Test stability by pushing – it should hold firm.
Gaps between slats allow ventilation, key for composting.
💡 Tips:
⚠️ Warnings:
For a fourth side, attach a full pallet hinged at one side (use 2 heavy hinges) or partially cut slats for a removable front. Secure temporarily with bungee cords or latch.
Skip for open bin if space is tight. Success: Easy access for turning compost.
Pro option: Disassemble a pallet for slats as a sliding door.
💡 Tips:
Add diagonal braces from scrap pallet wood if wobbly. Hammer any protruding nails flush. Optionally, paint with non-toxic sealant.
Your bin is ready! Fill with browns/greens mix.
Expect a robust enclosure holding 3-4 cubic feet.
💡 Tips:
⚠️ Warnings:
Move to final spot (roll if possible). Layer wet greens (veggies) and dry browns (leaves) 50/50, moist like sponge.
Turn weekly with pitchfork. Heat to 130-160°F signals success.
Harvest compost in 2-6 months.
💡 Tips:
Problem: Bin is wobbly
Solution: Add cross-braces or more screws; place on level gravel.
Problem: Rodents getting in
Solution: Install finer 1/4-inch hardware cloth fully; bury edges 6 inches.
Problem: Compost not heating
Solution: Balance greens/browns, add water, turn more often; chop materials smaller.
Problem: Wood rotting fast
Solution: Choose HT pallets; apply linseed oil yearly. Seek pro if severe.
Powerful yet lightweight for driving screws without fatigue; essential for quick assembly.
Best for: Pre-drilling and securing pallets securely.
Price Range: $99
Rust-resistant galvanized for outdoor use; star drive prevents stripping.
Best for: Fastening pallets without loosening over time.
Price Range: $20-$25
Durable welded mesh blocks pests while allowing drainage; perfect liner size.
Best for: Bottom and sides to rodent-proof your bin.
Price Range: $40-$50
Monitors internal heat accurately; helps optimize decomposition.
Best for: Check if compost is working (130°F+ ideal).
Price Range: $20
Sturdy for pallet doors; weatherproof for longevity.
Best for: Making a functional flip-up or slide door.
Price Range: $15
Pre-drilling and securing pallets securely.
DeWalt 20V MAX Cordless Drill/Driver Kit (DCD771C2) Powerful yet lightweight for driving screws without fatigue; essential for quick assembly.
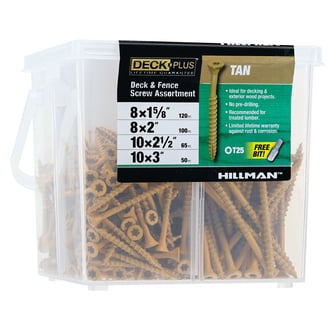
Fastening pallets without loosening over time.
Dekor #8 x 2-1/2 inch Star Drive Deck Screws (1 lb, 100 count) Rust-resistant galvanized for outdoor use; star drive prevents stripping.
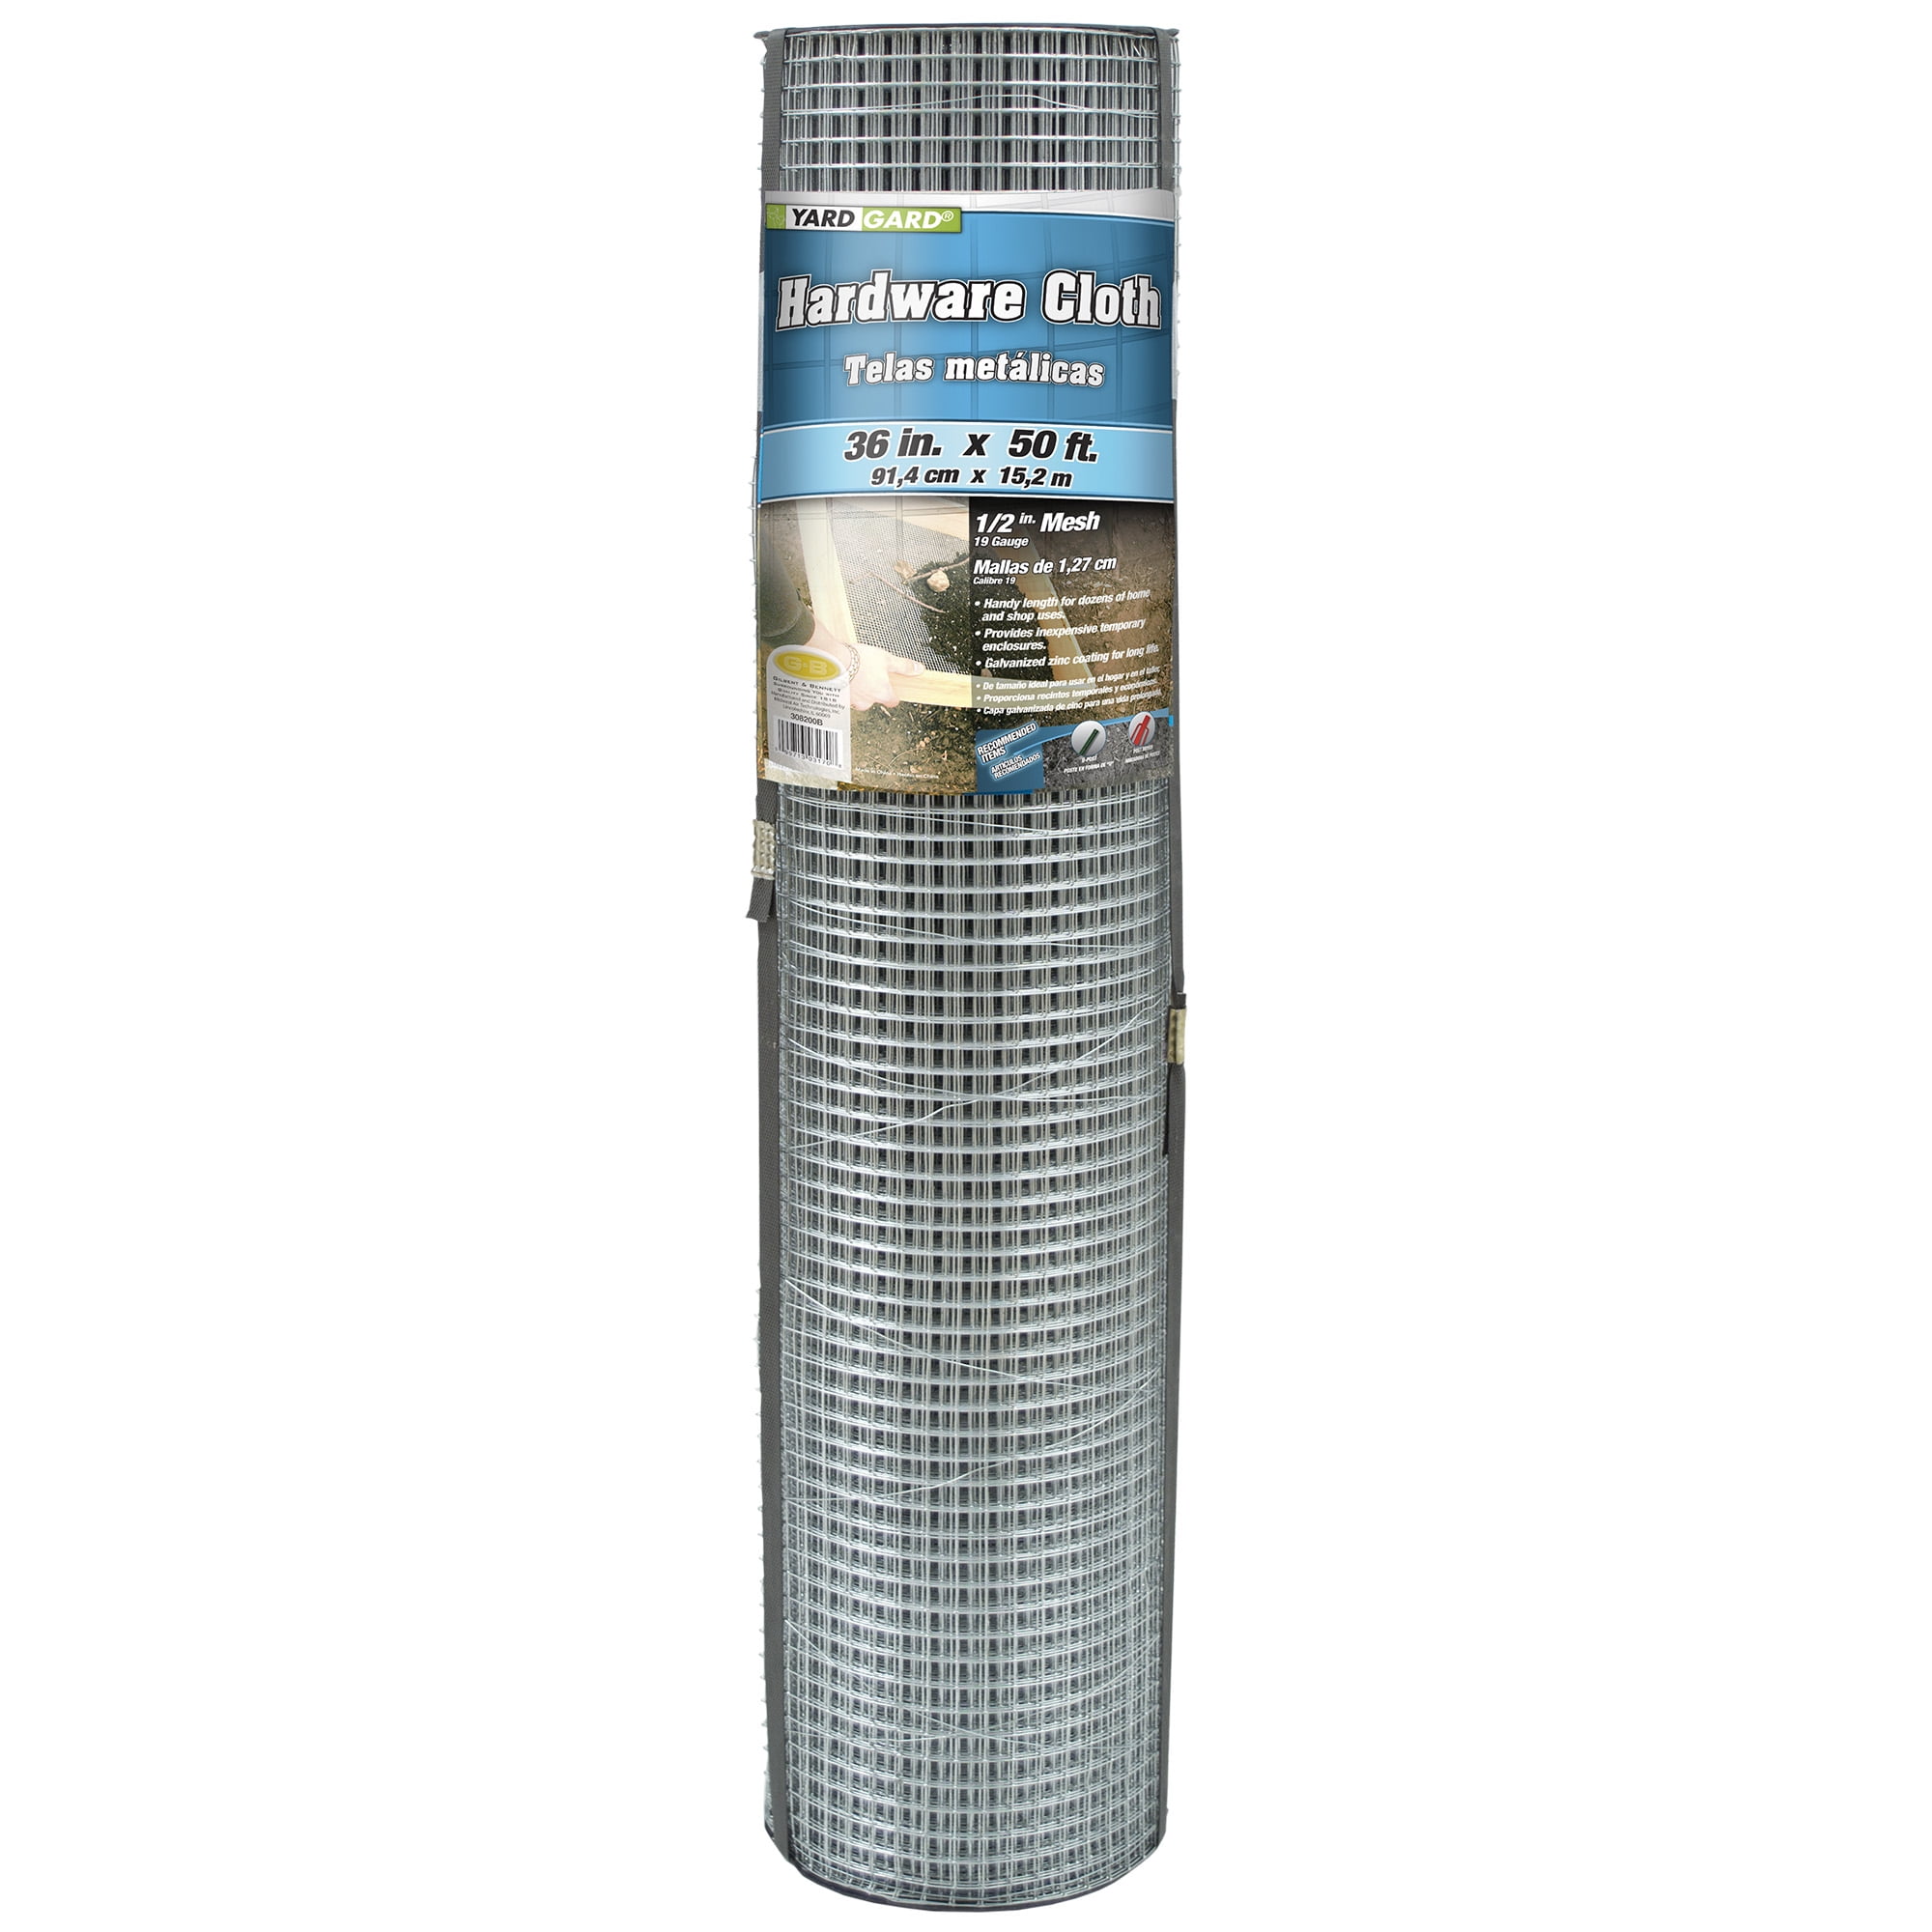
Bottom and sides to rodent-proof your bin.
YARDGARD 1/2-Inch Hardware Cloth 36x50 ft Durable welded mesh blocks pests while allowing drainage; perfect liner size.
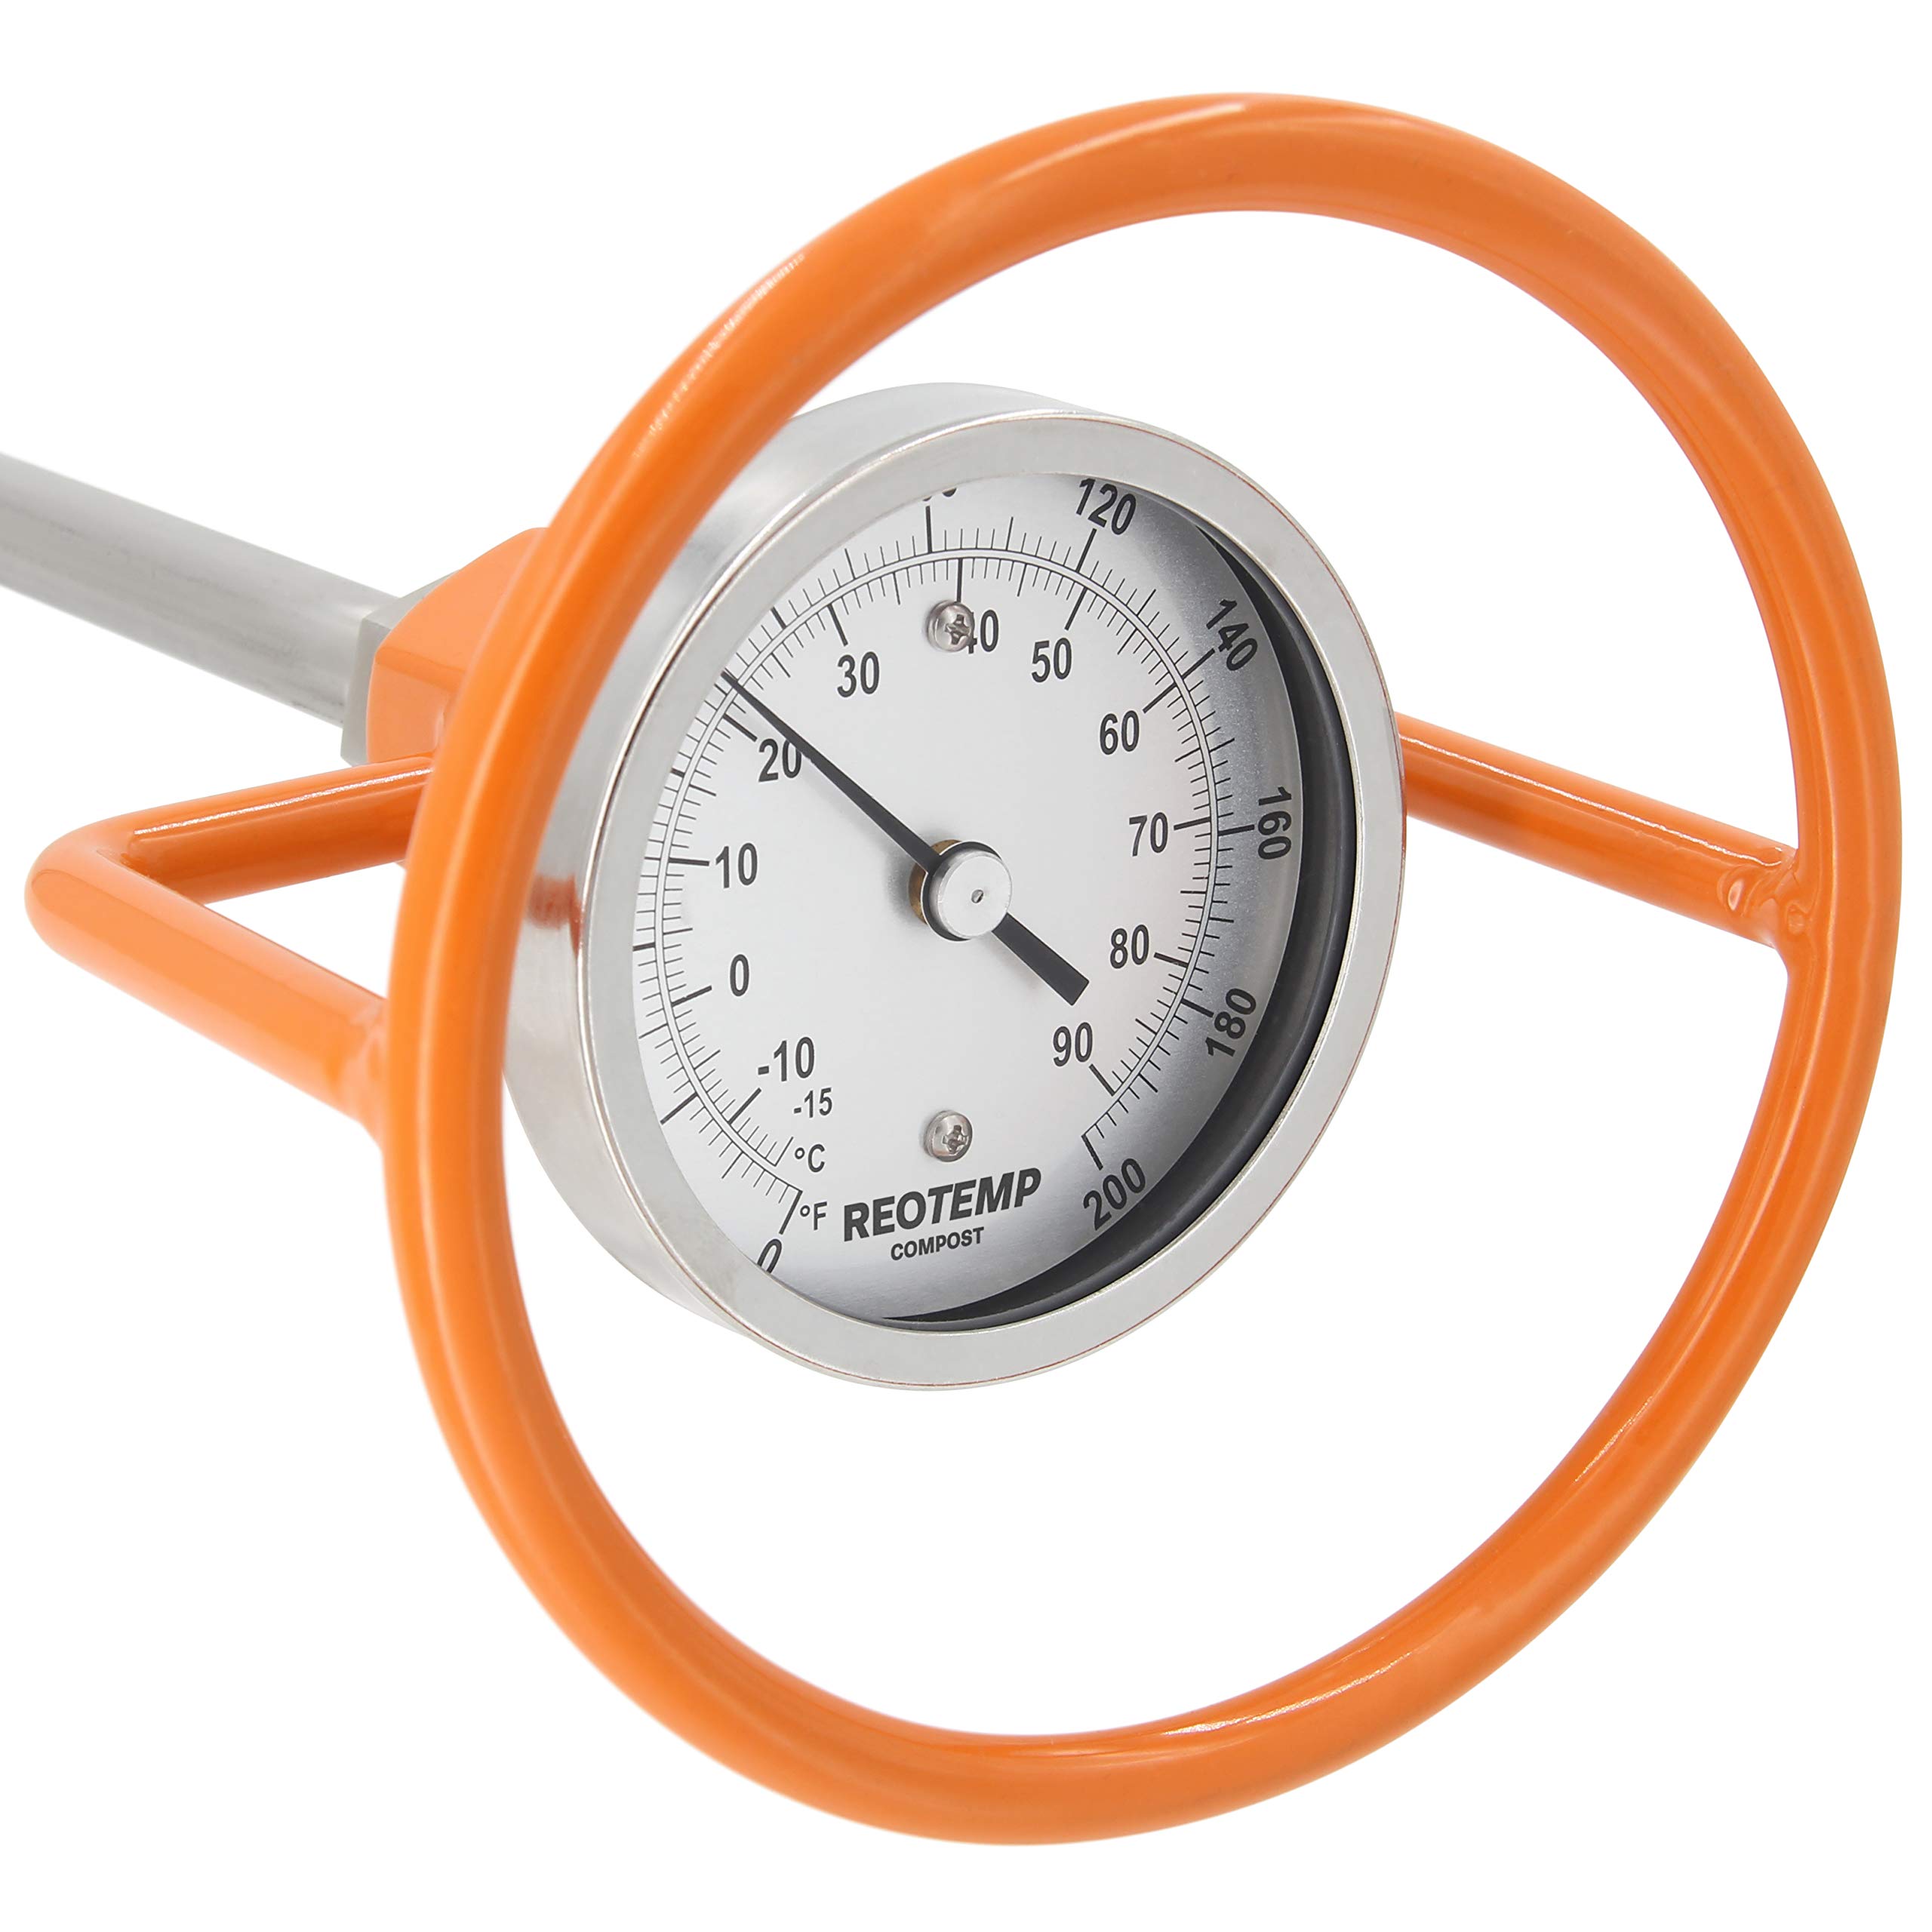
Check if compost is working (130°F+ ideal).
Reotemp Garden and Compost Thermometer Monitors internal heat accurately; helps optimize decomposition.
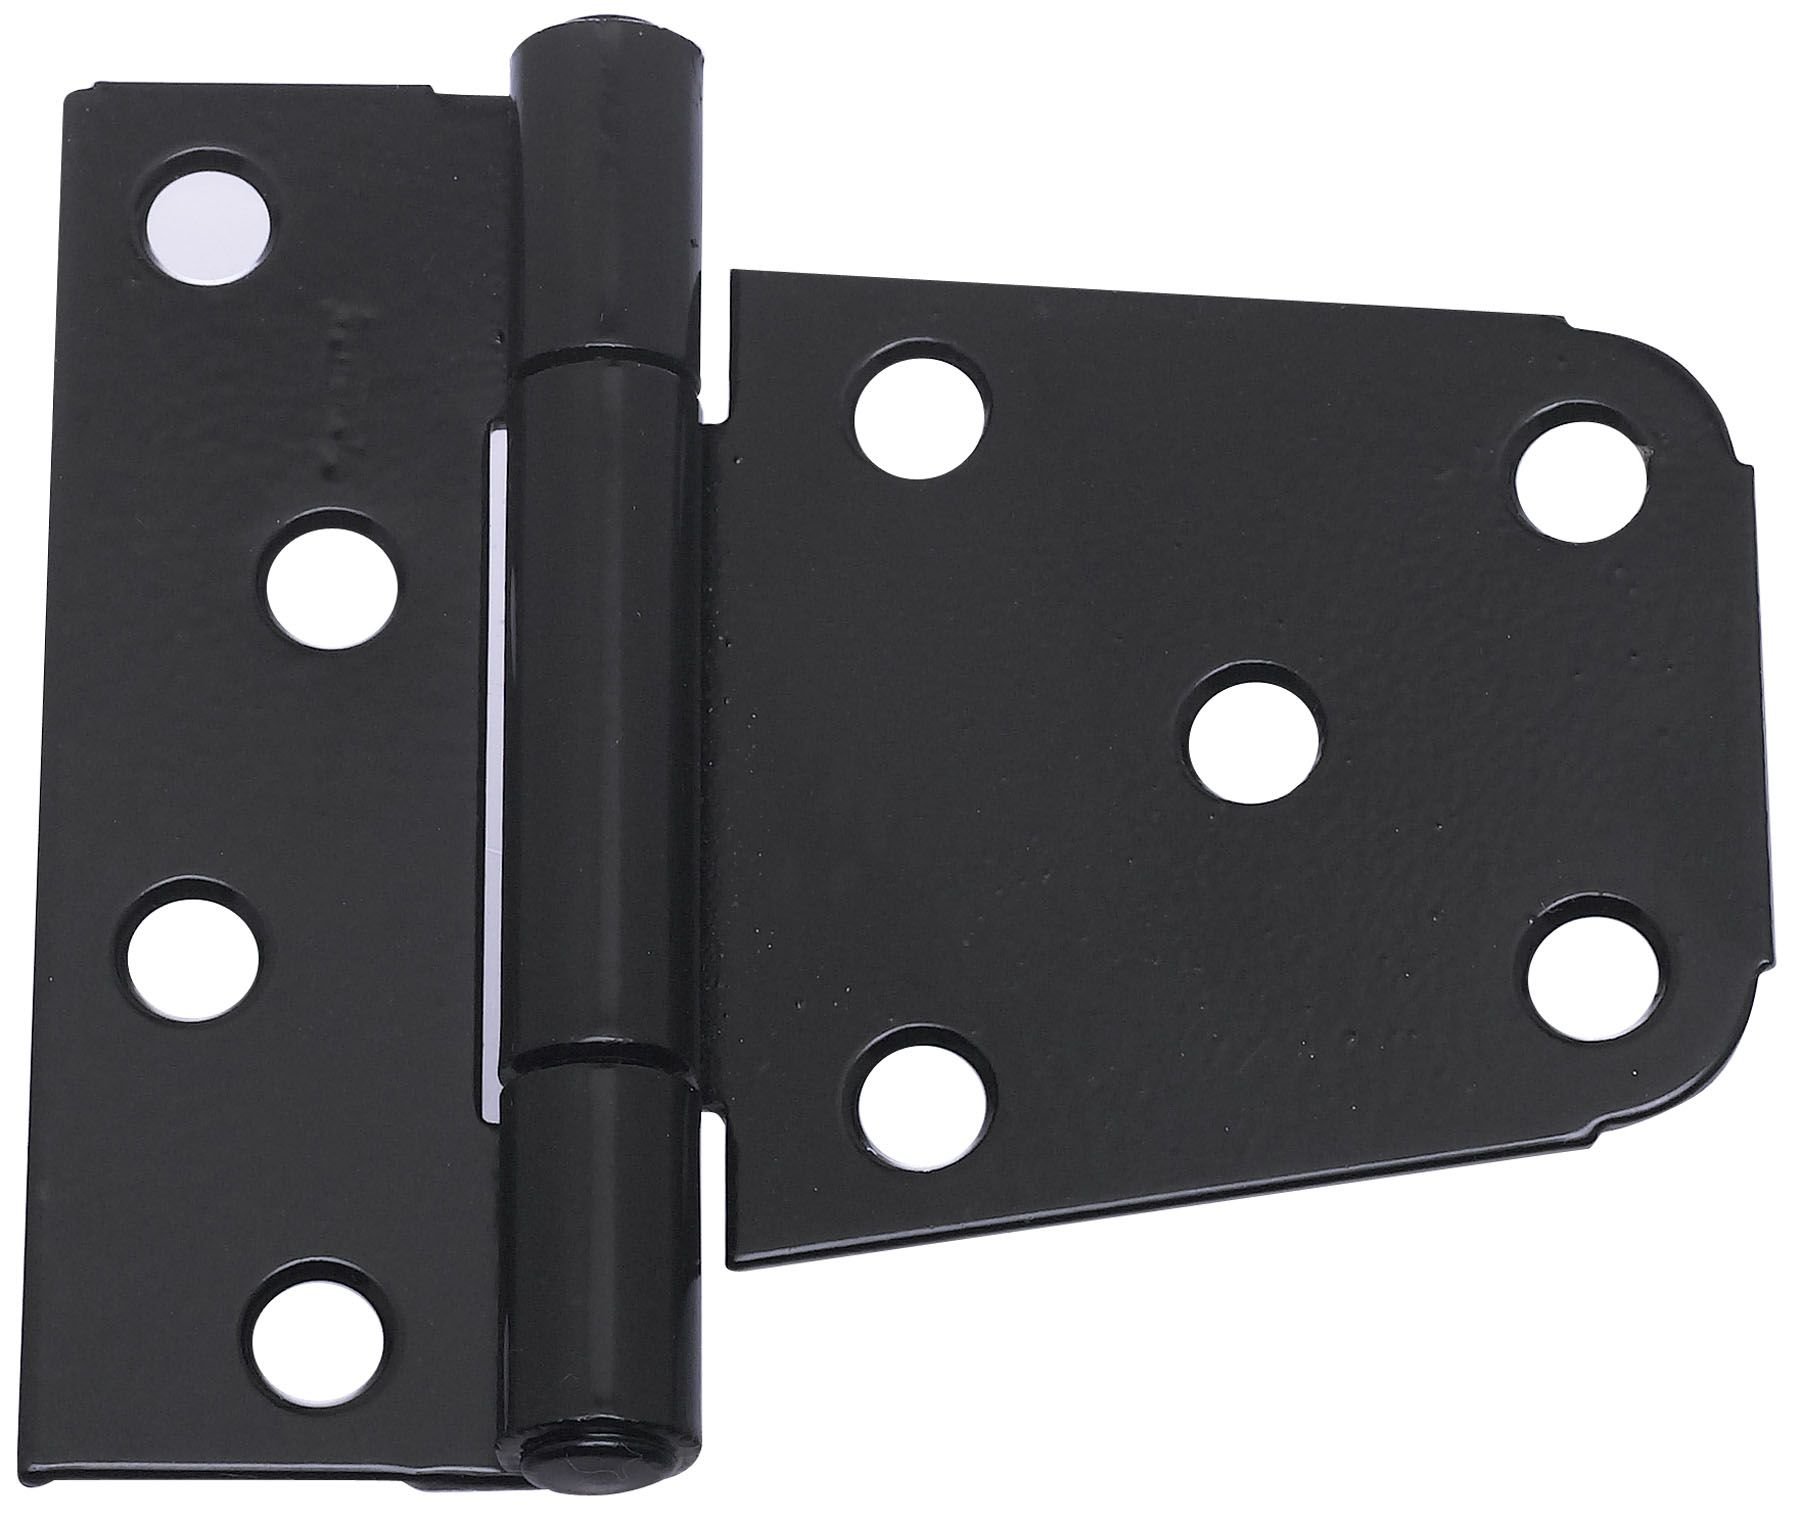
Making a functional flip-up or slide door.
National Hardware 3" x 4" Heavy Duty Hinges (2-pack) Sturdy for pallet doors; weatherproof for longevity.