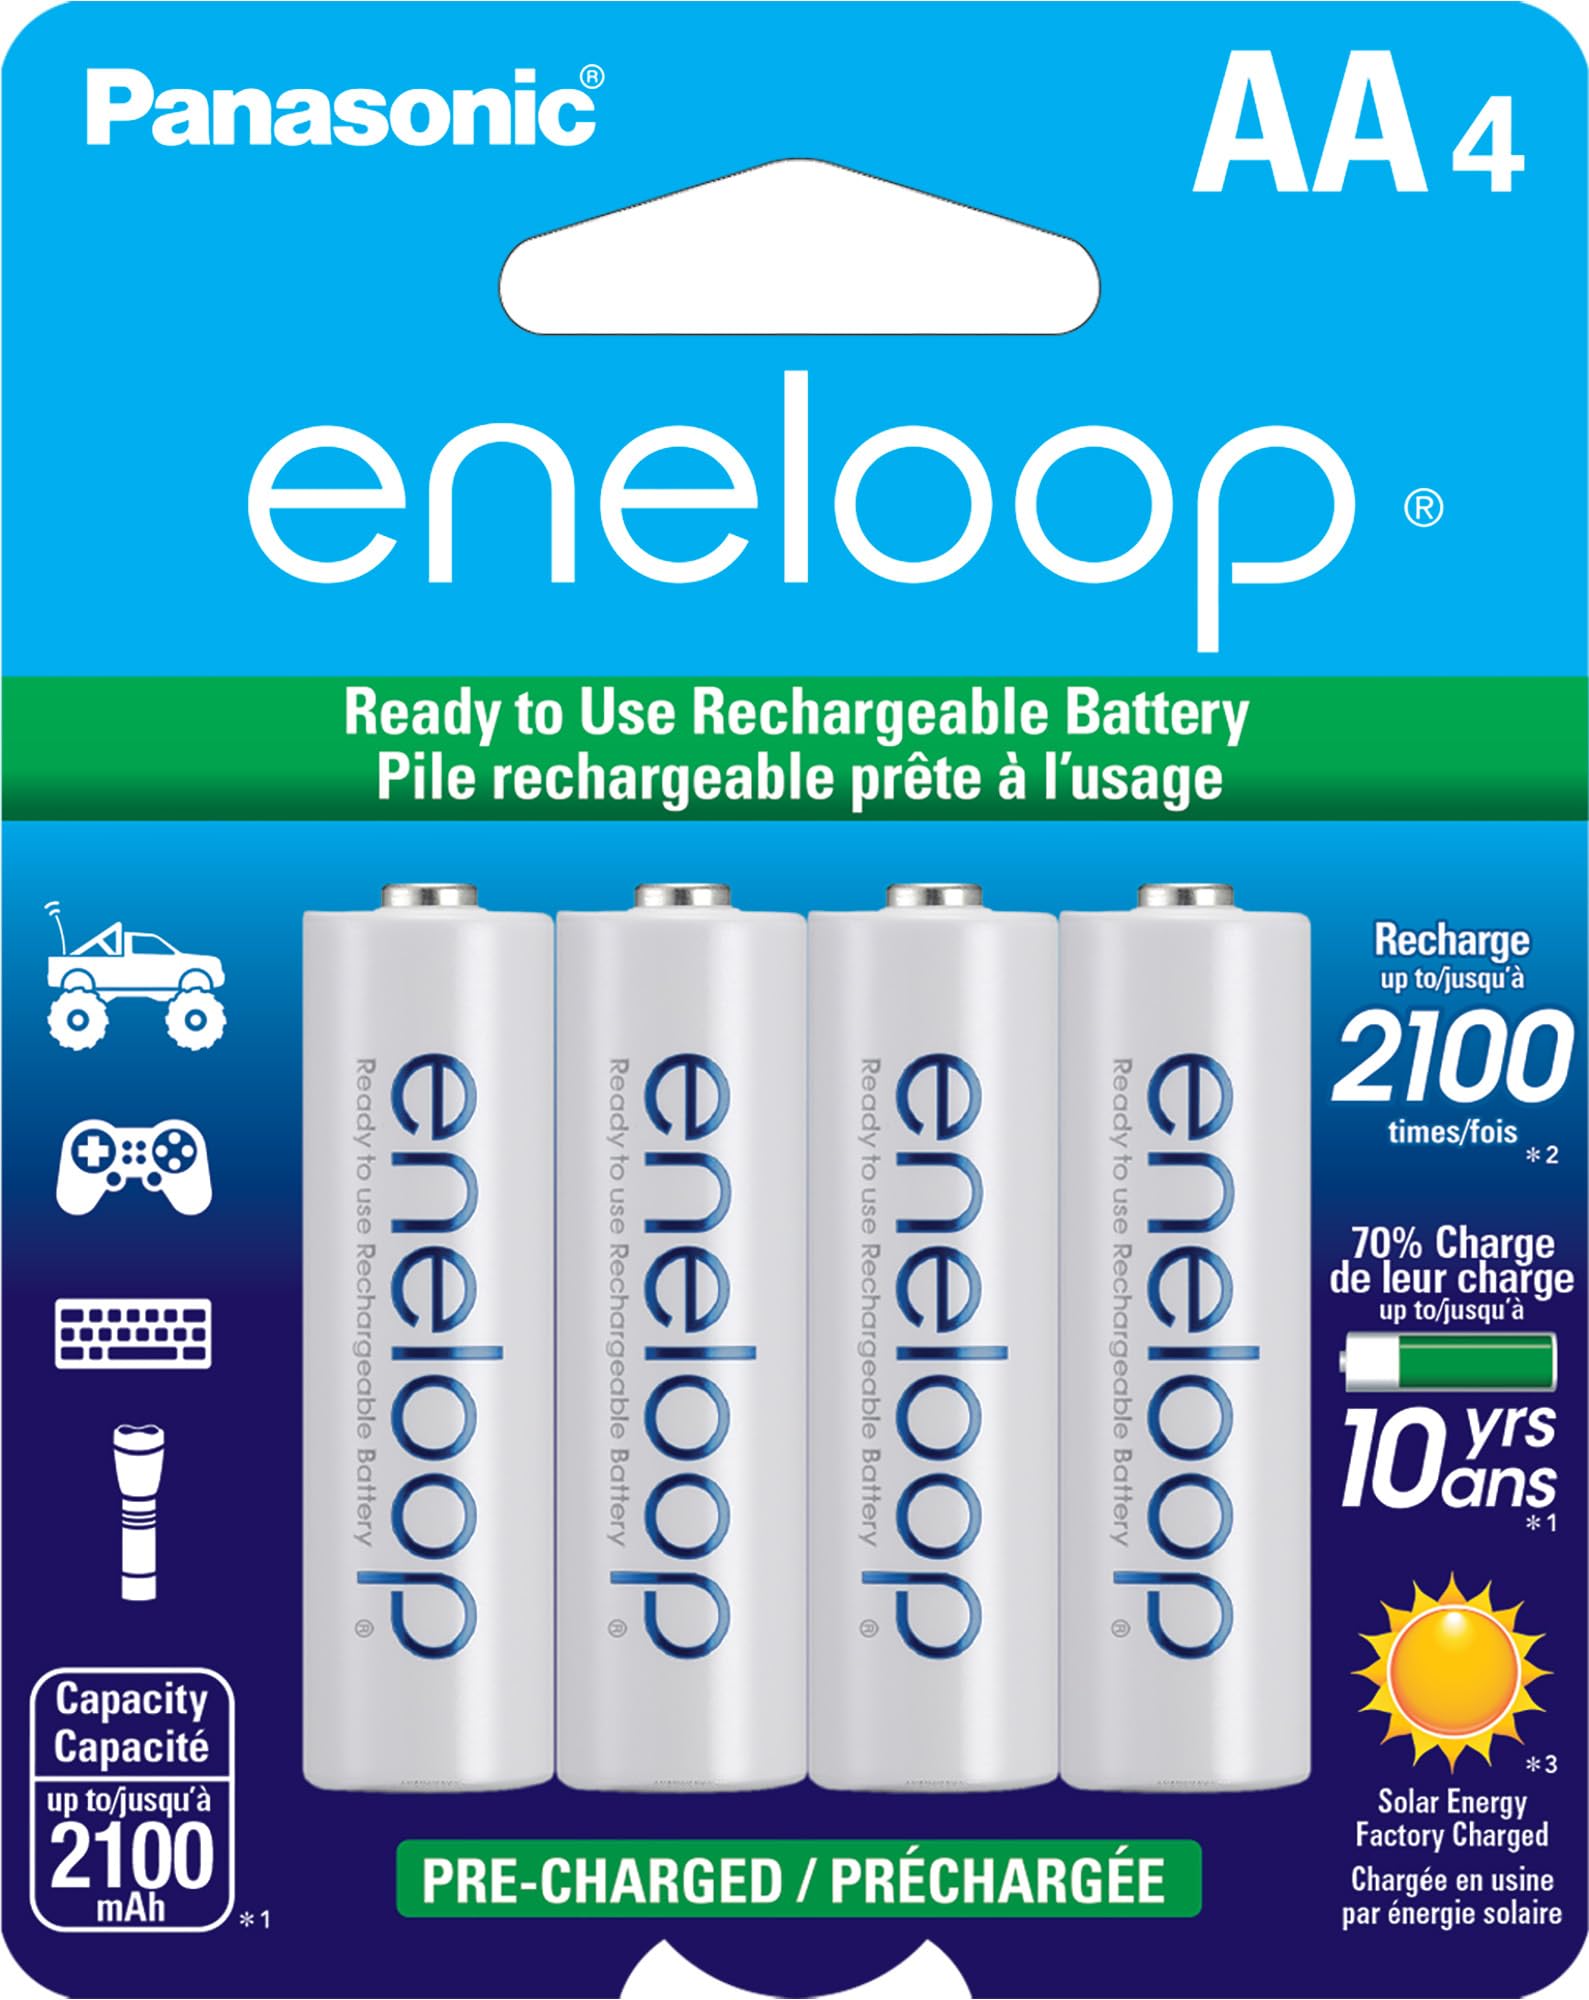
Panasonic Eneloop AA NiMH Batteries (4-Pack)
Core power source; buy matched sets.
$15-20
Panasonic Eneloop AA NiMH Batteries (4-Pack) Premium low-self-discharge cells hold charge 2100mAh; ideal for long robot sessions without sag.
Get the App
Better experience on mobile
Assemble a custom, reliable 6V (4.8V nominal NiMH) battery pack for advanced robot projects with soldering and safety best practices.
Powering advanced robots requires stable, lightweight battery packs that deliver consistent 6V without sagging under load. Many off-the-shelf options are bulky or expensive, leading hobbyists to DIY custom packs—but poor assembly causes shorts, fires, or uneven discharge. This guide solves that by teaching you to build a compact 4x AA NiMH series pack optimized for robotics.
You'll learn soldering techniques, series wiring, insulation, testing, and integration with robot connectors like Tamiya. Perfect for advanced users familiar with electronics. Expect a durable pack lasting 1-2 hours under robot motor loads.
Total build time: 1-2 hours. Difficulty: Advanced (requires soldering proficiency and multimeter use). No prior pack-building needed, but electronics basics assumed.
Estimated Time: 1-2 hours Difficulty: advanced
Clear a well-ventilated, static-free workspace. Wear safety glasses and ensure your soldering iron is in good condition with a clean tip. Fully charge your NiMH batteries using a smart charger to balance cells—uneven charge leads to poor performance.
Why it matters: Soldering involves heat (350-400°C) and flux fumes; safety prevents burns or inhalation issues. Test each battery individually with multimeter in voltage mode: expect 1.25-1.4V per cell. Discard any below 1.2V.
Success: Batteries reading ~1.3V each, workspace organized with helping hands ready.
💡 Tips:
⚠️ Warnings:
Lightly sand battery terminals with fine sandpaper (400-grit) for shine, then wipe with isopropyl alcohol. Apply flux to each terminal (positive and negative on all 4 batteries). Tin by heating terminal briefly (2-3 sec) and adding a thin solder layer.
Why: Clean terminals ensure strong, low-resistance joints; tinning prevents cold joints and overheating cells during final soldering.
Expect slight smoke from flux—normal. Each terminal should have a shiny solder coating without blobs.
💡 Tips:
⚠️ Warnings:
Secure batteries 1 and 2 in helping hands (neg of 1 touching pos of 2). Heat both tinned terminals together, flow solder to bridge. Cool 10 sec, inspect for shiny fillet joint—no gaps or cracks.
Series wiring doubles voltage (1.2V x 4 = 4.8V nominal '6V'). Why: Robots need higher voltage for motors/servos.
Success: Joint withstands gentle tug; measure 2.4V across batteries 1-2.
💡 Tips:
⚠️ Warnings:
Repeat for battery 2-3 and 3-4. Form a flat chain or stack for compactness. Flex gently to check joint strength.
Now you have pos (free on batt1) and neg (free on batt4) leads. Measure total open-circuit voltage: 4.8-5.2V expected.
Why sequential: Builds voltage step-by-step, easy error spotting.
💡 Tips:
⚠️ Warnings:
Strip 1/4" insulation from red/black wires. Tin wire ends and pack ends. Solder red to pos (batt1 +), black to neg (batt4 -). Use larger heat shrink over joints.
Why: Silicone wire handles robot vibration/heat better than standard.
Success: Wires pull securely; voltage same as before.
💡 Tips:
⚠️ Warnings:
Cut red wire 2" from pack, strip ends. Solder switch terminals in-line (input to pack pos, output to red wire). Secure with heat shrink or tape.
Why: Switch prevents drain when robot idle; essential for NiMH self-discharge.
Test continuity with multimeter (beep on closed).
💡 Tips:
⚠️ Warnings:
Solder Tamiya male to wires (red to +, black to -). Cover all exposed metal with heat shrink (heat with gun/lighter). Wrap entire pack in electrical tape, leaving switch/connector free.
Why: Tamiya standard for robot speed controllers; insulation prevents shorts.
Success: No bare metal; pack fits robot bay.
💡 Tips:
⚠️ Warnings:
Test under load: Connect to robot or 10-20Ω resistor; voltage should hold >4V at 1A draw. Check individual cell voltages post-test (<0.1V difference). Cycle charge/discharge 2-3 times.
Why: Simulates robot use; balances cells for longevity (500+ cycles).
Success: Stable 4.5V+ under load, even heat distribution.
💡 Tips:
⚠️ Warnings:
Problem: Voltage sags quickly under load
Solution: Check for loose joints/resistance; replace weak cell; ensure series wiring correct.
Problem: One cell overheating
Solution: Disassemble, measure individual voltages; isolate/replace bad cell.
Problem: No continuity through switch
Solution: Verify solder joints; test switch separately with multimeter.
Problem: Sparking on connector
Solution: Wrong polarity or shorted insulation; inspect and re-insulate.
Problem: Pack won't charge
Solution: Charger expects 5-6 cells? Use 4-cell NiMH mode; check total V <5.5V.
Premium low-self-discharge cells hold charge 2100mAh; ideal for long robot sessions without sag.
Best for: Core power source; buy matched sets.
Price Range: $15-20
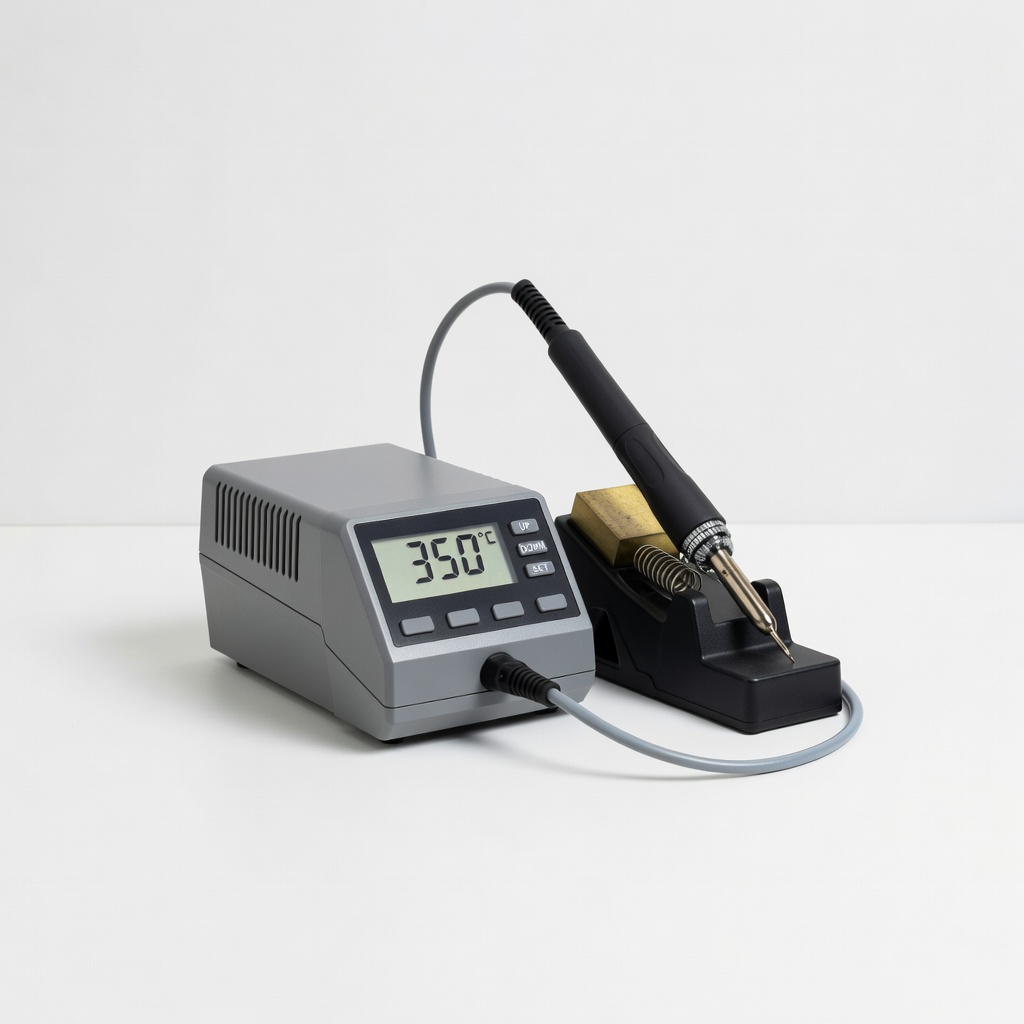
Precise temp control (200-480°C) prevents cell damage; pro-grade for advanced builds.
Best for: All soldering steps; adjustable for fine tips.
Price Range: $90-110
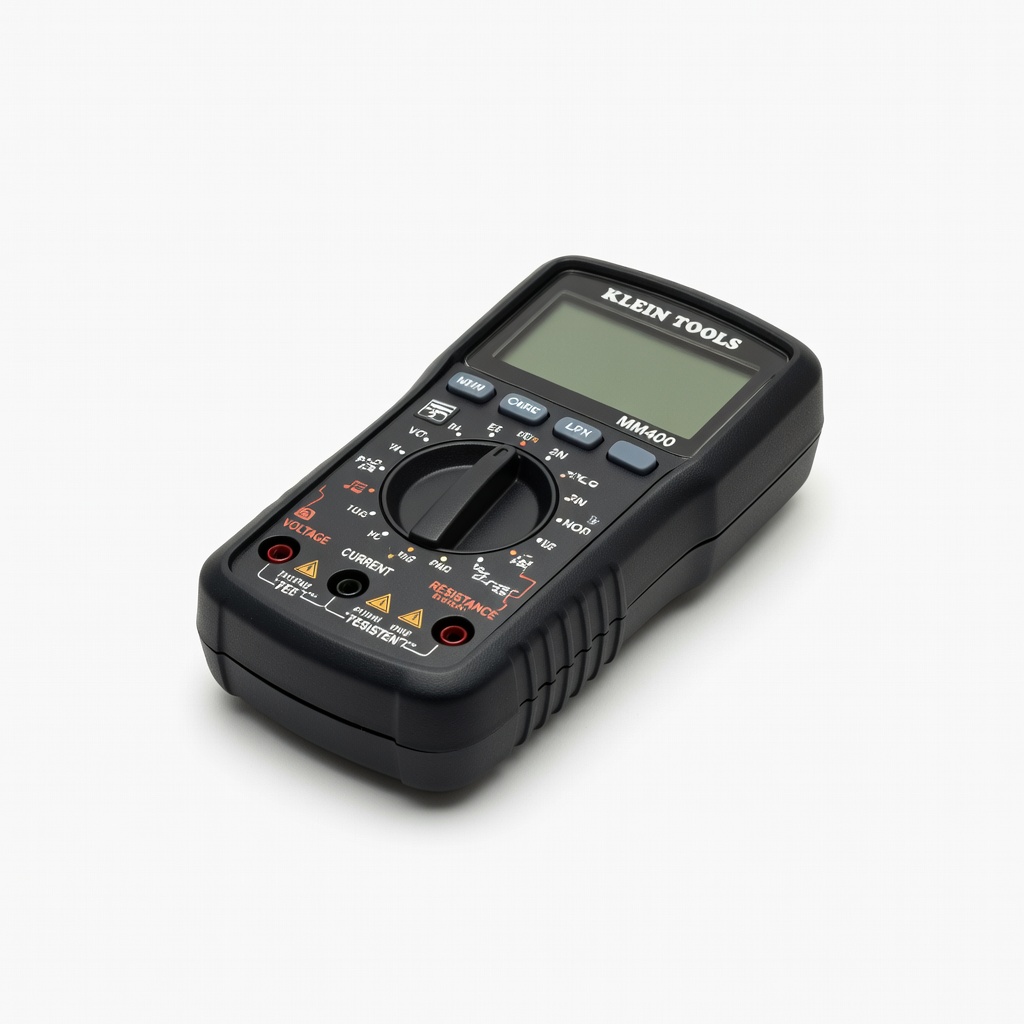
Accurate DCV/continuity for testing; rugged for workshop.
Best for: Voltage checks, load tests every step.
Price Range: $25-35
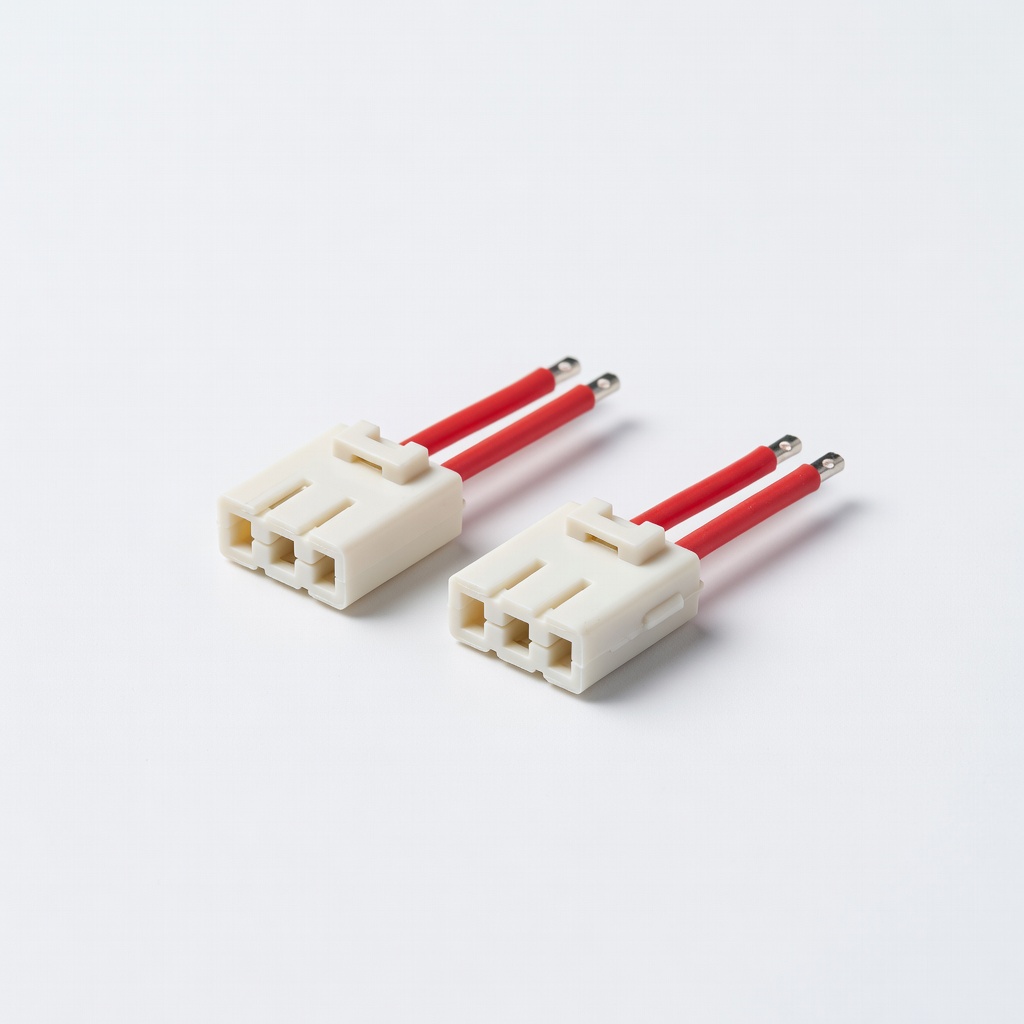
Gold-plated, vibration-proof; standard for robot RTR/ESC.
Best for: Final power output to robot.
Price Range: $5-8
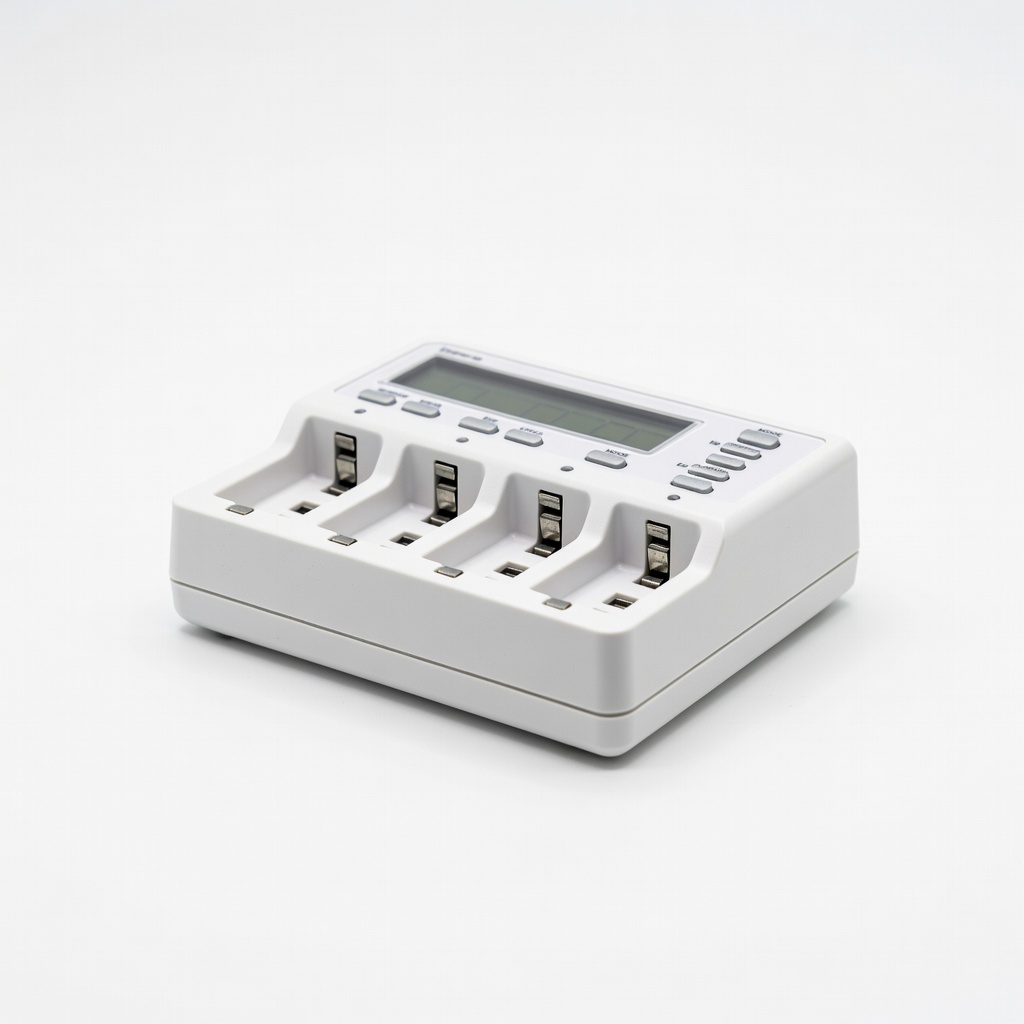
Smart NiMH charger with delta-V; balances cells automatically.
Best for: Pre-build charging and maintenance.
Price Range: $35-45
Core power source; buy matched sets.
Panasonic Eneloop AA NiMH Batteries (4-Pack) Premium low-self-discharge cells hold charge 2100mAh; ideal for long robot sessions without sag.
All soldering steps; adjustable for fine tips.
Weller WE1010 Digital Soldering Station Precise temp control (200-480°C) prevents cell damage; pro-grade for advanced builds.
Voltage checks, load tests every step.
Klein Tools MM400 Multimeter Accurate DCV/continuity for testing; rugged for workshop.
Final power output to robot.
Tamiya 25-Size Connector Male (2-Pack) Gold-plated, vibration-proof; standard for robot RTR/ESC.
Pre-build charging and maintenance.
La Crosse Technology BC700 Alpha Charger Smart NiMH charger with delta-V; balances cells automatically.