In a world of constant connectivity, dead phone batteries can derail your day. Building your own 5V power bank from readily available batteries offers full control over capacity, size, and cost—perfect for advanced DIYers who want a tailored solution beyond off-the-shelf options.
This guide teaches you to create a safe, efficient 5V/2A power bank using parallel 18650 lithium cells. You'll learn battery handling, soldering protection circuits, and output regulation. Expect advanced electronics knowledge like reading datasheets and using a multimeter.
The process takes 1-2 hours, including soldering and testing. It's advanced due to high-voltage risks and precise wiring—no prior power bank builds needed, but soldering experience is essential.
▸What You'll Need
- •4x 18650 lithium batteries (unprotected, 2500-3500mAh each, tested and matched)
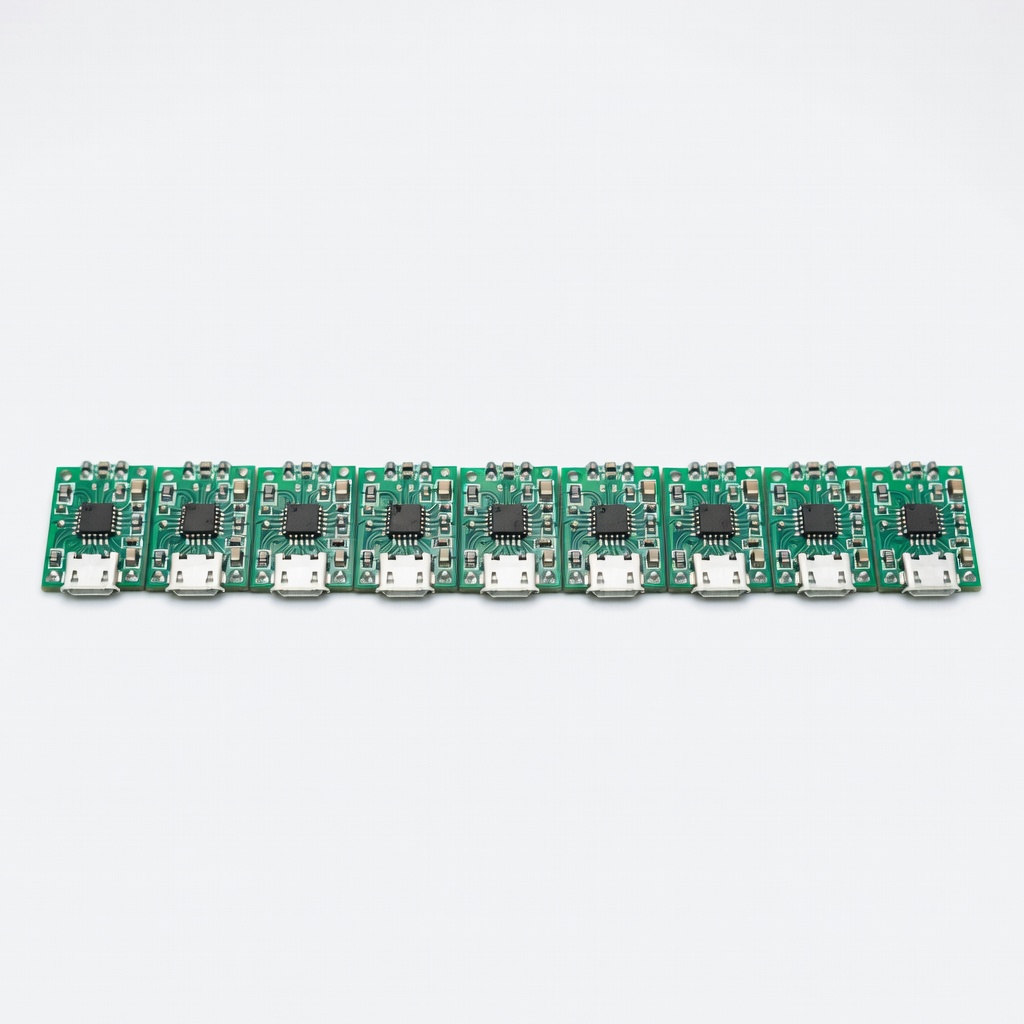
- •TP4056 lithium charger module with protection (1S BMS)
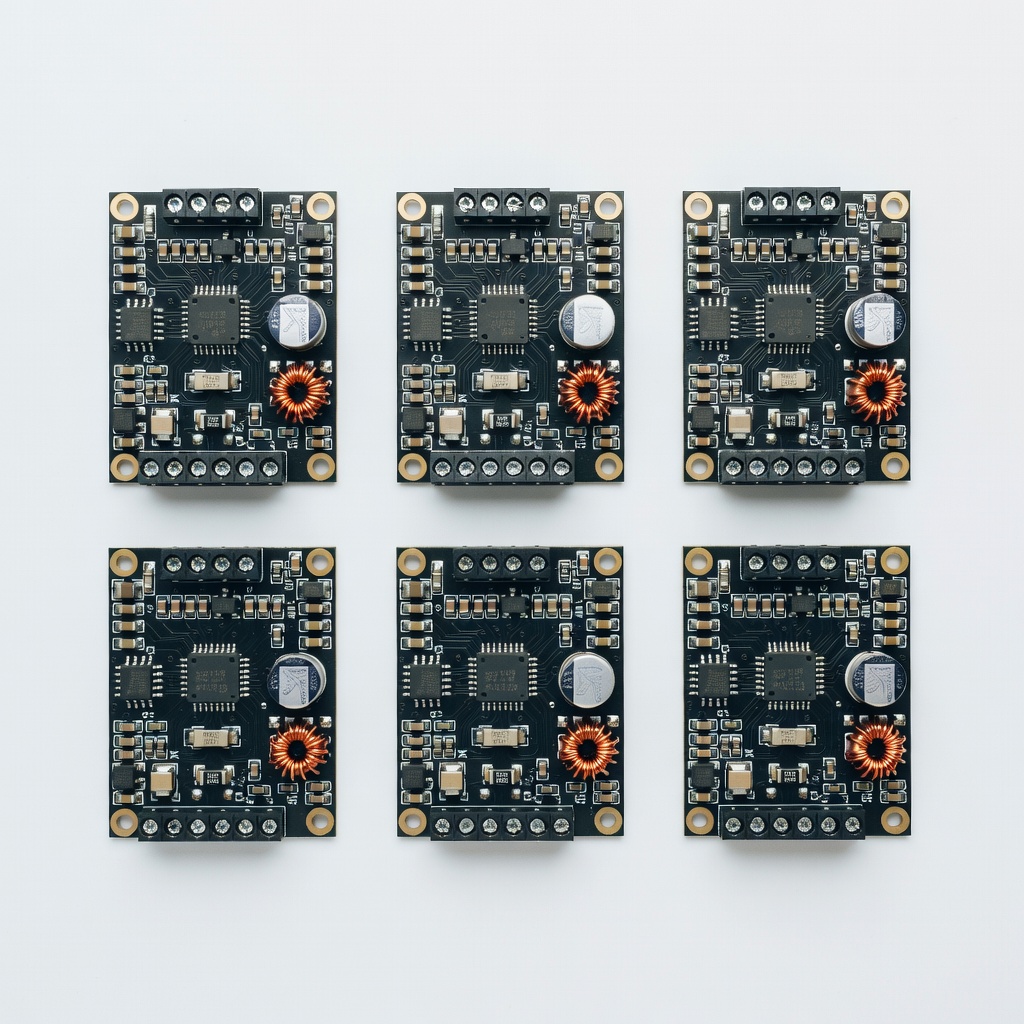
- •DC-DC boost converter module (e.g., MT3608 or XL6009, adjustable to 5V)
- •USB-A female breakout or port
- •Toggle switch (SPST, 5A rating)
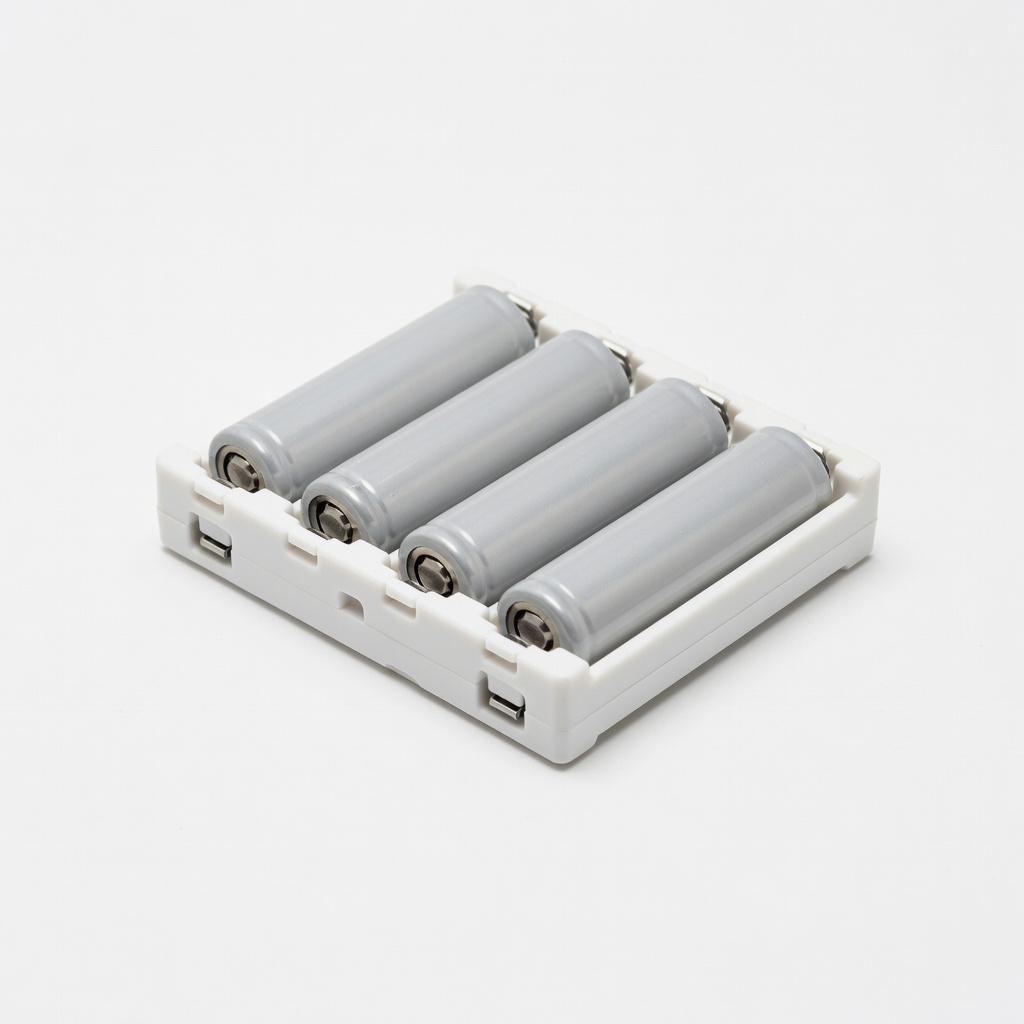
- •18650 battery holder for 4 cells in parallel or flexible wires
- •Enclosure box (ABS plastic, ~100x60x25mm)
- •Soldering iron (30-60W with fine tip), solder, flux
- •Multimeter, wire strippers, heat shrink tubing, hot glue gun
- •Optional: BMS board for parallel cells, LED indicator
Estimated Time: 1-2 hours
Difficulty: advanced
▸Step-by-Step Instructions
Step 1: Test and Match Batteries
Use a multimeter to check each 18650 battery's voltage (should be 3.0-4.2V). Discharge to ~3.7V if needed using a resistor. Match batteries within 0.1V for parallel use to prevent imbalance.
Why? Mismatched cells cause uneven charging/discharging, risking fire. Label voltages and group four identical ones.
Success: All batteries at same voltage, no shorts.
💡 Tips:
- •Use a dedicated 18650 tester like Opus BT-C3100 for capacity check.
⚠️ Warnings:
- •Never short positive/negative terminals—explosion risk.
Step 2: Prepare Battery Connections
Solder wires to battery terminals or use a parallel holder. Connect all positives together (B+ bus) and negatives (B- bus) using 22AWG wire.
Apply heat shrink over joints. This creates a 3.7V pack with ~4x capacity (10,000mAh total).
Success: Solid, insulated parallel bank with measurable ~3.7V across bus.
💡 Tips:
- •Twist wires before soldering for strength.
⚠️ Warnings:
- •Work in ventilated area; avoid inhaling flux fumes.
Step 3: Wire TP4056 Charger Module
Connect B+ to TP4056 BAT+ and B- to BAT-. Add micro-USB input for charging. Solder carefully—polarity matters.
The TP4056 handles 1A charging with overcharge/discharge protection. Test by plugging in USB: LED should indicate charging.
Success: Module draws ~0.5A from 5V input, batteries voltage stable.
💡 Tips:
- •Enable protection pins (PROT) if your module has them.
⚠️ Warnings:
- •Reverse polarity fries the module instantly.
Step 4: Install Boost Converter for 5V Output
Connect battery B+ to IN+, B- to IN-. Adjust potentiometer with multimeter to output exactly 5.0V (no load first).
Solder output to switch input. Boosts 3.7V to stable 5V USB. Set current limit if available (~2A).
Success: Measures 5.00V output unloaded.
💡 Tips:
- •Use screwdriver in pot while powered for fine tuning.
⚠️ Warnings:
- •Over-adjusting >5.2V damages devices.
Step 5: Add Switch and USB Port
Wire boost OUT+ to switch, switch to USB VCC (5V). OUT- direct to USB GND.
Optional: Add LED across switch for power indicator.
Success: Continuity test shows open/closed path.
💡 Tips:
- •Use keyed switch to prevent wrong wiring.
Step 6: Assemble in Enclosure
Mount components with hot glue or screws. Drill holes for USB ports, switch, and micro-USB.
Secure wires to avoid shorts. Label ports (IN/OUT).
Success: Fits snugly, no rattles.
💡 Tips:
- •Use standoffs for modules to dissipate heat.
⚠️ Warnings:
- •Ensure ventilation holes for heat.
Step 7: Full System Test
Charge fully (LED off). Switch on: 5V at USB. Load test with phone—should deliver 1-2A.
Monitor temps (<60°C). Cycle charge/discharge 3x.
Success: Stable 5V/1A+ under load, no heat/overheat.
💡 Tips:
- •Use USB tester for precise current/voltage logging.
⚠️ Warnings:
- •If hot, check shorts or boost efficiency.
Step 8: Calibrate and Seal
Re-check voltages. Seal enclosure with screws/hot glue. Add capacity label (~10000mAh).
Success: Ready for use, fully functional portable charger.
💡 Tips:
- •Balance charge monthly for longevity.
▸Pro Tips
- •Match batteries by capacity, not just voltage, for 500+ cycles.
- •Add a low-voltage cutoff (2.5V/cell) via BMS for safety.
- •Use 0.1Ω sense resistor on TP4056 for accurate charging.
- •Parallel more cells for higher capacity (e.g., 8x for 20Ah).
- •Test under full load (2A) for 30min to simulate real use.
- •Insulate ALL joints with liquid tape or Kapton.
- •Monitor with Bluetooth BMS for app tracking (advanced upgrade).
▸Common Mistakes to Avoid
- •Mismatched batteries: Causes one to overdischarge—always match within 0.05V.
- •Skipping heat shrink: Shorts lead to fires—insulate everything.
- •Wrong boost adjustment: >5.2V fries USB devices—measure unloaded then loaded.
- •No load testing: Hidden weak joints fail in use—stress test first.
- •Poor ventilation: Overheating reduces lifespan—drill holes.
▸Troubleshooting
Problem: No 5V output
Solution: Check polarity, switch position, battery voltage (>3.0V). Re-adjust boost pot.
Problem: Overheats during charge
Solution: Verify TP4056 current limit (1A max). Improve airflow or reduce input voltage.
Problem: USB not charging devices
Solution: Test voltage under load. Replace boost if drops below 4.8V.
Problem: Charger LED blinks red
Solution: Short or damaged cell—replace batteries. Check protection circuit.
HiLetgo TP4056 Lithium Battery Charger Module (Pack of 10)
Reliable 1A charger with built-in BMS protection; perfect for safe Li-ion charging.
Best for: Core charging circuit for your power bank.
Price Range: $8.99
Valefod XL6009 DC-DC Boost Converter (6pcs)
Efficient step-up to 5V/3A with adjustable pot; compact for enclosures.
Best for: Converts battery 3.7V to stable USB 5V output.
Price Range: $9.99
18650 Battery Holder 4 Slots Parallel
Secure parallel connection without custom soldering; vibration-proof.
Best for: Holds batteries neatly inside enclosure.
Price Range: $6.99
ABS Plastic Project Enclosure 100x60x25mm
Durable, drillable box sized for compact power bank.
Best for: Houses all components safely.
Price Range: $9.99
YIHUA 926 III Soldering Iron Kit
Precise temp control for fine electronics work; includes stand and tips.
Best for: All soldering tasks in the build.
Price Range: $29.99