
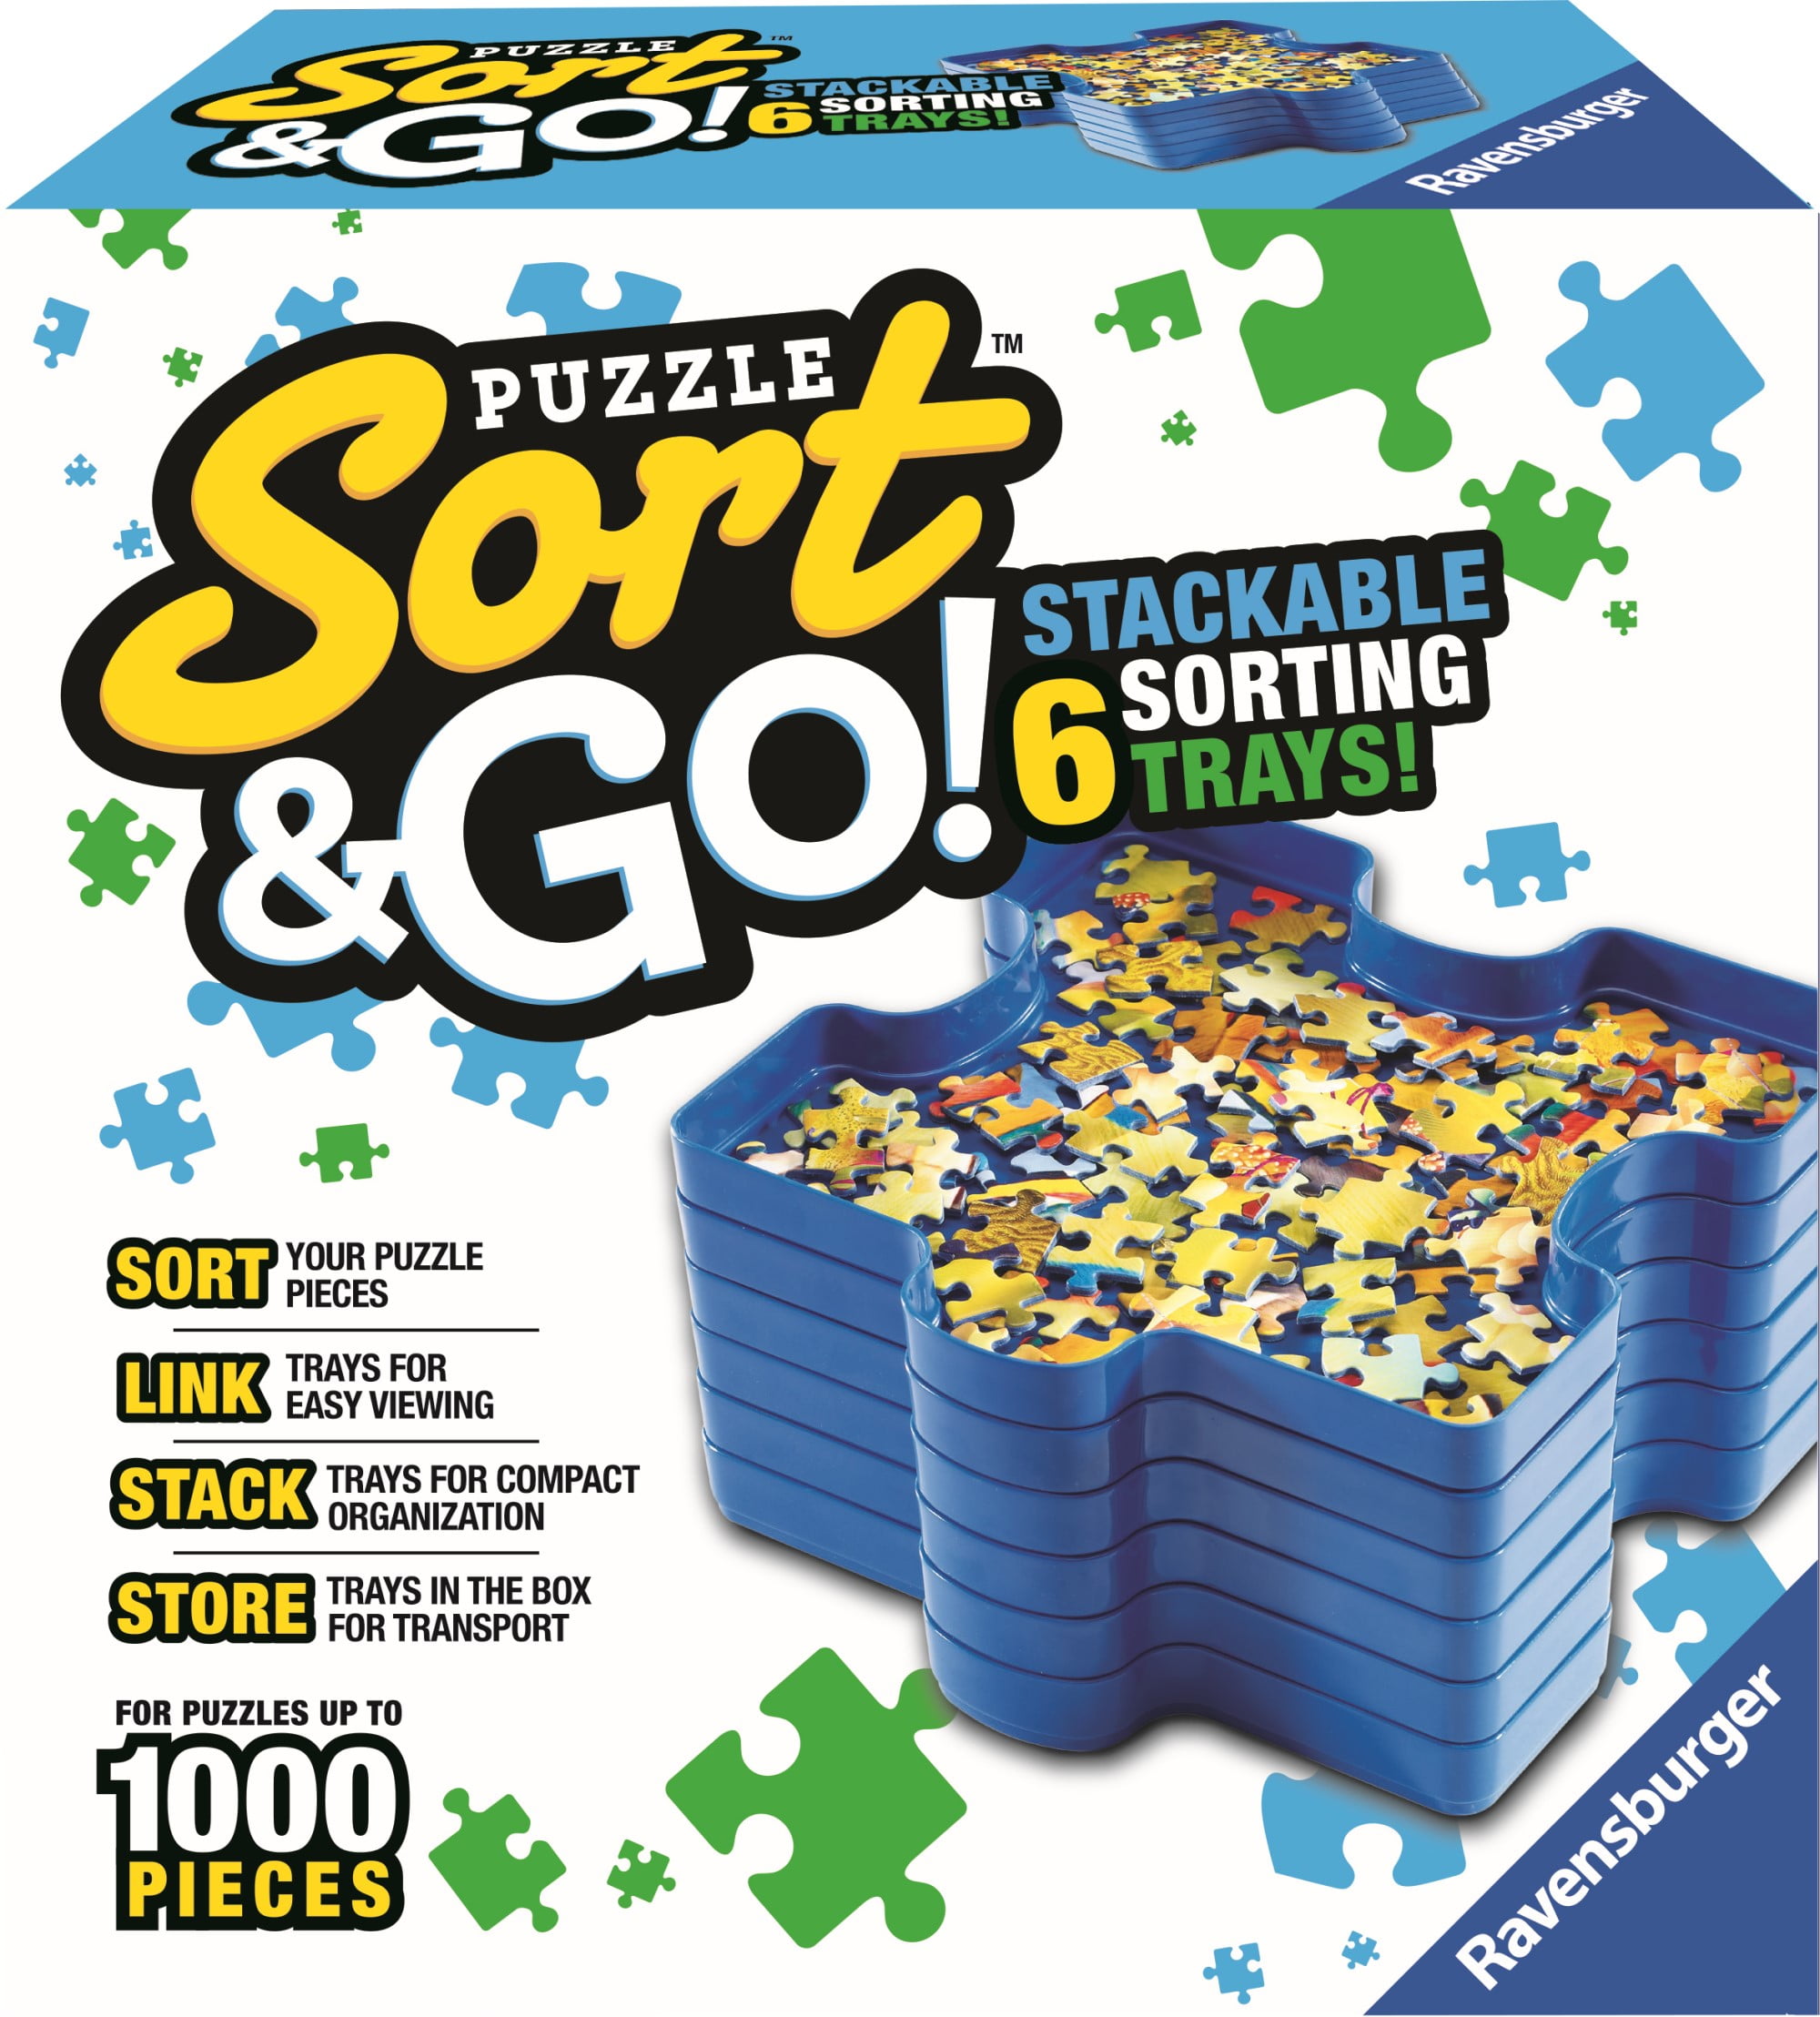
Ravensburger 3D Puzzle Sorting Trays
When sorting pieces into categories during the initial sorting step.
$10–$20
Ravensburger 3D Puzzle Sorting Trays Keeps pieces organized by group, speeds up assembly.
Get the App
Better experience on mobile
Master the art of assembling any 3D puzzle from scratch using simple sorting, shape analysis, and trial-and-error techniques.
There's nothing more satisfying than conquering a 3D puzzle—unless you open the box and find the instructions are missing. Whether they've been lost, or you've bought a second-hand set without a manual, building a 3D puzzle without instructions can feel overwhelming. But with the right strategies, you can turn this challenge into a rewarding brain teaser. In this guide, you'll learn how to approach an instructionless puzzle: from organizing your pieces and studying the box art, to building sub-assemblies and troubleshooting fit issues. No prior experience needed—just patience and a systematic method. Expect to spend 2–4 hours, depending on puzzle complexity.
Estimated Time: 2–4 hours (depends on puzzle piece count and complexity) Difficulty: beginner
Clear a large, flat surface with good lighting. A desk or dining table works well. Place all puzzle pieces in the center. If you have small containers or a puzzle sorting tray, set them aside. This step ensures you have enough room to spread out pieces and see details clearly. Good lighting is crucial because 3D puzzle pieces often have subtle color variations and connector shapes that are easier to spot in bright light.
💡 Tips:
⚠️ Warnings:
Start by grouping pieces that look similar. Common categories include: flat base pieces, curved or angled pieces, pieces with notches or tabs, and pieces with printed details (like windows or bricks). If your puzzle has distinct colors (e.g., a castle with gray walls and red roofs), separate by color. This sorting step dramatically reduces search time later. For 3D puzzles, also look for pieces that have a textured or patterned side—these often form the visible exterior.
💡 Tips:
⚠️ Warnings:
Find the puzzle's box art or any reference image (even a photo from the internet). Examine the finished model carefully. Look for the overall shape (symmetrical or asymmetrical), distinct landmarks (turrets, arches, doors), and repeating patterns. Mentally break the model into major sections: base, walls, roof, decorative elements. This mental map will guide your assembly sequence. For example, a 3D puzzle of a ship might have a hull, deck, cabins, and masts.
💡 Tips:
In most 3D puzzles, the base or main structural pieces have flat edges or right-angle corners. Look for pieces that form the outer boundary of the model. These often have a straight edge on one or two sides. Assemble them into the perimeter of the base. For a building, this might be the four walls of the ground floor. For a vehicle, it could be the chassis frame. Use the reference image to determine how many sides the base has.
💡 Tips:
⚠️ Warnings:
Starting from the base, work upward by attaching pieces that connect to already assembled sections. Look for tabs and slots (the interlocking mechanism). Gently press pieces together—they should slide or click into place without excessive force. Build one layer or ring at a time before moving to the next. For models with vertical walls, stack pieces like blocks. For models with angled surfaces, pay attention to the slope direction.
💡 Tips:
⚠️ Warnings:
For complex models, it's often easier to build smaller sections (like a turret, a chimney, or a wing) independently, then attach them to the main body. This reduces the risk of the whole structure collapsing during assembly. Identify detachable components from the reference image. Build each sub-assembly on a separate area of your workspace, then connect them to the main model later.
💡 Tips:
⚠️ Warnings:
When you have a piece that seems to belong in a certain spot but doesn't fit immediately, experiment with rotating it 90°, 180°, or flipping it over (if the puzzle allows). Also try placing it in neighboring slots. Many 3D puzzle pieces are similar but not identical; small tabs or angles can indicate a specific orientation. If a piece won't connect after a few tries, set it aside and move on—sometimes you need to assemble surrounding pieces first to create the correct slot geometry.
💡 Tips:
⚠️ Warnings:
Every few pieces, inspect the growing model from multiple angles. Look for gaps that shouldn't exist, misaligned edges, or pieces that stick out awkwardly. Early detection of mistakes saves major rework. Particularly check the underside (if visible) and the joints between sections. If something looks off, gently disassemble the problematic area and reassemble it correctly. It's normal to have to backtrack a few times.
💡 Tips:
⚠️ Warnings:
Once the main structure is complete and all sub-assemblies are built, attach the remaining sections. Add small decorative pieces last—these are often fragile and can be knocked off easily. Work from the inside out: attach inner walls before outer walls, and roof before chimneys. Press connections firmly until you hear/feel them click. If the puzzle is designed to be permanent, you can now apply puzzle glue to the seams (use a small brush) to solidify the model.
💡 Tips:
⚠️ Warnings:
Problem: A piece seems too tight or won't go in.
Solution: Check for burrs or flashing on the tab or slot; gently sand with fine-grit sandpaper. Also ensure the piece is oriented correctly (try flipping it).
Problem: The structure is wobbly or keeps collapsing.
Solution: Re-check that all connections are fully pressed together. If missing a key structural piece, the model may be unstable. Add missing supports or reinforce with temporary tape during assembly.
Problem: I have leftover pieces that don't seem to fit anywhere.
Solution: Compare the total piece count to the puzzle's known count (check the box). If extra pieces remain, you may have missed a sub-assembly or confused two similar slots. Review each section for empty slots.
Problem: The reference image is missing or unclear.
Solution: Search online using the puzzle brand and piece count (e.g., 'Ravensburger 3D puzzle 216 pieces completed'). User-uploaded photos often exist.
Keeps pieces organized by group, speeds up assembly.
Best for: When sorting pieces into categories during the initial sorting step.
Price Range: $10–$20
Provides bright, shadow-free light and magnification for tiny connectors.
Best for: When working with small, intricate pieces in low-light conditions.
Price Range: $25–$40
Precise handling of small or delicate pieces without fingerprints.
Best for: When placing tiny tabs or fragile decorative pieces.
Price Range: $8–$15
Permanently secures the completed puzzle for display.
Best for: After final assembly, to preserve the model.
Price Range: $10–$18
A great beginner-friendly 3D puzzle with clear piece differentiation.
Best for: Ideal for practicing the techniques in this guide on an actual puzzle without instructions.
Price Range: $20–$35
When sorting pieces into categories during the initial sorting step.
Ravensburger 3D Puzzle Sorting Trays Keeps pieces organized by group, speeds up assembly.
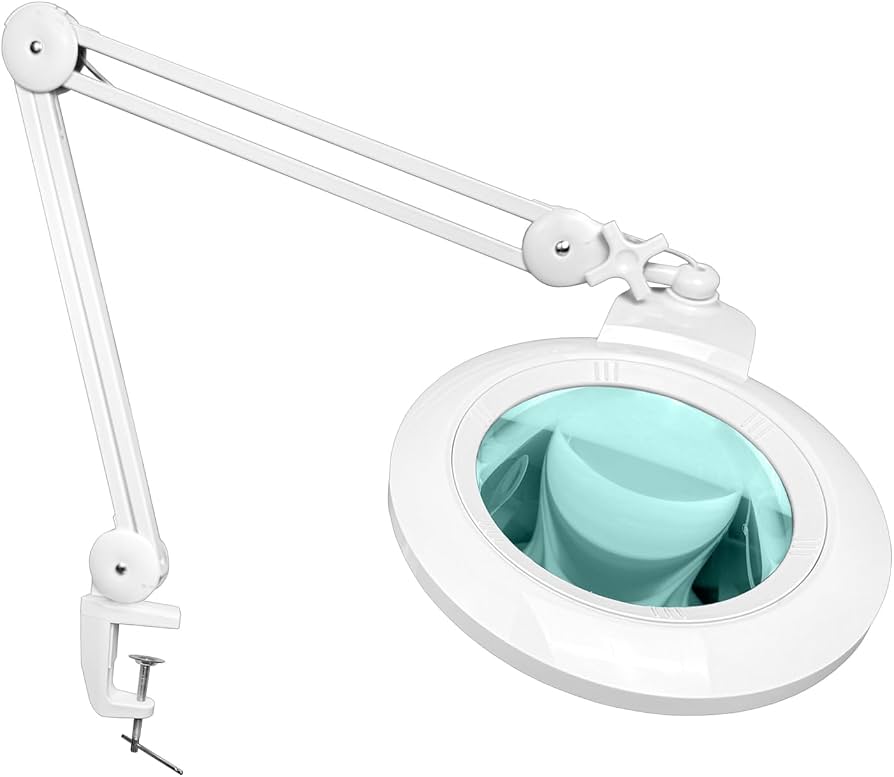
When working with small, intricate pieces in low-light conditions.
Preciva LED Magnifying Lamp Provides bright, shadow-free light and magnification for tiny connectors.
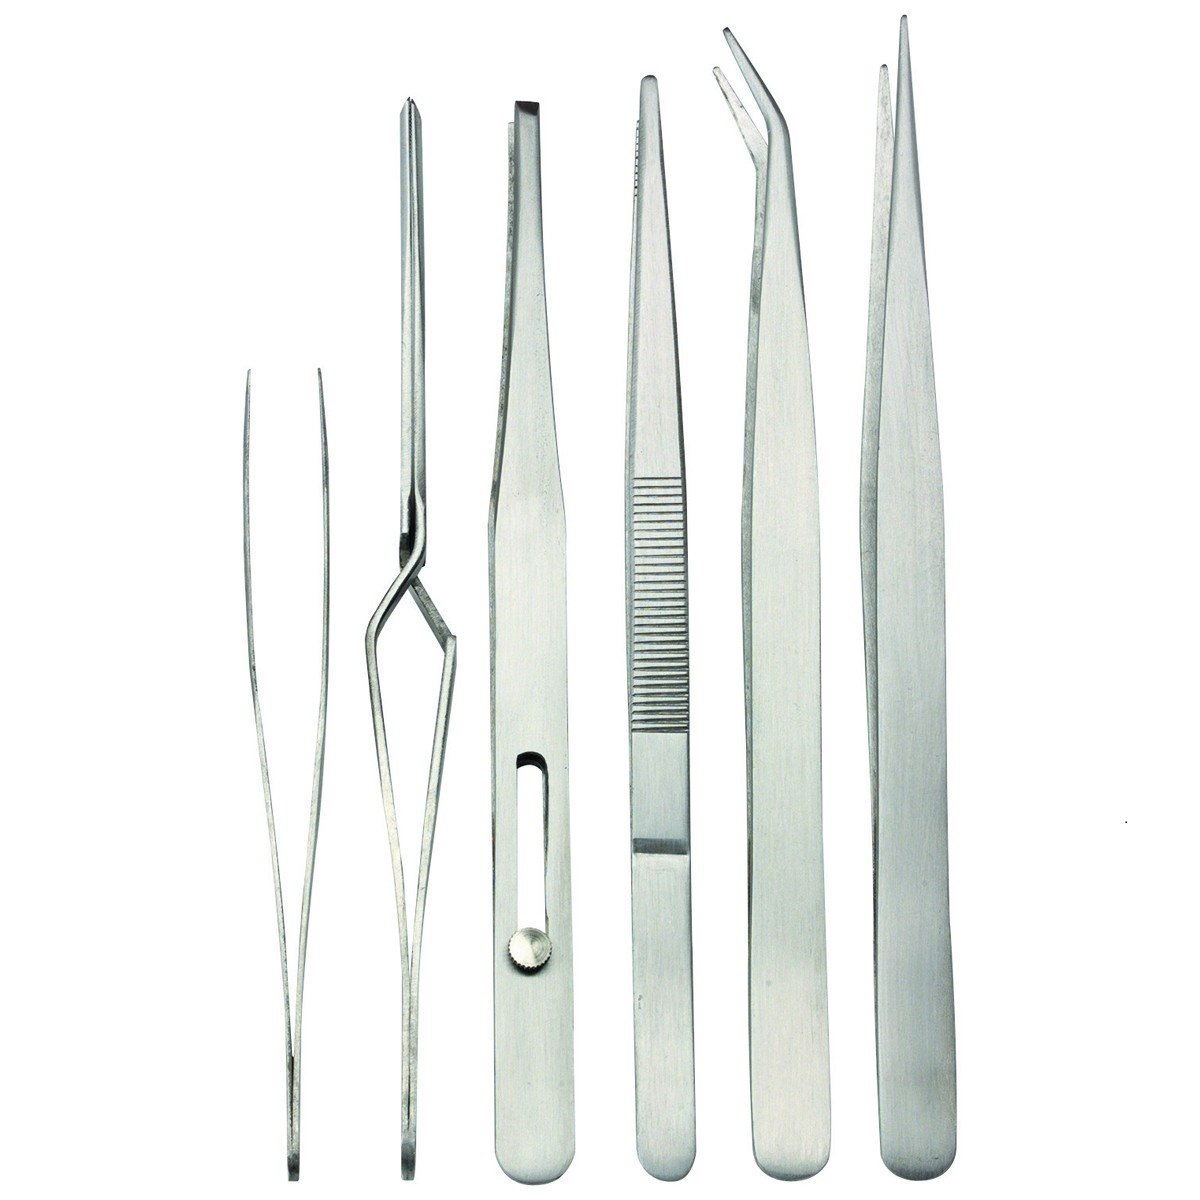
When placing tiny tabs or fragile decorative pieces.
Tweezers Set for Modeling Precise handling of small or delicate pieces without fingerprints.

After final assembly, to preserve the model.
Ravensburger Puzzle Glue (200ml) Permanently secures the completed puzzle for display.
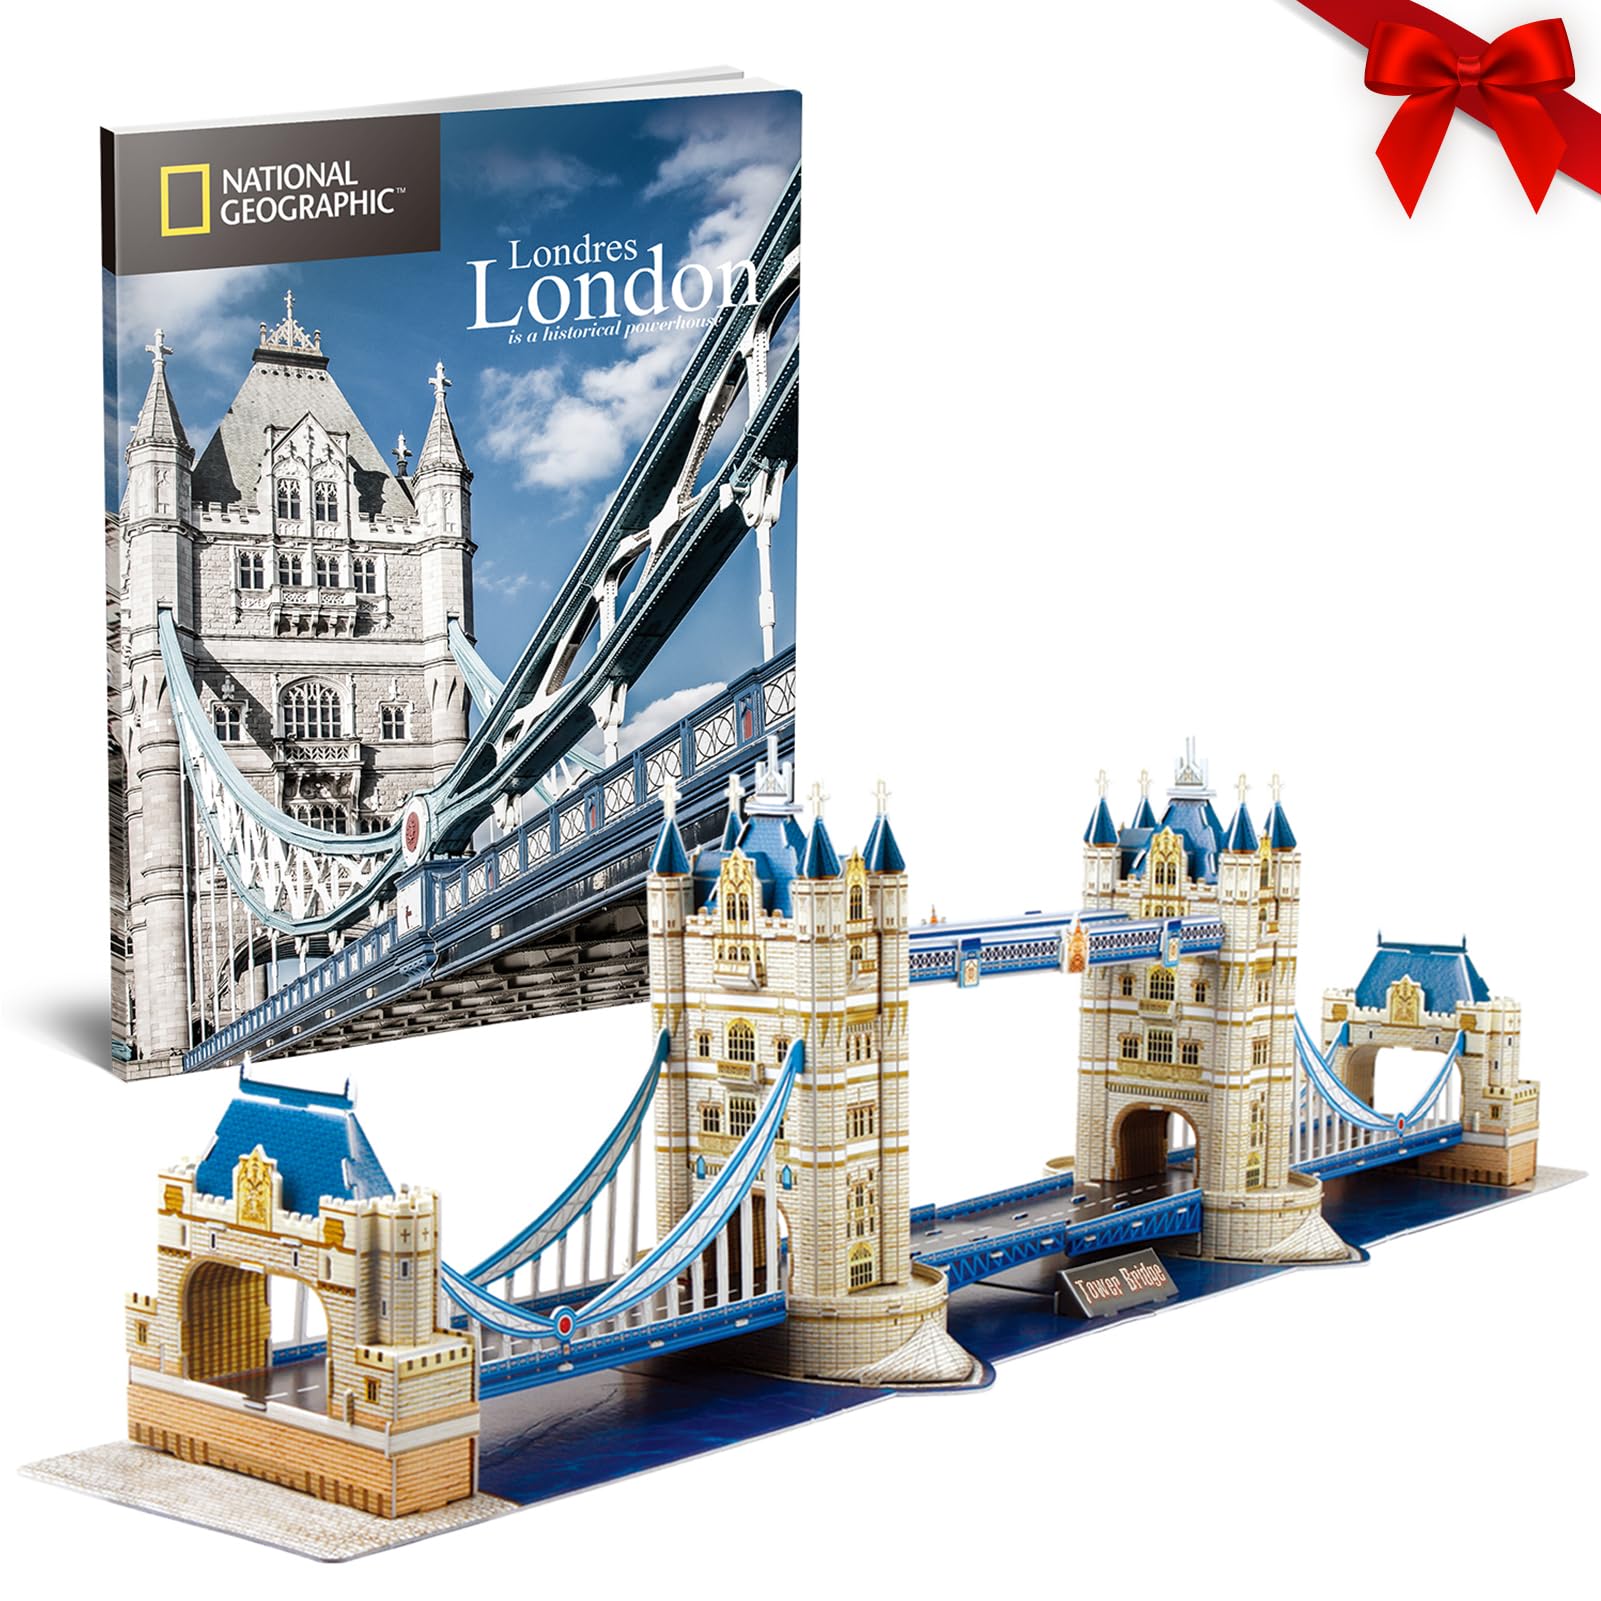
Ideal for practicing the techniques in this guide on an actual puzzle without instructions.
CubicFun 3D Puzzle – London Bridge A great beginner-friendly 3D puzzle with clear piece differentiation.