In an era of rising energy costs and frequent power outages, a custom 12V solar battery charger provides a sustainable solution for charging lead-acid or lithium batteries in RVs, boats, or emergency setups. Whether you're powering lights, radios, or small appliances off-grid, this build saves money over pre-made units and teaches valuable electronics skills.
This advanced guide walks you through designing, assembling, and testing a complete 12V solar charger using a solar panel, charge controller, and safety components. You'll achieve a charger capable of delivering 10-20W of power safely to a 12V battery, preventing overcharge and damage.
Expect 2-4 hours of work, assuming soldering proficiency and basic electronics knowledge. No PCB fabrication required—just modular assembly.
▸What You'll Need
- •12V solar panel (20-50W monocrystalline, e.g., Renogy 20W)
- •PWM or MPPT solar charge controller (10A rated)
- •Blocking diode (1N5408 or Schottky 15A)
- •12V voltage regulator (LM7812 or buck converter for stability)
- •Fuse holder and 10A inline fuse
- •18-20 AWG solar wire (red/black, 10-20 ft)
- •Soldering iron, solder, heat shrink tubing, wire strippers
- •Multimeter for testing
- •Waterproof enclosure box (IP65 rated)
- •Anderson connectors or MC4 for panel connections (optional)
- •12V lead-acid or LiFePO4 battery for testing (optional)
Estimated Time: 2-4 hours
Difficulty: advanced
▸Step-by-Step Instructions
Step 1: Calculate Your Power Requirements
Determine the solar panel size and controller rating based on your battery capacity and daily sun hours. For a 12V 20Ah battery, aim for 20-50W panel to charge in 4-6 hours of sunlight.
Use formula: Panel Watts = (Battery Ah × Voltage × 1.2) / Sun Hours. Why? Accounts for inefficiencies (80% efficiency typical). Expect output: e.g., 20W panel at 17V open-circuit delivers ~1.2A to battery.
Sketch a wiring diagram: Panel → Diode → Controller → Battery (+ fuse).
💡 Tips:
- •Use online calculators like PVWatts for location-specific sun data.
⚠️ Warnings:
- •Undersized panels lead to slow charging; oversizing wastes money.
Step 2: Prepare the Solar Panel
Mount the panel securely on a south-facing (northern hemisphere) surface at 30-45° angle. Attach MC4 connectors if not pre-wired.
Test open-circuit voltage (Voc) with multimeter: Should be 17-22V under light. Why? Confirms panel health before integration. Expect 12V nominal output under load.
💡 Tips:
- •Clean panel with isopropyl alcohol for max efficiency.
Step 3: Install the Blocking Diode
Solder the diode in series on the positive panel wire (anode to panel, cathode to controller). Use heat shrink for insulation.
Purpose: Prevents reverse current flow from battery to panel at night, protecting the panel. Test continuity: Forward voltage drop ~0.7V.
⚠️ Warnings:
- •Wrong polarity fries the diode—double-check with multimeter.
Step 4: Wire the Charge Controller
Connect panel output to controller's PV input (observe polarity). Then, controller battery terminals to fuse holder, then to battery posts.
PWM controllers are cheaper for small setups; MPPT for >20% efficiency gain. Why it matters: Regulates voltage to 14.4V bulk charge, preventing gassing/overheat.
💡 Tips:
- •Crimp connections for reliability over solder-only.
Step 5: Add Voltage Regulation and Fuse
Insert inline 10A fuse on positive battery lead, 6-12" from battery. Add buck converter post-controller if stabilizing to exactly 12V.
Fuses protect against shorts; regulator ensures steady output for sensitive loads. Test: No voltage drop >0.2V across fuse.
⚠️ Warnings:
- •Skip fuse = fire risk from shorts.
Step 6: Mount in Enclosure
Drill holes for wires in IP65 box. Secure controller, diode, and regulator inside with standoffs. Seal entries with grommets.
Provides weatherproofing for outdoor use. Label terminals for future access.
💡 Tips:
- •Use DIN rail for neat mounting.
Step 7: Initial No-Load Test
Power up in sunlight without battery: Check controller LEDs (PV charging, no battery error). Measure PV input 17V+, output 0V (open).
Success: No smoke, stable readings. Why? Verifies no shorts before battery connection.
Step 8: Connect and Full Test
Attach to discharged 12V battery. Monitor: Charging current 1-2A initially, voltage rises to 14.4V then float 13.5V.
Run 1-hour test; battery voltage should increase proportionally. Success: Stable charge without alarms.
⚠️ Warnings:
- •Monitor first charge for heat—disconnect if >60°C.
▸Pro Tips
- •Orient panel optimally using a solar tracker app for 20% more yield.
- •Use thicker wire (16AWG) for runs >10ft to minimize losses.
- •Add a battery temperature sensor to controller for LiFePO4 optimization.
- •Log daily output with a cheap energy meter for performance tuning.
- •Parallel multiple panels for higher capacity—match Voc.
- •Winter tip: Tilt steeper (60°) for low sun angle.
- •Upgrade to MPPT controller if budget allows—pays back in 1 year.
▸Common Mistakes to Avoid
- •Reversing polarity on controller—burns MOSFETs; always verify with multimeter.
- •No diode installed—nighttime drain kills panel efficiency.
- •Undersized fuse (>10A)—won't protect during shorts.
- •Exposed wiring—UV degrades insulation in months.
- •Ignoring Voc mismatch—overvoltage damages controller.
▸Troubleshooting
Problem: No charging indication
Solution: Check panel Voc >16V, clean connections, test diode forward bias.
Problem: Battery overcharges (15V+)
Solution: Verify controller model matches battery type (AGM vs flooded); reset or replace.
Problem: Low output current
Solution: Shaded panel? Clouds? Check wire gauge and connections for voltage drop.
Problem: Controller hot >70°C
Solution: Improve ventilation in enclosure; reduce panel size or upgrade to MPPT.
Problem: Reverse current at night
Solution: Confirm diode orientation; add controller with built-in blocking if needed.
Renogy 20 Watt 12 Volt Monocrystalline Solar Panel
Compact, high-efficiency panel perfect for starter 12V chargers with durable aluminum frame.
Best for: Primary power source for small batteries in RVs or sheds.
Price Range: $25-$30
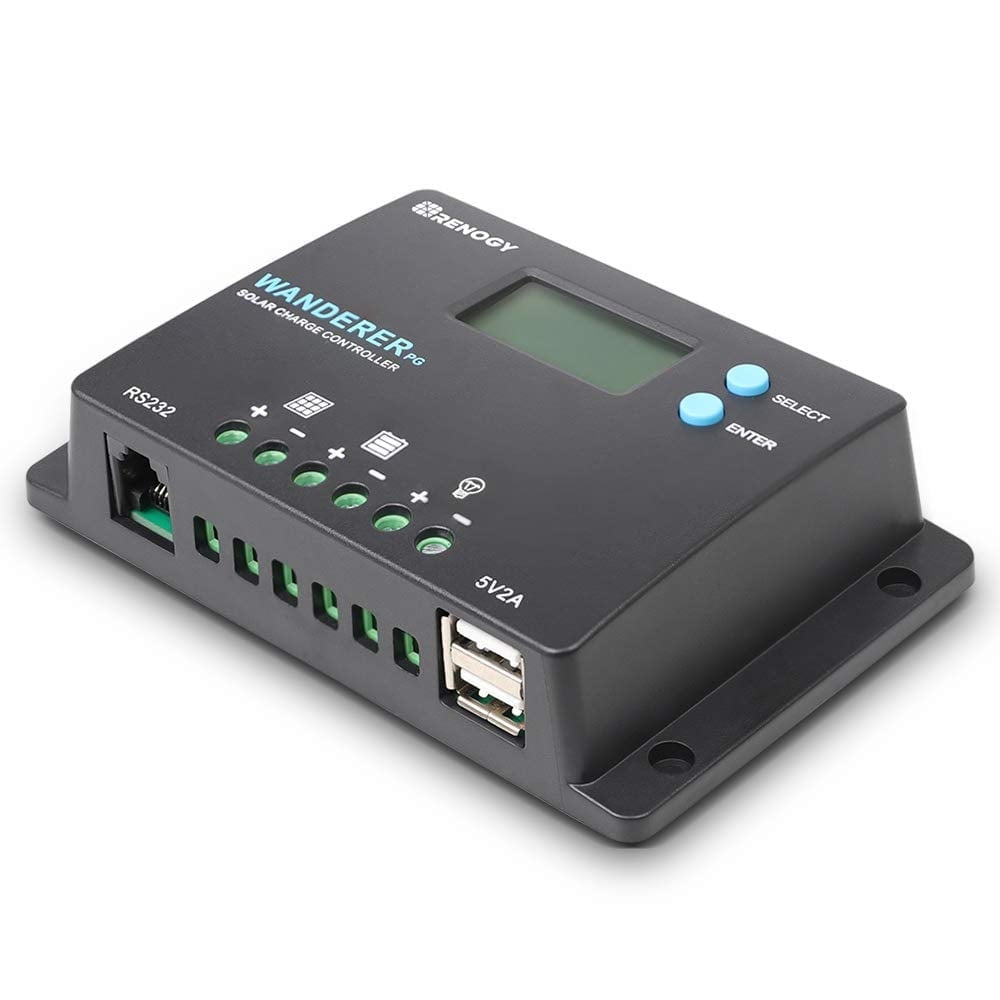
Renogy Wanderer 10 Amp 12V PWM Negative Ground Solar Charge Controller
Reliable, affordable PWM controller with LCD display for monitoring charge stages.
Best for: Core regulation component for DIY builds under 120W.
Price Range: $20-$25
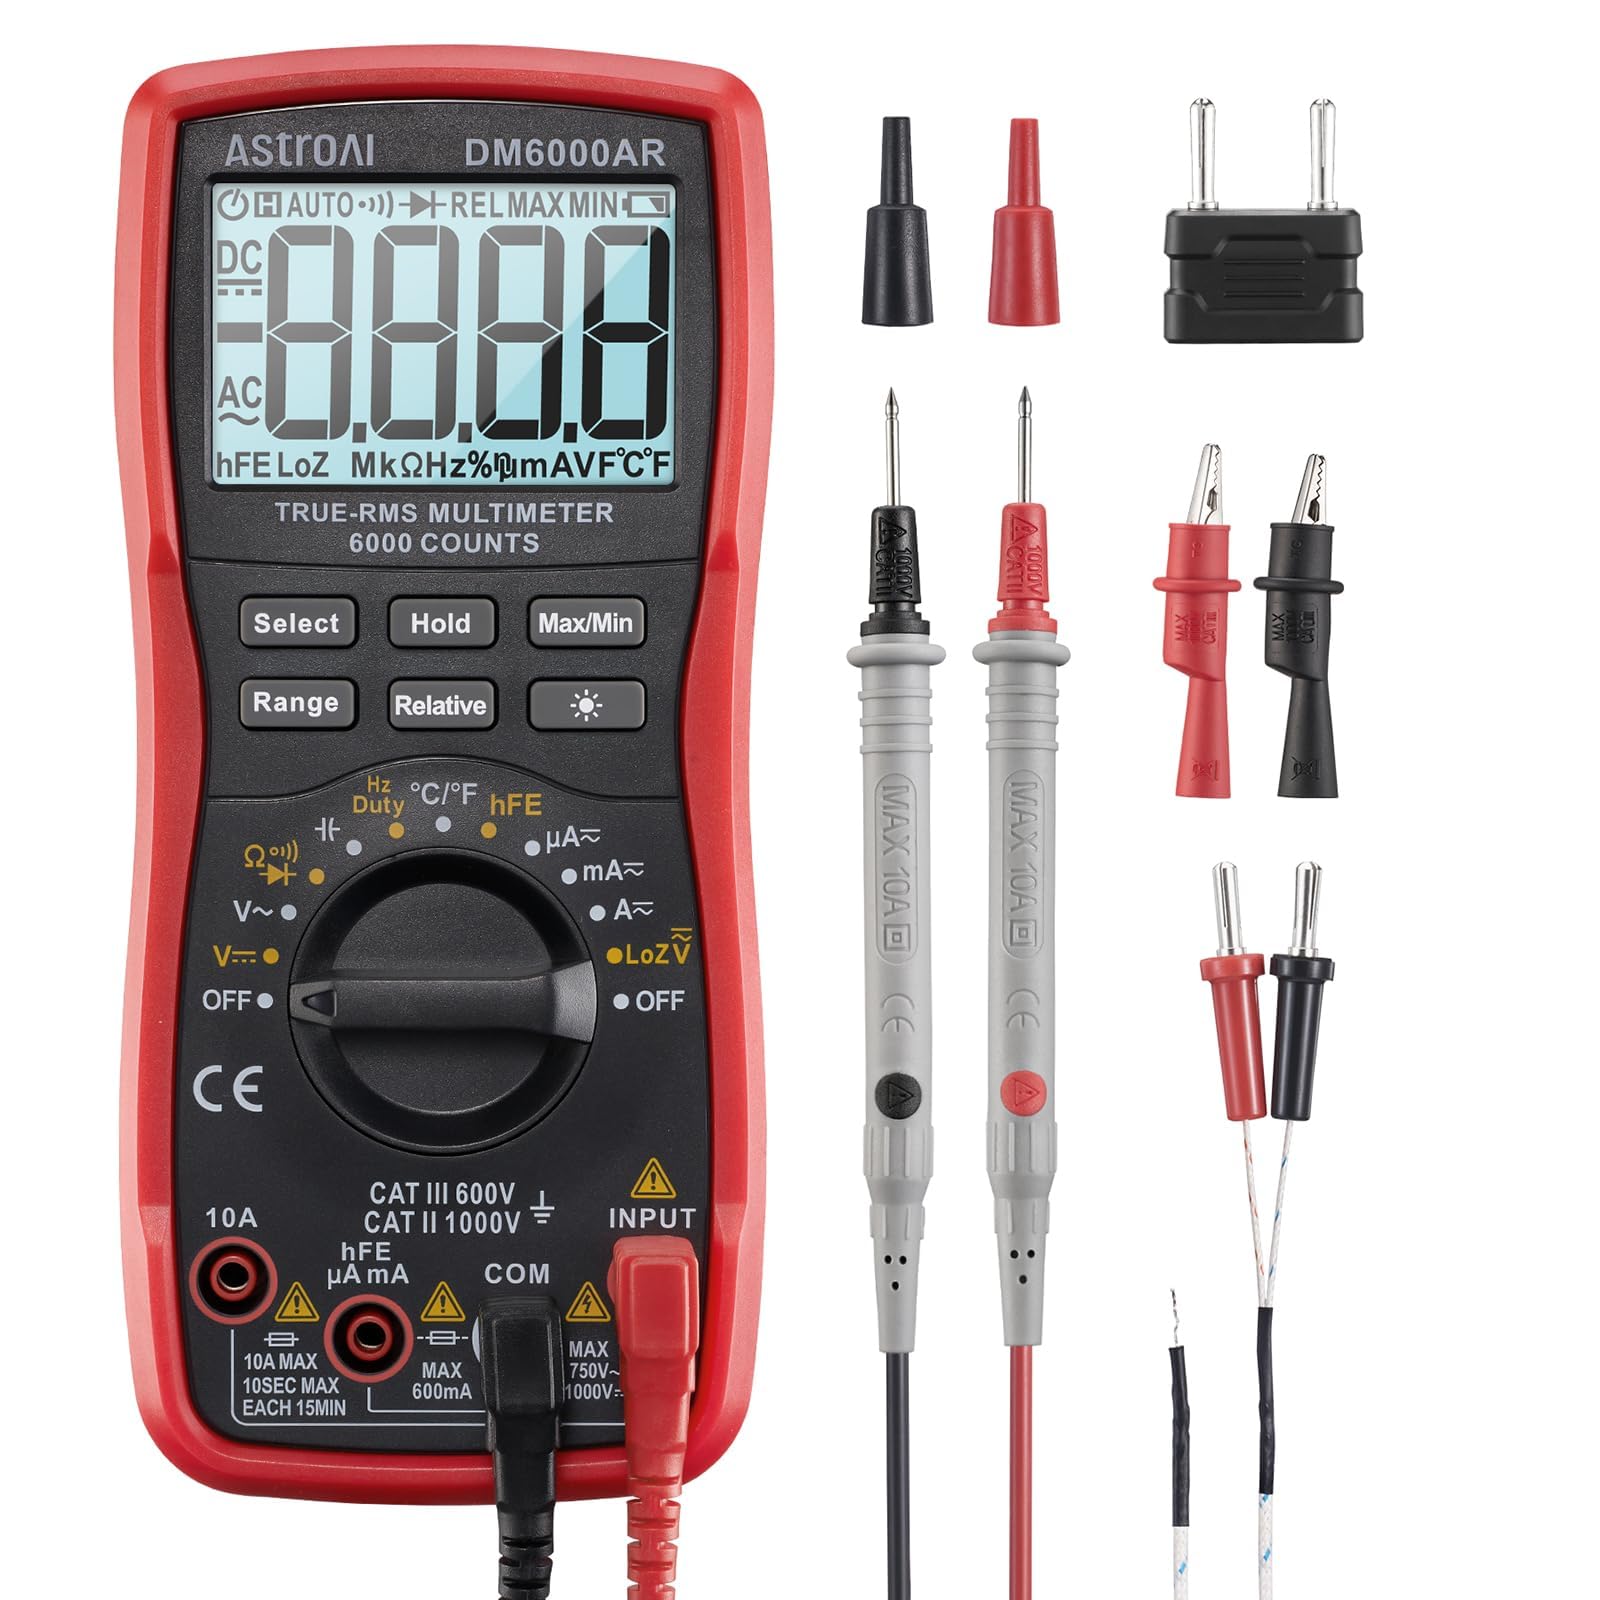
AstroAI Digital Multimeter TRMS 6000 Counts
Accurate voltage/current testing essential for safe assembly and troubleshooting.
Best for: Verify every connection during build and ongoing maintenance.
Price Range: $13-$18
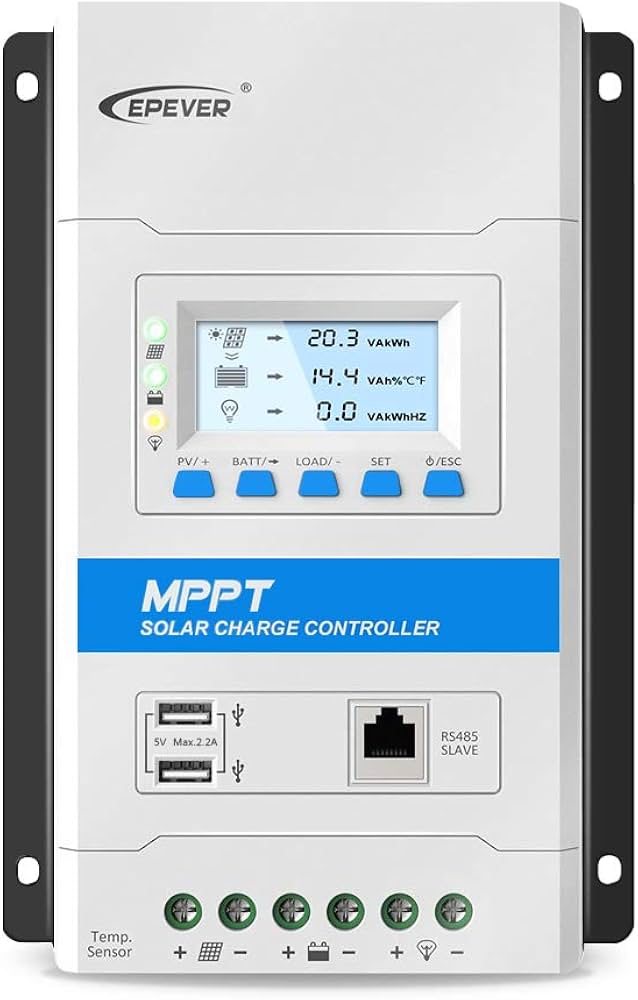
EPEVER 20A MPPT Solar Charge Controller
Advanced MPPT tech boosts efficiency by 30% over PWM for better low-light performance.
Best for: Upgrade for larger panels or cloudy regions.
Price Range: $35-$45
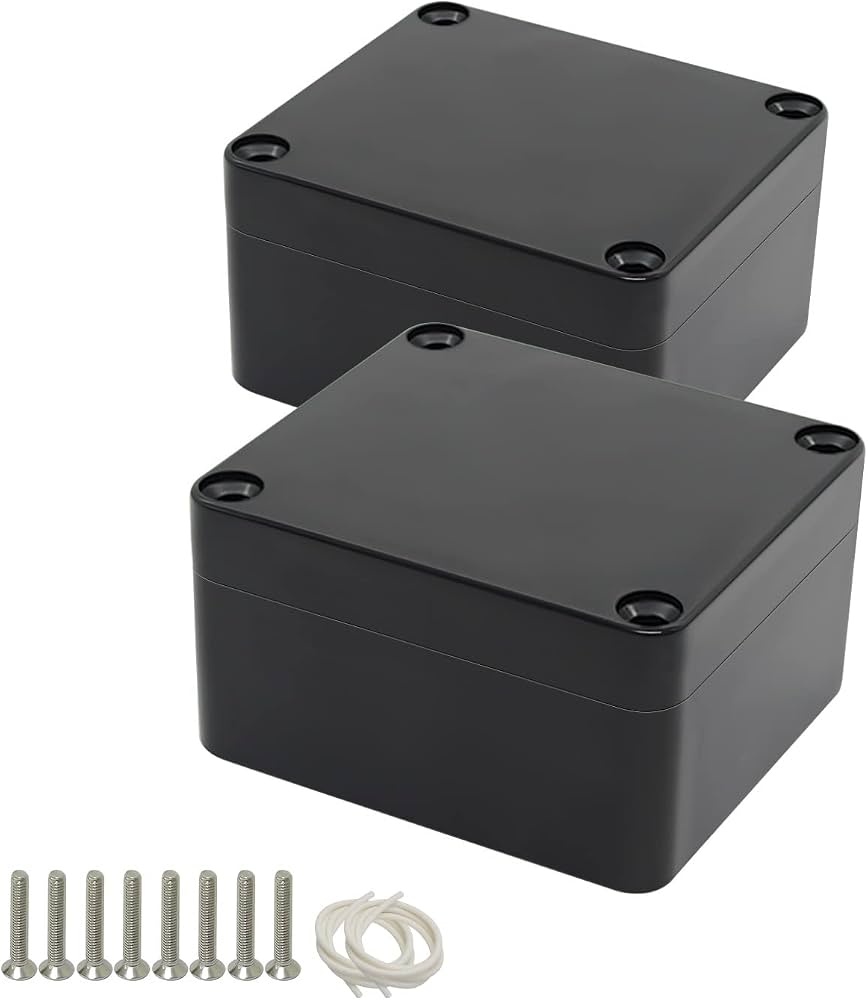
ABS IP65 Waterproof Project Enclosure Box
Durable housing protects components from weather and dust.
Best for: Outdoor mounting for permanent installations.
Price Range: $10-$15