Imagine your intricate 3D puzzle—like a mechanical clock or architectural model—coming alive with a soft, mesmerizing glow from within. For hobbyists tired of static displays, adding LEDs elevates your creation to professional art, perfect for makerspaces, gifts, or exhibitions. This guide tackles the challenge of embedding electronics without compromising structural integrity.
You'll learn a complete step-by-step process: from selecting compatible puzzles and planning circuits to soldering, testing, and final assembly. Expect to gain skills in micro-electronics integration, safe wiring, and customization for effects like breathing lights or color cycles.
This advanced tutorial assumes familiarity with basic soldering and circuitry. Total build time is 4-6 hours, spread over sessions to avoid fatigue, with room for creative tweaks.
▸What You'll Need
- •3D puzzle kit (wooden or acrylic mechanical model, e.g., Ugears or Robotime, 200-500 pieces)
- •Addressable LED strip (WS2812B, 1-5 meters, cuttable)
- •Microcontroller (Arduino Nano or ESP32 for LED control)
- •Jumper wires (22-28 AWG, assorted lengths)
- •Soldering iron (60W adjustable with fine tip) and solder
- •Wire strippers/cutters, helping hands clamp, flux
- •Power source (5V USB battery pack or 18650 holder)
- •Hot glue gun and glue sticks
- •Multimeter for testing
- •Optional: Diffuser materials (frosted acrylic sheets), sandpaper for fitting
Estimated Time: 4-6 hours (plus drying/curing time)
Difficulty: advanced
▸Step-by-Step Instructions
Step 1: Select and Prep Your 3D Puzzle Kit
Choose a puzzle with accessible internal cavities for LEDs, like Ugears models or Robotime architectures. Avoid overly tight fits.
Unpack and dry-fit major sections without glue. Identify load-bearing parts and hollow areas (e.g., towers or chassis) for LED placement. Sand rough edges for smooth wiring paths.
Success: All pieces fit loosely; you've mapped 3-5 key glow zones.
💡 Tips:
- •Opt for laser-cut wooden kits—they're precise and heat-resistant.
- •Photograph assembly instructions for reference.
⚠️ Warnings:
- •Don't force-fit; it complicates LED retrofits.
Step 2: Design Your LED Layout and Circuit
Sketch the puzzle exploded view. Plan LED strip paths along edges or bases, aiming for even diffusion. Use 30-60 LEDs/meter strips; calculate power (e.g., 60 LEDs = ~3.5A at 5V).
Wire diagram: Data line from microcontroller to LEDs in series, power/ground paralleled. Software: Arduino IDE with FastLED library for effects.
Success: Diagram shows no crosses; power draw under source limit.
💡 Tips:
- •Use Fritzing software for pro diagrams.
- •Plan for a 'control compartment' in the base.
⚠️ Warnings:
- •Overloading power causes flickering—stay under 80% capacity.
Step 3: Cut and Test LED Strips
Measure and cut strips at copper pads only. Solder header pins to ends for easy connection.
Connect to microcontroller prototype (breadboard): Upload test sketch (rainbow cycle). Power via USB; verify all LEDs respond.
Success: Uniform lighting, no dead segments.
💡 Tips:
- •Test in sections to isolate faults early.
⚠️ Warnings:
- •Static discharge kills LEDs—ground yourself.
Step 4: Route Wires Through Puzzle Sections
Partially assemble puzzle base. Drill micro-holes (1mm) for wires if needed, using Dremel sparingly.
Thread wires/LEDs through cavities, securing temporarily with tape. Ensure movement doesn't snag.
Success: Wires hidden, flexible for final assembly.
💡 Tips:
- •Use heat-shrink tubing on joints for protection.
⚠️ Warnings:
- •Avoid gluing wires yet—test first.
Step 5: Solder Permanent Connections
Tin pads with fluxed solder. Join data/power/ground lines using helping hands. Insulate with hot glue or Kapton tape.
Solder microcontroller to main harness. Double-check polarity.
Success: Clean, low-resistance joints (<1 ohm via multimeter).
💡 Tips:
- •Low temp (300°C) prevents wood charring.
- •Pull-test joints for strength.
⚠️ Warnings:
- •Cold joints fail—heat both sides evenly.
Step 6: Integrate Power Supply and Controller
Mount battery pack and microcontroller in base compartment with glue dots. Add switch for on/off.
Route USB for programming or use LiPo with regulator.
Success: Compact, vibration-proof setup.
💡 Tips:
- •Add a charging port for reusability.
⚠️ Warnings:
- •Secure batteries—loose ones short circuits.
Step 7: Test Circuit in Semi-Assembled Puzzle
Power on; run full program. Check for shorts, heat, even glow. Adjust code for diffusion (e.g., dimming).
Use multimeter for voltage drops.
Success: Stable 30+ min runtime, desired effects.
💡 Tips:
- •Diffuse with thin vellum if hotspots appear.
⚠️ Warnings:
- •Overheating? Improve ventilation.
Step 8: Assemble and Finish
Glue final sections with wood glue/PVA. Seal wire entries. Program final effects (e.g., fade on motion).
Polish exterior; add standoffs for display.
Success: Fully functional, glowing puzzle indistinguishable from pro build.
💡 Tips:
- •UV-protect LEDs for longevity.
⚠️ Warnings:
- •Test post-glue—disassembly warps wood.
▸Pro Tips
- •Pre-program microcontroller before mounting—easier debugging.
- •Use addressable LEDs for dynamic effects without complex wiring.
- •Apply frosted spray paint inside for softer glow.
- •Modular design: Make sections swappable for repairs.
- •Battery life hack: Sleep mode cuts power 90%.
- •Scale up with Bluetooth app control via ESP32.
- •Document with time-lapse video for portfolio.
▸Common Mistakes to Avoid
- •Ignoring power calculations—leads to dimming or fires; always calculate and derate.
- •Gluing before testing—traps faults; prototype fully first.
- •Poor wire management—snags during assembly; use looms.
- •Skipping insulation—shorts inevitable; cover all joints.
- •Wrong LED voltage—fries strips; confirm 5V compatibility.
▸Troubleshooting
Problem: LEDs don't light or partial glow
Solution: Check data line continuity, power voltage (4.8-5.2V), re-upload code. Replace bad segment.
Problem: Flickering or color glitches
Solution: Add capacitor (1000uF) near first LED; thicken power wires.
Problem: Overheating components
Solution: Improve airflow, lower brightness in code, use heatsinks on controller.
Problem: Puzzle doesn't close after wiring
Solution: Trim excess wire, relocate bulky parts to base.
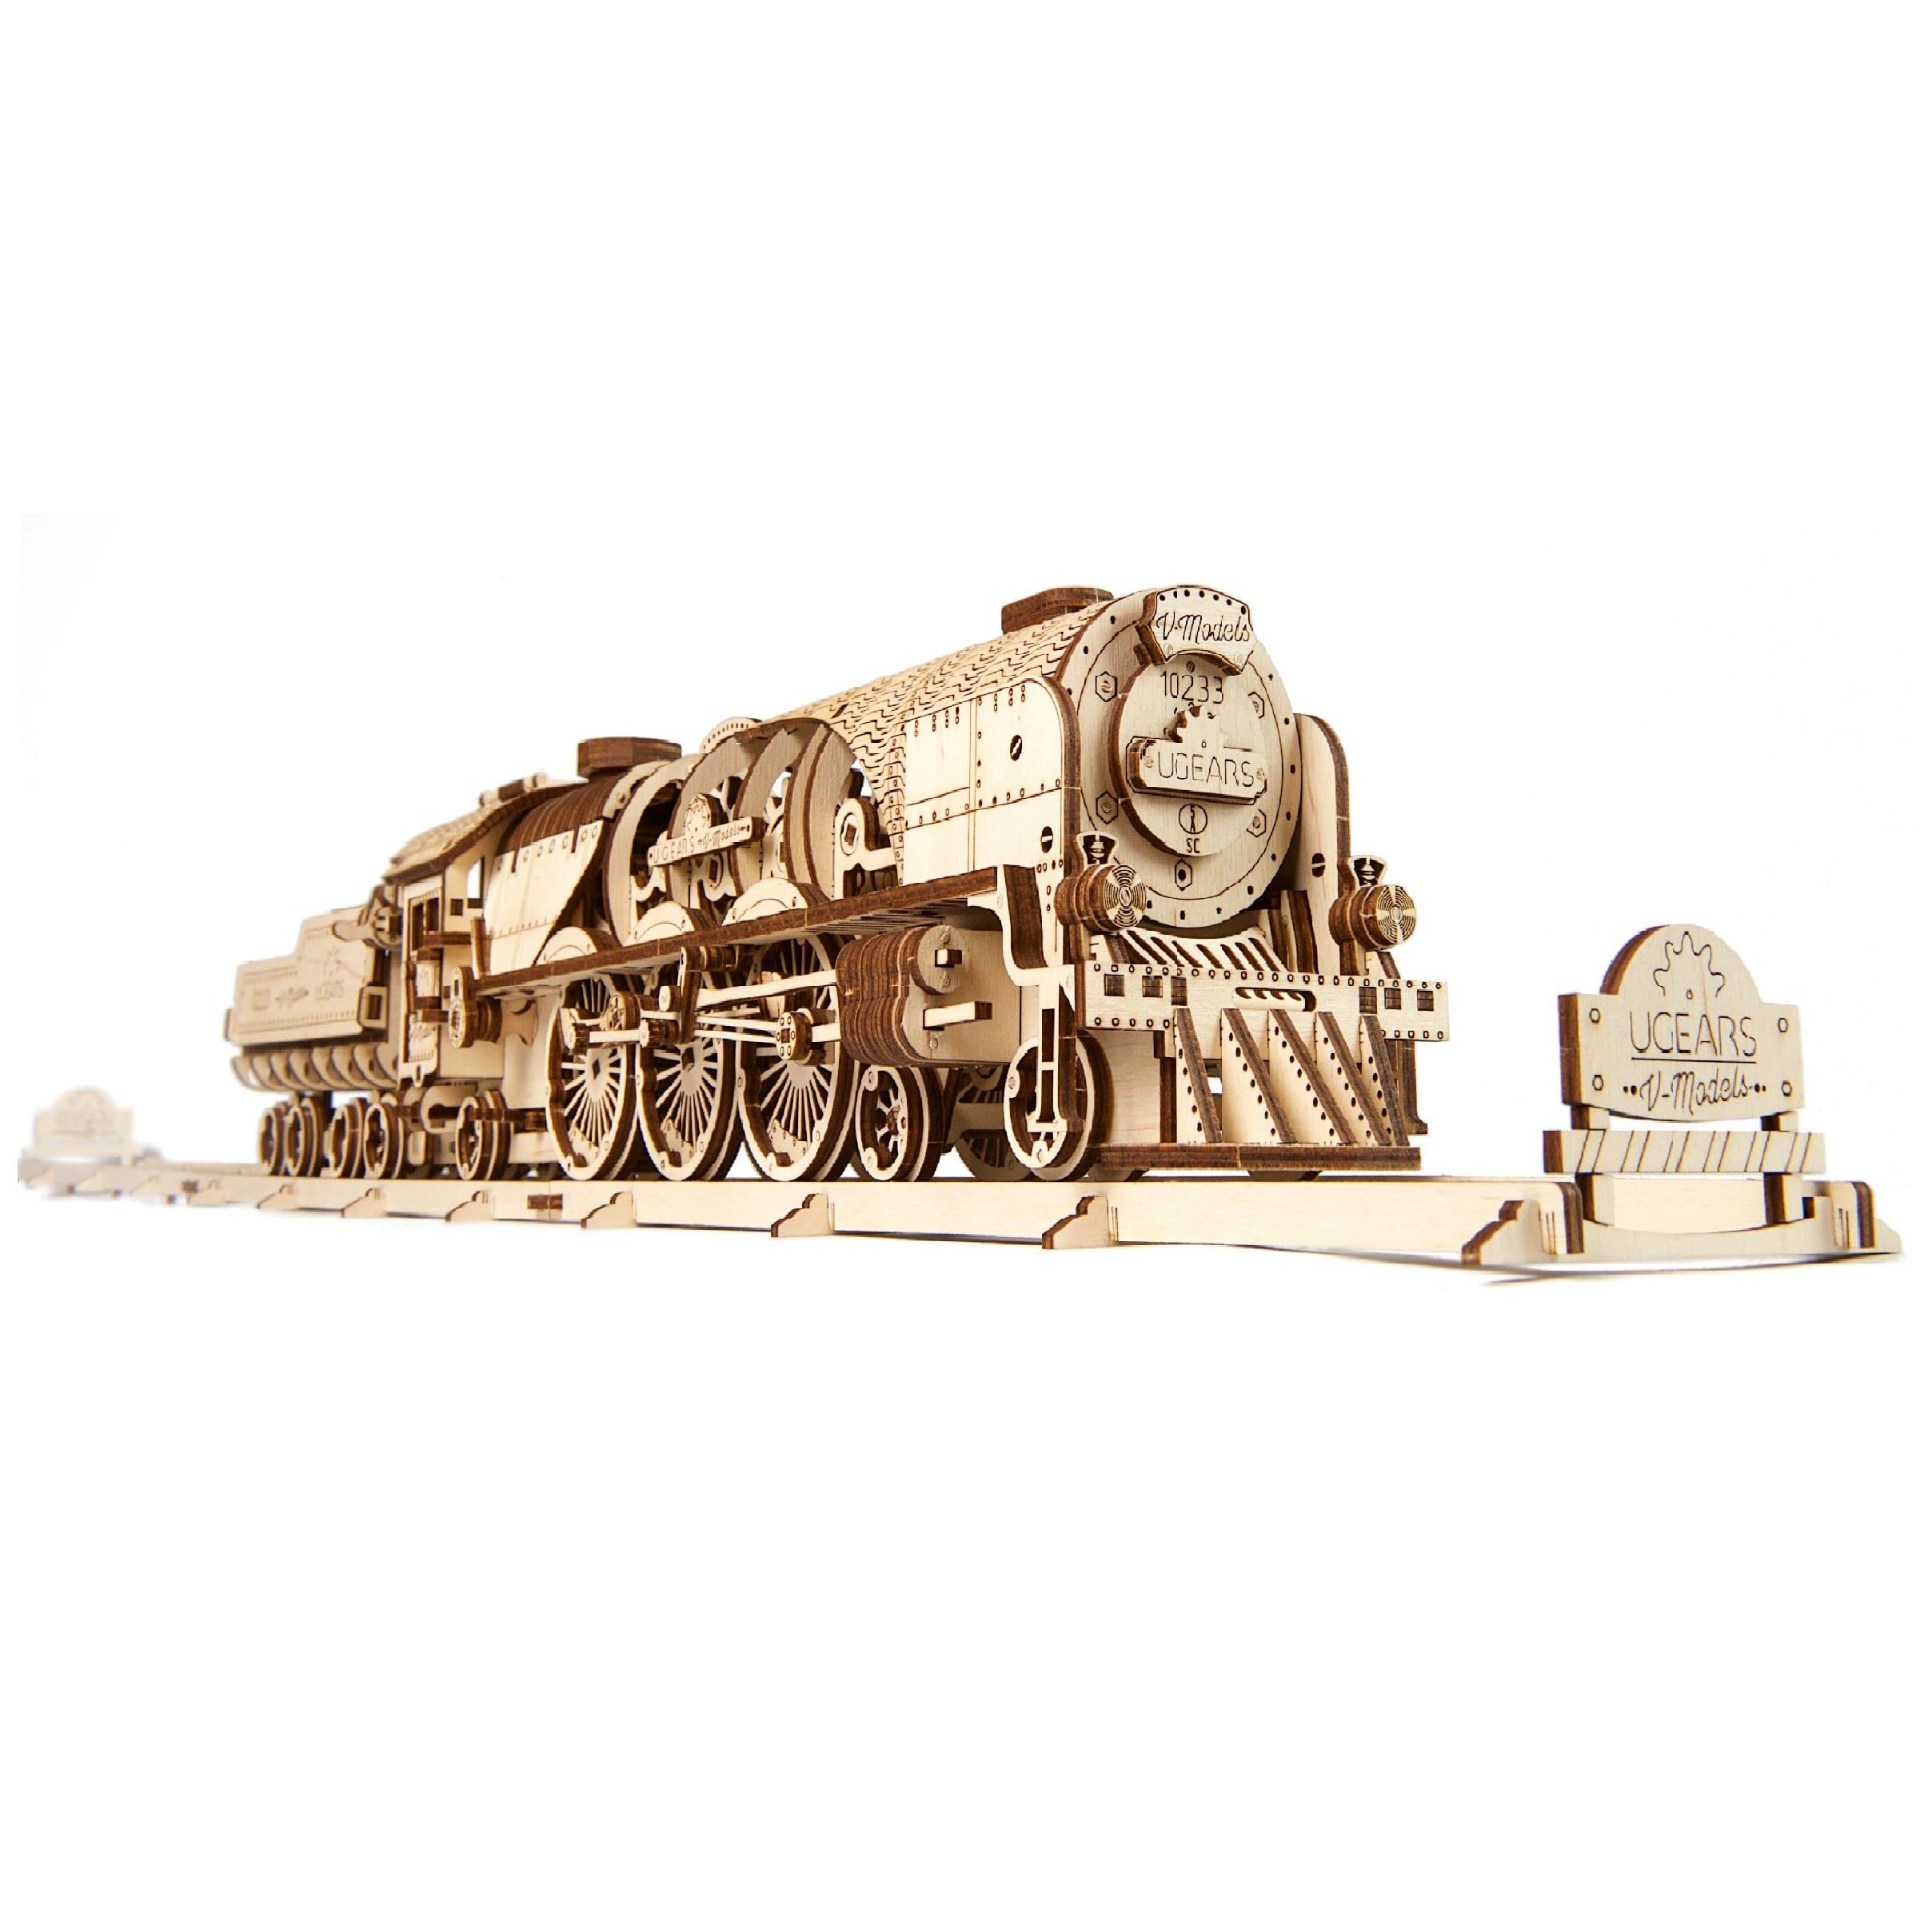
Ugears Models Mechanical 3D Puzzle - Steam Locomotive
Perfect base with ample internal space for LEDs and durable laser-cut wood.
Best for: Core structure for mechanical models needing hidden electronics.
Price Range: $70-$90
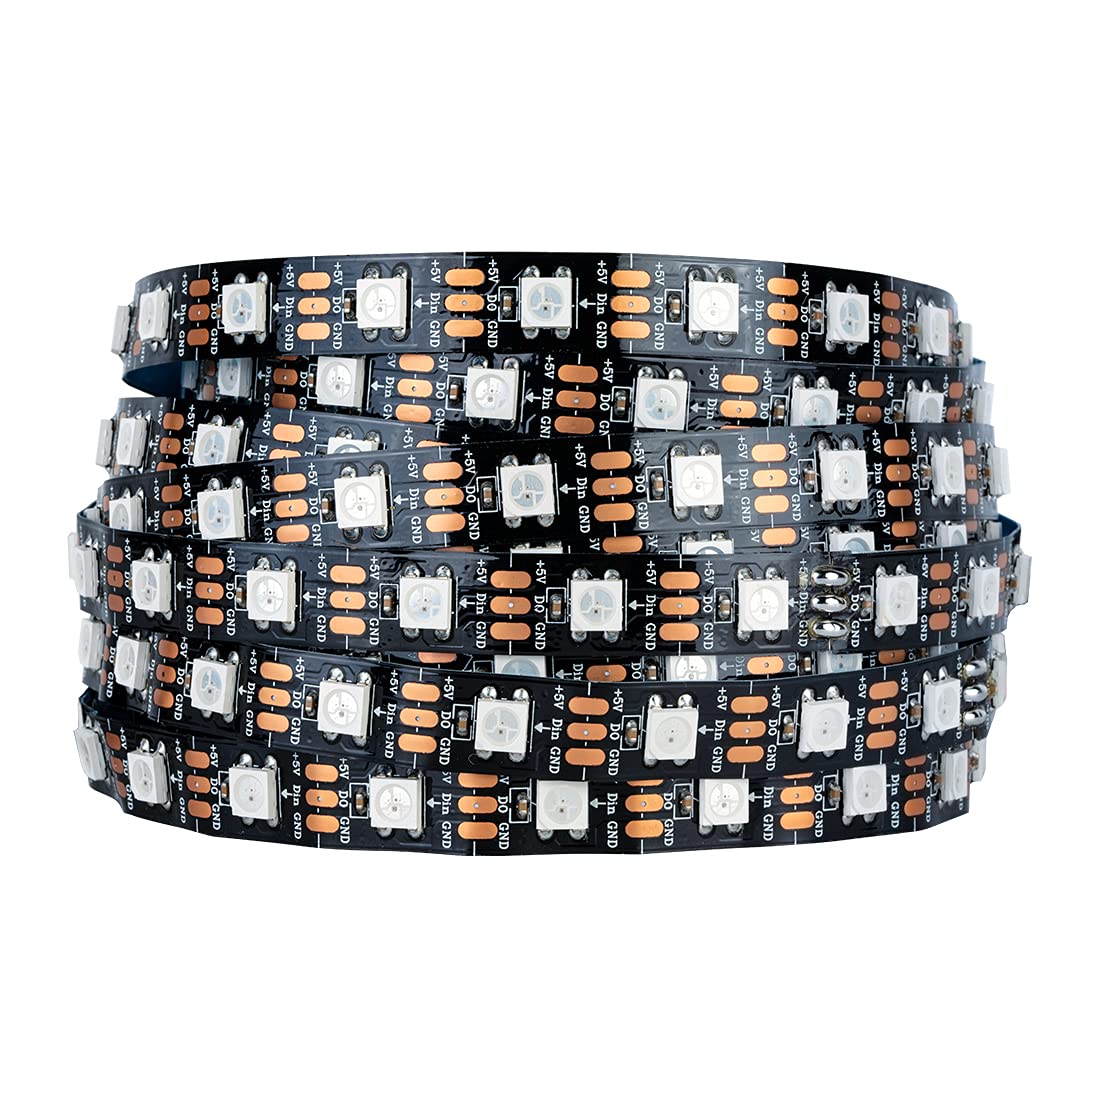
HITLights WS2812B Addressable LED Strip (5m)
Cuttable, flexible, waterproof option with 60 LEDs/m for precise puzzle integration.
Best for: Custom-length runs through puzzle cavities.
Price Range: $15-$25
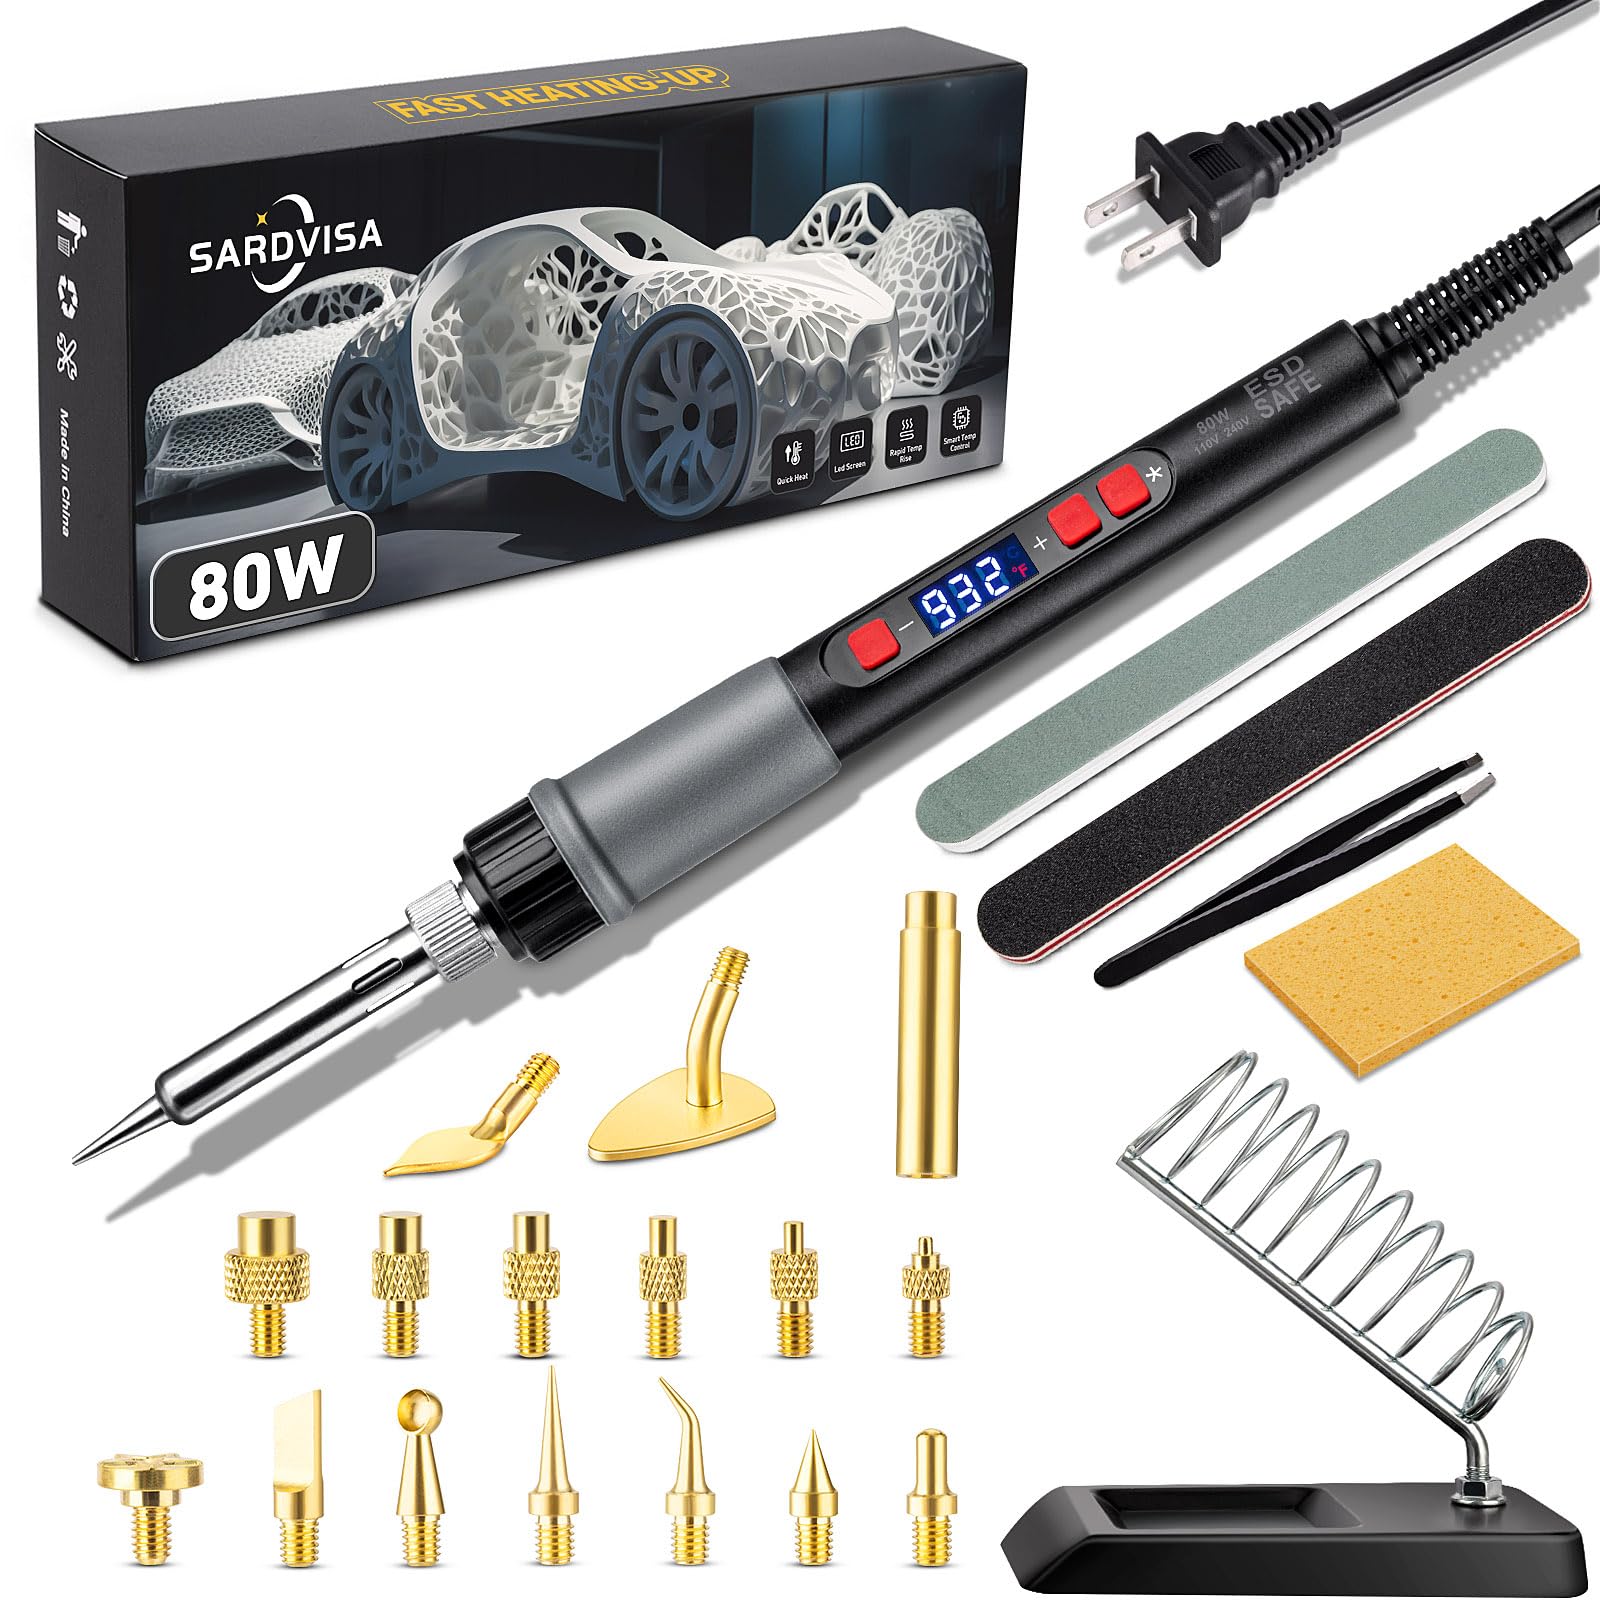
Yoohe 80W Soldering Iron Kit
Adjustable temp, full kit with stand—essential for clean micro-soldering on delicate wires.
Best for: All permanent connections in tight spaces.
Price Range: $18-$22
Elegoo Arduino Nano 3.0 Board
Compact controller for LED effects; compatible with FastLED library.
Best for: Brain for animations and power management.
Price Range: $10-$15
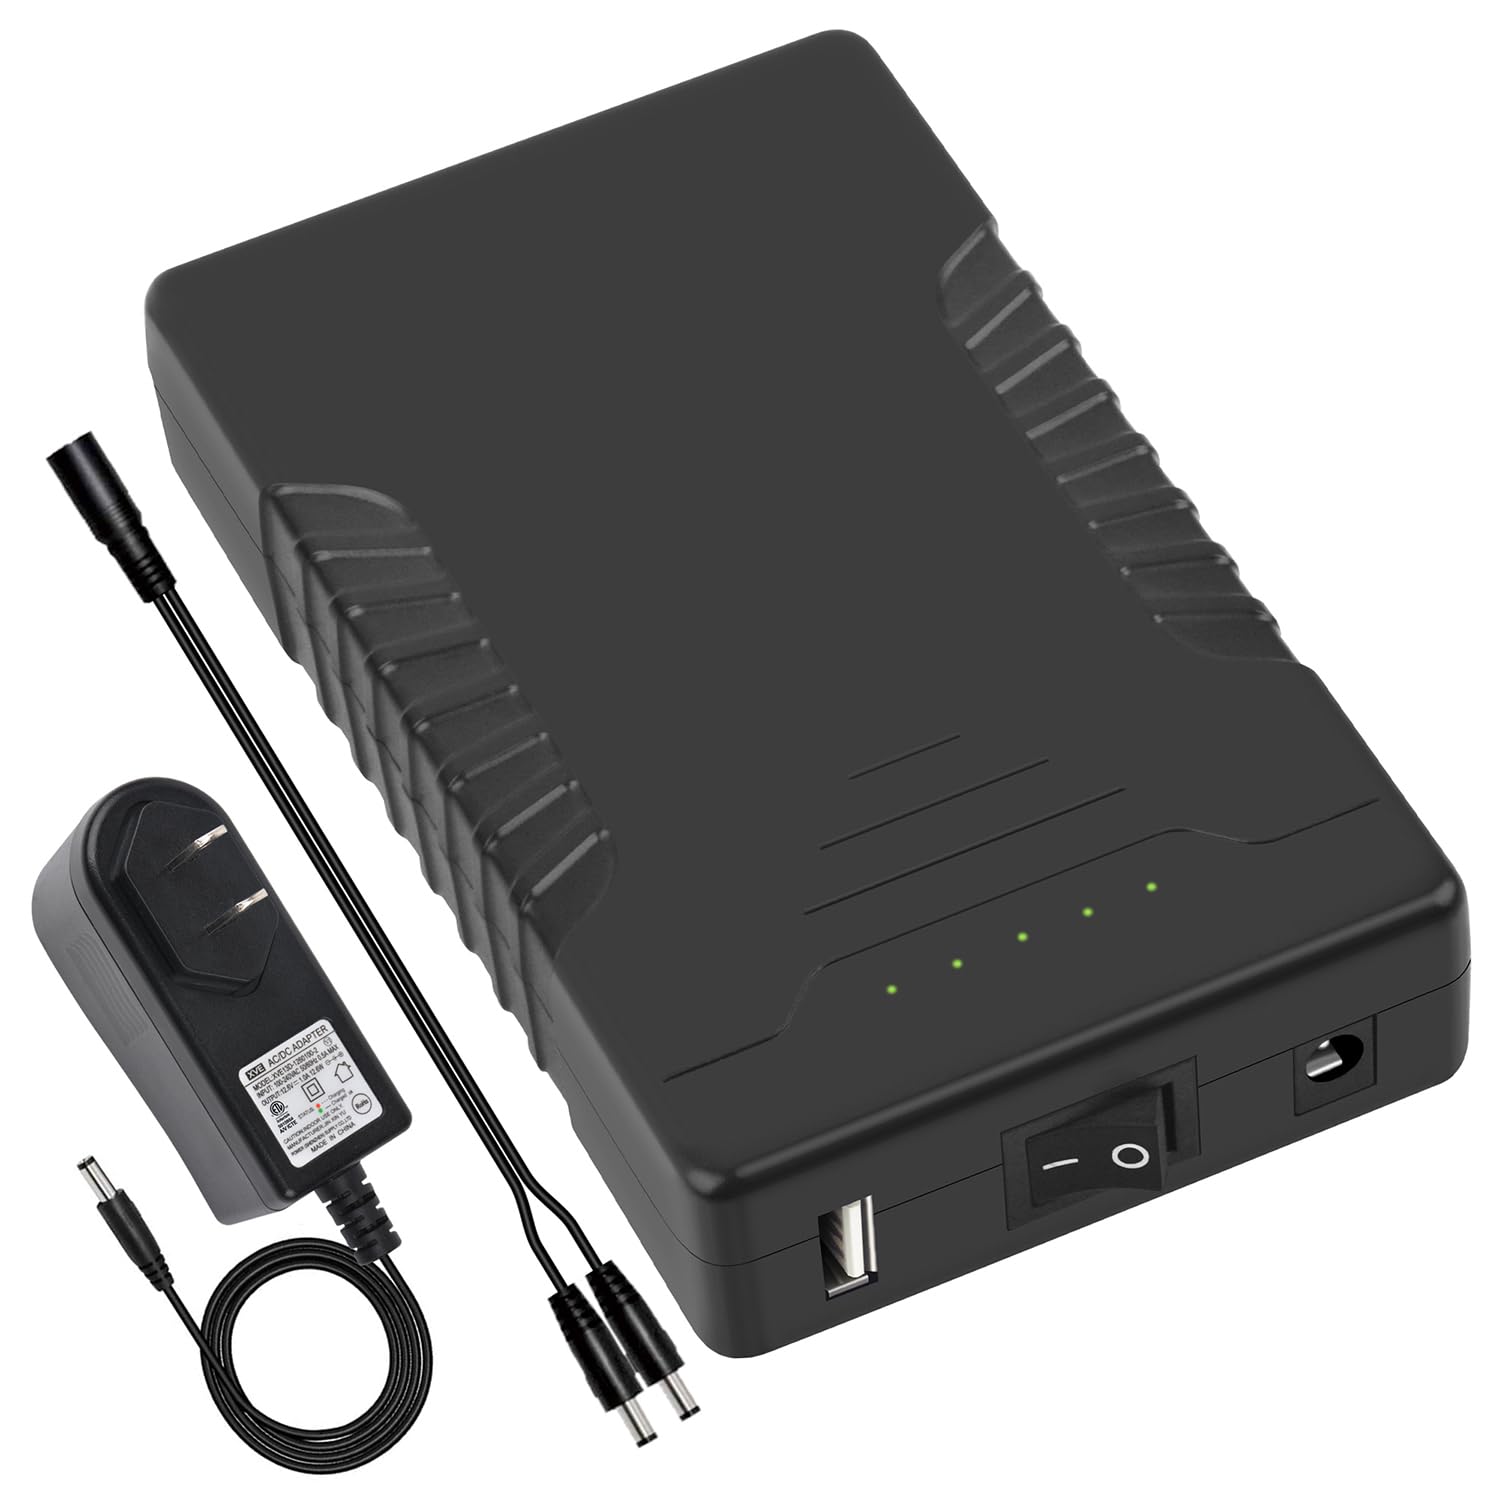
TalentCell 5V 2A USB Battery Pack
Rechargeable, slim profile fits puzzle bases; stable output.
Best for: Portable power for 2-4 hour runtime.
Price Range: $25-$35