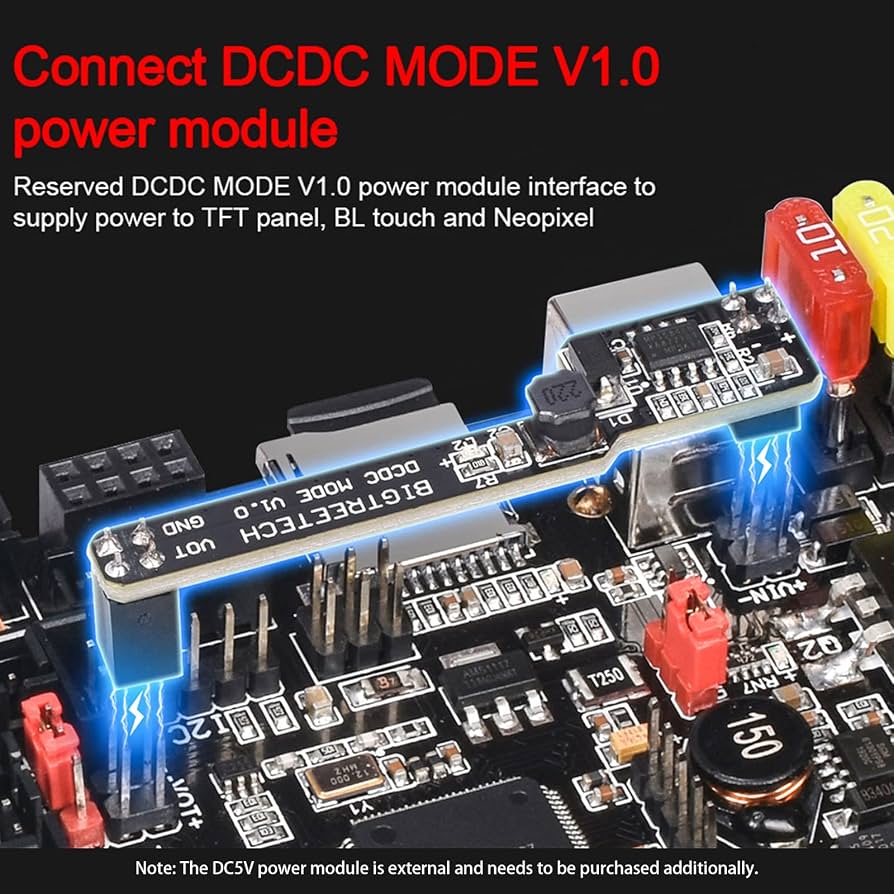
BIGTREETECH SKR 1.4 Turbo Control Board
Core brain for precise control and future upgrades.
$35-45
BIGTREETECH SKR 1.4 Turbo Control Board Silent TMC2209 drivers, 32-bit ARM for Klipper/Marlin, expandable.
Get the App
Better experience on mobile
Construct a custom Prusa i3-style 3D printer with advanced features using open-source designs, saving thousands while gaining full control.
Building a 3D printer from scratch empowers advanced makers to create a machine tailored to their needs—faster speeds, larger builds, or specialized materials—without the limitations of off-the-shelf models. Whether you're upgrading from kits or diving into DIY for cost savings (under $500 vs. $1,000+ commercial), this guide delivers pro-level results.
You'll learn to source parts, assemble a robust frame, wire electronics, and calibrate for reliable prints. We'll follow a Prusa i3 MK3-inspired design, the gold standard for DIY due to its proven reliability and vast community support. Expect precision mechanics and electronics integration.
This advanced project takes 20-40 hours over 1-2 weeks, assuming soldering, CAD familiarity, and basic fabrication skills. Success means printing high-quality parts on day one after calibration.
Estimated Time: 20-40 hours over 1-2 weeks Difficulty: advanced
Select a proven open-source design like Prusa i3 MK3S on GitHub or Printables.com. Download BOM (Bill of Materials), STL files for printed parts, and assembly docs.
Why it matters: A solid design ensures compatibility and reliability. Prusa's is battle-tested for accuracy.
Success looks like: Organized folder with sliced STLs ready for printing (use PrusaSlicer). Print or order parts kit (~$50-100).
💡 Tips:
⚠️ Warnings:
Purchase from AliExpress, Amazon, or local suppliers using the BOM. Prioritize quality: TMC2209 drivers for quiet operation, all-metal hotend.
Verify quantities with calipers. Sort into bins: frame, motion, electronics.
Expect: 1-2 weeks delivery. Budget $300-600 total.
💡 Tips:
⚠️ Warnings:
Cut extrusions to length (use hacksaw or service). Connect with printed corners and M5 bolts. Build Y (base), Z (verticals), X gantry.
Square with engineer's square; tension with corner brackets.
Success: Rigid, wobble-free frame ~350x350mm footprint.
💡 Tips:
⚠️ Warnings:
Mount linear rods/rails to frame. Add bearings (IGUS or LM8UU). Install GT2 belts on idlers/pulleys for X/Y, leadscrews for Z.
Align parallel with calipers (max 0.1mm deviation).
Expect: Smooth, bind-free motion.
💡 Tips:
⚠️ Warnings:
Secure NEMA17 motors to frame with M3 screws. Assemble extruder (BMG or Titan) with hotend. Mount to carriage.
Test manual motion.
Success: Motors spin freely, extruder grips filament.
💡 Tips:
⚠️ Warnings:
Mount control board in enclosure. Crimp/solder wires: steppers (1A/phase), thermistors (NTC100K), endstops, bed (20A), PSU.
Use ferrules, heat shrink. Follow wiring diagram.
Expect: No shorts (multimeter check).
💡 Tips:
⚠️ Warnings:
Mount PEI/glass bed on springs. Wire bed heater, thermistor. Install BLTouch or inductive probe for auto-leveling.
Secure with Kapton tape.
Success: Bed heats evenly to 100°C.
💡 Tips:
⚠️ Warnings:
Compile Marlin firmware (VSCode+PlatformIO) with your config (board, steps/mm). Flash via USB. Connect to PC via Pronterface/OctoPrint.
Home axes.
Expect: Axes move on G-code.
💡 Tips:
⚠️ Warnings:
Level bed (49 points), PID tune heaters, set E-steps (100mm filament test), flow rate. Print calibration cube.
Iterate until <0.2mm accuracy.
Success: Perfect cube dimensions.
💡 Tips:
⚠️ Warnings:
Problem: Motors not moving
Solution: Check wiring polarity, enable pins in firmware, PSU voltage.
Problem: Layer shifts
Solution: Tighten belts/pulleys, check Vref on drivers (0.8-1.2V).
Problem: Nozzle jams
Solution: Cold pull filament, check bowden tension.
Problem: Bed not heating
Solution: Verify thermistor wiring, PID tune with M303.
Problem: Grinding noises
Solution: Lube rods, align rails, lower acceleration.
Silent TMC2209 drivers, 32-bit ARM for Klipper/Marlin, expandable.
Best for: Core brain for precise control and future upgrades.
Price Range: $35-45
Quick-swap nozzles, all-metal, leak-proof for high-temp filaments.
Best for: Extruder assembly for reliable extrusion.
Price Range: $70-90
High torque (40Ncm), reliable for Z/bed lifts.
Best for: All axis drives; buy 5-pack.
Price Range: $10-15 each
Stable 24V/14.6A for fast heating/motors.
Best for: Powers entire printer safely.
Price Range: $40-50
Precise T-slot for rigid frame.
Best for: Structural backbone; cut to spec.
Price Range: $15-25 per 400mm
Core brain for precise control and future upgrades.
BIGTREETECH SKR 1.4 Turbo Control Board Silent TMC2209 drivers, 32-bit ARM for Klipper/Marlin, expandable.
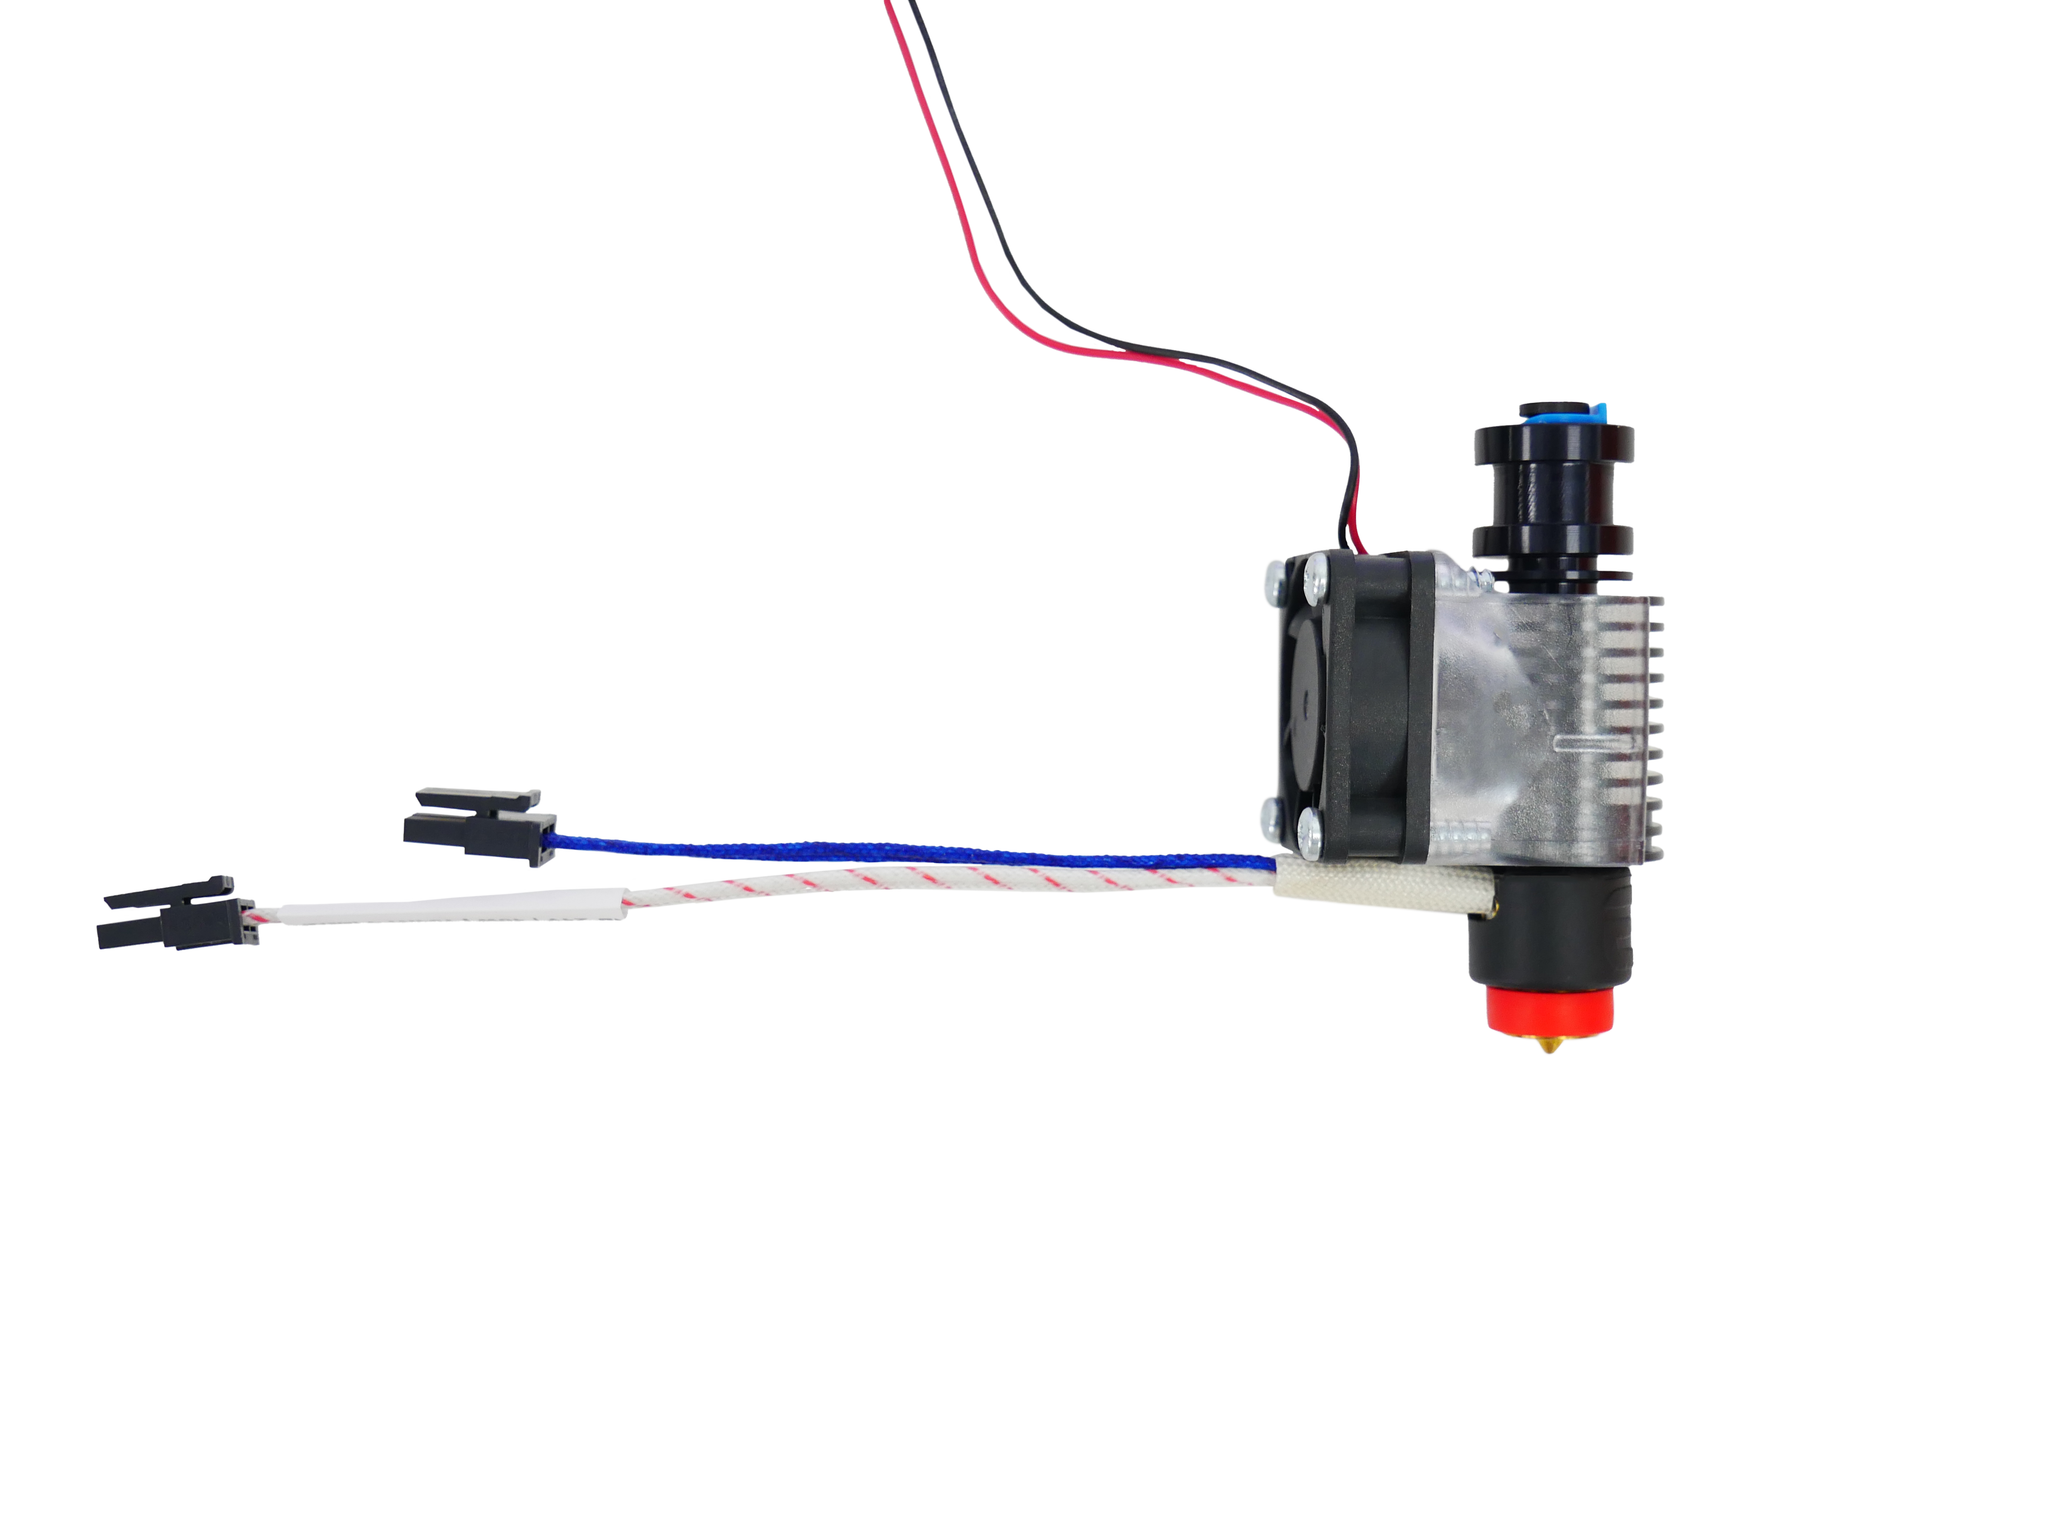
Extruder assembly for reliable extrusion.
E3D Revo Six Hotend Quick-swap nozzles, all-metal, leak-proof for high-temp filaments.
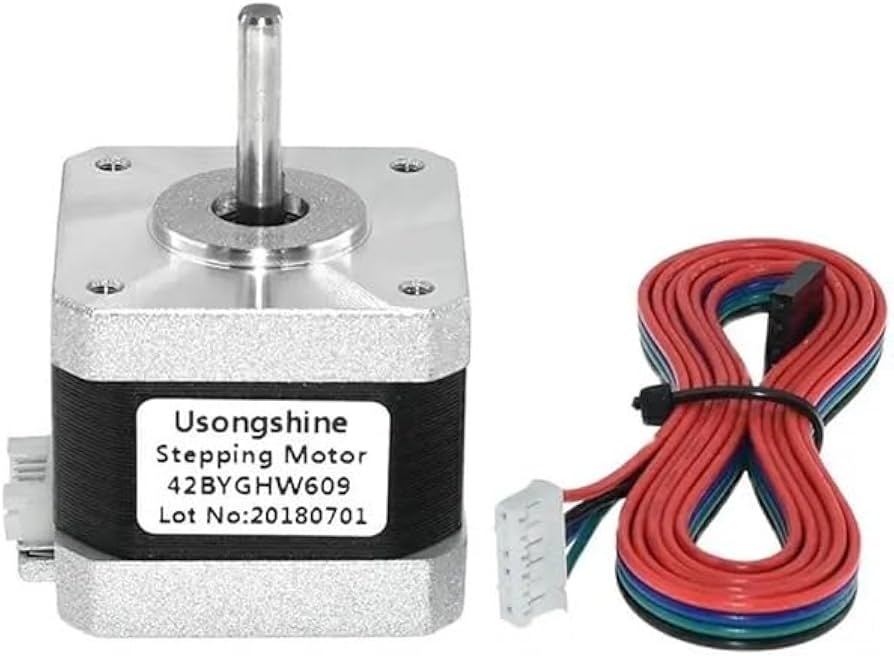
All axis drives; buy 5-pack.
NEMA 17 Stepper Motor 42BYGHW609 High torque (40Ncm), reliable for Z/bed lifts.
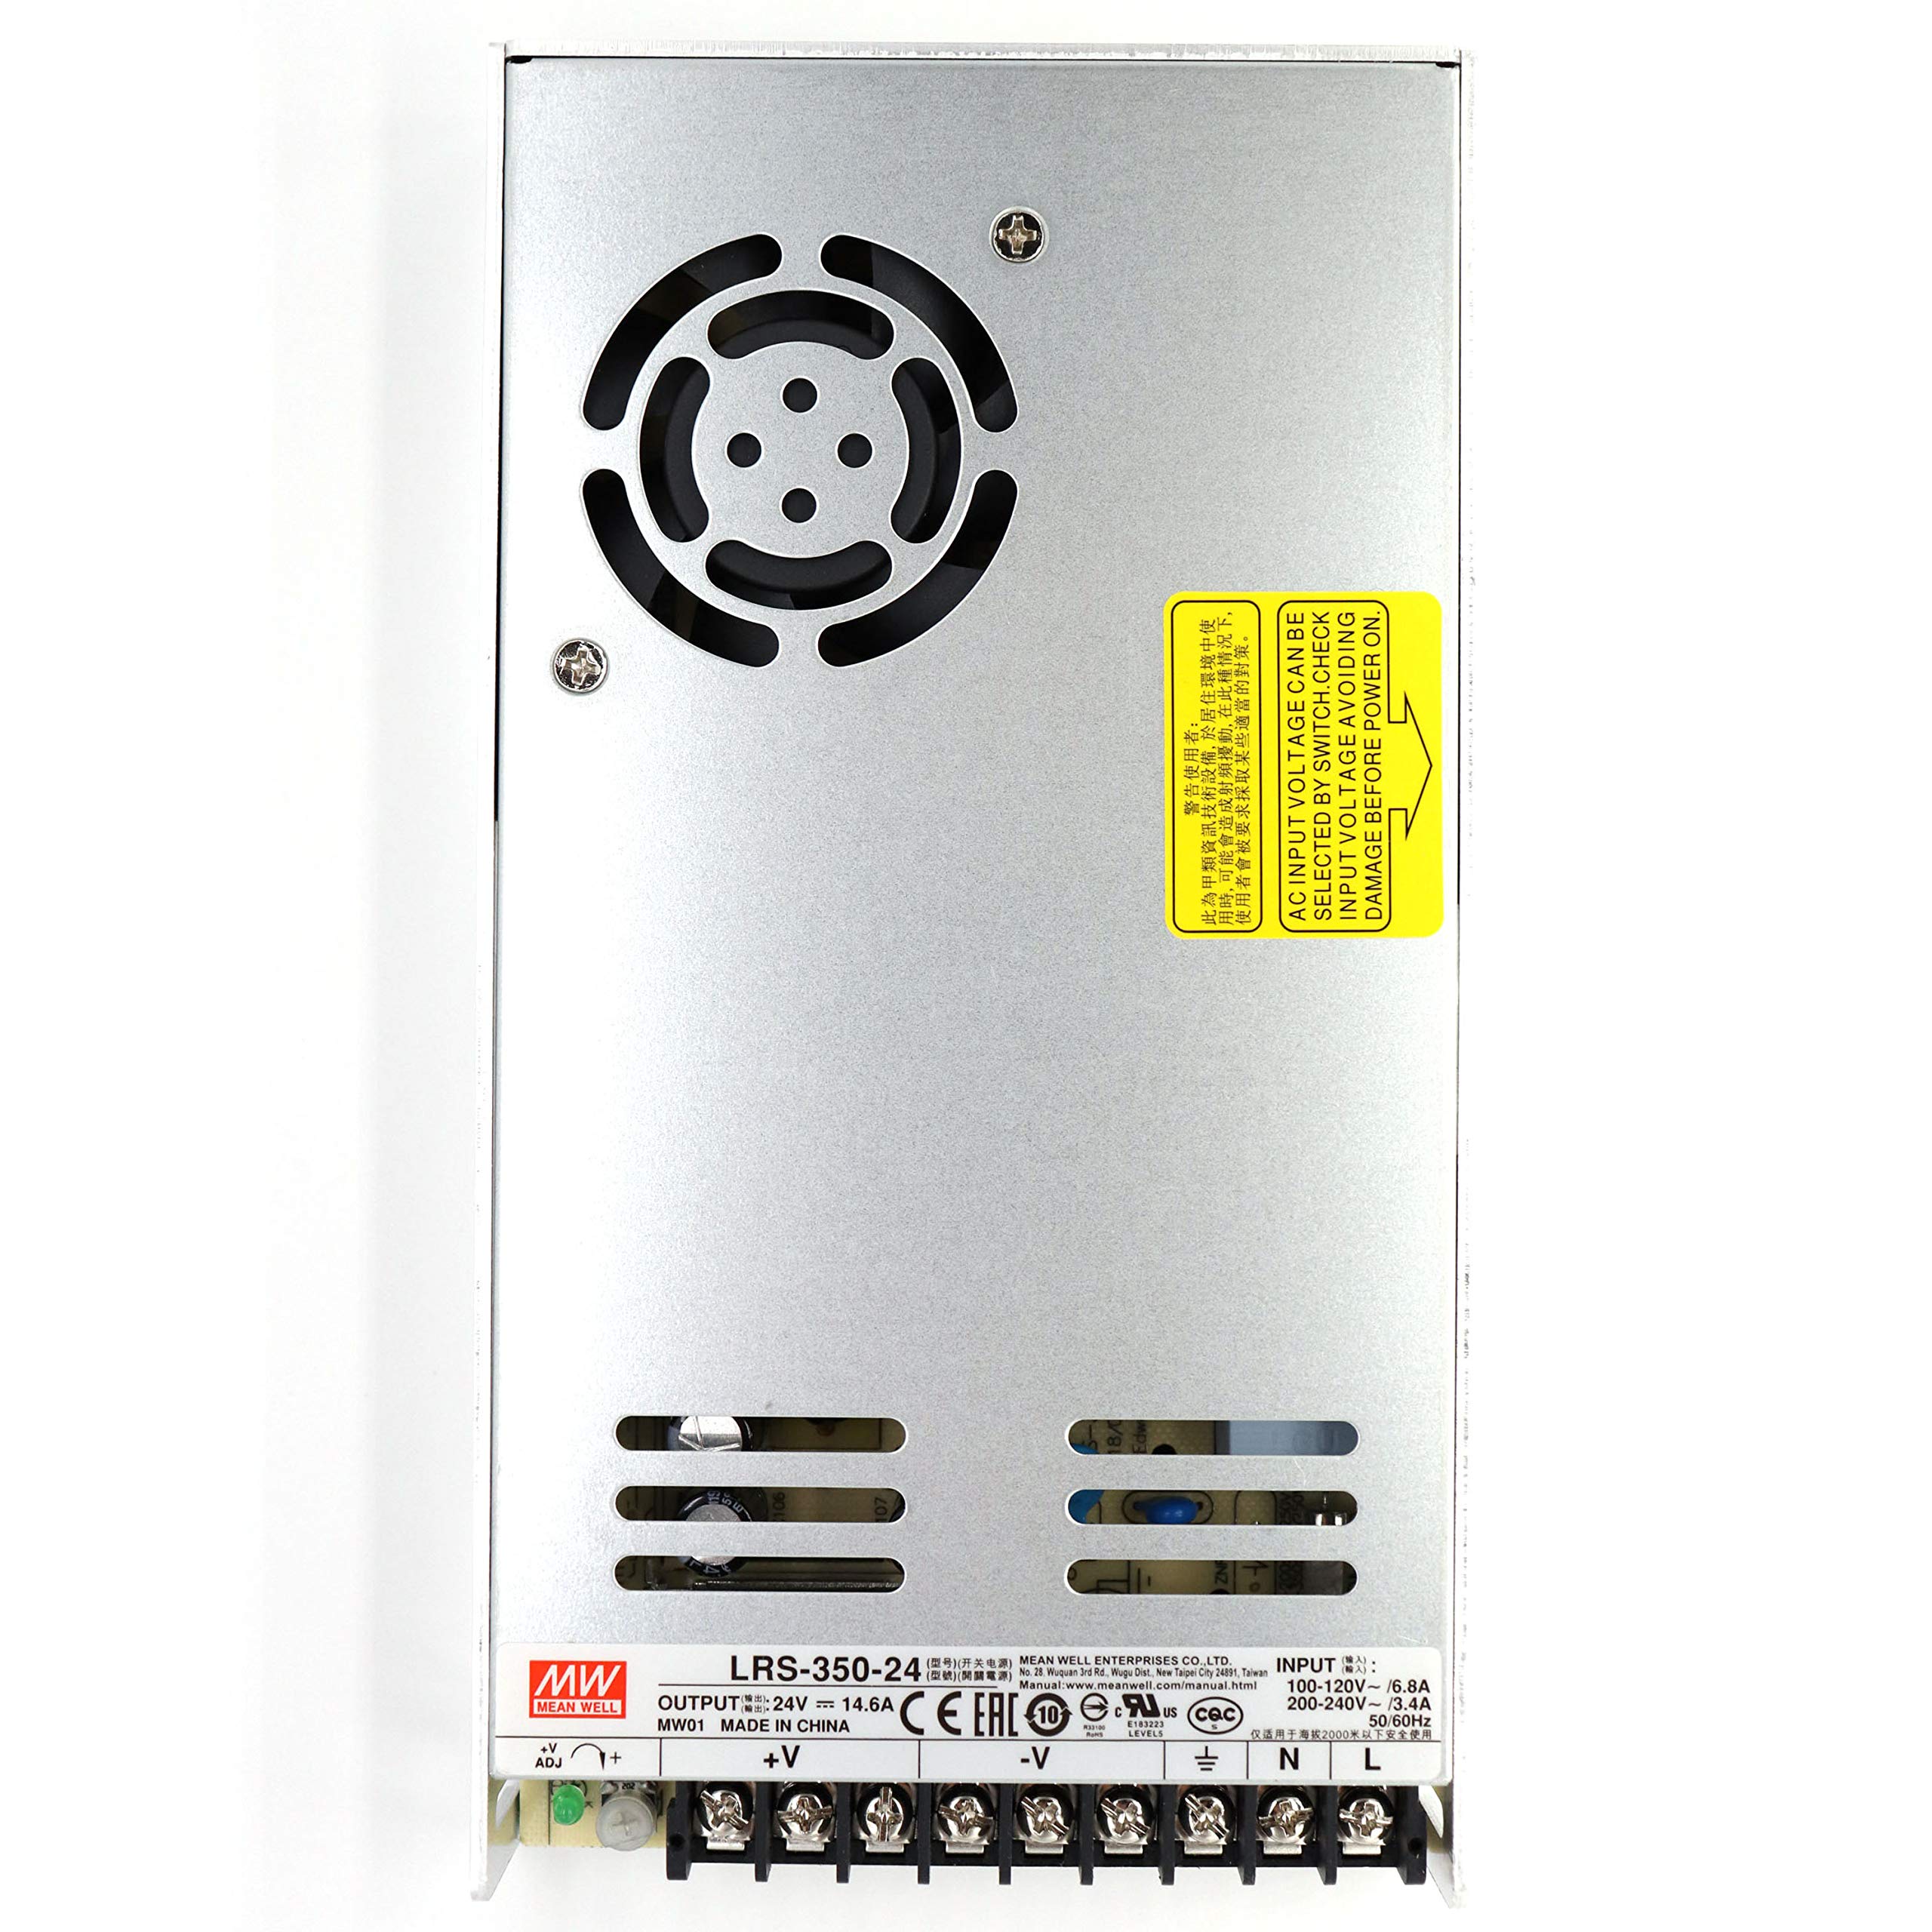
Powers entire printer safely.
Mean Well LRS-350-24 Power Supply Stable 24V/14.6A for fast heating/motors.
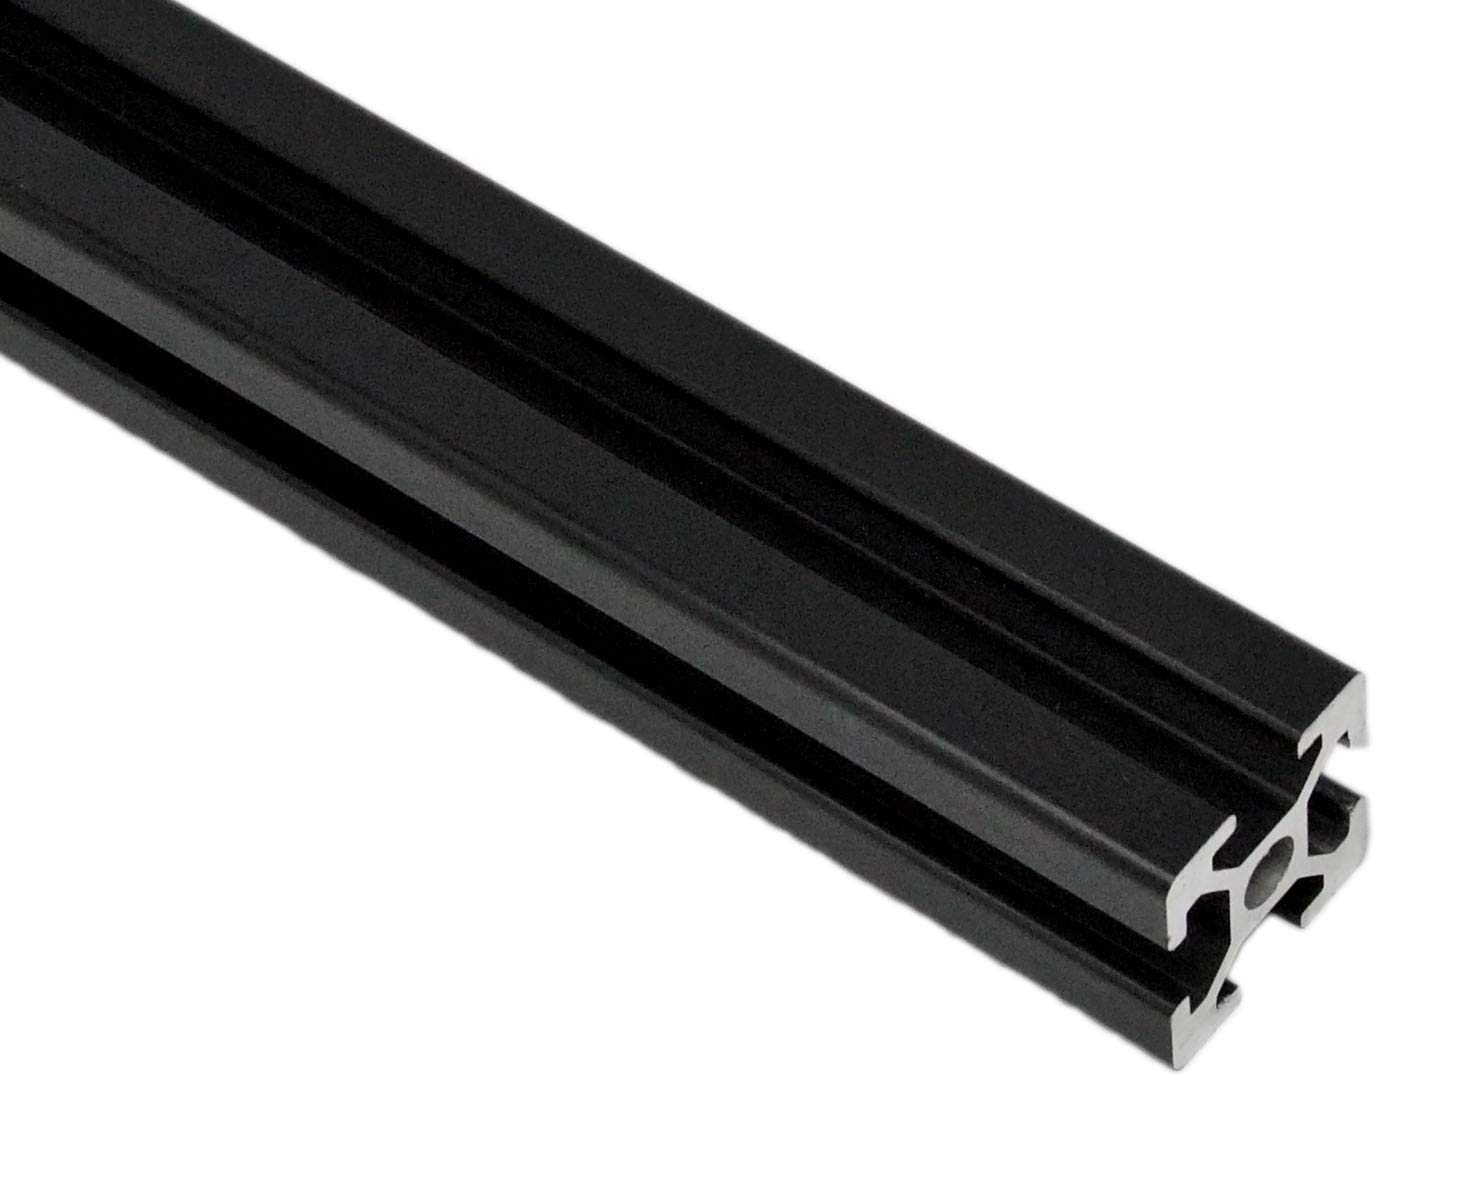
Structural backbone; cut to spec.
2020 Aluminum Extrusion 400mm (pack) Precise T-slot for rigid frame.