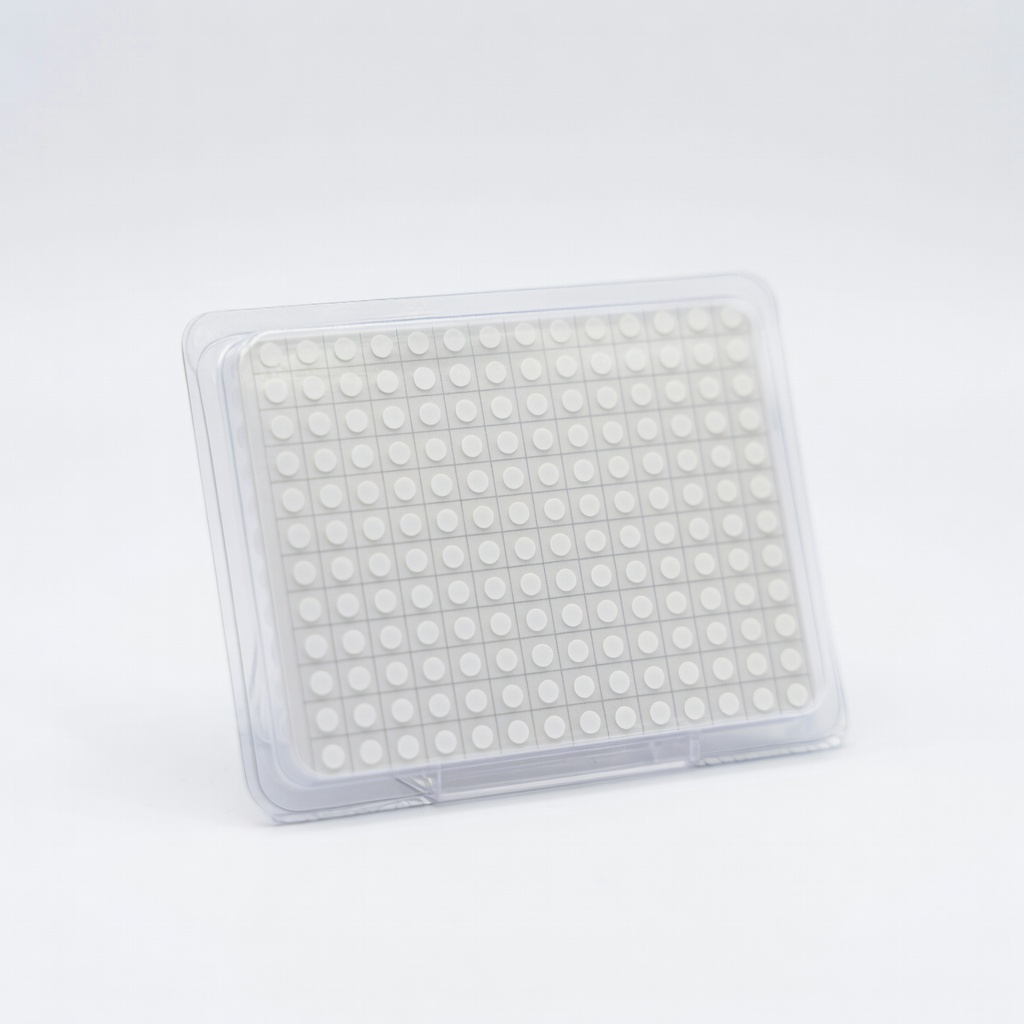
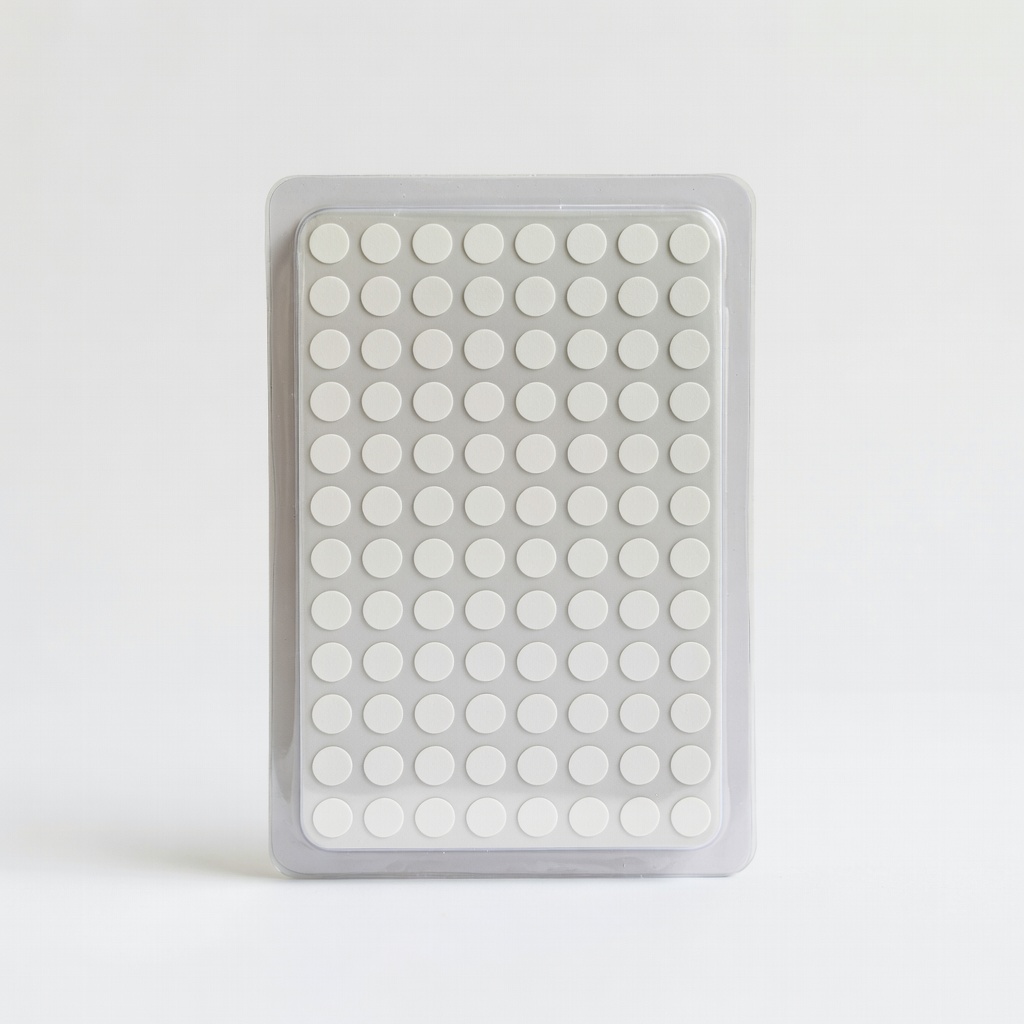
Glue Dots Craft Mini Dots .03" Value Pack (300 Dots)
Ideal for beginners blending edges on photos and vellum.
$6.99
Glue Dots Craft Mini Dots .03" Value Pack (300 Dots) Perfect 1/8-inch size for easy blending; clear, strong hold without bulk.
Get the App
Better experience on mobile
Master the seamless blending technique to create invisible, professional bonds on your scrapbook pages in minutes.
Struggling with bulky adhesives that ruin the clean look of your scrapbook layouts? Blending adhesive dots is a beginner-friendly trick that turns tiny dots into a smooth, invisible layer perfect for attaching photos, vellum, ribbons, or embellishments without any lumps or shine.
In this step-by-step guide, you'll learn how to apply, blend, and perfect adhesive dots for flawless results every time. No special tools or experience needed—just a few minutes per application.
Expect to spend 10-15 minutes on your first blended edge, with difficulty rated beginner. By the end, your scrapbooks will look pro-level!
Estimated Time: 10-15 minutes per blended edge Difficulty: beginner
Clear a flat, clean surface and lay down your scrapbook paper or layout base. Ensure it's smooth and free of dust to prevent contaminants from sticking to the adhesive.
Why it matters: A clean workspace prevents weak bonds or visible debris in your final layout. Place your non-stick mat here if using one.
Success looks like: A tidy station with all materials within arm's reach.
💡 Tips:
Decide where your photo or embellishment goes on the page. Flip it over if needed, but don't adhere yet—dry fit it to check alignment.
Why it matters: Precise positioning avoids repositioning after adhesive is applied, which can tear paper.
Expect: Your item sits perfectly flush against the edge where you'll apply dots.
⚠️ Warnings:
Dispense 1/8-inch adhesive dots along the edge where the item will attach, spacing them about 1/16-inch apart (almost touching). Use steady pressure on the dispenser for even dots.
Why it matters: Close spacing allows blending into a continuous film; too far apart leaves gaps.
Success: A dotted line matching your item's edge length, no overlaps or skips.
💡 Tips:
Gently press the dots side-to-side with your finger (dusted with baby powder) or the flat side of your bone folder to smoosh them into each other.
Why it matters: This merges dots into a uniform mass before full blending.
Expect: Dots start combining, adhesive spreads slightly without stringing.
⚠️ Warnings:
Using your bone folder or Teflon tool, rub firmly in one direction along the dotted line, then perpendicular to shear and thin the adhesive. Apply medium pressure for 20-30 seconds.
Why it matters: Shearing action thins the adhesive to paper-thin, making it invisible.
Success: A shiny, even strip of adhesive about 1mm thick—no lumps or gaps.
💡 Tips:
Align and press your photo or embellishment firmly onto the blended adhesive. Use the bone folder to burnish (rub hard) from center outward.
Why it matters: Burnishing squeezes out air bubbles for maximum contact.
Expect: Item adheres instantly, no shifting.
Inspect edges for lift—re-burnish if needed. Let sit 5 minutes undisturbed.
Why it matters: Full cure ensures longevity.
Success: Seamless, flat attachment that looks glue-free.
💡 Tips:
Problem: Adhesive won't blend smoothly (too dry or clumpy)
Solution: Use fresh dots; lightly mist with water from 12 inches away, then blend. Replace if over 6 months old.
Problem: Item lifts after attaching
Solution: Re-blend more dots and burnish harder for 1 full minute. Ensure surface is non-porous.
Problem: Adhesive shows through translucent paper
Solution: Thin further with extra shearing passes or use white dots instead of clear.
Perfect 1/8-inch size for easy blending; clear, strong hold without bulk.
Best for: Ideal for beginners blending edges on photos and vellum.
Price Range: $6.99
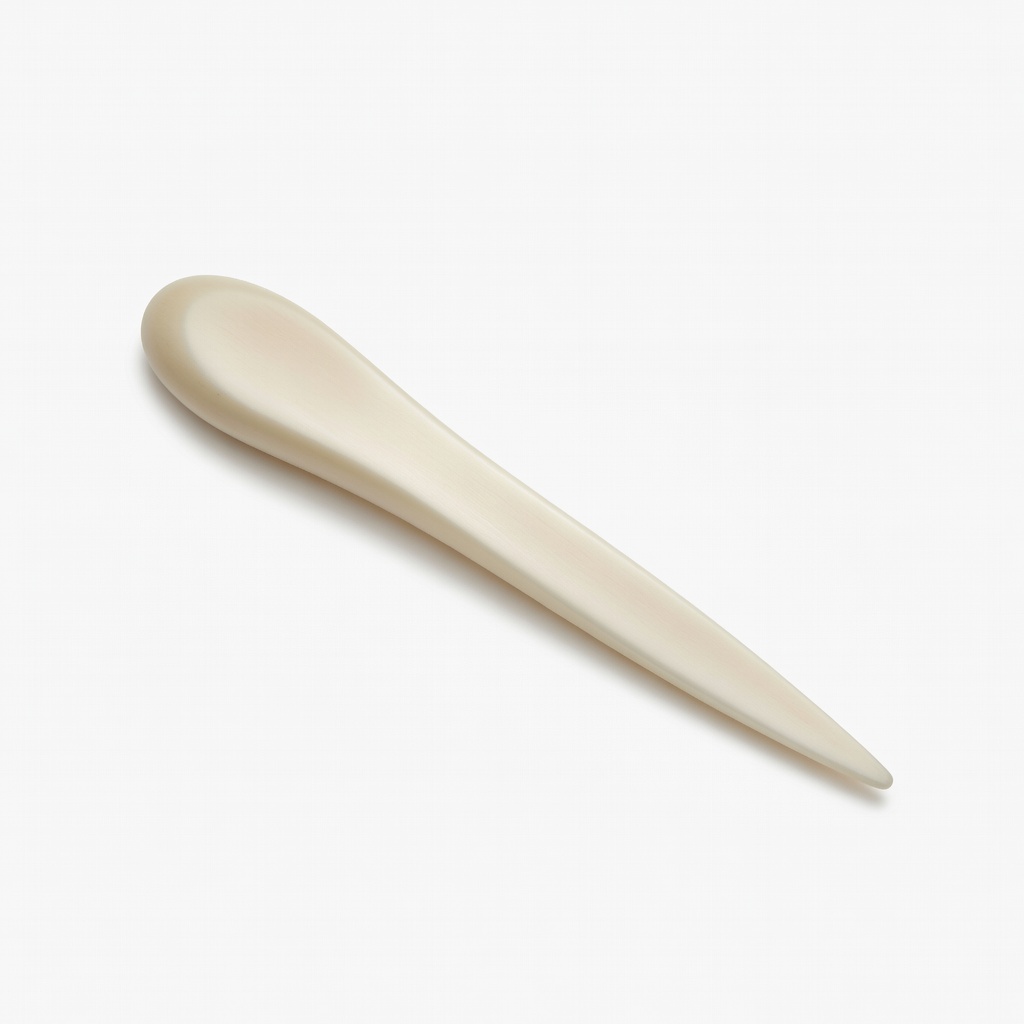
Durable, non-stick surface glides smoothly for perfect blending without scratching paper.
Best for: Essential for pressing and burnishing all scrapbook adhesives.
Price Range: $7.49
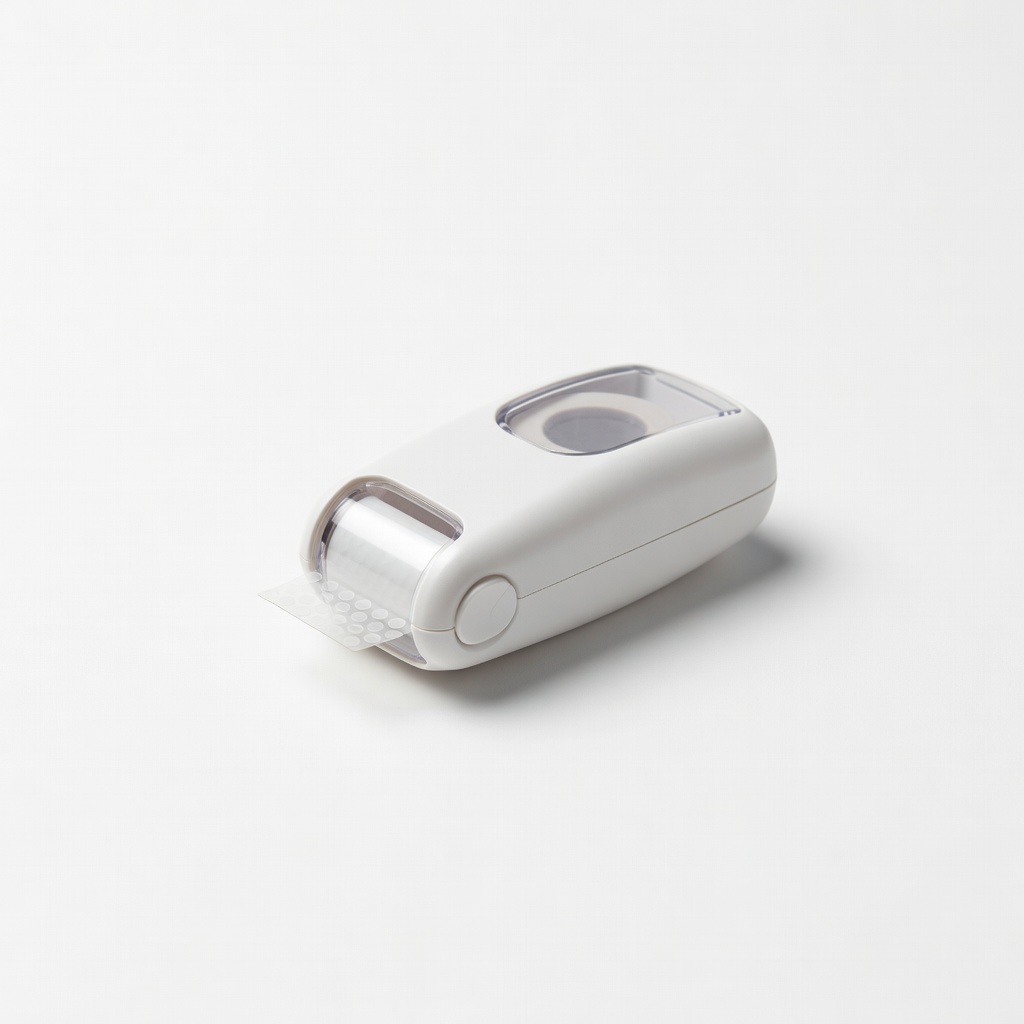
Precision dispenser applies dots evenly and close for seamless blending.
Best for: Great for curved edges or detailed embellishments.
Price Range: $9.99
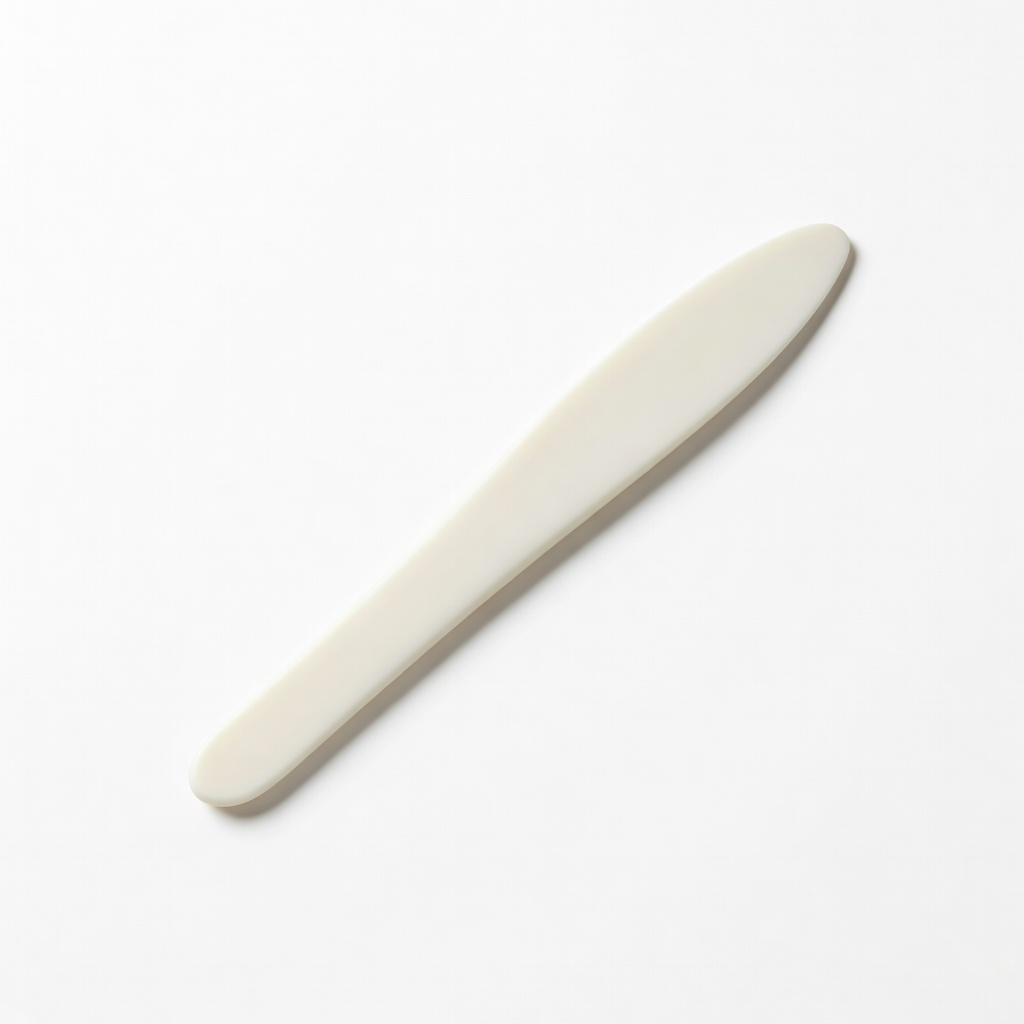
Ultra-slick Teflon prevents adhesive pickup for cleaner blends.
Best for: Pro upgrade for heavy daily use on sticky projects.
Price Range: $12.99
Repositionable version for practicing blends without commitment.
Best for: Test layouts before permanent adhesive.
Price Range: $4.99
Ideal for beginners blending edges on photos and vellum.
Glue Dots Craft Mini Dots .03" Value Pack (300 Dots) Perfect 1/8-inch size for easy blending; clear, strong hold without bulk.
Essential for pressing and burnishing all scrapbook adhesives.
Ranger Ink Bone Folder Tool Durable, non-stick surface glides smoothly for perfect blending without scratching paper.
Great for curved edges or detailed embellishments.
Therm O Web Adhesive Dot Roller Mini Precision dispenser applies dots evenly and close for seamless blending.
Pro upgrade for heavy daily use on sticky projects.
Tonic Studios Teflon Bone Folder Ultra-slick Teflon prevents adhesive pickup for cleaner blends.
Test layouts before permanent adhesive.
Scotch Restickable Dots (1/2-Inch, 100 Dots) Repositionable version for practicing blends without commitment.