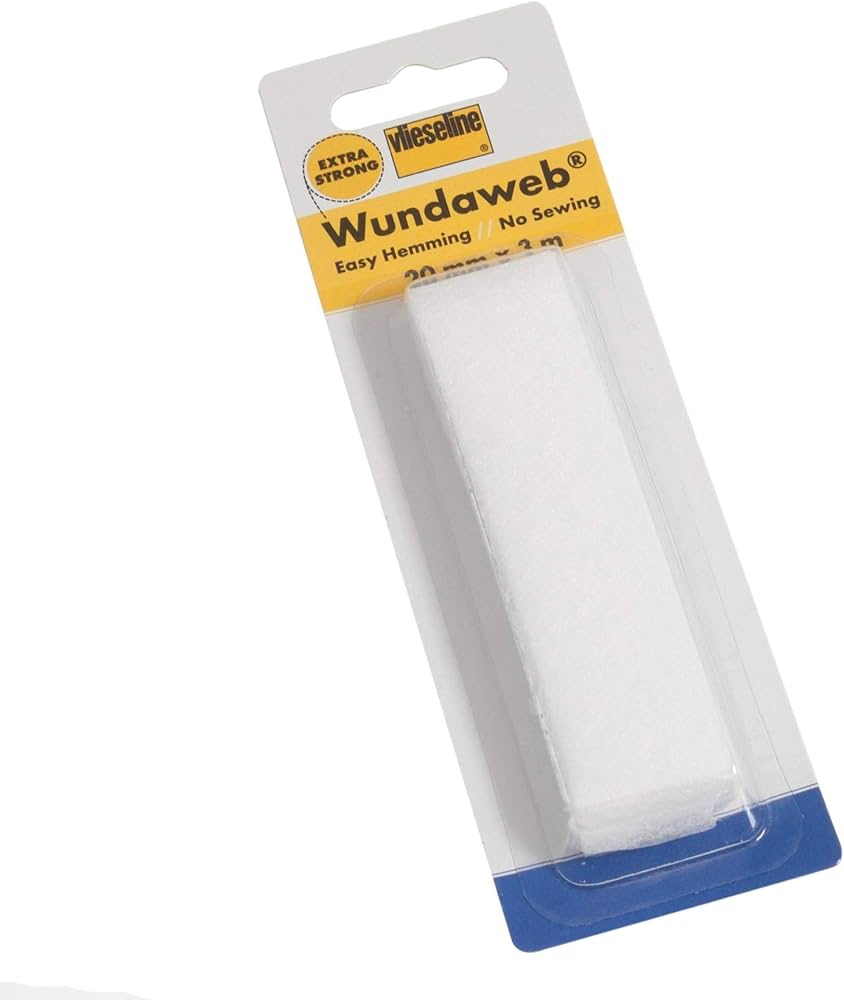
Wonder Web Fusible Hemming Tape
No-sew hemming on leggings/joggers; cut to fit any leg.
$4.99
Wonder Web Fusible Hemming Tape Extra-strong double-sided adhesive perfect for stretchy activewear without sewing.
Get the App
Better experience on mobile
Get a perfect, drag-free fit on your active pants with this easy 20-minute beginner DIY hemming guide.
Struggling with active pants that bunch at the ankles or drag on the floor? Petite frames often face ill-fitting hems on standard-length leggings, joggers, and yoga pants, making workouts uncomfortable and outfits unflattering. This guide solves that by teaching you how to balance and shorten the hem for ideal proportions.
You'll learn a simple no-sew method using iron-on tape, perfect for stretchy activewear fabrics like spandex and nylon. No prior sewing skills needed—just basic tools. Expect a custom fit that hits right at your ankle or shoe top, enhancing your silhouette.
Total time: 20-30 minutes per pair. Ideal for beginners; follow along for pro-level results at home.
Estimated Time: 20-30 minutes per pair Difficulty: beginner
Wear your shoes (or socks if barefoot workouts) and stand in front of a full-length mirror. Decide where the hem should end—typically 1/2 inch above the floor for drag-free movement or at the ankle bone for a cropped look on petites.
Pinch the excess fabric at the hem while standing straight and slightly bending knees to mimic activity. This ensures the hem 'balances' proportionally, avoiding bunching during squats or runs. Mark a test spot on one leg with your marker.
Success looks like: A smooth line that flatters short legs without excess fabric pooling.
💡 Tips:
⚠️ Warnings:
Lay pants flat on your work surface, legs aligned. Use the measuring tape to measure from the original hem up to your marked test length on both legs (e.g., 2 inches for petites).
Mark this new hemline around the entire leg circumference with chalk or marker, ensuring front and back match for balance. Double-check symmetry by folding legs together.
Success looks like: Identical marks on both legs, creating a straight, even fold line.
💡 Tips:
Flip the pants inside out to access the wrong side of the fabric. This protects the right side from pin marks or iron shine.
Smooth out wrinkles for accurate folding. Activewear's stretchy nature means it may curl—use pins to hold flat temporarily.
Success looks like: Clean interior view with marks visible and fabric taut.
⚠️ Warnings:
Fold the fabric up to your marked line, wrong sides together, creating a double-fold hem (1/4 inch first, then full amount) for durability on stretch fabric.
Insert pins perpendicular to the fold every 2-3 inches to hold. The double fold encases raw edges, preventing fraying in washes.
Success looks like: A neat, pinned cuff ready for pressing—no puckers.
💡 Tips:
Set iron to low/no-steam (synthetic setting for activewear). Press firmly along the pinned fold for 5-10 seconds per section to set the crease.
Remove pins as you go. This 'trains' the stretch fabric to hold shape.
Success looks like: Crisp, permanent-looking crease without scorching.
⚠️ Warnings:
Measure and cut hem tape to match the fold circumference (one continuous piece per leg).
Slide tape into the fold crease, centering it. It fuses fabric layers without needles, ideal for beginners and stretchy pants.
Success looks like: Tape fully inserted, no overlaps.
💡 Tips:
Cover fold with pressing cloth or parchment paper. Iron over each section 10-15 seconds, applying firm pressure. Let cool 1 minute before testing pull.
Repeat for second leg. The heat activates adhesive for a permanent bond.
Success looks like: Secure hem that withstands tugging.
⚠️ Warnings:
Turn pants right side out. Trim any protruding fabric inside the hem with scissors.
Try on, move around (jumps, bends). Re-fuse if loose.
Success looks like: Balanced, active-ready pants with hems hitting perfectly—no drag, full mobility.
💡 Tips:
Problem: Hem puckers or bubbles
Solution: Smooth fabric taut before pressing; re-do fold with less tape.
Problem: Tape won't stick
Solution: Ensure no fabric softener residue; pre-wash pants and use higher heat briefly.
Problem: Hem too tight after fusing
Solution: Unfuse with steam/iron-off, re-fold looser; use liquid glue for adjustments.
Problem: Uneven after wear
Solution: Re-mark with body in motion pose; seek tailor for knits over 20% spandex.
Extra-strong double-sided adhesive perfect for stretchy activewear without sewing.
Best for: No-sew hemming on leggings/joggers; cut to fit any leg.
Price Range: $4.99
Precision blades handle knits without fraying edges.
Best for: Trimming excess hem fabric cleanly post-fusing.
Price Range: $12.99
Flexible glue for high-stretch fabrics where tape fails.
Best for: Spot-gluing hems on ultra-stretchy pants or repairs.
Price Range: $6.49
Disappears with water, ideal for temporary marks on synthetics.
Best for: Precise hemline marking without residue.
Price Range: $8.99
Grips fabric for accurate measurements on slippery activewear.
Best for: Straight-edge marking and cutting guides.
Price Range: $10.99
No-sew hemming on leggings/joggers; cut to fit any leg.
Wonder Web Fusible Hemming Tape Extra-strong double-sided adhesive perfect for stretchy activewear without sewing.
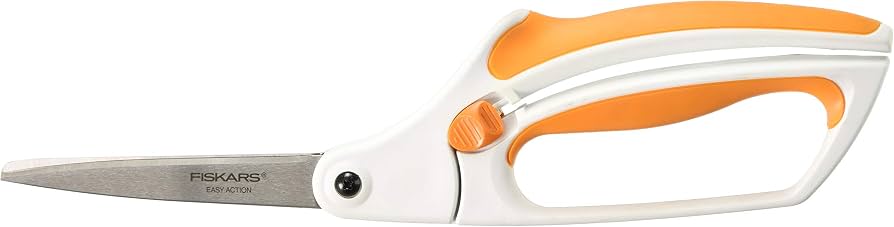
Trimming excess hem fabric cleanly post-fusing.
Fiskars Softouch Fabric Scissors Precision blades handle knits without fraying edges.
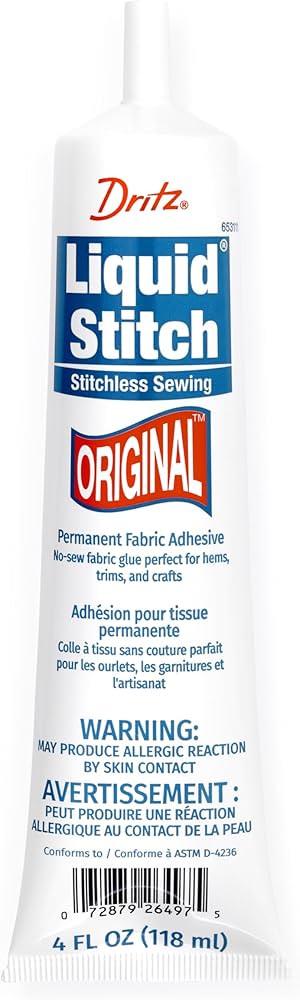
Spot-gluing hems on ultra-stretchy pants or repairs.
Dritz Liquid Stitch Permanent Adhesive Flexible glue for high-stretch fabrics where tape fails.
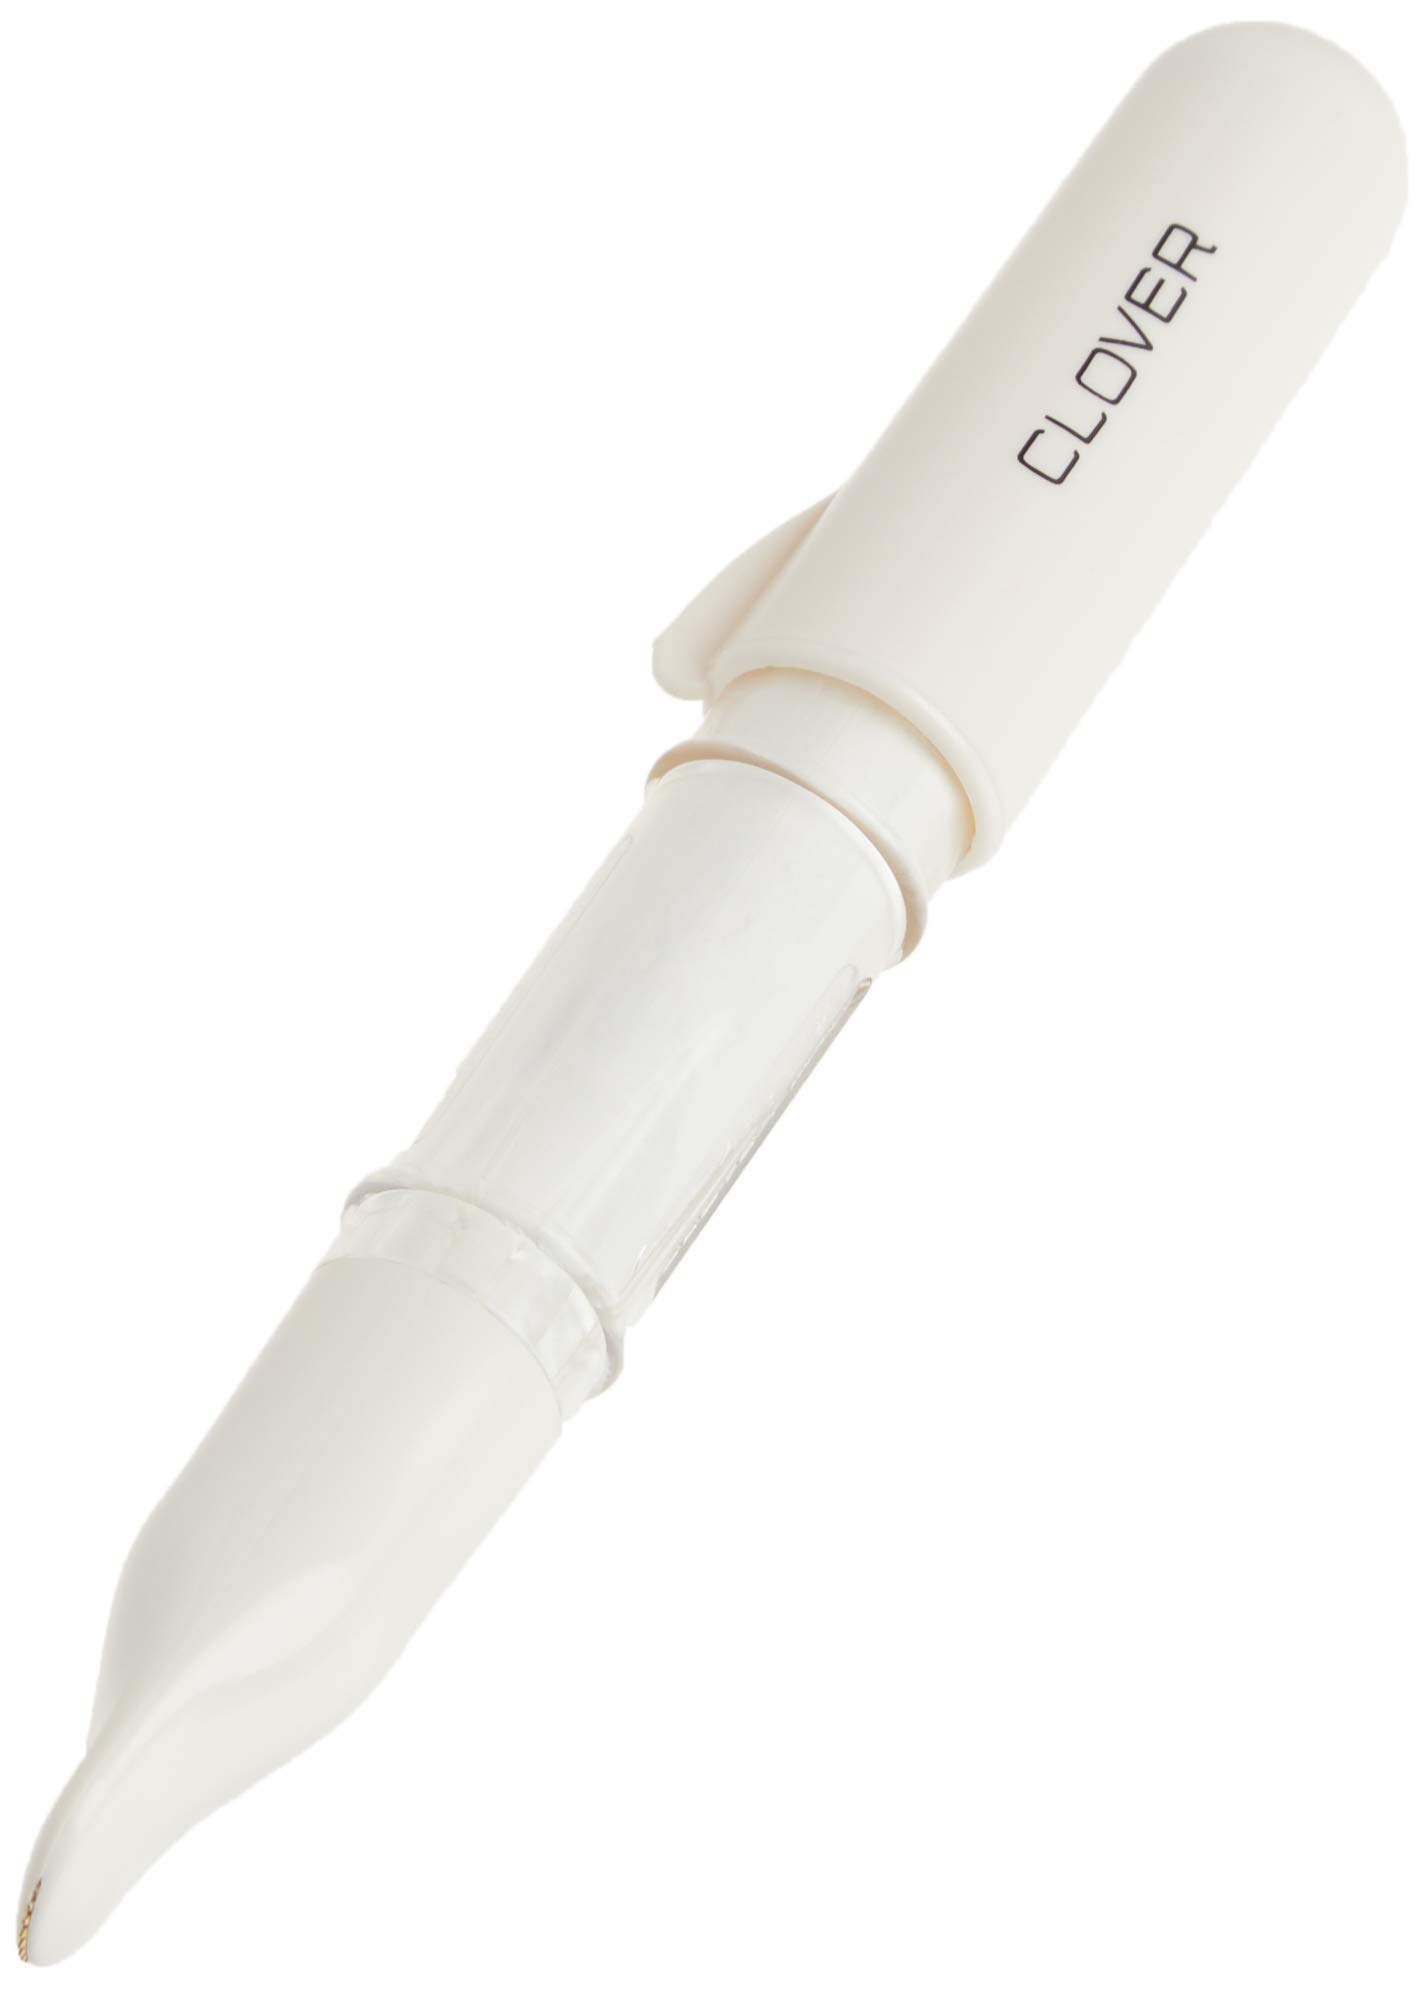
Precise hemline marking without residue.
Clover Fabric Marker Chaco Pen Disappears with water, ideal for temporary marks on synthetics.
Straight-edge marking and cutting guides.
Omnigrid Non-Slip Quilting Ruler Grips fabric for accurate measurements on slippery activewear.