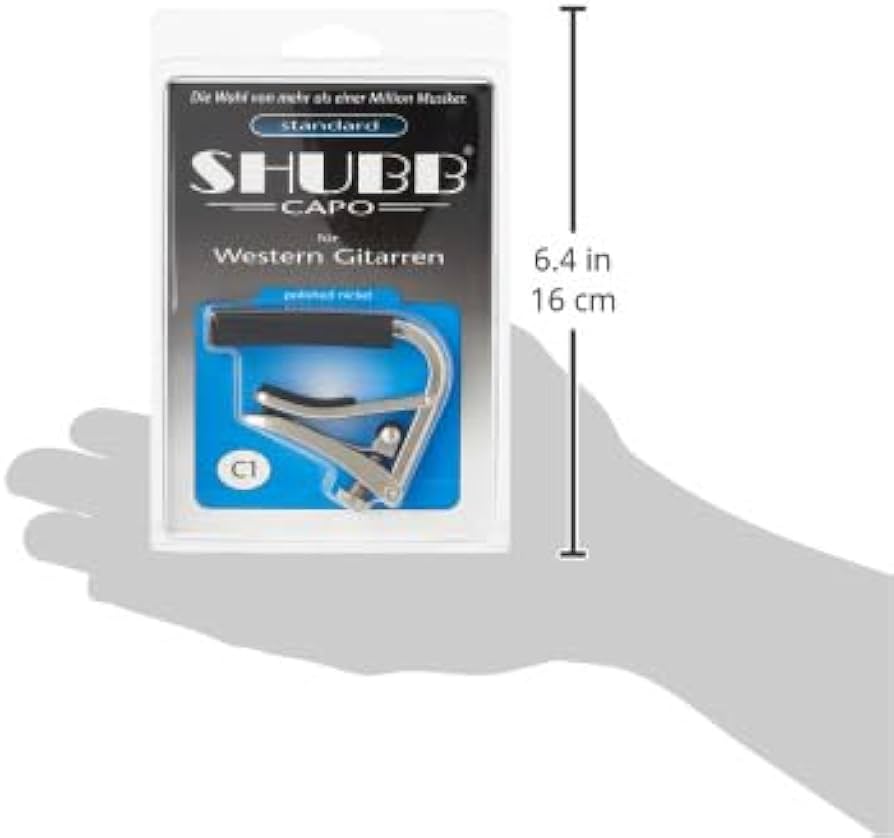
Shubb C1 Heavy Duty Capo
Capo 1st fret for all baseline checks.
$19.95
Shubb C1 Heavy Duty Capo Locks precisely without pulling strings sharp, essential for accurate relief/action measurement.
Get the App
Better experience on mobile
Achieve pro-level playability by precisely adjusting your acoustic guitar's string height for effortless fretting, rich tone, and zero buzz.
High action makes chording a workout, while low action causes fret buzz that kills sustain and tone. If you're an advanced player tired of sluggish response or annoying rattles, balancing action is the fix. This guide walks you through measuring and adjusting neck relief, nut, and saddle heights for optimal setup.
You'll learn to use precision tools for accurate measurements, safely tweak the truss rod, and sand the saddle like a luthier. Expect pro results: 3/32" low E and 2/32" high e at the 12th fret (adjustable for style).
Time: 1-2 hours. Requires steady hands and guitar anatomy knowledge—no beginners.
Estimated Time: 1-2 hours Difficulty: advanced
Install fresh strings (light or medium gauge for acoustics) and tune to pitch. This ensures accurate measurements, as old strings sag and mislead action readings. Clean the fretboard lightly with a microfiber cloth.
Set up a stable, well-lit workspace with good ventilation (dust from sanding). Detune strings slightly for safety. Success: Guitar tuned, neck accessible, tools organized.
Image: Guitar on padded workbench, tools laid out neatly.
💡 Tips:
⚠️ Warnings:
Capo the 1st fret, press down on the last fret (e.g., 14th). Hold straightedge along frets 1-12; check gap at 7th-9th fret with 0.008"-0.012" feeler gauge (flatsawn top) or 0.005"-0.010" (carved). Too much bow (>0.015") hinders low action; too straight causes buzz.
Note measurement. Ideal relief prevents dead spots. Success: Recorded relief value, neck curvature understood.
Image: Capo on, straightedge on neck, feeler gauge inserted at 8th fret.
💡 Tips:
⚠️ Warnings:
Detune all strings. Insert truss rod wrench at headstock end (or soundhole access). Clockwise tightens (flattens bow), counterclockwise loosens (adds relief). Turn 1/8 max, retune, recheck every 15 mins.
Target your measured ideal. Recheck with capo/fret press. Success: Relief in spec, no binding frets.
Image: Wrench in truss rod nut, hand turning gently.
💡 Tips:
⚠️ Warnings:
Capo 1st fret, strings tuned. Use feeler gauges under low E (3/32"-4/32" or 2.4-3.2mm) and high e (2/32"-3/32" or 1.6-2.4mm) at 12th fret. Measure both ends for evenness.
High action fatigues hands; low buzzes. Note heights. Success: Baseline action heights logged.
Image: Feeler stack under string at 12th fret.
💡 Tips:
⚠️ Warnings:
Fret strings at 3rd fret, measure 1st fret action (0.020"-0.022" low E). Too high? Use nut files to deepen slots gradually.
Nut affects open tone. Success: Low action without open-string buzz.
Image: Nut pusher or file in slot.
💡 Tips:
⚠️ Warnings:
Tape bridge to protect finish. Gently tap saddle out with plastic punch/hammer toward tail. Measure height with calipers (target 3.5-4mm compensated saddle post-adjust).
Saddle sets bulk action. Success: Saddle out, height noted.
Image: Saddle being tapped out.
💡 Tips:
⚠️ Warnings:
Secure saddle on flat glass plate with 220 grit sandpaper. Sand evenly bottom (check square often). Progress to 400, then 800 grit. Remeasure frequently—remove 0.010" reduces action ~0.020".
Maintain radius match. Success: New height matches target.
Image: Saddle on sandpaper, micrometer measuring.
💡 Tips:
⚠️ Warnings:
Clean slot, reinstall saddle (snug fit). String up, tune, stretch strings. Recheck action, relief, play full neck for buzz.
Adjust intonation if sharp/flat (saddle forward/back). Success: Buzz-free, effortless play, balanced tone.
Image: Final play test.
💡 Tips:
⚠️ Warnings:
Compare open/harmonic/12th fret notes with tuner. Adjust saddle position if needed (file slot ends). Play chords/scales.
Success: In-tune across fretboard, responsive feel.
💡 Tips:
⚠️ Warnings:
Problem: Persistent fret buzz after low action
Solution: Increase relief slightly or check fret level; if crowned uneven, file frets or pro fret job.
Problem: Action high on bass side only
Solution: Sand bass side more or check bridge warp; shim saddle if needed.
Problem: Truss rod won't turn
Solution: Apply penetrating oil, wait 10min; if stuck, heat lightly or call luthier.
Problem: Dead tone post-adjust
Solution: Raise action 1/32"; check string break angle over saddle.
Problem: Intonation off everywhere
Solution: Verify neck angle; may need pro refret or neck reset.
Locks precisely without pulling strings sharp, essential for accurate relief/action measurement.
Best for: Capo 1st fret for all baseline checks.
Price Range: $19.95
Imperial/metric blades from 0.0015" to 0.035" cover all guitar measurements precisely.
Best for: Gap checks for relief and action heights.
Price Range: $8.99
Ball-end hex fits tight nuts, long handle for torque control without slipping.
Best for: Safe truss rod adjustments on most acoustics.
Price Range: $14.99
Pre-cut self-adhesive grits (220-2000) on PSA-backed paper for flat, even saddle sanding.
Best for: Progressive sanding from coarse to polish.
Price Range: $12.95
Ultra-sensitive for precise tuning during tests; chromatic for harmonics.
Best for: Intonation verification and stretching new strings.
Price Range: $14.99
Capo 1st fret for all baseline checks.
Shubb C1 Heavy Duty Capo Locks precisely without pulling strings sharp, essential for accurate relief/action measurement.
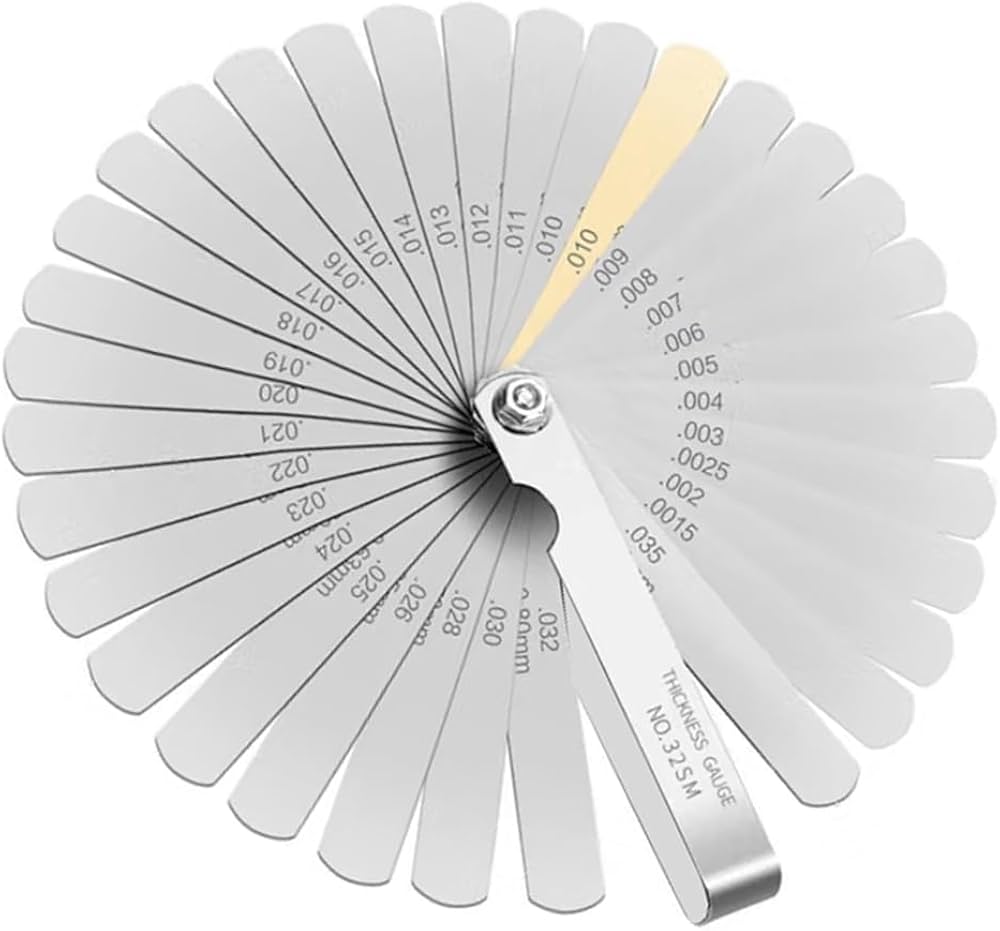
Gap checks for relief and action heights.
iBayam Feeler Gauge Set 32 Blades Imperial/metric blades from 0.0015" to 0.035" cover all guitar measurements precisely.
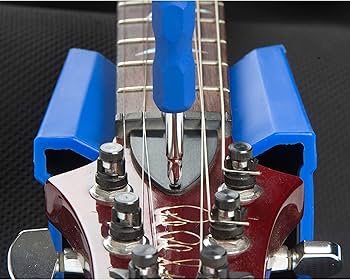
Safe truss rod adjustments on most acoustics.
MusicNomad MNTRW Truss Rod Wrench Ball-end hex fits tight nuts, long handle for torque control without slipping.
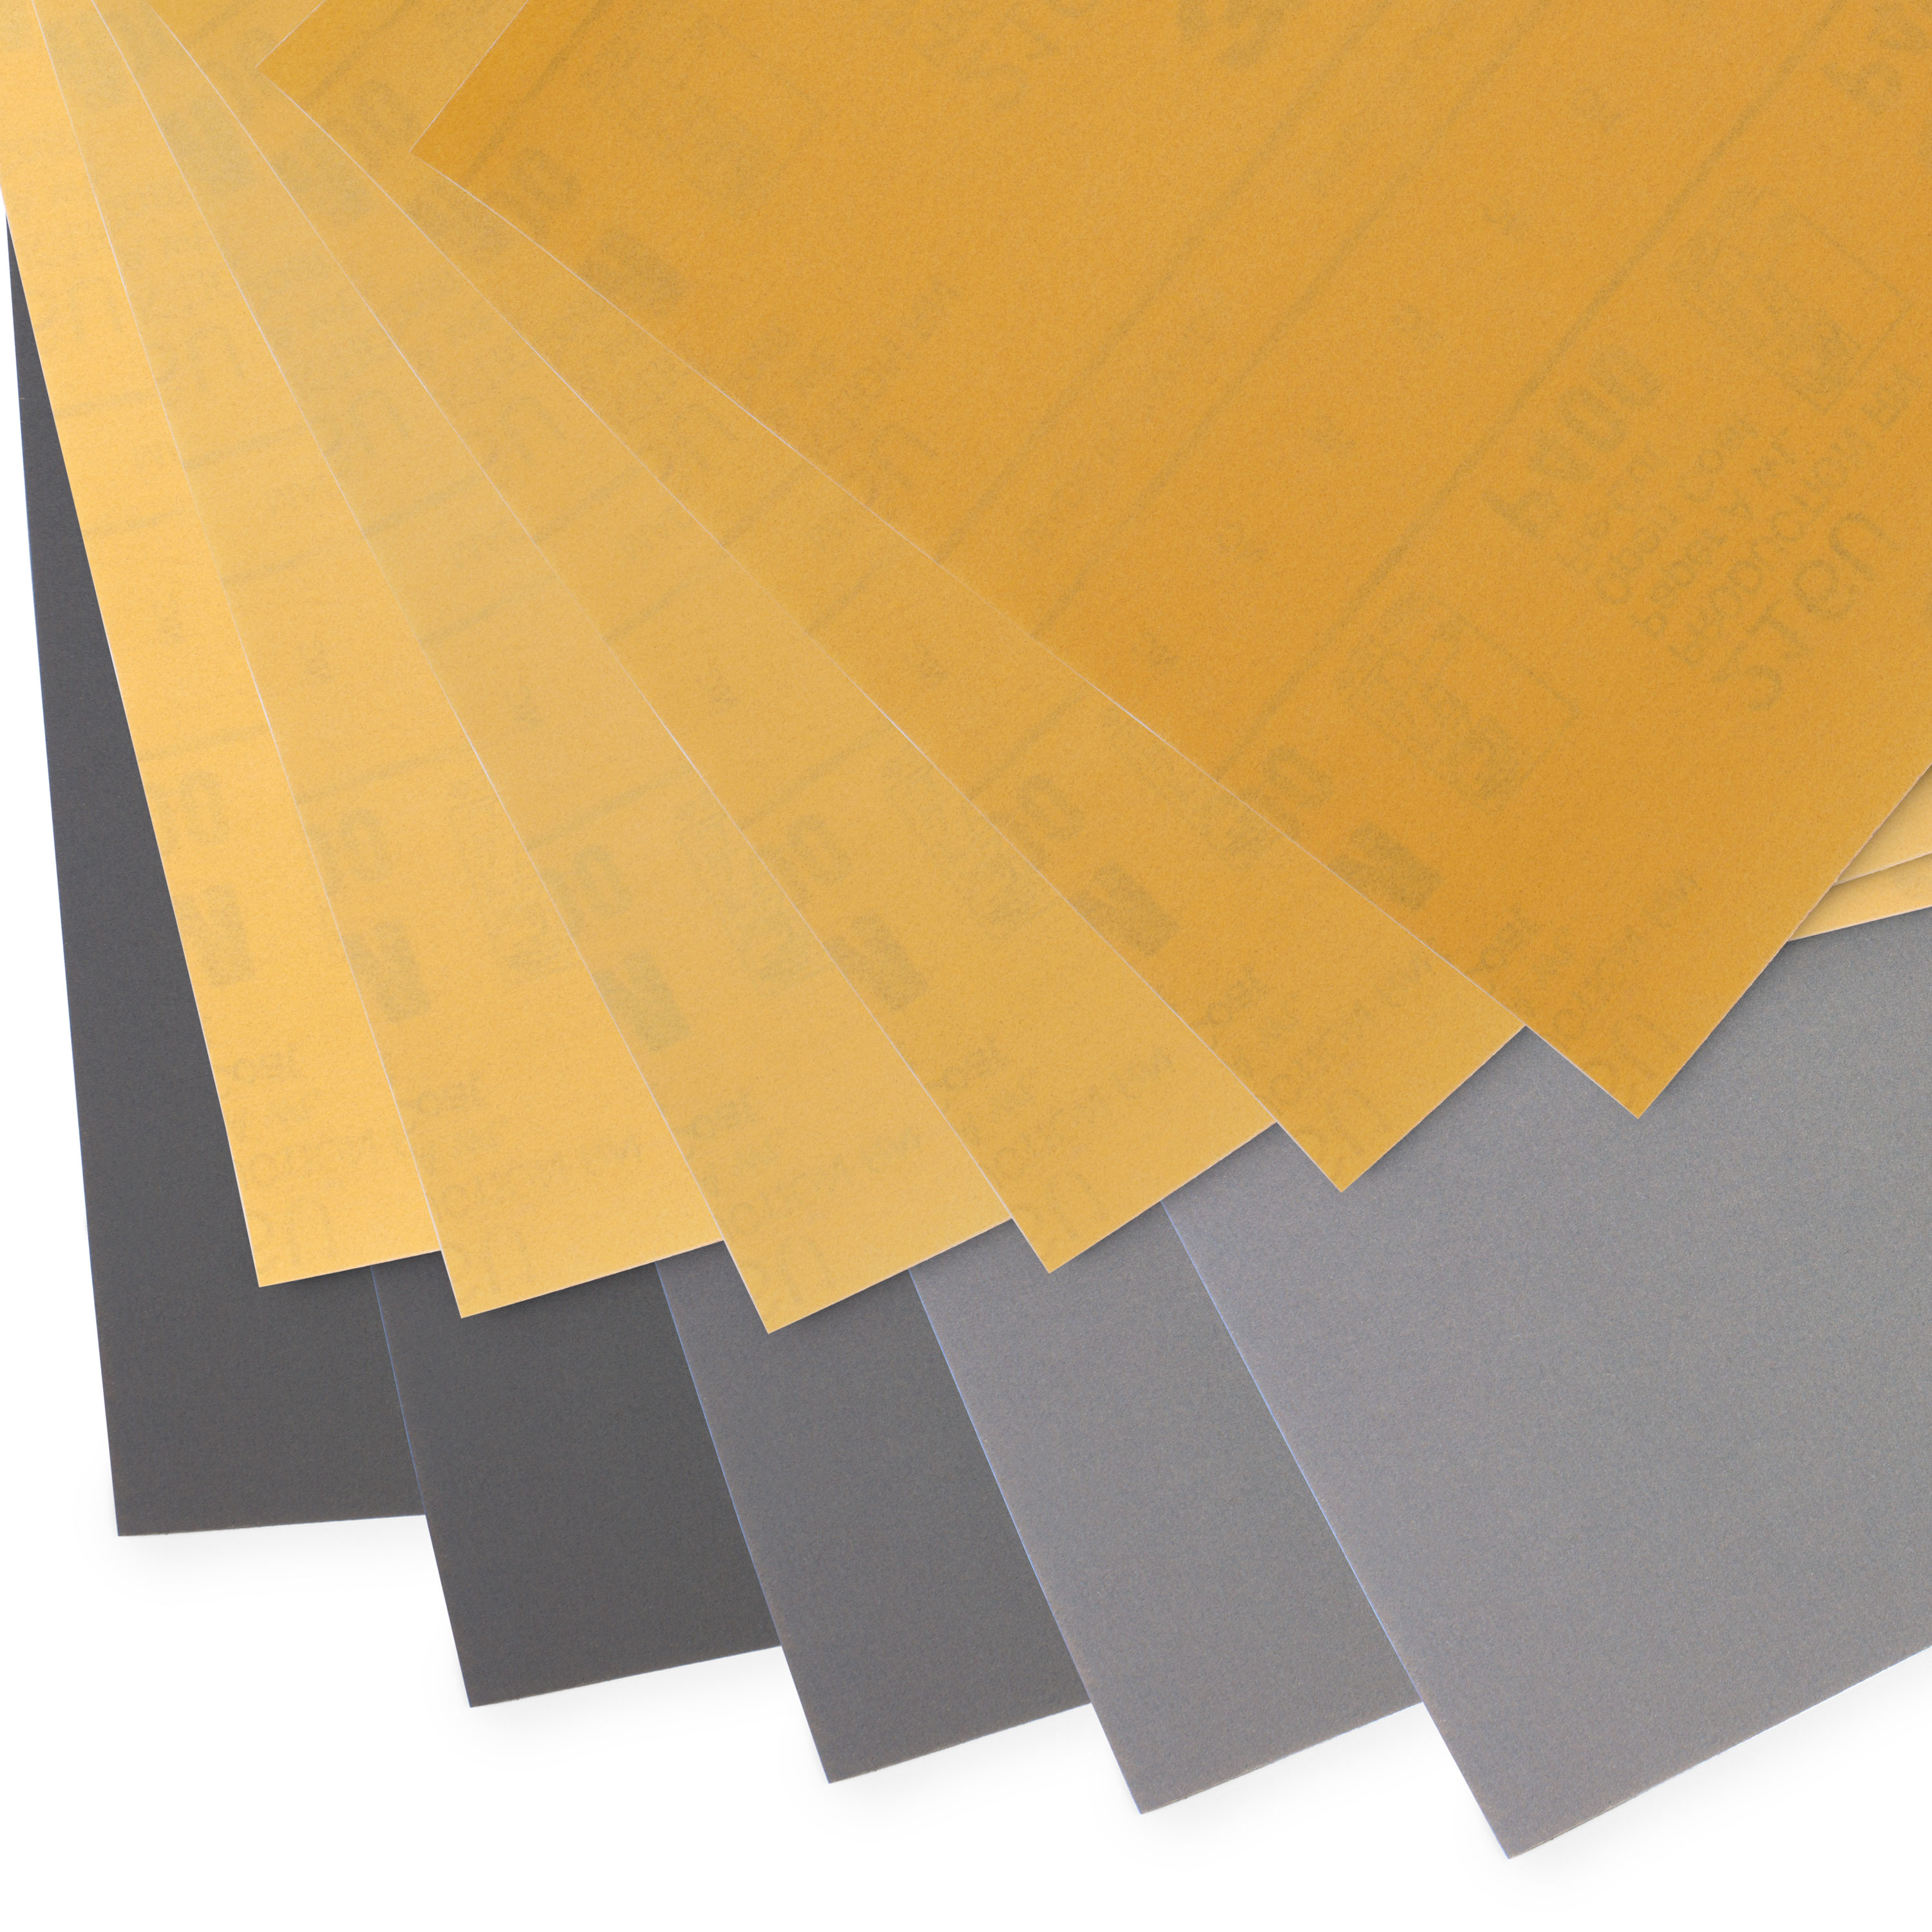
Progressive sanding from coarse to polish.
StewMac Sandpaper Assortment Pack Pre-cut self-adhesive grits (220-2000) on PSA-backed paper for flat, even saddle sanding.
Intonation verification and stretching new strings.
D'Addario PW-CT-15 NS Micro Clip Tuner Ultra-sensitive for precise tuning during tests; chromatic for harmonics.