Baking sourdough bread at home can transform your kitchen into a bakery, but many intermediate bakers struggle with inconsistent results like dense loaves or flat rises. The magic lies in the natural fermentation process that develops complex flavors without commercial yeast. This guide addresses those pain points by walking you through the entire process, ensuring you achieve a professional loaf every time.
You'll learn the fundamentals of working with a live sourdough starter, from mixing and fermenting the dough to scoring and baking for that signature crust. By the end, you'll have the confidence to bake artisan sourdough that's far superior to store-bought versions. The process involves hands-on techniques like stretching and folding, but it's rewarding for those with basic baking experience.
Expect to invest time in fermentation—typically 8-12 hours of active work spread over 1-2 days—making it perfect for a weekend project. No advanced equipment is needed, just patience and precision.
▸What You'll Need
- •Active sourdough starter (100g, fed and bubbly; required—if you don't have one, see our guide on making it)
- •Bread flour (500g; high-protein for structure; all-purpose can substitute but results may vary)
- •Water (350g, filtered or room temperature; required)
- •Sea salt (10g; required for flavor and gluten development)
- •Digital kitchen scale (for accurate measurements; highly recommended)
- •Large mixing bowl (glass or plastic; required)
- •Dough scraper or bench knife (for handling sticky dough; recommended)
- •Proofing basket (banneton) or clean linen cloth-lined bowl (optional but ideal for shaping)
- •Dutch oven or baking stone with steam setup (6-7 quart; required for oven spring and crust)
- •Lame or sharp knife (for scoring; required)
- •Parchment paper (optional for easy transfer)
Estimated Time: 8-12 hours active time over 1-2 days (including fermentation; baking takes 45-60 minutes)
Difficulty: intermediate
▸Step-by-Step Instructions
Step 1: Prepare and Feed Your Sourdough Starter
Begin by ensuring your sourdough starter is active and healthy, as this is the heart of your bread. An active starter should double in size within 4-6 hours after feeding and have a tangy, yeasty aroma. If yours is sluggish, feed it: mix 50g starter with 50g flour and 50g water in a clean jar, cover loosely, and let it sit at room temperature (70-75°F) until bubbly.
Why it matters: The starter provides natural wild yeast and bacteria for fermentation, creating the bread's signature sour flavor and airy crumb. Expect it to be frothy and expanded—success looks like a dome-shaped rise with lots of bubbles on the surface.
This step sets the foundation; skipping a proper feed can lead to weak dough that doesn't rise well.
💡 Tips:
- •Use whole grain flour for the first feeding to boost activity if your starter is new.
- •Mark the jar with a rubber band to track rise easily.
⚠️ Warnings:
- •Avoid using a starter that's more than a week old without refreshing—it may taste overly acidic or fail to leaven.
Step 2: Mix the Dough (Autolyse)
In a large bowl, combine 500g bread flour and 350g water. Stir with a wooden spoon or your hand until no dry flour remains, forming a shaggy dough. Cover and let it rest for 30-60 minutes. This autolyse hydrates the flour and begins gluten development without effort.
Why it matters: Autolyse improves dough extensibility, making later handling easier and enhancing flavor through enzymatic activity. At the end, the dough should feel smoother and slightly elastic—success is a cohesive mass that's still sticky but not crumbly.
This passive step saves time and prevents overworking the dough early on.
💡 Tips:
- •Use filtered water to avoid chlorine, which can inhibit fermentation.
- •If your kitchen is cold, place the bowl in a turned-off oven with the light on for warmth.
⚠️ Warnings:
- •Don't add salt or starter yet—salt tightens gluten prematurely, and starter needs hydration.
Step 3: Incorporate Starter and Salt
Add 100g active starter and 10g salt to the autolysed dough. Use your hands to pinch and fold the dough over itself for 5-10 minutes until the starter and salt are fully incorporated and the dough becomes smoother. It will be sticky—wet your hands to prevent sticking.
Why it matters: The starter kickstarts fermentation, while salt strengthens the gluten network for structure and controls bacterial growth. Success looks like a uniform dough that pulls away slightly from the bowl sides and feels tacky but cohesive.
This mixing builds the dough's strength; expect it to be wetter than traditional bread dough (around 70% hydration).
💡 Tips:
- •Pinch the dough like squeezing a stress ball to distribute ingredients evenly.
- •Taste a tiny bit of the dough to check salt level—it should be mildly salty.
⚠️ Warnings:
- •Overmixing here can make the dough tough; stop when it's just combined.
Step 4: Bulk Fermentation with Stretch and Folds
Cover the dough and let it ferment at room temperature for 3-4 hours. Every 30-45 minutes for the first 2 hours, perform stretch and folds: wet your hands, grab one side of the dough, stretch it up, and fold it over the center. Rotate the bowl and repeat 4 times.
Why it matters: This builds gluten strength without kneading and aerates the dough for better rise. Success is visible volume increase (50-75% growth) and bubbles on the surface— the dough should feel airy and jiggly.
Bulk fermentation develops flavor through slow acid buildup; warmer rooms speed it up, cooler ones enhance taste.
💡 Tips:
- •Do 3-4 sets of folds total; more if the dough feels slack.
- •If bubbles form on top, gently pop large ones to prevent off-flavors.
⚠️ Warnings:
- •Don't skip folds in a cold kitchen—the dough won't develop enough strength and may spread flat.
Step 5: Pre-Shape the Dough
Turn the fermented dough onto a lightly floured surface. Gently fold the edges toward the center to form a loose round, then flip it seam-side down. Let it rest covered for 20-30 minutes. This pre-shapes without deflating air pockets.
Why it matters: It evens out the dough for easier final shaping and orients the gluten. Success is a ball that holds its shape softly without tearing— it should feel tension on the surface.
Use minimal flour to avoid drying out the dough; this step transitions from fermentation to forming.
💡 Tips:
- •Handle gently like a fragile balloon to preserve gases.
- •If sticky, dust your hands with rice flour for better grip.
⚠️ Warnings:
- •Over-flouring makes the crust tough; use just enough to prevent sticking.
Step 6: Final Shape and Proof
After resting, flip the dough seam-side up. Fold the edges to the center again, then roll it into a tight boule or batard. Place seam-side up in a floured proofing basket or linen-lined bowl. Cover and proof at room temperature for 1-2 hours or refrigerate overnight for better flavor.
Why it matters: Tight shaping creates surface tension for oven spring, while proofing allows final rise. Success is a dough that springs back slowly when poked (not collapse or snap back).
Cold proofing (retard) enhances tangy notes; test readiness by the poke test.
💡 Tips:
- •Dust the basket with rice flour for easy release.
- •Overnight proof in the fridge (38-40°F) for 8-12 hours yields deeper flavor.
⚠️ Warnings:
- •Proof too long and the dough over-proofs, leading to flat bread—watch closely.
Step 7: Bake the Sourdough Loaf
Preheat your oven to 450°F with the Dutch oven inside for 45-60 minutes. Carefully transfer the proofed dough to parchment, score the top with a lame (1/2-inch deep slash). Place in the hot Dutch oven, cover, and bake 20 minutes. Uncover and bake another 20-25 minutes until deep golden (internal temp 205-210°F).
Why it matters: The covered bake traps steam for rise and crust; uncovering browns it via Maillard reaction. Success is a loaf with good oven spring, crackling crust, and hollow thud when tapped.
Cool on a rack for at least 1 hour to set the crumb—cutting too soon makes it gummy.
💡 Tips:
- •Score creatively for even expansion; a simple slash works best for beginners.
- •Add ice cubes to the oven if not using a Dutch oven for steam.
⚠️ Warnings:
- •Don't skip preheating—the cold pot causes sticking and poor rise.
▸Pro Tips
- •Maintain a consistent feeding schedule for your starter to keep it reliable—feed daily if at room temp.
- •Weigh ingredients instead of using cups for precision; even small errors affect hydration.
- •Experiment with inclusions like seeds or olives after mastering the basic recipe.
- •Use a proofing box or warm spot if your home is below 70°F to speed fermentation without sourness.
- •Let bread cool fully before slicing to avoid a dense, steamy interior.
- •Save 20g of dough as a new starter backup in case of failure.
- •Bake on a stone if no Dutch oven, but mist the oven for steam.
▸Common Mistakes to Avoid
- •Using an inactive starter: Leads to dense, flat bread. Avoid by testing with the float test (drop a spoonful in water—if it floats, it's ready).
- •Over-proofing the dough: Causes collapse in the oven. Check with the poke test and adjust times based on your kitchen's temperature.
- •Insufficient folds during bulk: Results in weak structure and tears. Perform at least 3 sets to build strength gradually.
- •Opening the oven too early: Deflates the loaf. Wait until the covered bake is complete for maximum rise.
- •Not cooling properly: Makes the crumb gummy. Always cool on a wire rack for 1-2 hours.
▸Troubleshooting
Problem: Dense or gummy crumb
Solution: Ensure full cooling and check hydration—reduce water slightly next time if too wet. Bake longer if internal temp is under 205°F.
Problem: Flat loaf with no oven spring
Solution: Verify starter activity and proofing time. Preheat Dutch oven fully and score deeply to allow expansion.
Problem: Sour or off-flavors
Solution: Shorten fermentation if too acidic; use cooler temps. Discard and refresh starter if it smells vinegary.
Problem: Pale or soft crust
Solution: Bake uncovered longer or at higher heat. Add steam with ice for better color and crispness.
Problem: Dough too sticky to handle
Solution: Wet hands or use a dough scraper. Avoid adding extra flour—embrace high hydration for open crumb.
OXO Good Grips Stainless Steel Food Scale
Precision weighing is crucial for sourdough's high-hydration doughs, ensuring consistent results over volume measurements.
Best for: Use during mixing to measure flour, water, and starter accurately for every bake.
Price Range: $49.99
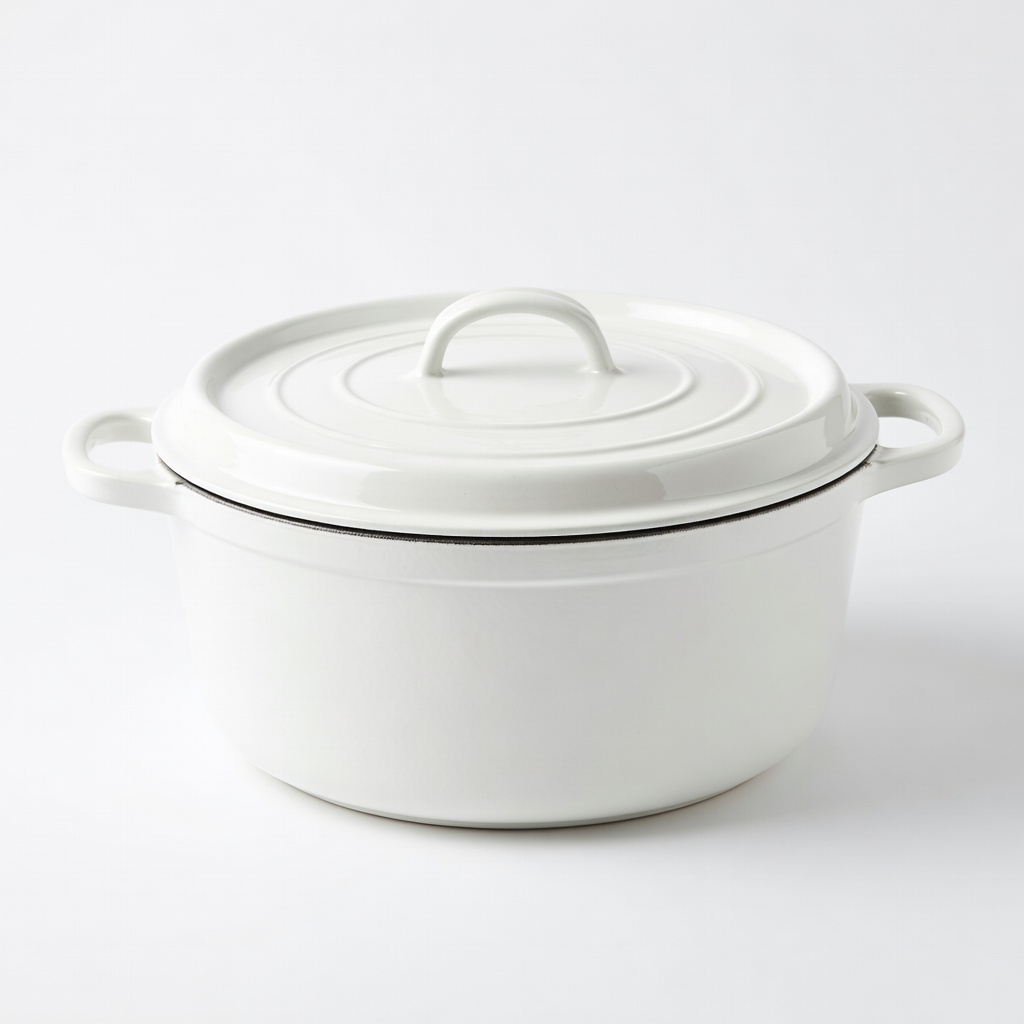
Lodge 6-Quart Enameled Cast Iron Dutch Oven
Provides the ideal enclosed environment for steam and heat retention, mimicking professional ovens for superior crust and rise.
Best for: Essential for the baking step to trap moisture and achieve bakery-quality results.
Price Range: $79.99
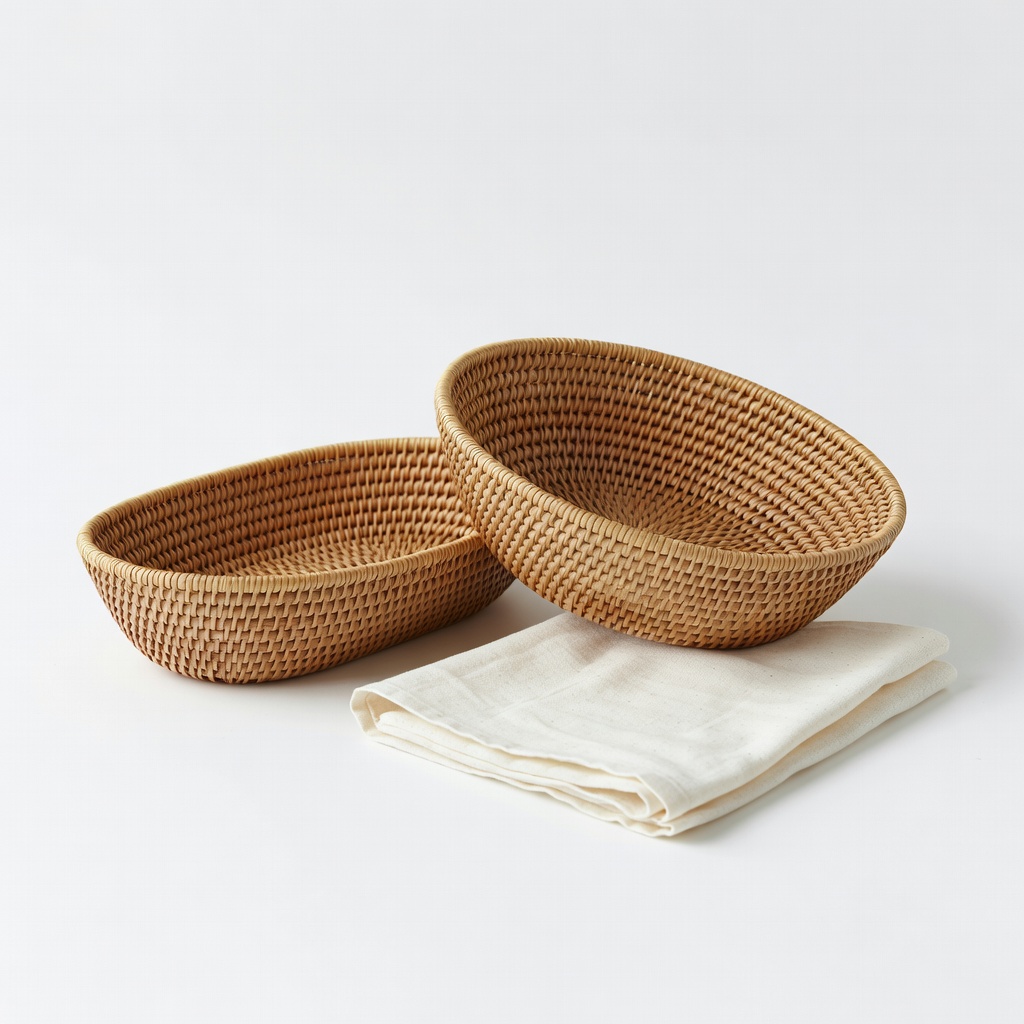
Bread Bosses Banneton Proofing Basket Set
Supports the dough during final proof for even shaping and easy release, preventing sticking without excess flour.
Best for: Ideal for intermediate bakers shaping boules; use with the included liner for cleanup ease.
Price Range: $24.99
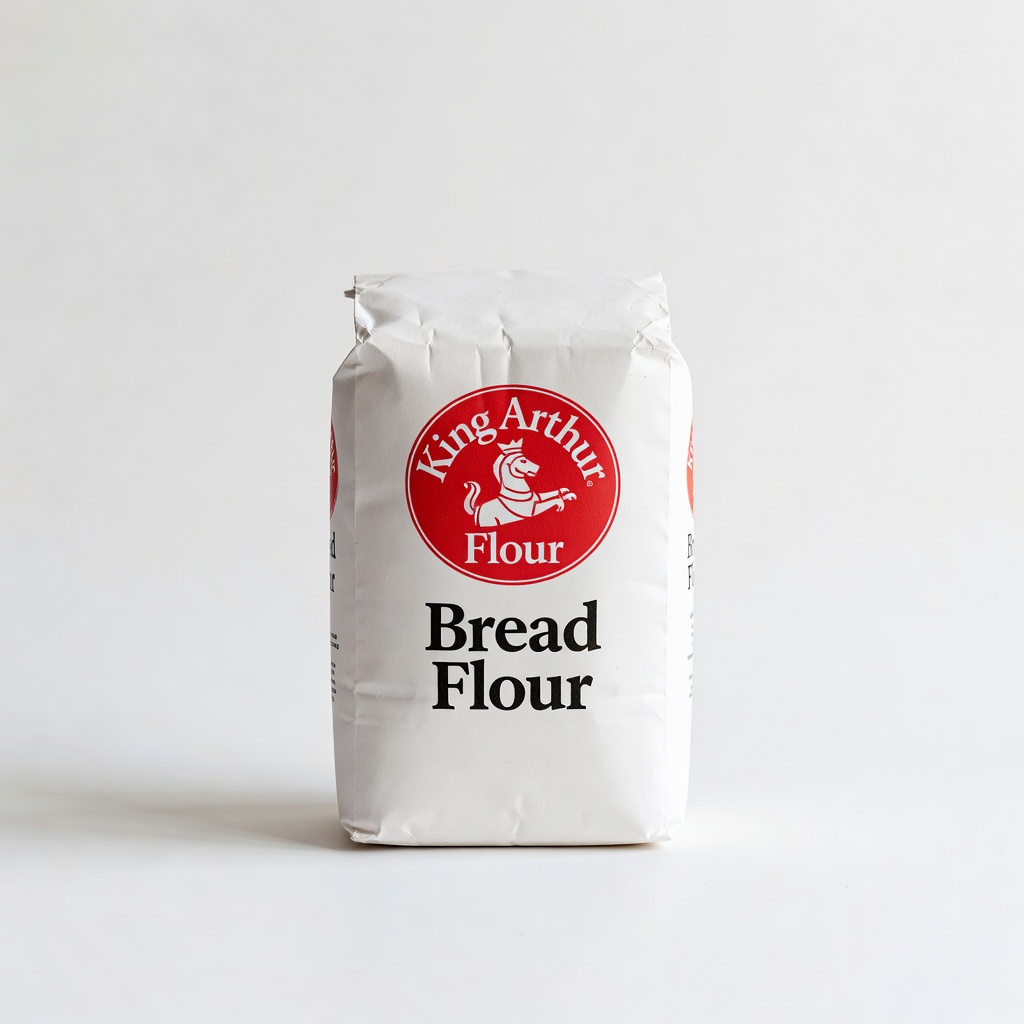
King Arthur Flour Bread Flour
High-protein (12.7%) flour develops strong gluten for open crumb and structure in sourdough.
Best for: Substitute for generic flour in the recipe for reliable fermentation and texture.
Price Range: $8.95 for 5lb bag
Uline Dough Scraper
Stainless steel edge cuts and lifts sticky dough cleanly, reducing mess during folds and shaping.
Best for: Handy for bulk fermentation and transfers without deflating the dough.
Price Range: $5.99