Losing important files due to a computer crash, virus, or accidental deletion can be devastating. A reliable backup strategy is your safety net. This guide walks you through backing up your entire computer to an external drive – the simplest and most cost-effective way to protect your data. You'll learn how to choose the right drive, set up backup software, and verify your backups. The process takes less than an hour to set up, and then runs automatically. Whether you're a Windows or Mac user, these steps will help you create a secure copy of your files.
▸What You'll Need
- •An external hard drive or SSD (at least 1.5x the size of your important data)
- •A USB cable (usually included with the drive)
- •A computer running Windows, macOS, or Linux
- •Backup software (built-in or third-party, see steps)
- •Optional: cloud backup service for off-site protection
Estimated Time: 30–60 minutes initial setup; then automatic daily backups
Difficulty: beginner
▸Step-by-Step Instructions
Step 1: Choose and Connect Your External Drive
Select an external drive with enough capacity. A good rule of thumb is at least 1.5 times the space of the data you want to back up. For most users, a 1TB to 4TB drive is sufficient. Connect the drive to your computer via USB (USB 3.0 or faster is recommended for speed). If it's a new drive, it may need to be formatted. Windows uses NTFS, Mac uses APFS or HFS+. Most drives come pre-formatted for Windows. For Mac, you may need to use Disk Utility to format the drive as APFS (for macOS Sierra and later) or Mac OS Extended (HFS+).
💡 Tips:
- •Use a USB 3.0 or USB-C drive for faster transfers.
- •Label the drive clearly (e.g., 'Backup Drive').
⚠️ Warnings:
- •Do not disconnect the drive during backup or formatting; you may lose data.
Step 2: Choose Your Backup Software
Most operating systems include free backup tools. Windows has File History (for files) and Backup and Restore (for system images). Mac has Time Machine. For more features (like full disk imaging or incremental backups), consider third-party software such as Acronis True Image, EaseUS Todo Backup, or Macrium Reflect. Decide what you need: file-level backup (documents, photos) or a full system image (entire drive clone). Beginners often start with the built-in tools.
💡 Tips:
- •For Windows, File History is easiest for files but doesn't back up programs or system settings.
- •Time Machine on Mac includes everything and is the most user-friendly.
⚠️ Warnings:
- •Free third-party tools may have limitations; always read the fine print.
Step 3: Configure Windows File History (Windows 10/11)
Connect your external drive. Open Settings > Update & Security > Backup. Click 'Add a drive' and select your external drive. Then click 'More options' to customize: choose backup frequency (every hour is default), how long to keep backups, and which folders to include. File History automatically backs up libraries, desktop, contacts, and favorites. You can add or exclude custom folders. Once configured, click 'Back up now' to start.
💡 Tips:
- •Add folders like 'Downloads' and 'Documents' if they are not already included.
- •For system image backup, use Backup and Restore (Windows 7) in Control Panel.
⚠️ Warnings:
- •File History does not back up program files or the operating system. For a full restore after a crash, you'll need a system image.
Step 4: Configure Mac Time Machine
Connect your external drive. If prompted, click 'Use as Backup Disk'. If not, go to System Preferences > Time Machine > Select Backup Disk. Choose the drive and check 'Back Up Automatically'. Time Machine will create hourly backups for the past 24 hours, daily for the past month, and weekly for all previous months. You can exclude items by clicking Options and adding folders. The first backup may take hours; subsequent ones are faster.
💡 Tips:
- •Time Machine works best with a dedicated drive; it will warn you when the drive is full and delete old backups.
- •Encrypt the backup in Time Machine settings for security.
⚠️ Warnings:
- •Do not disconnect the drive during the initial backup; it may corrupt the backup.
Step 5: Run the First Backup
After configuration, start the first backup. For Windows File History, click 'Back up now' under Backup options. For Mac Time Machine, click 'Back Up Now' from the menu bar icon. The first backup copies all selected data, so it will take time depending on file size and connection speed. Leave your computer plugged in and the drive connected. You can continue using your computer, but avoid heavy tasks to speed up the process.
💡 Tips:
- •Perform the first backup overnight or when you won't need the computer.
- •Check the backup progress in Task Manager (Windows) or Activity Monitor (Mac).
⚠️ Warnings:
- •If the backup stops, check for drive errors or low disk space.
- •Do not shut down or sleep the computer during backup.
Step 6: Verify Your Backup
Once the backup completes, it's crucial to verify it. For Windows File History, open the File History drive and check if files are present. You can also restore a test file to ensure it opens correctly. For Mac Time Machine, enter Time Machine (click its icon and 'Enter Time Machine') and browse through previous dates. Select a file and click 'Restore' to confirm functionality. For third-party tools, they often have a 'Verify' button.
💡 Tips:
- •Keep a second backup (e.g., cloud) as a double-check.
- •Test restoring a few different file types (documents, photos).
⚠️ Warnings:
- •A failed verification means your backup is not reliable. Re-run the backup or troubleshoot the drive.
Step 7: Automate Future Backups
Set your backup schedule to run automatically. Windows File History backs up every hour by default. Mac Time Machine runs every hour when the drive is connected. You can adjust frequency in settings. Leave the external drive connected (or at least plug it in regularly). For laptops, consider setting the backup to run when plugged into power to avoid battery drain.
💡 Tips:
- •Use a drive with a large capacity so you don't have to manage space often.
- •If you use a laptop, set a reminder to connect the drive weekly.
⚠️ Warnings:
- •If you disconnect the drive for a long time, some backups are missed; the next backup will catch up.
Step 8: Perform a Restore Test
To ensure your backup works, try restoring a file. On Windows, go to the File History drive, find a file, right-click, and select 'Restore'. Or use the Restore your files with File History tool. On Mac, enter Time Machine, find a file, and click 'Restore'. For system image restores, boot from a recovery drive and follow prompts. Regular restore tests confirm your backup is not corrupt.
💡 Tips:
- •Test restoring to a different folder to avoid overwriting the original.
- •Do this at least once every few months.
⚠️ Warnings:
- •If restore fails, your backup may be incomplete. Re-run the backup or consider a different software.
Step 9: Maintain Your Backup Drive
External drives can fail. Periodically check the health of your backup drive. Windows: use CHKDSK or CrystalDiskInfo. Mac: use Disk Utility First Aid. Keep the drive in a cool, dry place. Replace the drive every 3–5 years or if it shows signs of failure (noise, slow performance, errors). Also, consider a second backup to the cloud or another drive for critical files.
💡 Tips:
- •Label the drive with its purchase date and size.
- •Use a surge protector to protect against power spikes.
⚠️ Warnings:
- •Do not use the backup drive for daily file storage; it increases wear and risk of data loss.
▸Pro Tips
- •Use an SSD external drive for faster backups and more durability (especially for laptops).
- •Enable encryption on your backup drive (BitLocker on Windows, FileVault on Mac) to protect sensitive data if the drive is lost.
- •Keep a second backup off-site (cloud or another location) to protect against theft, fire, or natural disasters.
- •If you have a lot of large files (videos, photos), consider a backup tool that offers incremental backups to save time and space.
- •For Windows users, the built-in Backup and Restore (Windows 7) creates system images that allow full recovery including operating system.
- •Label your backup drive with the date of the last full backup to easily track freshness.
- •Use a powered USB hub if connecting multiple drives to avoid power issues.
▸Common Mistakes to Avoid
- •Backing up to the same physical drive as your data (e.g., only saving to a second partition on the same internal drive). This does not protect against drive failure.
- •Not testing the backup. Many users assume backups work until a disaster hits. Always verify.
- •Using a USB hub that doesn't supply enough power, causing the backup to fail or corrupt data.
- •Forgetting to plug in the drive regularly. Automated backups only happen when the drive is connected.
- •Overwriting old backups without keeping at least one version of critical files. Use versioned backup (File History, Time Machine) to recover from ransomware or accidental changes.
▸Troubleshooting
Problem: Backup fails or stops mid-way.
Solution: Check drive connection: try a different USB port or cable. Verify drive health using CHKDSK (Windows) or Disk Utility (Mac). Ensure the drive has enough free space. Restart the computer and try again.
Problem: Backup is extremely slow.
Solution: First backup of a large amount of data takes time. After that, incremental backups are faster. If still slow, check for USB 2.0 vs 3.0: connect to a blue (USB 3.0) port. Close other programs using the drive.
Problem: Drive not recognized or not showing up.
Solution: On Windows, open Disk Management and assign a drive letter. On Mac, open Disk Utility and mount the drive. If still not seen, try a different computer to isolate the issue. The drive may be faulty.
Problem: Time Machine says the backup disk is not available.
Solution: Reconnect the drive. Go to Time Machine preferences, check the disk is selected. If it's a network drive, ensure the computer is on the same network. Sometimes necessary to re-add the disk.
Problem: Cannot restore files from backup.
Solution: If using File History, navigate to the backup drive and manually copy files. For Time Machine, ensure you're not trying to restore from a newer version if the file doesn't exist. Check that the backup is not corrupted: run disk utility on the backup drive.
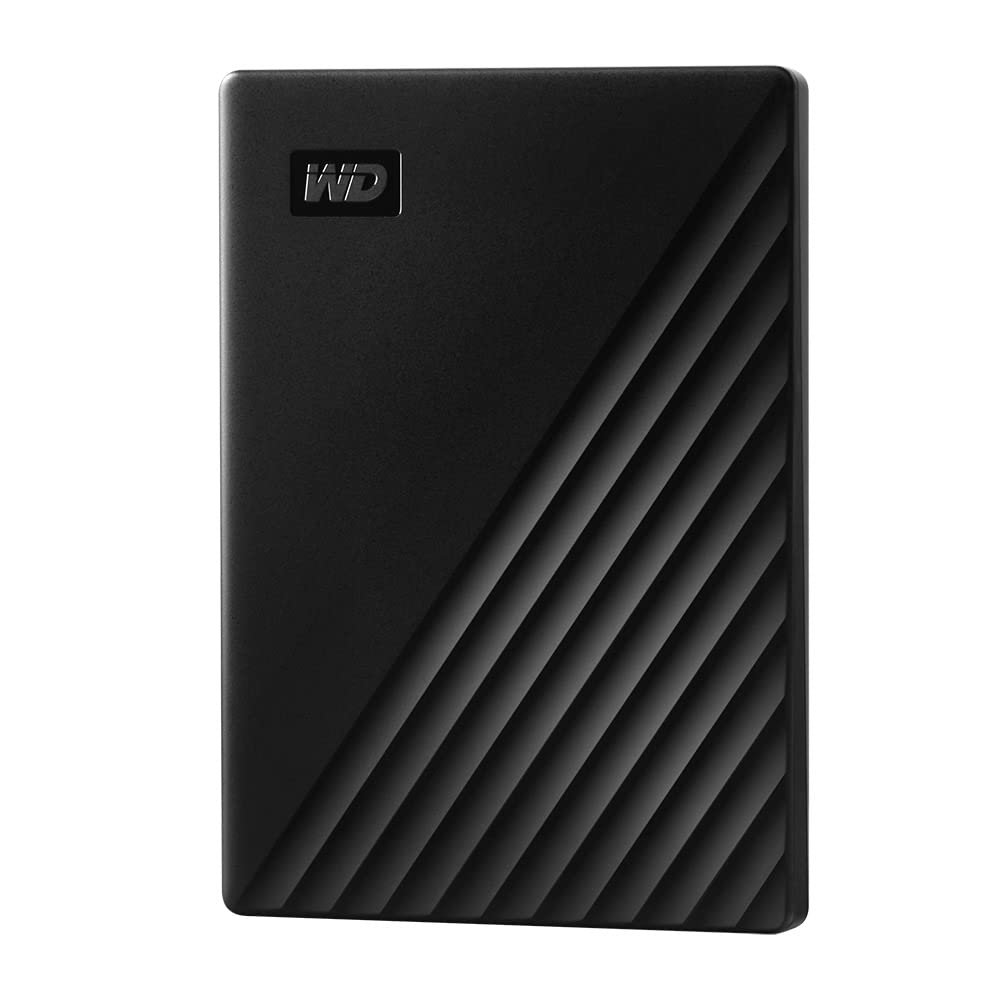
WD My Passport Portable External Hard Drive
Reliable, affordable, and available in capacities from 1TB to 5TB. Comes with backup software and hardware encryption.
Best for: Ideal for Windows and Mac file backups via File History or Time Machine.
Price Range: $50–$150
Samsung T7 Portable SSD
Fast read/write speeds (up to 1050 MB/s) for quick backups, durable and compact. Great for frequent backups and on-the-go use.
Best for: Best for users who want speed and portability; perfect for backing up large video or photo libraries.
Price Range: $70–$300
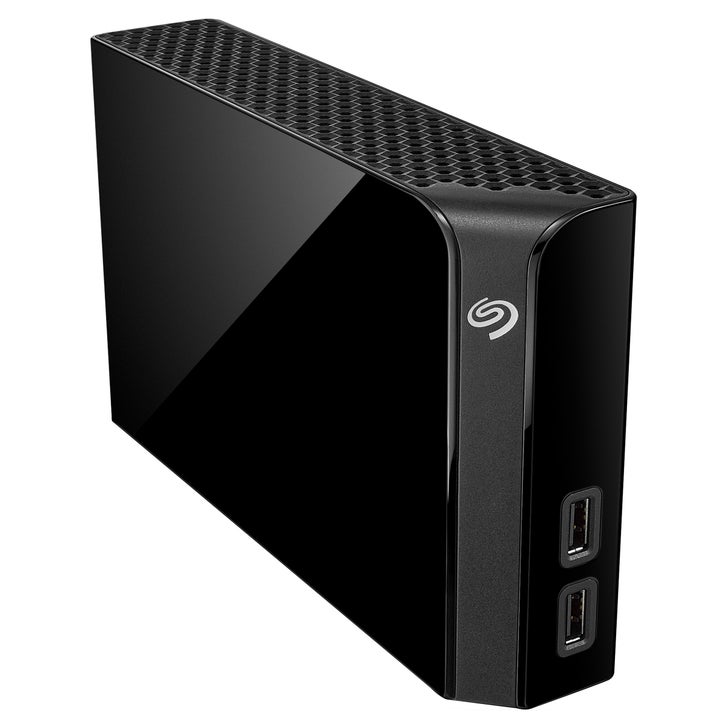
Seagate Backup Plus Hub External Hard Drive
Desktop drive with large capacities (4TB–10TB), built-in USB hub for charging devices. Good for whole-house backups.
Best for: Best for a stationary backup setup for a desktop computer or as a central backup for multiple devices.
Price Range: $100–$250
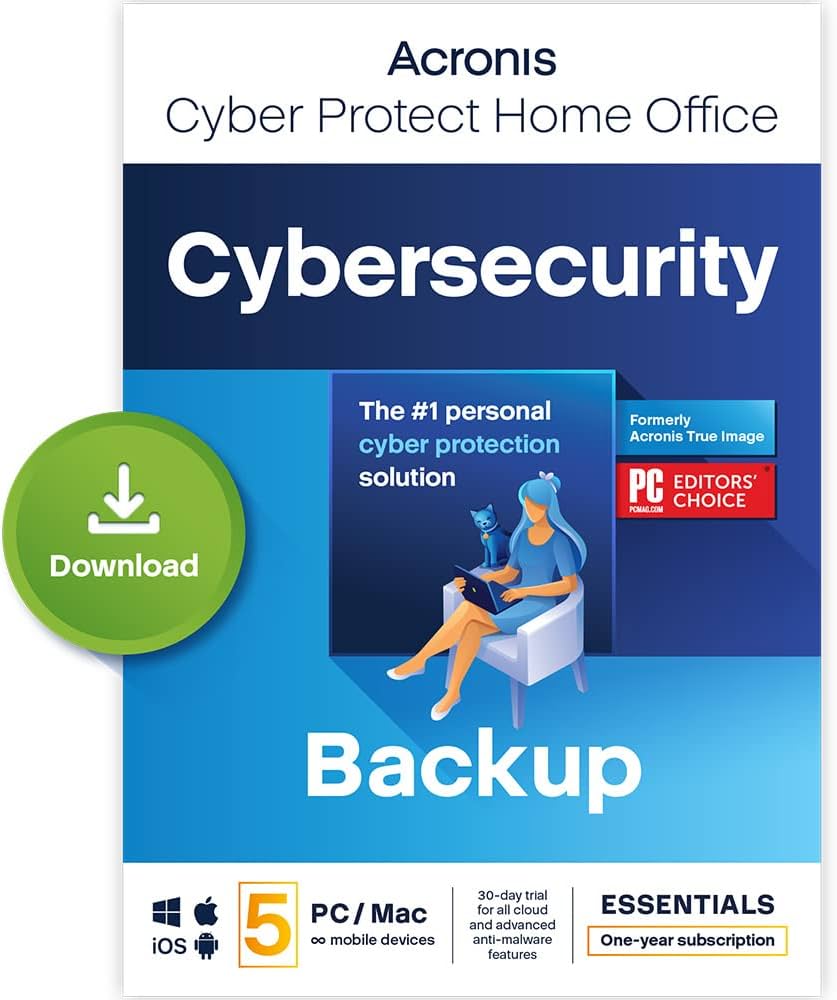
Acronis Cyber Protect Home Office (formerly True Image)
Comprehensive backup software with full disk imaging, cloud backup option, and anti-ransomware. Supports Windows and Mac.
Best for: Ideal for users who want more than basic backup, including system image and hybrid local/cloud backup.
Price Range: $50–$100 per year
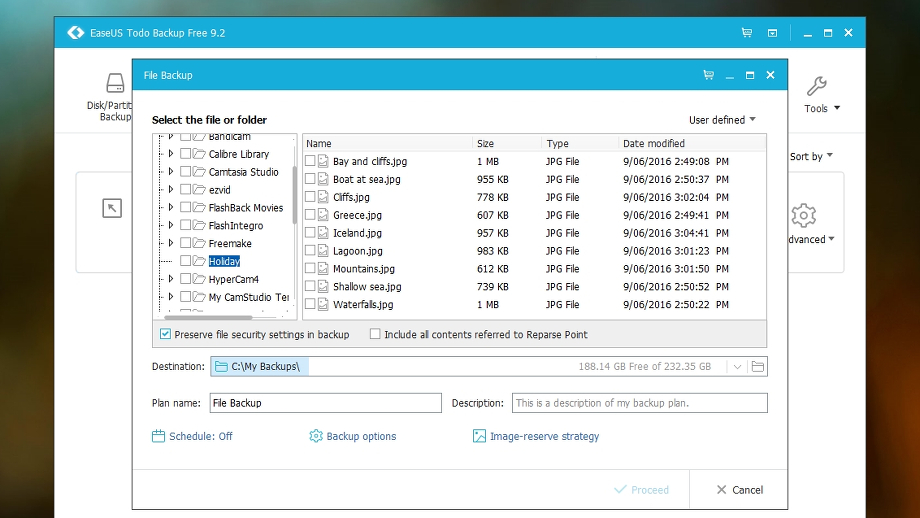
EaseUS Todo Backup Free
Free version supports file backup, disk imaging, and scheduled backups. Easy-to-use interface for beginners.
Best for: Great free alternative for Windows users who want more control than File History but without cost.
Price Range: Free (paid versions from $29.95)