
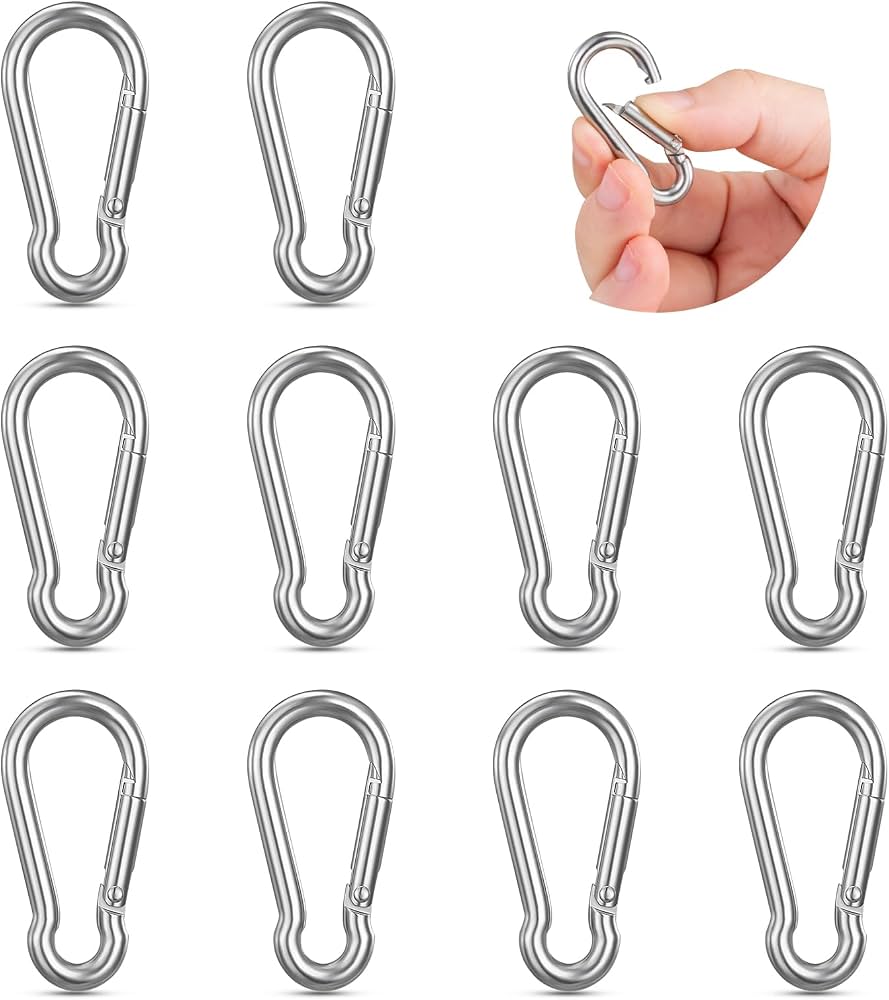
SAVITA 10 Pack Mini Carabiner Clips Stainless Steel
Everyday keys on backpacks or purses.
$9.99
SAVITA 10 Pack Mini Carabiner Clips Stainless Steel Affordable, rust-proof pack with spring gates perfect for beginners testing multiple bags.
Get the App
Better experience on mobile
Master simple steps to securely attach carabiners to your bags in under 10 minutes, keeping keys and gear safe and accessible.
Ever had your keys slip off your bag loop or a carabiner pop open unexpectedly? Loose attachments can lead to lost items and frustration on the go. This guide solves that by teaching you how to attach keychain carabiners securely to any bag with loops, D-rings, or straps.
You'll learn beginner-friendly, step-by-step methods for different carabiner types, ensuring a rock-solid hold. Whether for backpacks, purses, or totes, these techniques prevent accidents and add organization.
The process takes 5-10 minutes, requires no special tools, and works on most bags. By the end, your carabiner will withstand daily tugs without failing.
Estimated Time: 5-10 minutes Difficulty: beginner
Select a carabiner suited for keychains: mini size (1-2 inches), aluminum or stainless steel for durability, and either spring-gate (quick snap) or screw-gate (more secure). Avoid climbing carabiners as they're overkill and bulky.
Why it matters: The right size ensures it fits bag loops without dangling loosely, reducing snag risks.
Expect a lightweight clip that matches your bag's style. Test the gate mechanism before buying.
💡 Tips:
⚠️ Warnings:
Locate a strong loop, D-ring, or double-stitched webbing on your bag. Tug it firmly to ensure it's securely sewn—no fraying or loose threads.
Why it matters: A weak point can fail, causing the whole setup to detach.
Success looks like a rigid, non-stretchy anchor point ready for clipping.
💡 Tips:
⚠️ Warnings:
For spring-gate: Pinch the gate with thumb and forefinger to swing it open. For screw-gate: Twist the sleeve counterclockwise fully.
Why it matters: Proper opening prevents bending the gate over time.
The gate should open smoothly 90 degrees without excessive force.
💡 Tips:
⚠️ Warnings:
Slide the open gate through the bag's loop or D-ring, ensuring the carabiner body (not just the gate) captures the fabric fully.
Why it matters: Full enclosure prevents accidental pop-out during movement.
Expect the loop to sit snugly inside the carabiner's U-shape.
💡 Tips:
Release the spring-gate (it snaps shut) or screw clockwise until hand-tight plus a quarter turn. Tug sharply to confirm it latches.
Why it matters: Incomplete closure is the top failure cause.
Success: No gap, and it withstands a firm yank without opening.
💡 Tips:
⚠️ Warnings:
Shake the bag vigorously, then hang 5-10 lbs (like keys) and swing it. Check for movement or gate play.
Why it matters: Simulates real-world use to catch issues early.
It should hold firm with zero slippage.
💡 Tips:
Open the gate again, clip on keyrings, bottle openers, or lights, then relock.
Why it matters: Finalizes the setup for daily utility.
Your bag now has organized, dangling-free access.
💡 Tips:
Problem: Gate won't stay closed
Solution: Clean debris with a brush; replace if spring is bent. For screws, check threads.
Problem: Slips off during use
Solution: Re-thread fully and test with weight. Switch to screw-gate type.
Problem: Bag loop tears
Solution: Reinforce with duct tape temporarily; sew or use a different point.
Affordable, rust-proof pack with spring gates perfect for beginners testing multiple bags.
Best for: Everyday keys on backpacks or purses.
Price Range: $9.99
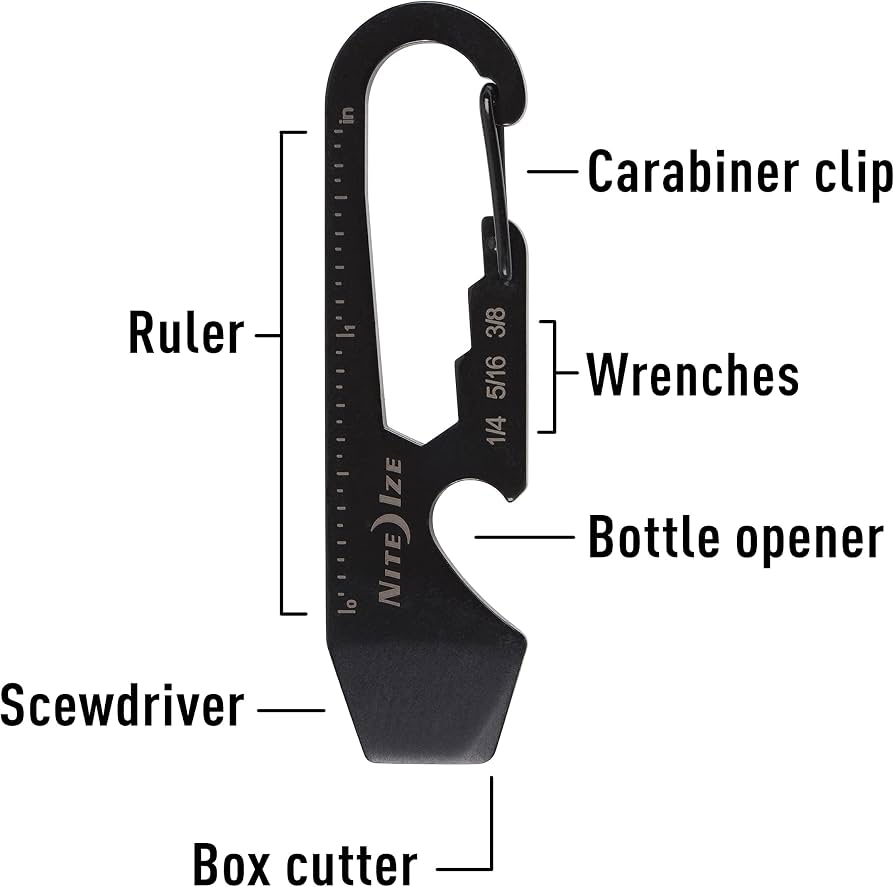
Compact with bottle opener; durable aluminum locks securely for heavy use.
Best for: Multi-tool needs like travel bags.
Price Range: $4.99
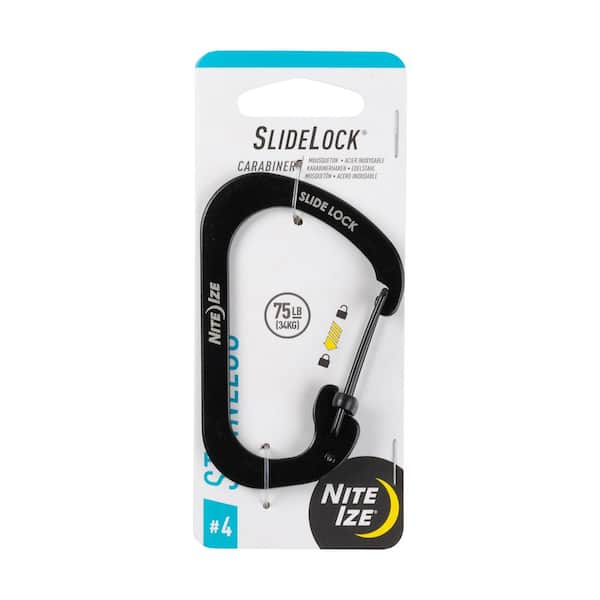
Patented locking slider prevents accidental opens; ideal for active lifestyles.
Best for: Gym bags or hiking packs with frequent jostling.
Price Range: $5.49
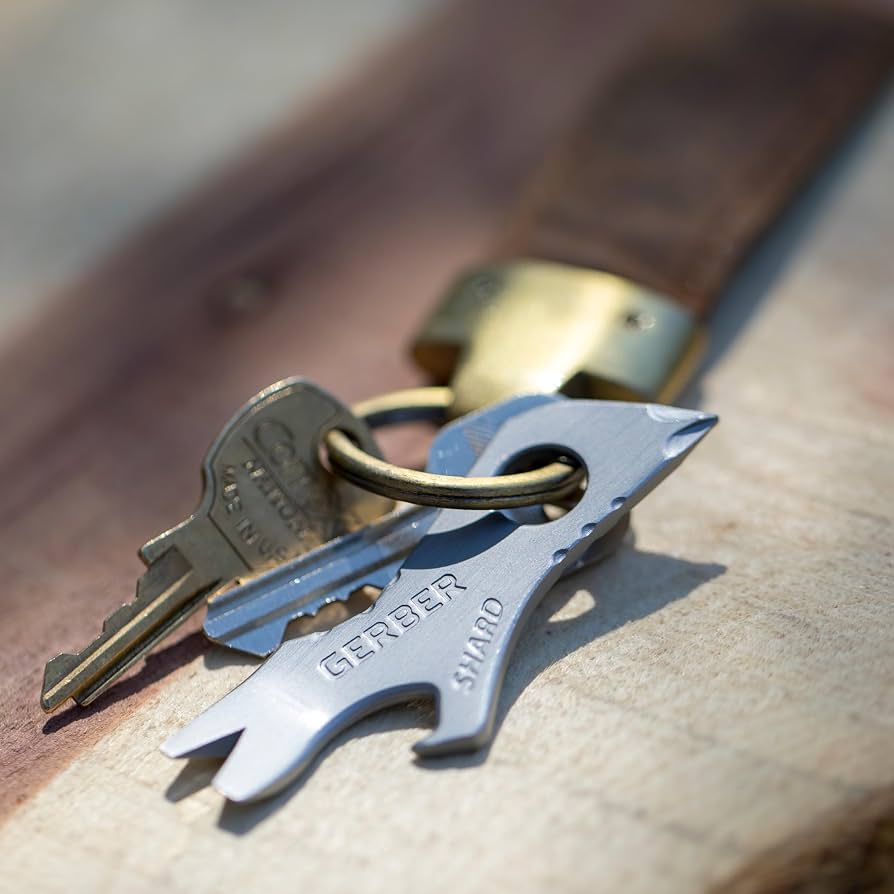
All-in-one tool (wrench, pry bar) with sturdy clip; adds utility beyond holding.
Best for: EDC bags needing tools.
Price Range: $7.99
Ultra-mini titanium build for premium feel; screw-lock for max security.
Best for: Designer purses or minimalist setups.
Price Range: $19.99
Everyday keys on backpacks or purses.
SAVITA 10 Pack Mini Carabiner Clips Stainless Steel Affordable, rust-proof pack with spring gates perfect for beginners testing multiple bags.
Multi-tool needs like travel bags.
Nite Ize DoohicKey Mini Carabiner Key Tool Compact with bottle opener; durable aluminum locks securely for heavy use.
Gym bags or hiking packs with frequent jostling.
Nite Ize SlideLock Carabiner Patented locking slider prevents accidental opens; ideal for active lifestyles.
EDC bags needing tools.
Gerber Shard Keychain Tool with Carabiner All-in-one tool (wrench, pry bar) with sturdy clip; adds utility beyond holding.
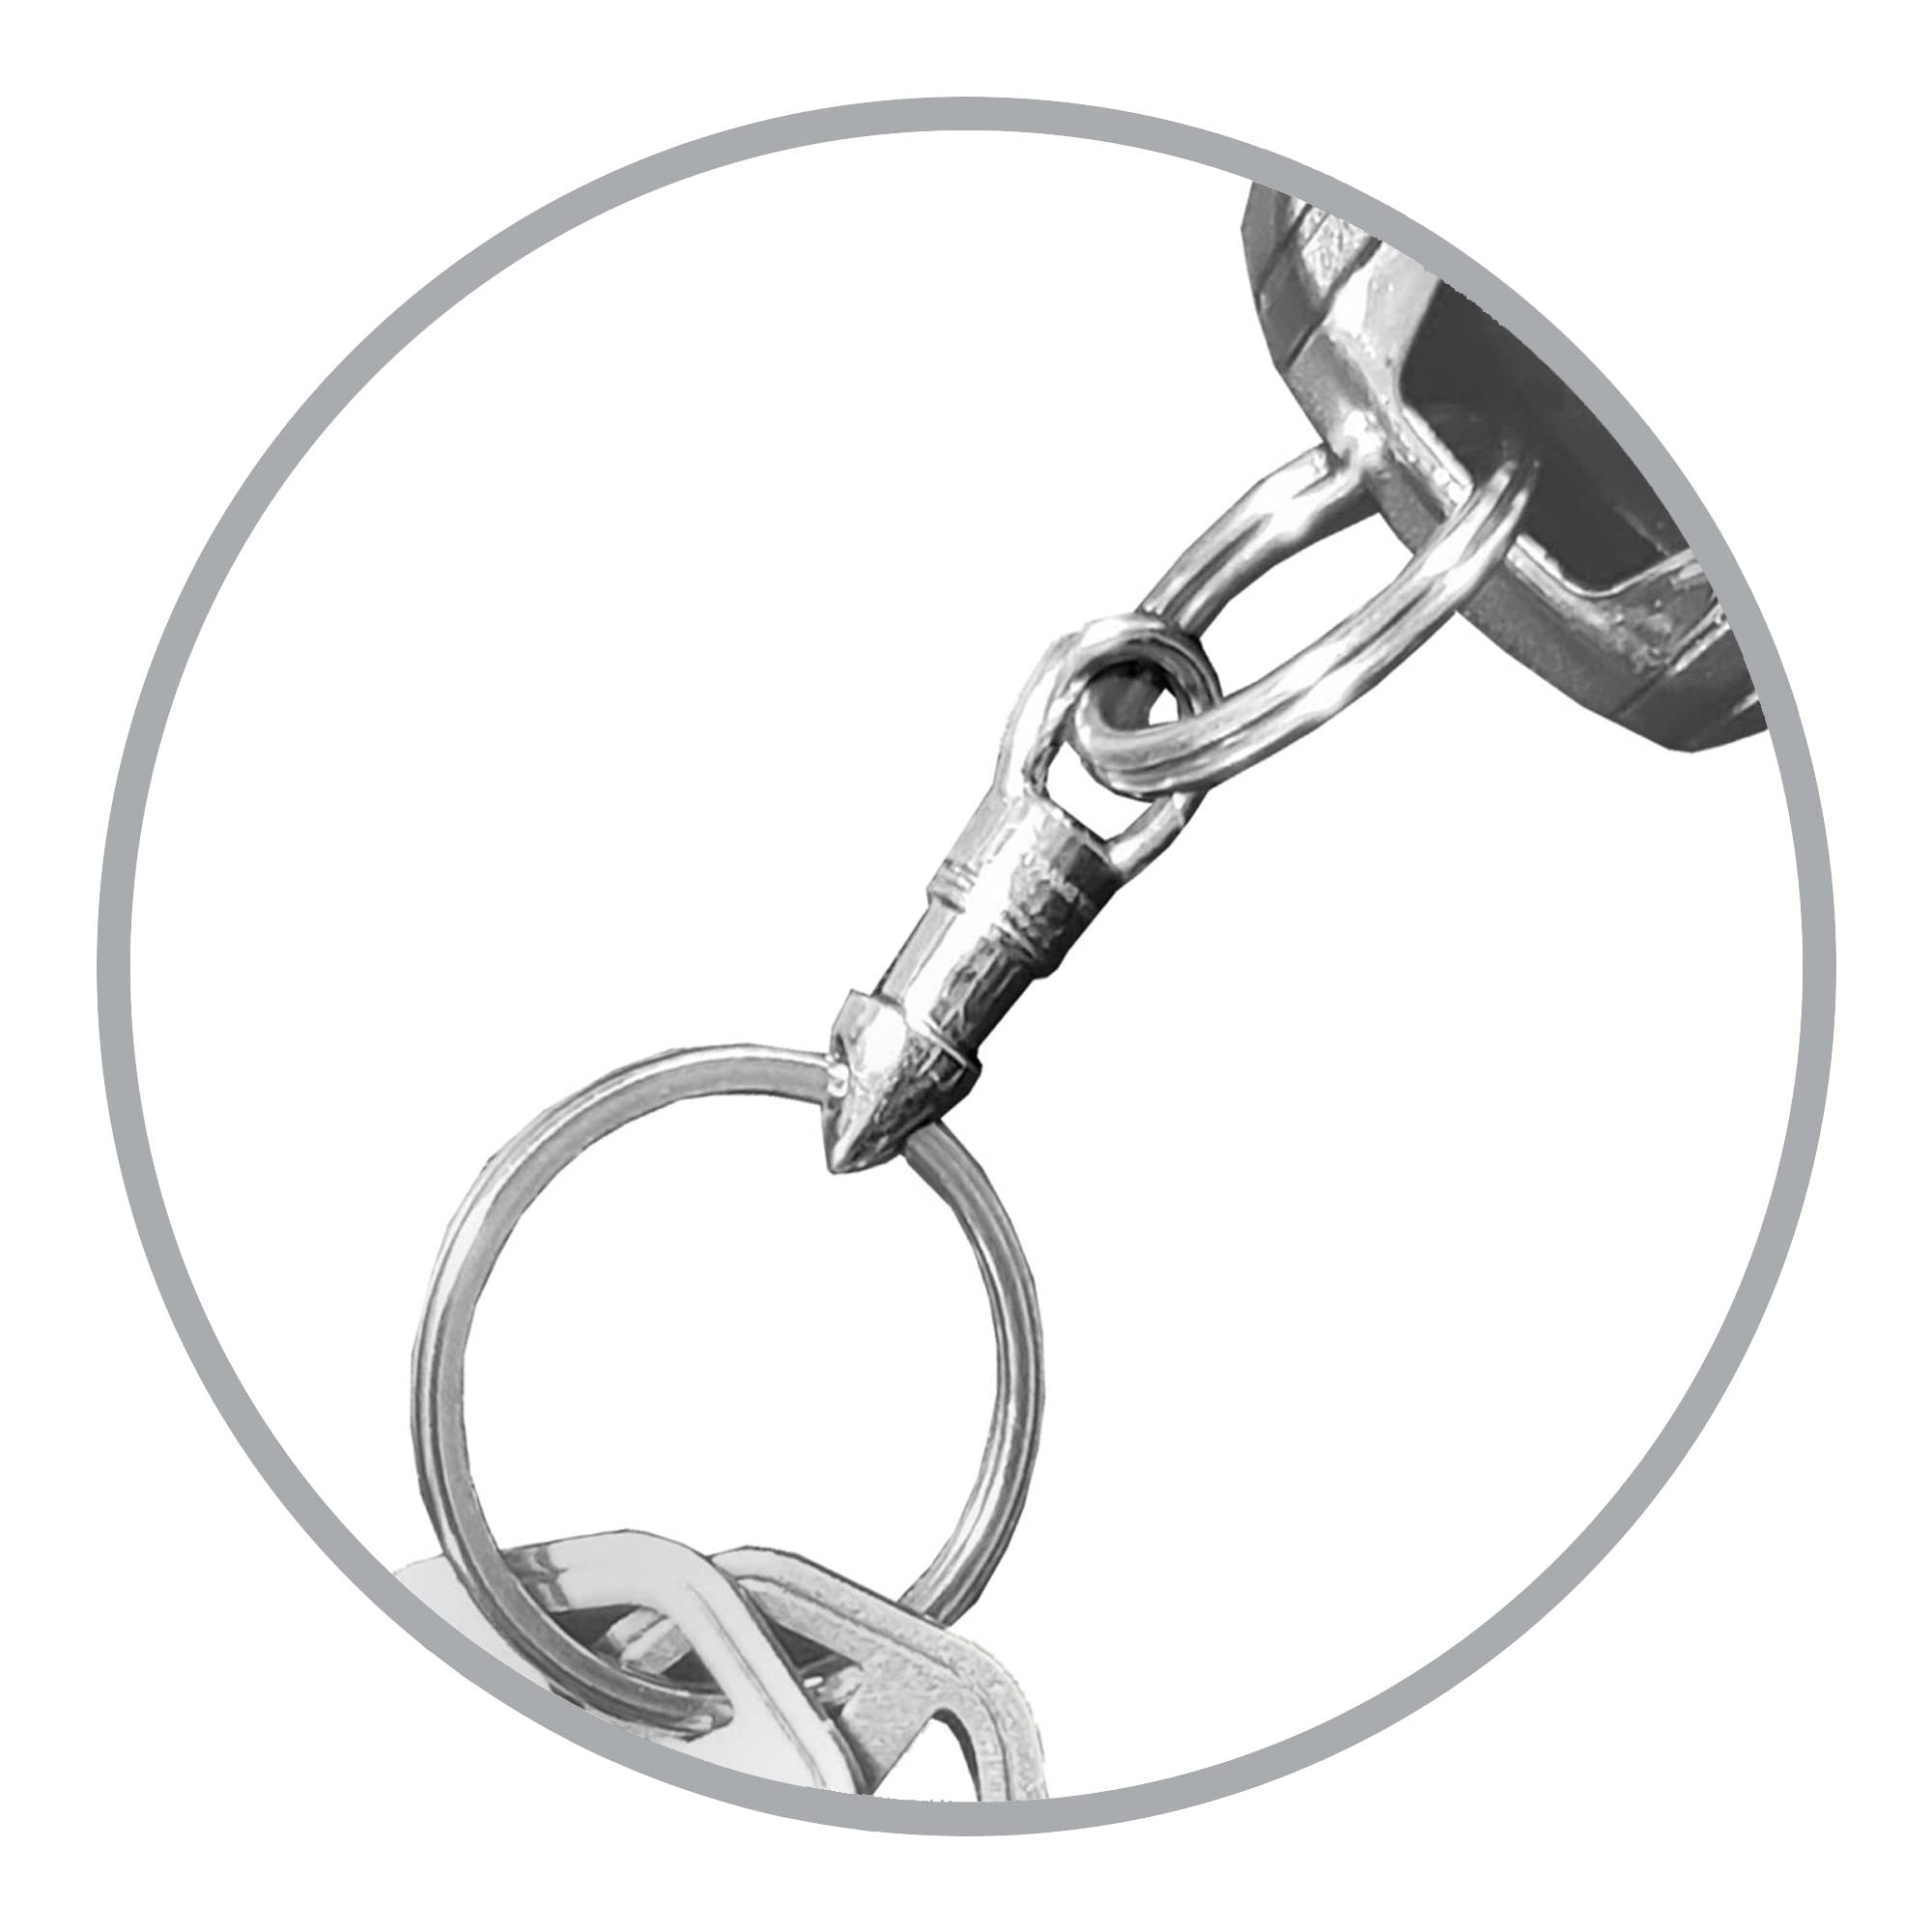
Designer purses or minimalist setups.
KeySmart Nano Carabiner Ultra-mini titanium build for premium feel; screw-lock for max security.