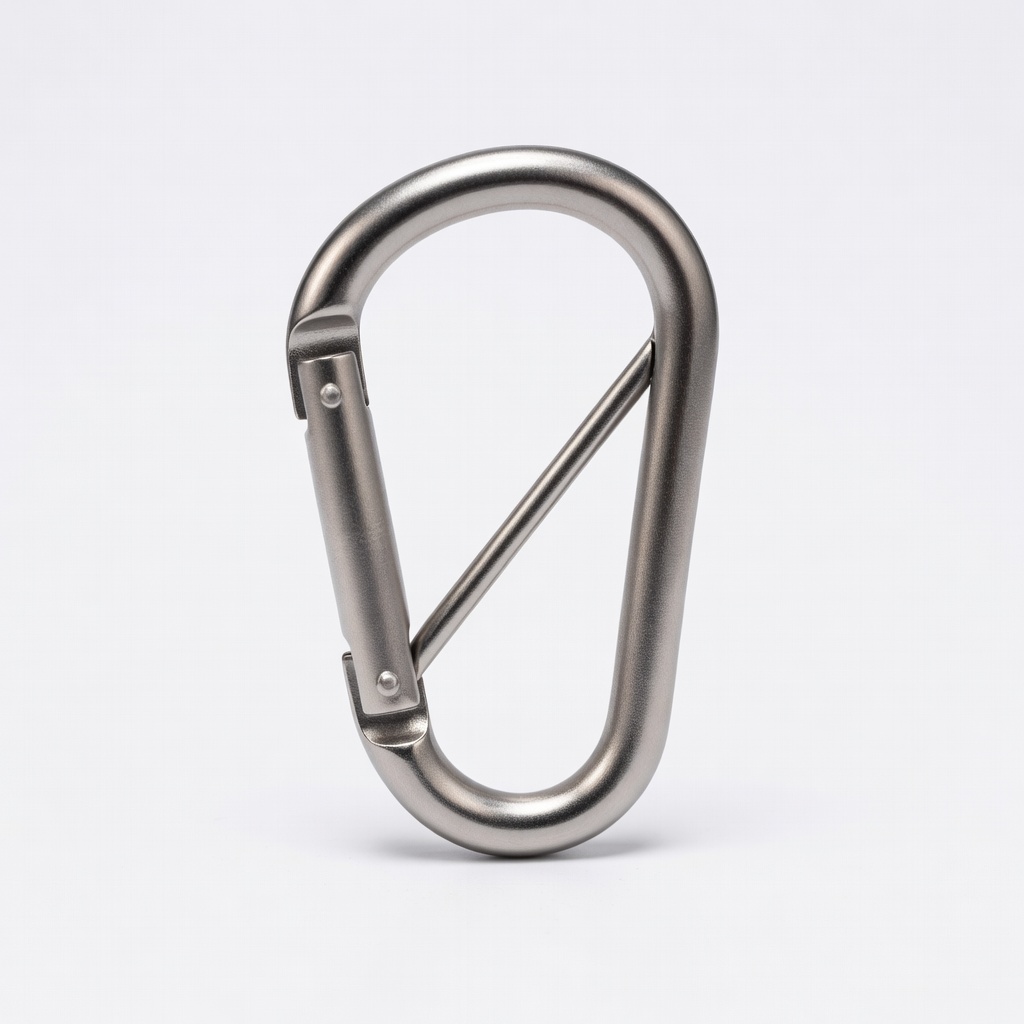
Nite Ize S-Biner #4 Stainless Steel
Everyday backpack attachments like keys or lights; holds up to 35 lbs.
$5.49
Nite Ize S-Biner #4 Stainless Steel Durable dual-hook design grips loops securely without slipping; rust-proof for all weather.
Get the App
Better experience on mobile
Master simple steps to clip carabiners onto your backpack for hassle-free access to keys, bottles, and gear in under 10 minutes.
Ever fumbled for your keys at the door or wished your water bottle was easier to grab on the go? Attaching carabiners to your backpack solves this by providing quick, secure spots for accessories. It's a game-changer for hikers, commuters, and students who want organized, hands-free carrying.
In this beginner-friendly guide, you'll learn proven methods to attach accessory carabiners safely to backpack loops or straps. We'll cover choosing the right spot, threading techniques, and testing for security—no tools required. Expect rock-solid attachments that withstand daily use.
The whole process takes just 5-10 minutes per carabiner. No prior experience needed; follow along and upgrade your backpack setup today!
Estimated Time: 5-10 minutes per carabiner Difficulty: beginner
Choose a lightweight accessory carabiner made of aluminum or stainless steel, sized 2-4 inches for backpacks. Avoid heavy climbing carabiners as they're overkill and add weight.
Why it matters: Proper size ensures it fits backpack loops without slipping or damaging fabric. Expect a smooth-opening gate (spring-loaded or screw-lock) for easy use.
Pro tip: Opt for locking gates for extra security on high-movement areas.
💡 Tips:
⚠️ Warnings:
Locate sturdy loops, MOLLE webbing, daisy chains, or reinforced straps on your backpack—shoulder straps, side panels, or bottom edges work best.
Test by tugging firmly; good spots won't stretch or tear. This prevents future failures during use.
Success looks like a rigid, double-stitched loop at least 0.5 inches wide.
💡 Tips:
⚠️ Warnings:
Press the gate release (thumb tab on spring-loaded) or twist the screw-lock counterclockwise. Hold it fully open.
Why: Clean opening prevents scratching backpack material. Expect a satisfying 'click' on quality models.
💡 Tips:
Insert the open gate through the backpack loop from the outside, then pass the carabiner body through the gate.
Pull the loop fully onto the carabiner spine (straight side). This creates a secure girth hitch-like hold.
What to expect: Loop sits snugly without twisting.
💡 Tips:
⚠️ Warnings:
Release the gate to snap shut, or screw clockwise until hand-tight (3-5 full turns for screw-locks).
Inspect: No gap between gate and body; it shouldn't wiggle.
This step ensures nothing accidentally unclips during motion.
💡 Tips:
Yank downward/upward with moderate force (5-10 lbs), then shake the backpack. Repeat 5-10 times.
Success: Zero movement or noise. If it shifts, re-thread or choose a better loop.
Why test: Simulates real-world jostling like running or biking.
💡 Tips:
⚠️ Warnings:
Clip keys, water bottle, headlamp, or trash bag to the carabiner gate.
Balance weight evenly. Done—enjoy quick access!
Final check: All secure after full backpack load.
Problem: Carabiner slips off loop
Solution: Re-thread with a double loop or switch to thicker webbing. Use locking type.
Problem: Gate won't stay closed
Solution: Clean debris; replace if spring is weak. Tighten screw-lock fully.
Problem: Damages backpack fabric
Solution: Pad sharp edges with tape or choose smoother aluminum models. No jagged tools.
Problem: Too heavy/bulky
Solution: Downsize to mini carabiners (1-2 inches) for light duty.
Durable dual-hook design grips loops securely without slipping; rust-proof for all weather.
Best for: Everyday backpack attachments like keys or lights; holds up to 35 lbs.
Price Range: $5.49
Lightweight, colorful pack offers value; quick-release gates for easy on/off.
Best for: Multiple small items on student or commuter backpacks; budget-friendly starter set.
Price Range: $8.99
Patented locking slider prevents accidental opens; integrated bottle opener adds utility.
Best for: Active users (hiking, biking) needing tamper-proof hold for bottles or gear.
Price Range: $6.49
Heavy-duty steel for rough use; snaps shut reliably under tension.
Best for: Outdoor backpacks carrying tools or wet gear; high-strength alternative.
Price Range: $12.99
Everyday backpack attachments like keys or lights; holds up to 35 lbs.
Nite Ize S-Biner #4 Stainless Steel Durable dual-hook design grips loops securely without slipping; rust-proof for all weather.
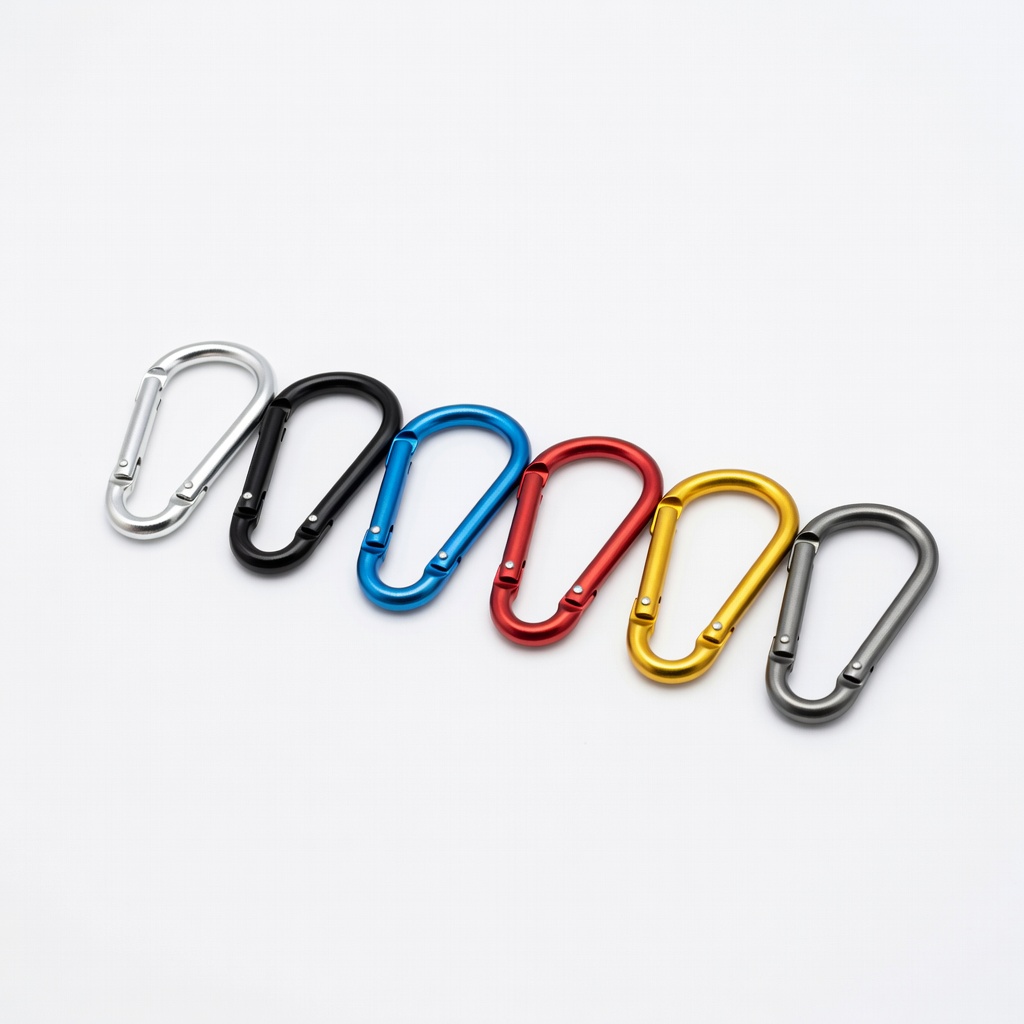
Multiple small items on student or commuter backpacks; budget-friendly starter set.
Apening 6 Pack Mini Aluminum Carabiner Clips Lightweight, colorful pack offers value; quick-release gates for easy on/off.
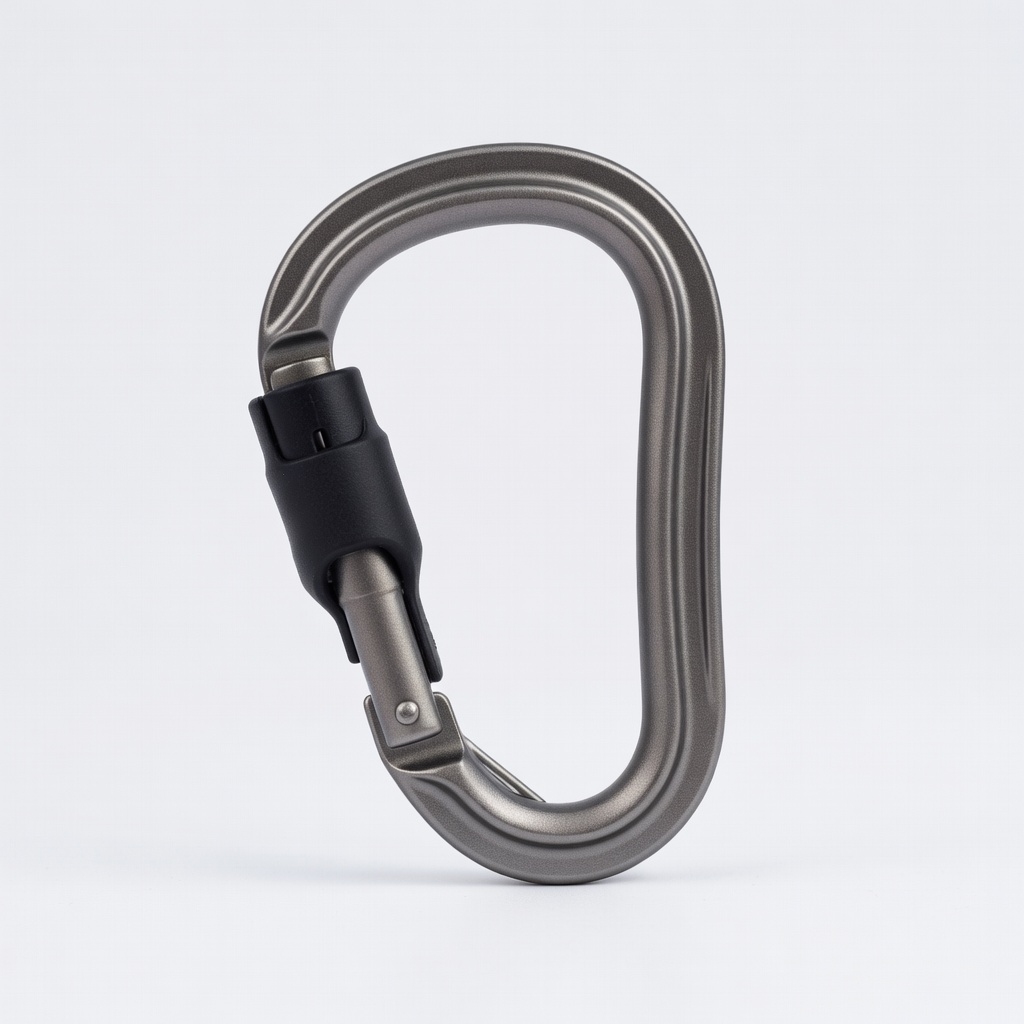
Active users (hiking, biking) needing tamper-proof hold for bottles or gear.
Nite Ize SlideLock Carabiner Patented locking slider prevents accidental opens; integrated bottle opener adds utility.
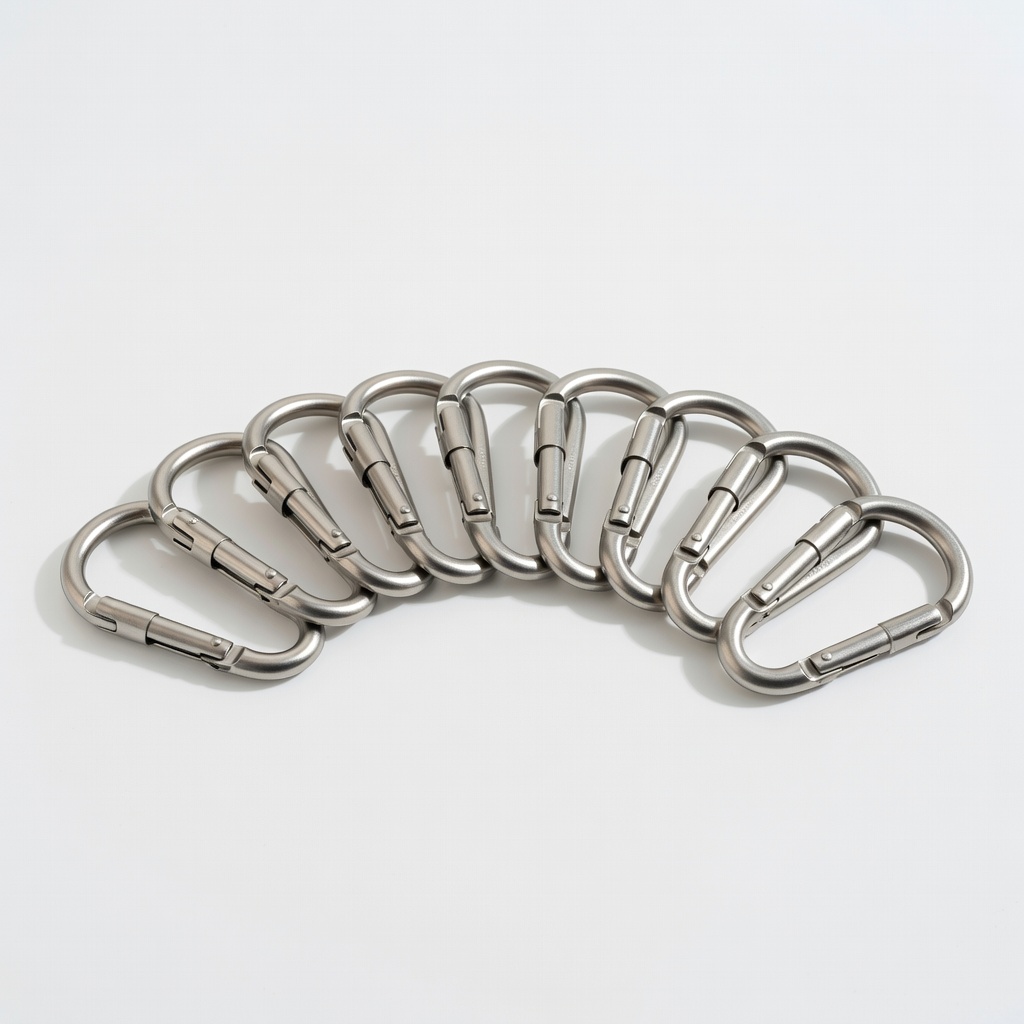
Outdoor backpacks carrying tools or wet gear; high-strength alternative.
RAYNIC 10 Pack Steel Spring Carabiner Clips Heavy-duty steel for rough use; snaps shut reliably under tension.