Nothing ruins the look of your stylish accent chair or table faster than wobbly legs. Whether you're assembling new furniture or upgrading old pieces, securely attaching legs prevents tipping, extends lifespan, and keeps your space safe. This guide fixes that common DIY headache.
You'll learn a foolproof step-by-step process to attach screw-in or plate-mounted legs, perfect for beginners. We'll cover preparation, tools, and checks to ensure rock-solid results. Expect professional-level stability without the hassle.
Total time: 20-30 minutes. Difficulty: Beginner. No prior experience required—just follow along for success.
▸What You'll Need
- •Accent furniture legs (screw-in or plate-mounted, matching your furniture size)
- •Phillips or flathead screwdriver (matching screw type)
- •Power drill (optional but recommended for pilot holes)
- •Drill bits (size matching leg screws, e.g., 1/8-inch)
- •Level (magnetic mini level for accuracy)
- •Pencil or marker for marking
- •Clean cloth and wood glue (optional for extra security)
- •Thread locker (optional, like Loctite for metal screws)
Estimated Time: 20-30 minutes
Difficulty: beginner
▸Step-by-Step Instructions
Step 1: Gather Your Materials and Tools
Start by laying out all items on a flat workspace. Check your furniture legs package for instructions—most accent legs are 4-6 inches tall with pre-drilled screw holes.
Inspect legs for damage and ensure screws match your screwdriver. Why? Missing parts lead to frustration. Success looks like everything organized and ready.
Tip: Work over a soft cloth to avoid scratches.
💡 Tips:
- •Match screw heads to your screwdriver bits for easy turning.
⚠️ Warnings:
- •Don't skip inspection—bent screws can strip holes.
Step 2: Flip Furniture and Prepare the Bottom
Turn your accent furniture upside down on a padded surface. Clean the attachment areas with a cloth to remove dust or residue—glue or dirt weakens bonds.
Identify pre-marked holes or plates on the furniture bottom. Most accent pieces have them factory-drilled. Wipe dry. Expect a clean, flat surface ready for legs.
This prevents slipping and ensures even attachment.
💡 Tips:
- •Use painter's tape on edges for scratch protection.
⚠️ Warnings:
- •Heavy furniture? Get a helper to avoid back strain.
Step 4: Drill Pilot Holes (If Needed)
For hardwood or tight fits, drill shallow pilot holes (half screw length) using a bit slightly smaller than the screw. Go slow to avoid splintering.
Softwood? Skip this. Test on scrap first. Expect clean, straight holes that guide screws easily.
Pilot holes reduce cracking risk by 80%.
💡 Tips:
- •Use masking tape on drill bit to control depth.
⚠️ Warnings:
- •Over-drill and wood splits—start small.
Step 5: Insert and Hand-Tighten Screws
Thread screws through leg plate into furniture by hand first. Add wood glue to threads for extra hold (wipe excess).
Why hand-tighten? Prevents cross-threading. Success: All four legs loosely attached, snug but turnable by hand.
Pro move: Apply thread locker to metal screws.
💡 Tips:
- •Turn clockwise firmly but gently.
⚠️ Warnings:
- •Force ruins threads—patience pays off.
Step 6: Tighten Fully with Screwdriver or Drill
Use screwdriver or low-speed drill to tighten until snug—stop when leg won't turn more. Don't overtighten.
Check each leg. Expect firm resistance without stripping. This locks everything secure.
💡 Tips:
- •Drill on lowest torque setting.
⚠️ Warnings:
- •Overtightening strips wood—feel for snugness.
Step 7: Flip Right-Side Up and Level Check
Gently flip furniture upright on flat floor. Place level on top surface—adjust by loosening/retightening legs slightly.
Rock gently to test wobble. Shim if needed with felt pads. Success: Level bubble centered, no rocking.
Final pat: Walk away and push—stable means done!
💡 Tips:
- •Add furniture glides to legs for floor protection.
⚠️ Warnings:
- •Uneven floor? Use adjustable legs next time.
▸Pro Tips
- •Pre-apply thread locker to screws for vibration-proof hold.
- •Use a ratcheting screwdriver for faster tightening.
- •Match leg height and style to your accent piece aesthetic.
- •For antiques, consult pro to avoid damage.
- •Test stability by sitting on low pieces before full use.
- •Felt pads under legs prevent floor scratches and noise.
- •Batch-attach multiple pieces for efficiency.
▸Common Mistakes to Avoid
- •Skipping pilot holes in hardwoods—causes splits; always drill first.
- •Misaligning legs—leads to wobbles; measure twice.
- •Overtightening screws—strips threads; tighten until snug only.
- •Ignoring cleaning—dirt weakens grip; wipe always.
- •Not leveling after—furniture tilts over time; check every install.
▸Troubleshooting
Problem: Legs wobble after tightening
Solution: Loosen slightly, realign, retighten. Add washers or shims if holes enlarged.
Problem: Screws stripping
Solution: Use larger screws or wood inserts. Apply glue for fill.
Problem: Furniture not level
Solution: Adjust individual legs or add adjustable glides. Check floor evenness.
Problem: Leg won't screw in
Solution: Clear debris, drill larger pilot. Use lubricant like soap.
Problem: Wood cracks
Solution: Stop immediately, glue and clamp. Use shorter screws next time. Seek carpenter for bad damage.
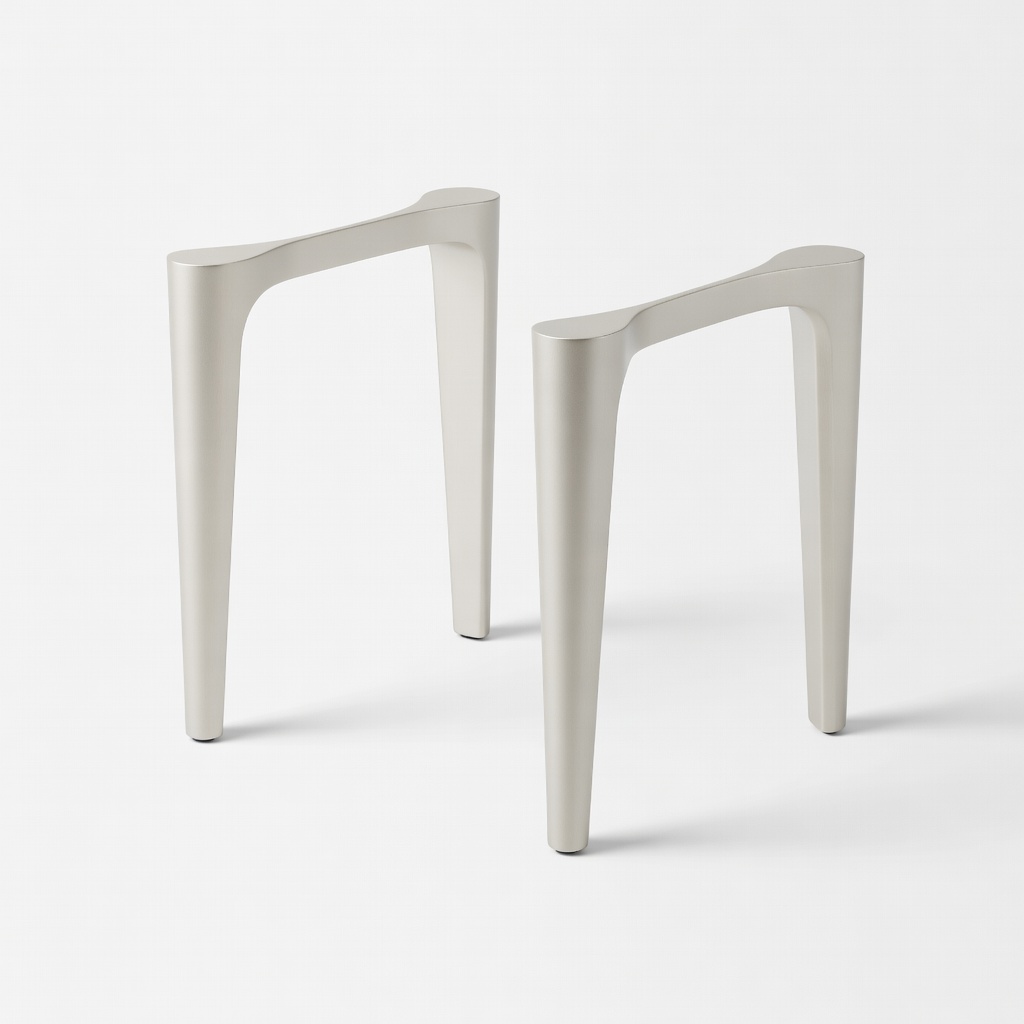
ELEGANT DESIGN Modern Furniture Legs (Set of 4, 6 Inch)
High-quality metal legs with pre-installed plates for easy, secure attachment on accent tables/chairs.
Best for: Perfect for beginners upgrading wood furniture—rust-proof and stable.
Price Range: $25.99
Amazon Basics 21-Piece Screwdriver Set
Versatile bits match most furniture screws, ergonomic for tight spaces without stripping.
Best for: Essential for hand-tightening and final secure fit.
Price Range: $14.99
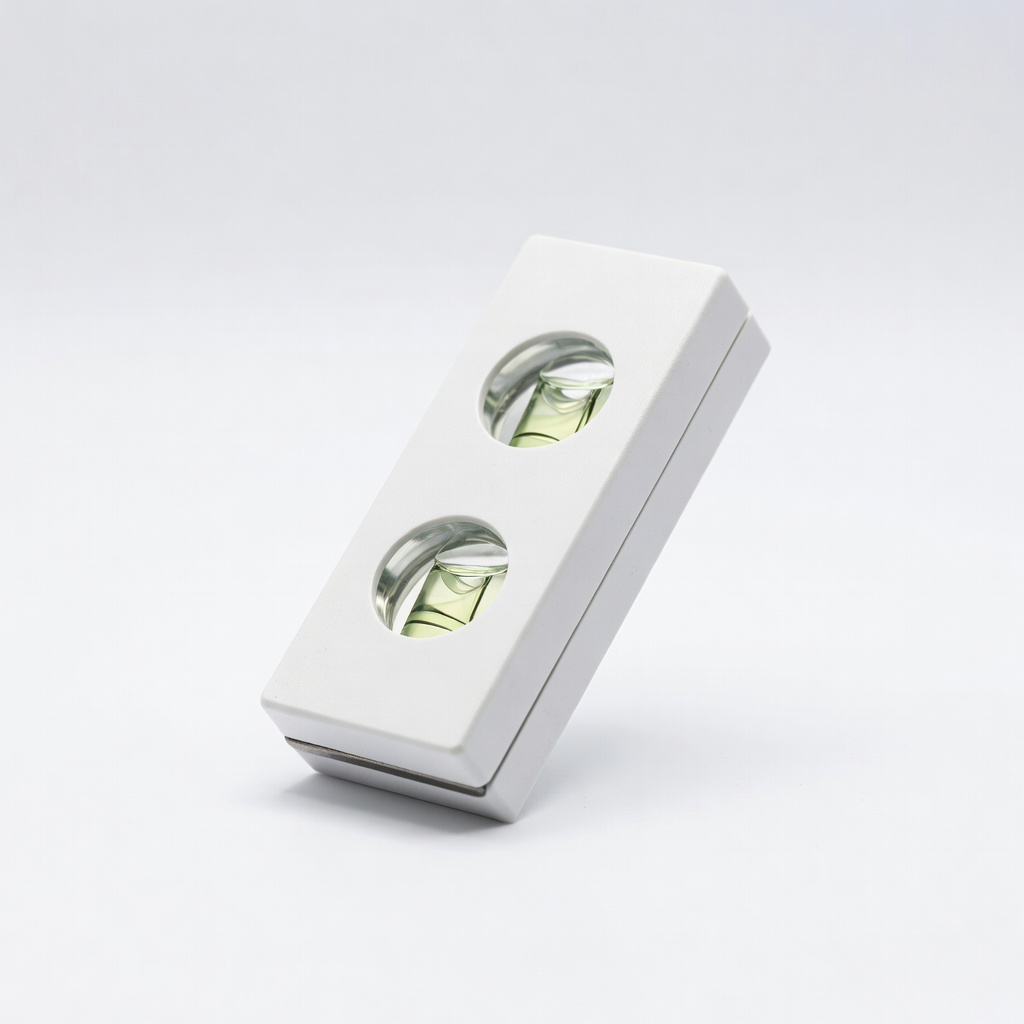
Kapro 215 Mini Magnetic Bubble Level
Compact, accurate for checking furniture level post-install—magnets stick to metal legs.
Best for: Quick stability verification on any surface.
Price Range: $9.99
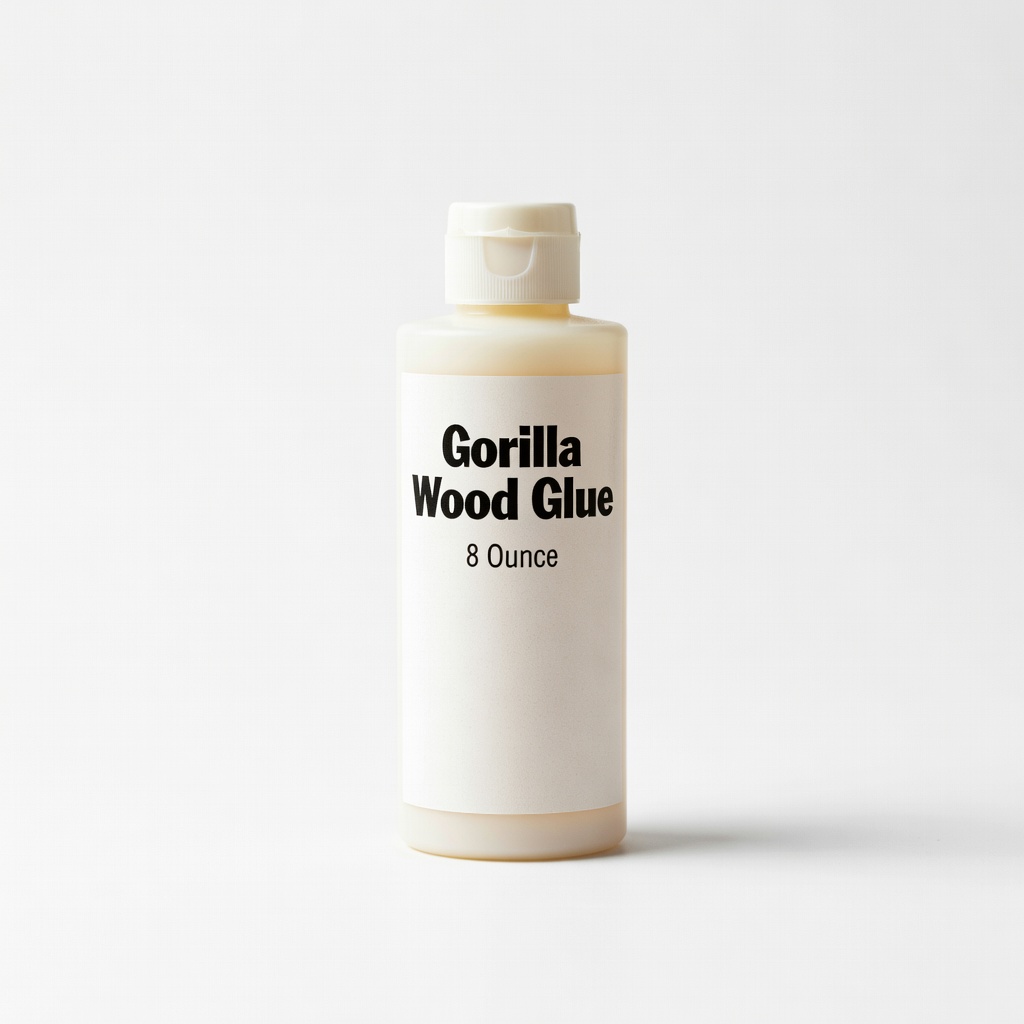
Gorilla Wood Glue, 8 Ounce
Waterproof bond adds permanent strength to screw joints, prevents loosening.
Best for: Extra security for high-use accent furniture.
Price Range: $7.99
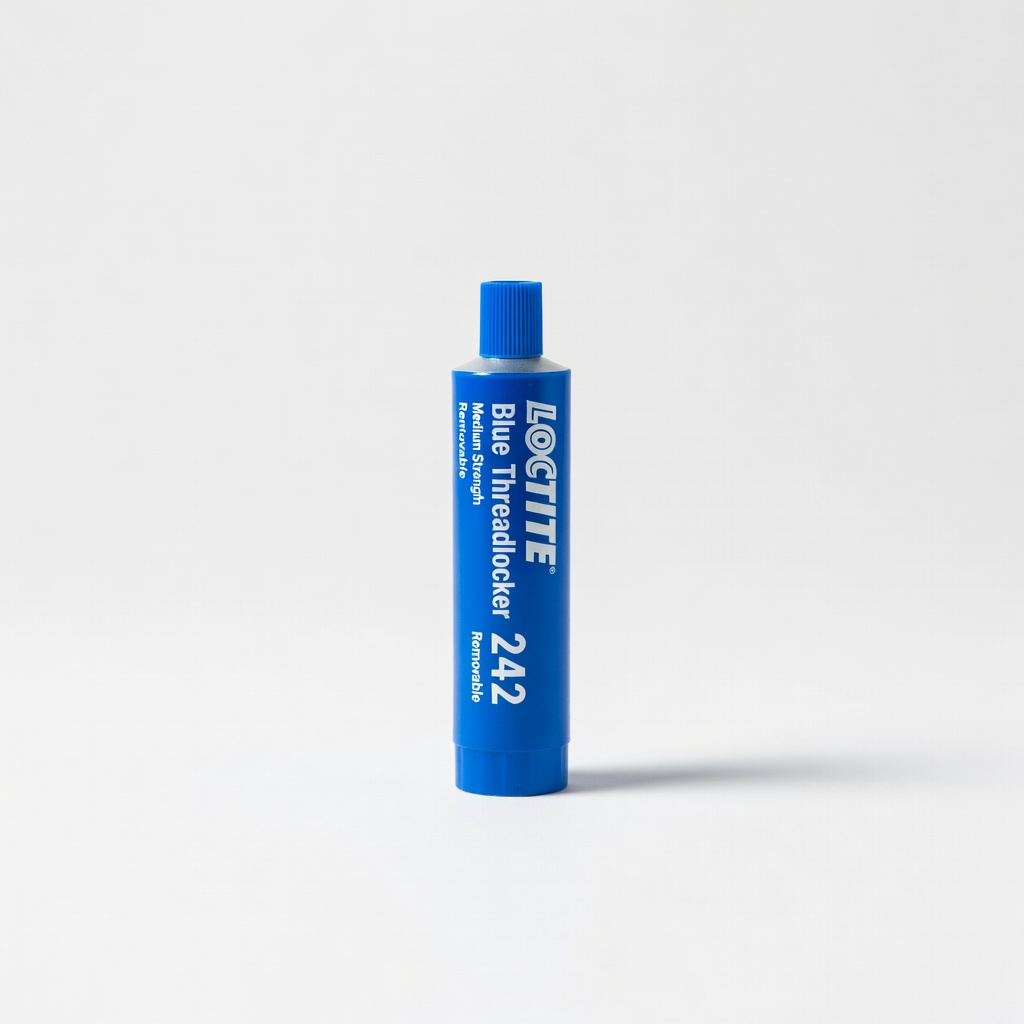
Loctite Blue Threadlocker 242
Prevents screws vibrating loose over time—ideal for metal legs.
Best for: Apply to threads before install for long-term hold.
Price Range: $8.49