Assembling your own beginner accordion kit is an exciting way to dive into music-making without breaking the bank. Many new players feel overwhelmed by complex instruments, but these affordable kits make it simple and fun, turning you into a musician in under 2 hours. Whether for a child or adult beginner, you'll end up with a fully functional mini accordion ready for practice.
In this guide, you'll learn everything from unboxing to first play, including tuning tips. The process is straightforward, using basic tools, and designed for zero experience. Expect 1-2 hours total, with clear checkpoints so you know when each stage is complete.
By the end, you'll have a tuned, playable instrument and the confidence to start lessons—perfect for sparking a lifelong hobby.
▸What You'll Need
- •Beginner accordion kit (includes bellows, reed blocks, keyboards, screws, and instructions)
- •Phillips #0 and #1 screwdrivers (or precision screwdriver set)
- •Small adjustable wrench (for reed adjustments)
- •Soft cloth for cleaning
- •Accordion tuner app (free on smartphone) or clip-on tuner
- •Optional: Super glue or wood glue for loose parts
- •Optional: Lubricant spray (like WD-40 Specialist Silicone) for buttons
Estimated Time: 1-2 hours
Difficulty: beginner
▸Step-by-Step Instructions
Step 1: Unpack and Inventory Parts
Open the kit box carefully and lay out all components on a clean, flat surface. Typical parts include: folded bellows frame, treble keyboard (right-hand buttons or piano keys), bass buttons (left-hand), reed blocks (metal reeds on wood), screws/nuts/bolts, straps, and any glue or wax seals.
Sort them into categories—bellows, treble side, bass side, hardware. Compare against the kit's parts list (usually printed inside the box) to ensure nothing is missing. Success looks like: All parts accounted for, no damage visible.
This step prevents frustration later; missing screws are the #1 assembly killer.
💡 Tips:
- •Take photos of the parts layout for reference.
- •Work in good lighting to spot defects early.
⚠️ Warnings:
- •Avoid forcing any pre-assembled parts—they may have warranty seals.
Step 2: Prepare Your Workspace
Clear a spacious table (at least 3x3 feet) covered with a soft towel to protect parts. Gather tools nearby in a tray. Play soft music to stay relaxed—assembly is like a puzzle!
Wipe parts with a dry cloth to remove packing dust. Test-fit screws without tightening to understand connections. Success: Organized station, tools ready, parts clean.
A good setup saves 20-30 minutes by reducing fumbling.
💡 Tips:
- •Use painter's tape to label parts if the kit lacks markings.
Step 3: Assemble the Bellows Frame
If not pre-assembled, align the cardboard or wooden bellows panels and insert the folding gussets (zigzag paper/pleats). Secure end frames with provided screws using a #1 Phillips screwdriver—tighten snugly but not overly (finger-tight + 1/4 turn).
Fold and unfold several times to ensure smooth action. Apply a dab of lubricant to hinge points if sticky. Success: Bellows expands/contracts fully without binding or gaps.
Bellows are the heart of the accordion; poor assembly leads to air leaks and weak sound.
⚠️ Warnings:
- •Don't overtighten screws—wood can strip.
Step 4: Install Reed Blocks on Bellows
Position the treble reed block (smaller, higher notes) into the right-side bellows slot. Secure with tiny screws or clips—use #0 screwdriver for precision. Repeat for bass reed block on left.
Gently blow to test reed vibration (soft wheeze expected). Success: Reeds held firmly, no wobbling, initial air produces tone.
Reeds make the sound; correct install ensures tuning holds.
💡 Tips:
- •Blow through bellows before full assembly to check each reed.
Step 5: Attach Treble Keyboard
Align the treble keyboard (buttons/piano keys) over the reed block. Connect linkage rods or wires to reeds—may snap or screw in. Fasten keyboard plate to bellows frame with 4-6 screws.
Press buttons to verify they activate reeds without sticking. Success: Buttons move freely, reeds respond crisply.
This is the 'playable' milestone—celebrate with a test squeeze!
⚠️ Warnings:
- •Misaligned rods cause silent notes—double-check connections.
Step 6: Attach Bass Mechanism
Mirror step 5 for bass side: Mount bass buttons/chords over left reed block. Secure with screws and connect any straps or buttons. Test chord buttons for multi-reed activation.
Success: Bass side functional, bellows connect both sides evenly.
Bass adds rhythm; even assembly balances the instrument.
💡 Tips:
- •Label bass buttons (C, G, etc.) with tape if unmarked.
Step 7: Secure Straps and Bellows Locks
Attach adjustable shoulder straps to frame screw holes. Install any bellows lock pins or clips to hold closed when not playing. Tighten all loose screws with final pass.
Success: Instrument wearable, holds shape closed/open.
Straps make it ergonomic for practice.
Step 8: Tune and Test Play
Download a tuner app (e.g., Tuner Lite). Squeeze bellows while playing notes—adjust reed screws clockwise/counterclockwise for pitch (tiny 1/8 turns). Play scales to check.
Success: Notes match tuner (e.g., C=261Hz), even volume across range.
Final tuning perfects your build—play a simple melody!
💡 Tips:
- •Tune in a quiet room; warm up bellows by playing 5 mins first.
⚠️ Warnings:
- •Over-adjusting reeds can break them—go slow.
▸Pro Tips
- •Work slowly—rushing causes stripped screws; take breaks if frustrated.
- •Use a magnetic parts tray to avoid losing tiny screws.
- •Lubricate buttons/reeds lightly for smoother action post-assembly.
- •Test every step incrementally to catch issues early.
- •Store in a gig bag immediately to protect from dust.
- •Watch kit-specific YouTube videos for visual aid.
- •Practice on a keyboard app first to learn button layout.
▸Common Mistakes to Avoid
- •Skipping inventory—leads to missing parts and incomplete build.
- •Overtightening screws—strips threads or cracks wood.
- •Ignoring air leaks—results in weak sound; check by listening for hisses.
- •Rushing tuning—causes off-pitch notes; always use a tuner.
- •Forcing linkages—bends rods, silences notes.
▸Troubleshooting
Problem: Bellows won't fold smoothly
Solution: Loosen hinge screws slightly and re-lubricate; re-fold 10x to break in.
Problem: Some buttons silent
Solution: Check rod connections—reseat or bend gently into place.
Problem: Reeds out of tune quickly
Solution: Wax reed roots secure; avoid extreme humidity.
Problem: Air leaks from bellows
Solution: Apply thin glue to gusset edges; tape temporarily for test.
Problem: Straps too loose/tight
Solution: Adjust buckles while wearing; pad shoulders if needed.
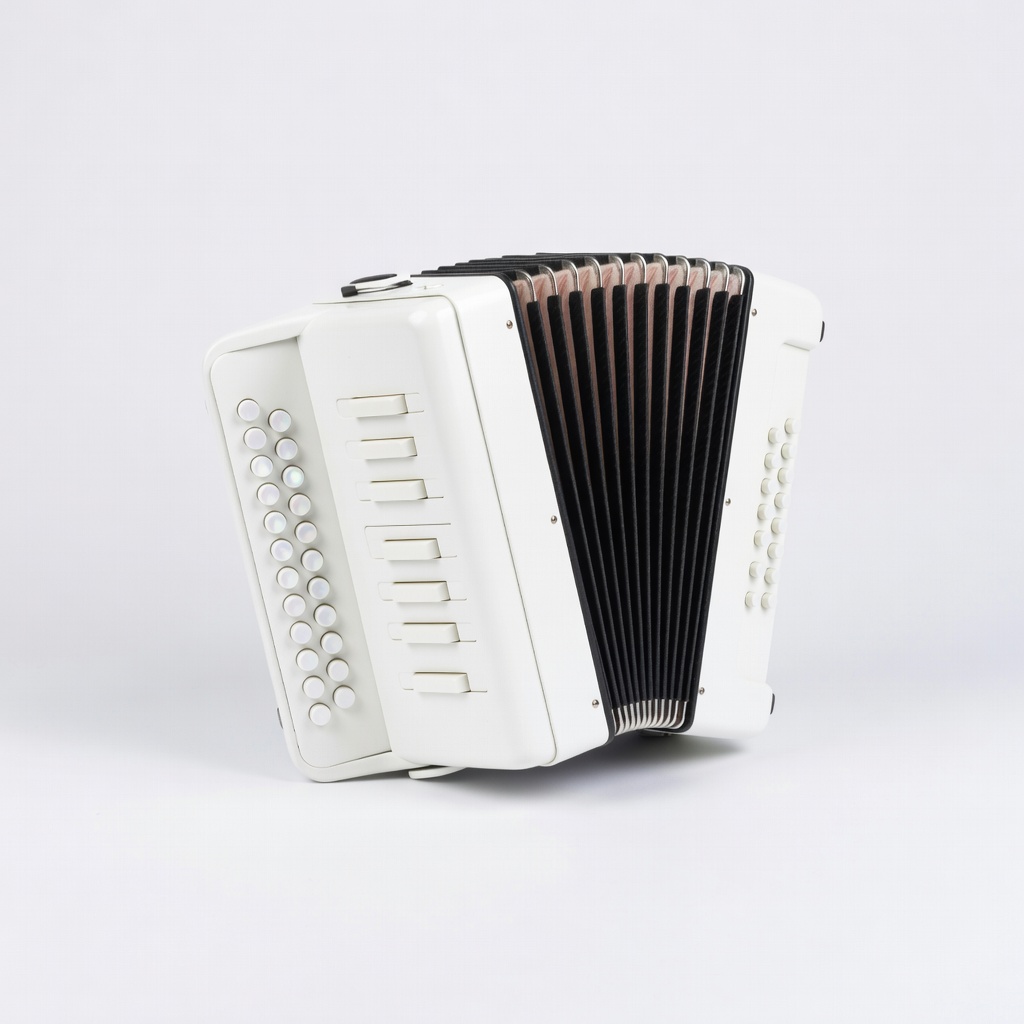
Hohner HA-102R Kids 10-Key Accordion
Affordable, partially assembled kit-style beginner accordion with easy strap/strap attachment and tuning access.
Best for: Ideal first kit for kids/adults; minimal tools needed for final setup.
Price Range: $59.99
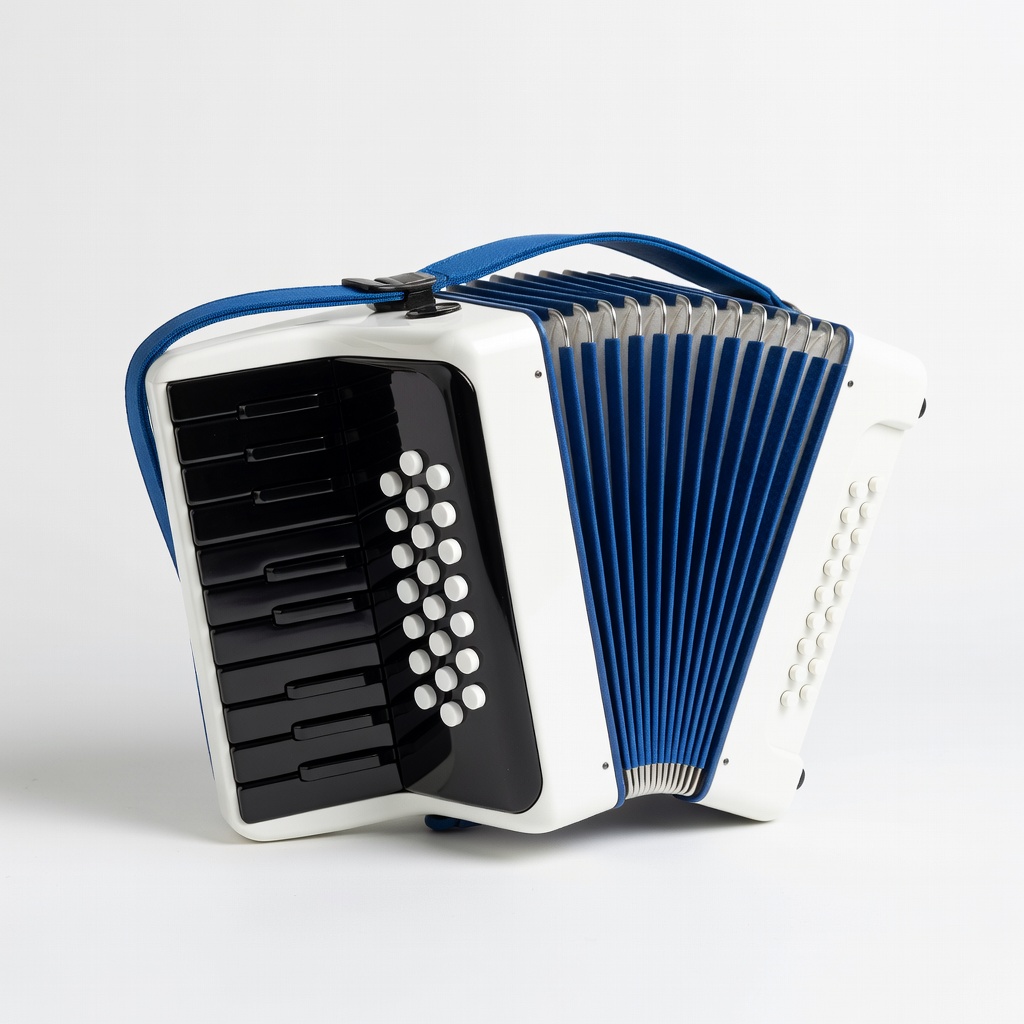
FAVOAIR 17-Key Kids Piano Accordion
Compact kit requiring bellows and keyboard assembly; includes reeds and clear instructions.
Best for: Perfect for beginners wanting a piano-style layout.
Price Range: $29.99
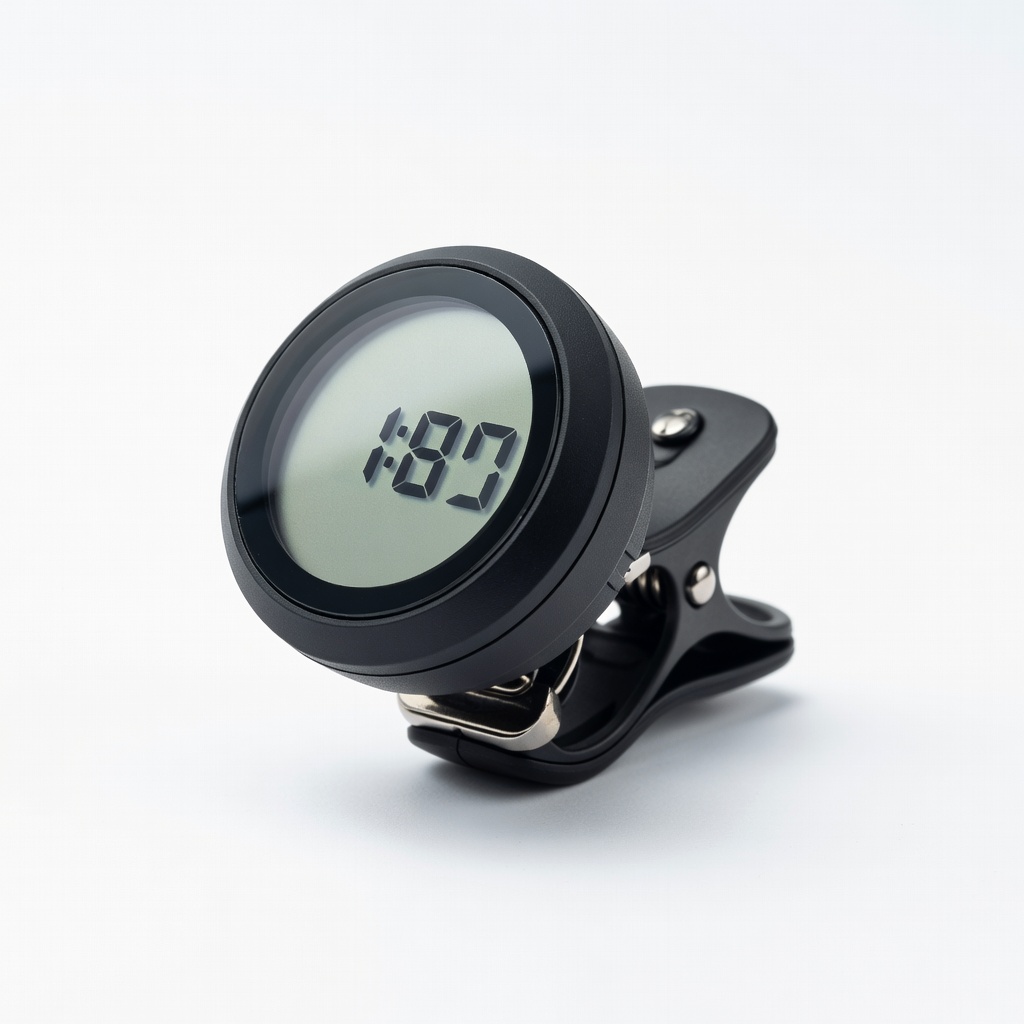
Snark SN5X Clip-On Tuner
Accurate chromatic tuner essential for post-assembly tuning; clips easily to bellows.
Best for: Tune reeds precisely without guesswork.
Price Range: $15.99
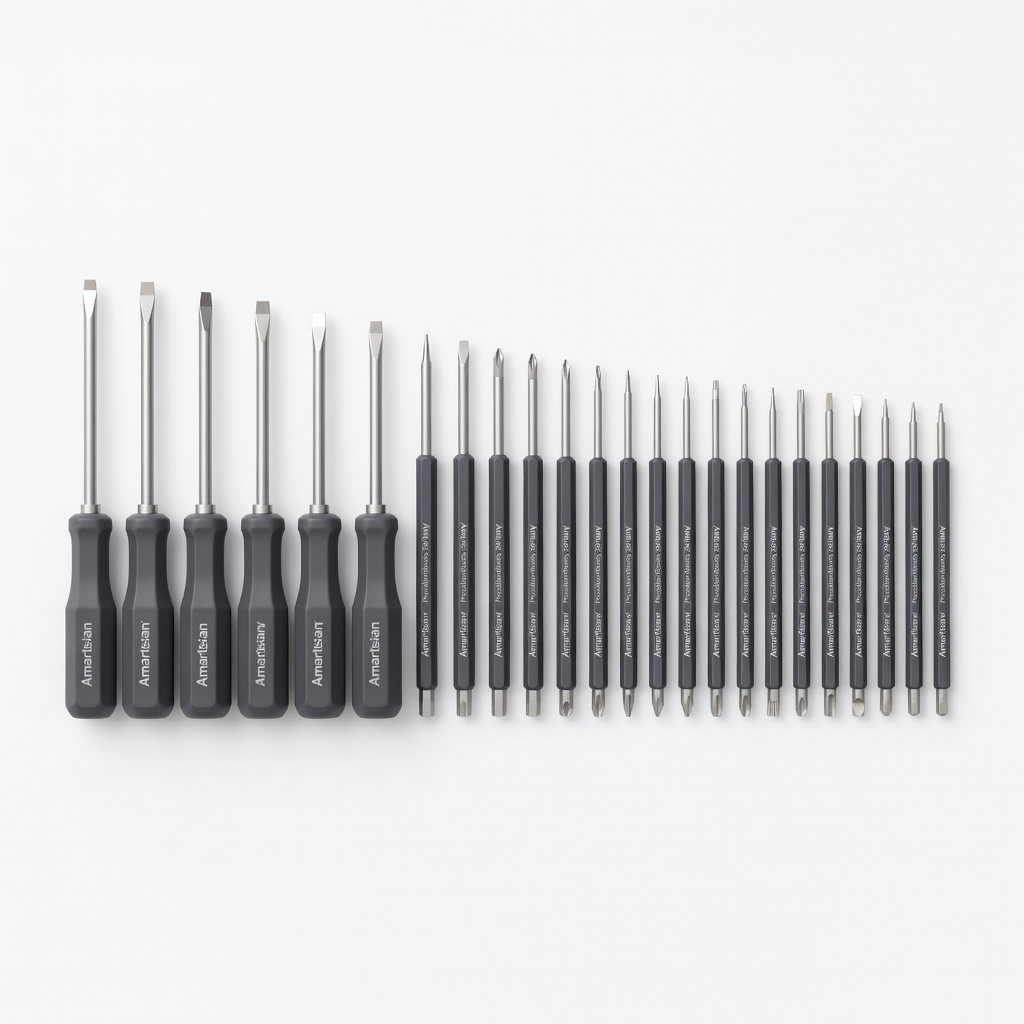
Amartisan Precision Screwdriver Set (24-Piece)
Magnetic tips perfect for tiny accordion screws; prevents loss.
Best for: All assembly steps requiring screwdrivers.
Price Range: $12.99
WD-40 Specialist Silicone Lubricant
Safe for plastic/wood parts; smooths buttons and hinges without gumming reeds.
Best for: Maintenance during and after assembly.
Price Range: $8.99